Tips for enhancing your creative process in portrait art can greatly elevate your artistic journey. By incorporating various techniques and approaches, you can unlock new dimensions in your artwork. Whether it’s refining your observation skills, experimenting with different mediums, or understanding the emotional depth of your subjects, each aspect plays a vital role in your development as an artist. This post will provide you with practical advice to help you navigate challenges and foster your creativity in portrait art.
Understanding Your Creative Flow
While every artist possesses a unique creative flow, understanding yours can significantly enhance your portrait art. Recognizing how you generate ideas, the environments that inspire you, and when you feel most productive will help you tap into your best creative self. By paying attention to these elements, you can cultivate a routine that aligns with your natural rhythm, allowing for a more fulfilling artistic experience.
Identifying Peak Creative Times
On your journey to enhancing creativity, identifying the times when you feel most inspired and productive is key. This might be early in the morning, late at night, or at specific points in your day. By keeping a journal or tracking your energy levels during various times, you can discover the patterns that work best for you.
Techniques for Sustaining Creativity
The process of sustaining creativity requires intentional practices and strategies that keep your artistic juices flowing. Experimenting with various techniques, such as mindfulness exercises, drawing prompts, or engaging in new artistic mediums can reinvigorate your creative process and reduce feelings of stagnation.
Considering the importance of consistency in creativity, it’s beneficial to establish a routine that incorporates these techniques. Set aside dedicated time for artistic exploration, ensuring that you have no distractions. Allow yourself to experiment freely and take breaks when necessary. Engaging in other interests, such as reading or physical activities, can also provide fresh inspiration. By intertwining these practices into your daily life, you empower yourself to maintain a sustainable and vibrant creative flow.

Building a Strong Foundation
Even the most talented artists benefit from building a robust foundation for their portrait art. This involves mastering necessary skills and techniques that will support your creative journey. By dedicating time to solidify your understanding of proportions, lighting, and anatomy, you set yourself up for greater creative freedom and expression in your work.
Mastering Basic Techniques
Basic skills are the bedrock of any successful artistic endeavor. Focusing on fundamental techniques such as drawing shapes, shading, and color application will improve your overall abilities. These skills not only enhance your technical competence but also boost your confidence, allowing you to tackle more complex compositions with ease.
The Importance of Observation
Before exploring into your portrait work, you must refine your observation skills. Understanding the subtleties of facial expressions, features, and gestures plays a significant role in creating lifelike portraits. By training your eye to see the nuances in different subjects, you can depict their essence more accurately.
Plus, honing your observational skills encourages mindfulness, enabling you to capture the true spirit of your subjects. Spend time studying their features, expressions, and gestures in various lighting conditions. The more you practice observation, the better you will become at translating those details onto your canvas, ultimately making your portraits more dynamic and engaging.
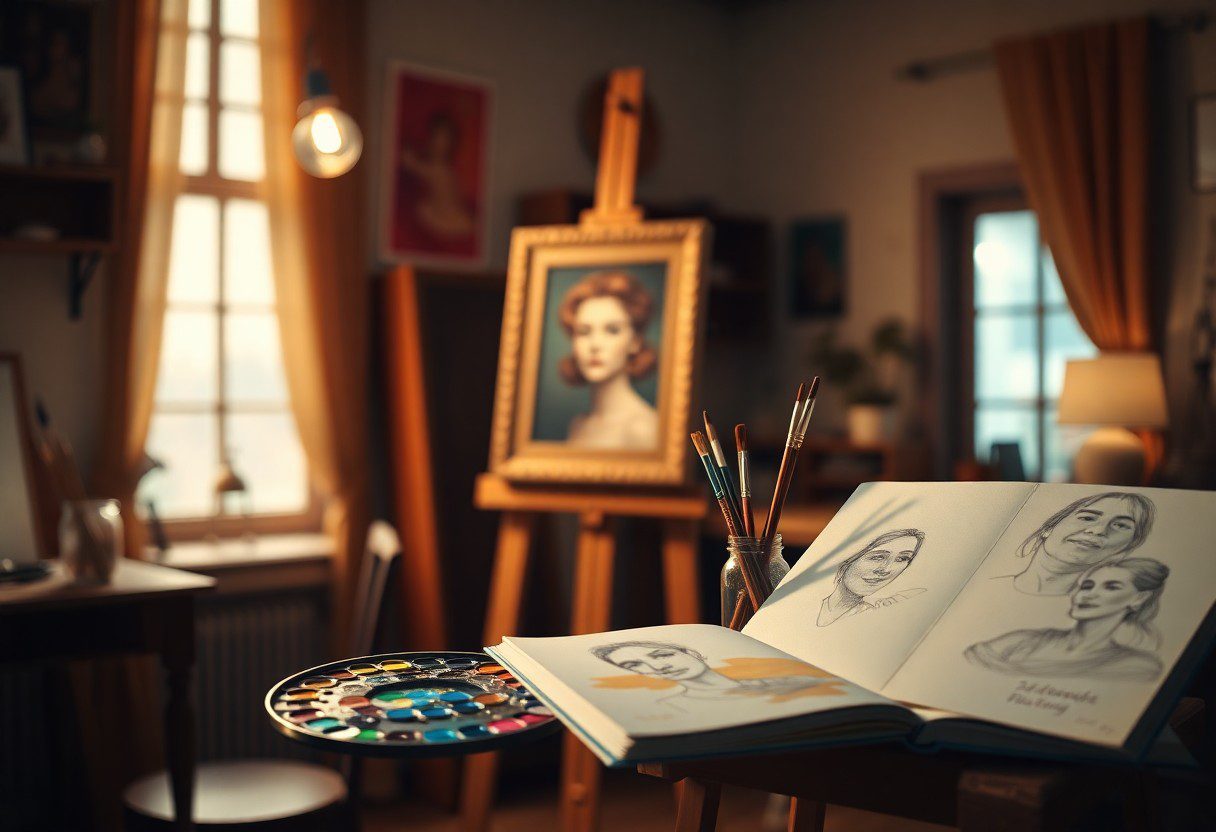
Finding Inspiration
If you’re feeling stuck in your creative process, finding inspiration can be a game-changer. Consider immersing yourself in nature, visiting art galleries, or exploring different cultures—these experiences can help spark your imagination. Keep a sketchbook handy to document any ideas that resonate with you. Surrounding yourself with various influences allows you to break free from your usual thought patterns and see the world through a fresh lens.
Exploring Different Perspectives

With a mindset open to exploration, you can discover new ways to approach your portrait art. Engaging with diverse viewpoints not only broadens your artistic repertoire but also enhances your understanding of the subjects you portray. Try observing people from different angles or in varying moods to capture authentic emotions in your work.
Utilizing Art Resources and References
Above all, leveraging available art resources can significantly enrich your portrait art journey. The internet is filled with tutorials, articles, and forums where you can learn techniques and gain insights from experienced artists.
For instance, exploring online platforms like Pinterest or Instagram allows you to collect reference images that resonate with your style. Most artists have unique approaches, and by studying their techniques, you can adapt and incorporate elements into your own work. Books on anatomy and lighting, as well as attending workshops, can provide invaluable insights that enhance your skills and broaden your creativity.
Experimenting with Styles
All artists can benefit from exploring various styles to unlock their true potential in portrait art. By stepping out of your comfort zone, you’ll discover new ways to represent emotion and character. Embrace trends, historical movements, or even personal expressions as a way to diversify your artistic repertoire. This experimentation can lead to surprising insights and breakthroughs in your creative process.
Mixing Mediums and Techniques
Around different mediums such as watercolor, charcoal, or digital tools, you can generate unique textures and effects. Experiment with blending these materials in your work, combining the fluidity of paint with the precision of pencils. Cross-pollinating techniques can lead to innovative results that enhance your portrait’s depth and vibrancy.
Incorporating Unconventional Elements

Beside traditional methods, introducing unconventional elements can radically transform your portraits. Think about integrating mixed media, found objects, or digital effects into your creations. This approach fosters unexpected relationships between elements in your artwork, making it more dynamic and engaging.
But incorporating unconventional elements isn’t just about novelty; it can deepen your message and connect deeply with your audience. By using non-traditional materials or methods, you challenge the norm and invite viewers to see your portraits from a different vantage point. Consider things like creating a collage using fabric or utilizing digital overlays to marry your vision with contemporary aesthetics. The surprises and innovations that arise from this experimentation can lead to a distinctive signature style in your portrait art.
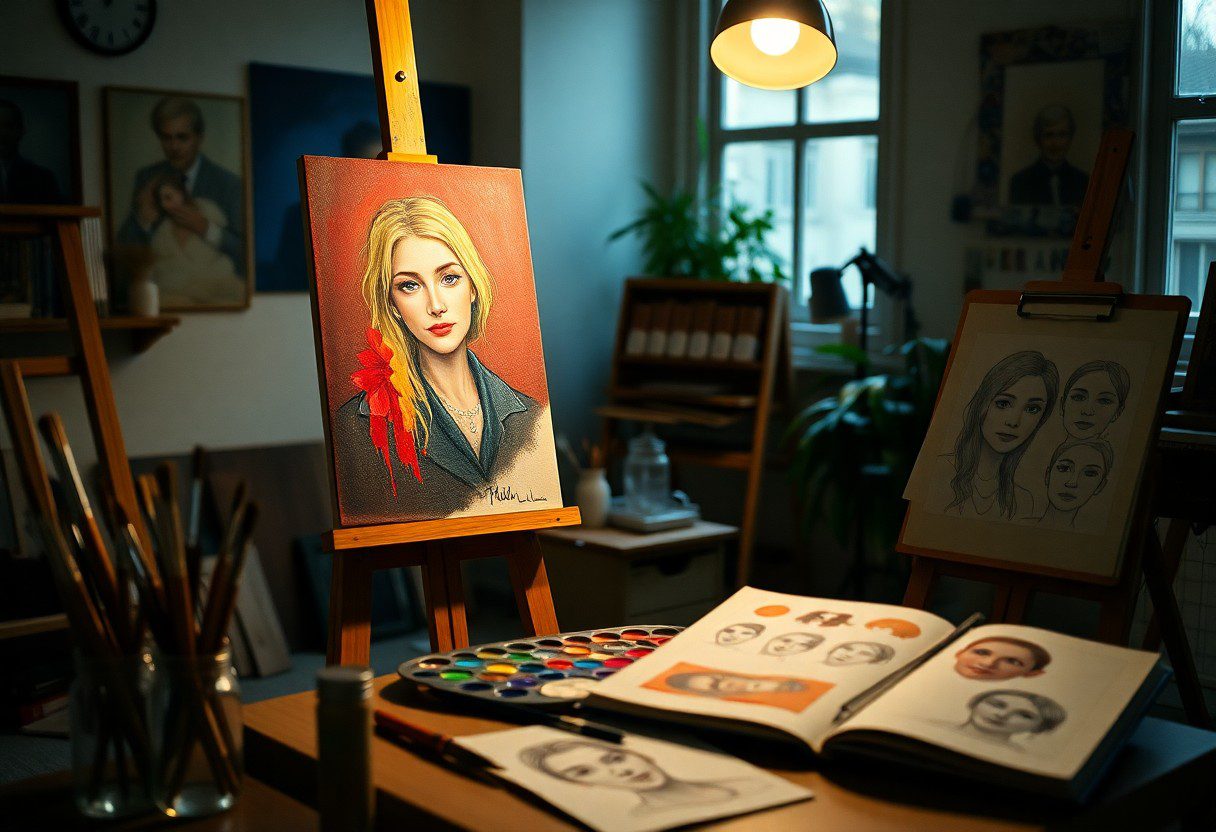
Setting Up a Productive Workspace
Despite your talent and enthusiasm for portrait art, your creative output can suffer without a well-structured workspace. Creating an environment that fosters creativity is key to unlocking your full potential. By carefully organizing your space and minimizing distractions, you can enhance your artistic process and produce compelling work. Design a workspace that inspires your artistic vision and encourages productivity.
Organizing Your Art Space
At the heart of an effective workspace is organization. Ensure that your materials are easily accessible and sorted in a way that makes sense to you. Arrange your brushes, paints, and other tools in designated areas, so you can focus on creating rather than searching for supplies. A tidy, well-organized space not only boosts efficiency but also helps to cultivate a productive mindset.
Minimizing Distractions
Setting your environment to reduce distractions can significantly impact your creative flow. Identify elements in your workspace that disrupt your concentration, whether it’s noise, clutter or electronic devices. By limiting these interruptions, you can immerse yourself in your portrait art. Consider using noise-canceling headphones or creating a designated quiet zone to foster deep focus.
To further minimize distractions, establish clear boundaries for your work hours. Inform those around you that you are in a creative mode and need uninterrupted time. Turn off notifications on your devices, and consider using apps that block distracting websites during your creative sessions. By controlling your environment and prioritizing your focus, you’ll find it easier to tap into your creative energy and enhance the quality of your work.
Seeking Feedback and Community
After immersing yourself in your artistic endeavors, seeking feedback and building a community can elevate your portrait art to new heights. Engaging with fellow artists and enthusiasts allows you to gain diverse perspectives, share your experiences, and refine your skills. By connecting with others who share your passion, you will find invaluable support and inspiration that can fuel your creative journey.
Joining Art Groups and Forums
Behind every successful artist lies a network of supportive peers. Joining art groups and forums can facilitate new connections and provide a platform to share your work. By participating in discussions, showcasing your portraits, and engaging in collaborative projects, you will benefit from the collective knowledge and experience of fellow artists, enriching your creative process.
The Value of Constructive Criticism
For your growth as an artist, constructive criticism serves as an necessary tool for improvement. By embracing feedback from peers, you can uncover blind spots in your work and explore areas that may benefit from refinement. This process not only enhances your skills but also fosters a mindset of openness and learning.
But it’s important to differentiate between criticism that genuinely aims to help you grow and comments that may not be constructive. Seek feedback from trusted sources who provide honest insights without diminishing your confidence. This kind of evaluation will empower you to take actionable steps towards honing your craft, ultimately leading to more robust and expressive portrait art.
Conclusion
Ultimately, enhancing your creative process in portrait art requires a blend of practice, exploration, and reflection. By experimenting with different techniques, seeking inspiration from various sources, and maintaining an open mind, you can discover new dimensions in your artistry. Allow yourself to embrace mistakes as learning opportunities and cultivate a routine that nurtures your creativity. Engaging with other artists can also provide valuable insights and fresh perspectives, ensuring your journey in portrait art remains dynamic and fulfilling.
FAQ
Q: What are some effective techniques for starting a portrait drawing?
A: To begin a portrait drawing effectively, consider using a grid system to maintain proportions. Sketch light outlines to capture general shapes and angles before adding details. Alternatively, you can work from a reference photo, ensuring the lighting and angles are optimal. Experiment with different materials, such as pencil, charcoal, or digital tools, to find what feels most comfortable for you. Start with the larger shapes and work towards the finer details, allowing your creativity to flow progressively.
Q: How can I develop an engaging color palette for my portraits?
A: Developing a vibrant color palette involves understanding color theory, such as complementary and analogous colors. Begin by observing skin tones and how they vary under different lighting conditions. Use a limited palette to create harmony, and consider experimenting with color mixing. This can enhance depth and richness in your portraits. It’s helpful to create a color swatch chart that reflects the hues you want to incorporate, which can also serve as inspiration for future pieces.
Q: What role does lighting play in the creative process of portrait art?
A: Lighting is imperative in portrait art as it affects how shapes, textures, and colors are perceived. Natural light can produce softer shadows and highlights, which may add to the overall mood of your artwork. Experimenting with different light angles and sources can reveal various emotional expressions in your subject. Utilize light to emphasize certain features, drawing attention to the focal point of your portrait. Consider practicing with both artificial and natural lighting to deepen your understanding of their effects.
Q: How can I overcome creative blocks while working on portraits?
A: Overcoming creative blocks often requires a shift in perspective. Take breaks to clear your mind or engage in different artistic activities to stimulate inspiration. Changing your environment might also help; consider working in a new location or rearranging your workspace. Collaborate with other artists or seek out critiques to receive fresh insights. Sometimes, returning to the basics by studying anatomy or practicing quick sketches can help reignite your creativity. Exploring various styles and techniques can also lead to new ideas.
Q: What are some tips for effectively capturing emotion in portrait art?
A: Capturing emotion in portrait art involves understanding body language, facial expressions, and the subtleties of human interaction. Pay close attention to your subject’s features and try to convey their personality through your work. Focusing on the eyes can significantly influence the emotional impact; they often reflect the subject’s inner thoughts and feelings. Additionally, consider the use of color, lines, and composition to enhance the emotional tone. Practicing observational drawing in real-life settings will also help you develop a deeper connection with your subjects.