The Shining Glitter Cookie: A Recipe for the Extra and Fabulous
Let’s be honest, some days are just beige. Beige food, beige mood, beige everything. But life is far too short for boring cookies! Why settle for a plain old sugar cookie when you can have a dessert that makes an entrance? A cookie so dazzling, so unapologetically extra, it practically needs its own spotlight and backup dancers. My friend, it’s time to unleash your inner superstar and bake the one and only shining glitter cookie. This isn’t just a recipe; it’s a statement. It’s edible disco ball, a pop star in dessert form, and it’s guaranteed to make your life a whole lot more sparkly.
Why This Recipe Is Awesome (It’s a Party on a Plate)
So why are we about to glitter-bomb our kitchen? Because these cookies are pure, unadulterated joy. They are the definition of a showstopper. Imagine bringing a platter of these dazzling, sparkling treats to your next party in Khulna. Jaws will drop. Instagrams will be updated. You will be a legend. Here’s the deal:
- Maximum Glam, Minimum Fuss: They look like they took hours of professional decorating, but the technique is ridiculously simple. If you can dip a cookie in sprinkles, you can make these.
- Infinitely Customizable: Match your glitter to any party theme, holiday, or your favorite pop star’s latest outfit. The possibilities are as endless as a diva’s vocal range.
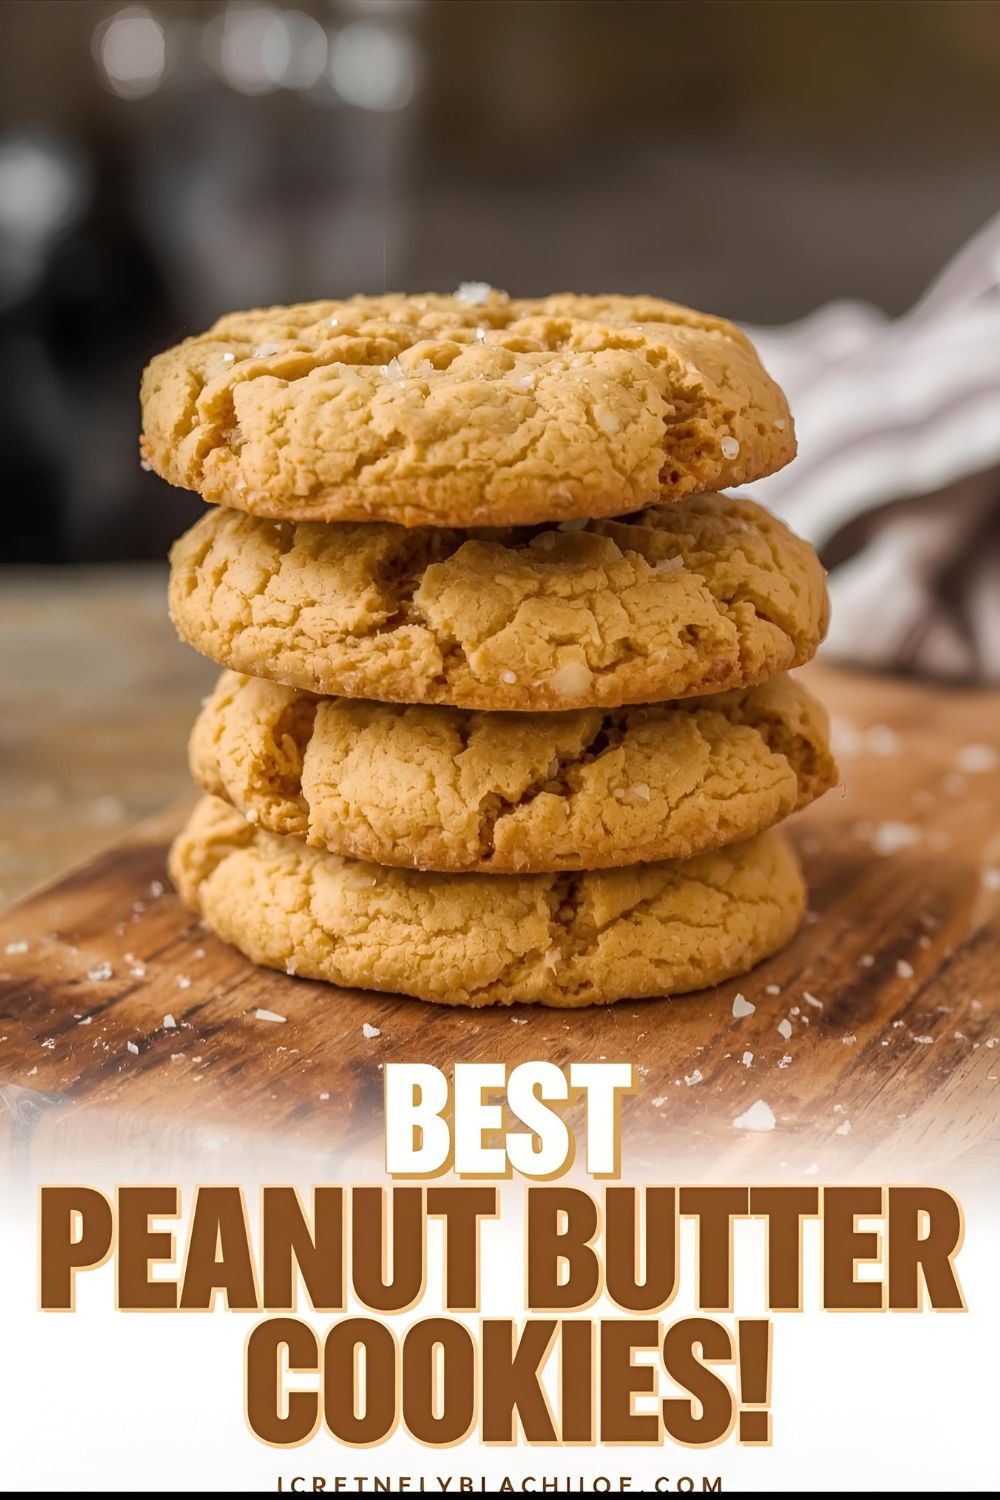
- Deliciously Classic: Underneath all that sparkle is a delicious, no-spread, buttery sugar cookie with a hint of almond. It’s not just a pretty face; it tastes amazing too.
This is your go-to recipe for birthdays, bachelorette parties, New Year’s Eve, or any random Tuesday when you feel like being fabulous.
Ingredients: Your Backstage Rider for Sparkle
To create a headlining act, you need the right cast of characters.
For the Sturdy Sugar Cookie Stage:
- 1 cup (2 sticks) unsalted butter, cold and cubed
- 1 cup granulated sugar
- 1 large egg
- 1 teaspoon vanilla extract
- ½ teaspoon almond extract (The secret pop star flavor!)
- 3 cups all-purpose flour
- ½ teaspoon salt
For the “Glitter Glue” Glaze & Dazzling Finish:
- 2 cups powdered sugar, sifted
- 3-4 tablespoons milk
- 2 tablespoons light corn syrup (For a shiny, sticky base that holds glitter like a dream!)
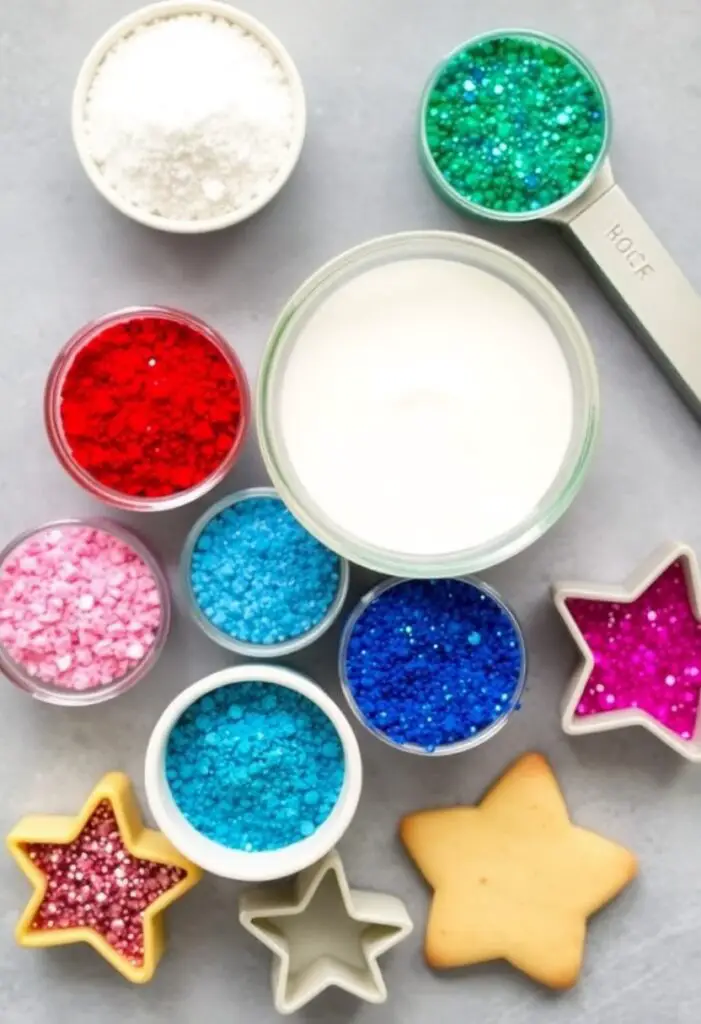
- Your arsenal of sparkle:
- Edible Glitter: This is the star! Look for brands specifically labeled “edible.”
- Sanding Sugar: Coarse sugar crystals that provide a beautiful, crunchy sparkle.
- Nonpareils & Sprinkles: For extra texture and fun.
A VERY IMPORTANT SAFETY NOTE ON GLITTER:
- You MUST use glitter that is specifically labeled “EDIBLE.” Do not, under any circumstances, use craft glitter. “Non-toxic” does not mean “safe to eat.” Edible glitter is typically made from sugar, gum arabic, or other food-safe ingredients. Keep yourself and your friends safe and sparkly!
Tools & Kitchen Gadgets Used: Your Glam Squad
You don’t need a full road crew, but these tools are essential for a flawless performance.
- Stand Mixer or a Hand Mixer
- Rolling Pin
- Cookie Cutters (Stars, circles, or lightning bolts are very on-brand.)
- Baking Sheets lined with Parchment Paper
- Shallow Bowls or Plates (For your glitter and sugars.)
- Small bowl for the glaze.
- Whisk
- Offset Spatula or a Butter Knife
Step-by-Step Instructions: Time to Shine!
Let’s break down this dazzling performance into simple, manageable acts.
Act 1: The Cookie Foundation
- Prep the Dough: In your mixer, beat the cold, cubed butter and sugar until it looks like damp sand. Mix in the egg, vanilla extract, and almond extract. In a separate bowl, whisk the flour and salt, then gradually add it to the wet ingredients, mixing on low until a dough forms.
- Chill, Roll, and Cut: Wrap the dough in plastic and chill for at least 1 hour. Once chilled, preheat your oven to 375°F (190°C). Roll the dough to ¼-inch thickness, cut out your shapes, and place them on parchment-lined baking sheets. For extra-sharp shapes, you can freeze the cut-outs for 10 minutes before baking.
- Bake the Stage: Bake for 9-11 minutes, just until the edges are set. You want the cookies to be pale, not golden brown, to let the glitter colors truly pop. Let them cool completely on a wire rack. A warm cookie is a glitter disaster waiting to happen.
Act 2: The Glitter Bomb Finale
- Prep Your Glitter Station: Pour your sanding sugar and/or edible glitter into a shallow bowl or plate. Be generous! This is not the time for subtlety.
- Make the Glitter Glue: In a small bowl, whisk together the sifted powdered sugar, 3 tablespoons of milk, and the corn syrup. It should be a smooth, thick but spreadable glaze. If it’s too thick, add the last tablespoon of milk.
- Glaze One at a Time: Using an offset spatula or a butter knife, apply a thin, even layer of the glaze over the top of one completely cooled cookie.
- The Dip and Press: Immediately after glazing, turn the cookie upside down and press the glazed side firmly into your bowl of glitter. Give it a little wiggle to make sure it’s fully coated.
- The Reveal: Lift the cookie straight up and behold your dazzling creation! The entire surface should be covered in a flawless coat of sparkle.
- Let It Dry: Place your shining glitter cookie on a wire rack to dry. The glaze will set in about an hour. Repeat with the remaining cookies.
- Take a Bow: You just made the most fabulous cookies on the planet.
Calories & Nutritional Info (Per Star-Studded Cookie)

Honestly, a cookie this fabulous is beyond mere numbers. It’s an energy source.
- Estimated Calories per cookie: ~200-240 calories
- Fabulousness: 1000%
- Glitter: 0 calories, 100% essential.
Common Mistakes to Avoid: Don’t Let Your Show Flop!
Even a pop star can have an off night. Avoid these common mishaps.
- Using Craft Glitter: I know I said it before, but it bears repeating. ONLY USE EDIBLE GLITTER. Craft glitter is made of plastic. Don’t eat plastic.
- Glazing Warm Cookies: This will cause your glaze to melt and slide right off, taking all your precious glitter with it into a sad, sticky puddle. Your cookies must be completely cool.
- A Runny Glaze: If your “glitter glue” is too thin, it will drip off the edges and won’t hold the glitter properly. It should be thick, like school glue.
- The Glitter Explosion: Be prepared: you will get edible glitter everywhere. On your counter, your floor, probably on your face. It’s part of the fun. Work over a baking sheet to try and contain the fabulous fallout.
Variations & Customizations: Your Headlining Tour
This is your show. Customize it!
- The Rockstar: Use a chocolate sugar cookie base. Tint your glaze black with gel food coloring and use a mix of silver and black edible glitter and silver star sprinkles.
- The Pop Princess: Tint your glaze a vibrant pink. Use a mix of pink, purple, and iridescent edible glitter for a sweet and sassy look.
- The Golden Idol: Add the zest of one lemon to your cookie dough for a bright flavor. Cover the entire cookie in edible gold sanding sugar and gold star sprinkles.
FAQ Section: Your Backstage Pass to Glittery Goodness
You have questions about these dazzling divas. I have the answers.
- Q: What’s the difference between edible glitter and sanding sugar? A: Sanding sugar is coarse sugar crystals that have a great crunch and sparkle. Edible glitter is made from ingredients like sugar or gum arabic and is cut into tiny, flat shapes that reflect light, giving it a true glittery shine. You can use either or a mix of both!
- Q: Is edible glitter really safe? A: Yes, as long as it is labeled “EDIBLE” and lists its ingredients. Be wary of products labeled “non-toxic” or “for decorative use only” (like some disco dusts), as those are not meant to be eaten.
- Q: Where can I buy edible glitter? A: You can find it at specialty baking supply stores, in the cake decorating aisle of many craft stores, and widely available from online retailers.
- Q: How do I get the glitter to stick so well without falling off? A: The corn syrup in the glaze is the secret! It creates a slightly sticky, shiny surface that grabs onto the glitter and holds it tight once it dries.
- Q: Can I make these ahead of time? A: Yes! Once the glaze is fully dry, these cookies store beautifully. The glitter stays put.
- Q: My kitchen looks like a unicorn sneezed in it. How do I clean up edible glitter? A: Welcome to the club! A damp paper towel is your best friend. For stubborn bits, you can use a lint roller or some tape. Or, just embrace the sparkle for a few days. You’re fabulous now.
- Q: Can I pipe designs with the glitter? A: Not really. This technique is for full coverage. You would pipe a design with regular frosting first, let it dry, and then “paint” it with a mix of luster dust and clear extract for a more precise sparkle.
Final Thoughts: You Are the Star
You did it. You took a simple sugar cookie and turned it into a full-blown superstar. You’ve proven that baking doesn’t have to be boring, and that a little (or a lot) of sparkle can make everything better. So go on, take a bite of your dazzling creation, and take a well-deserved bow. The crowd goes wild.