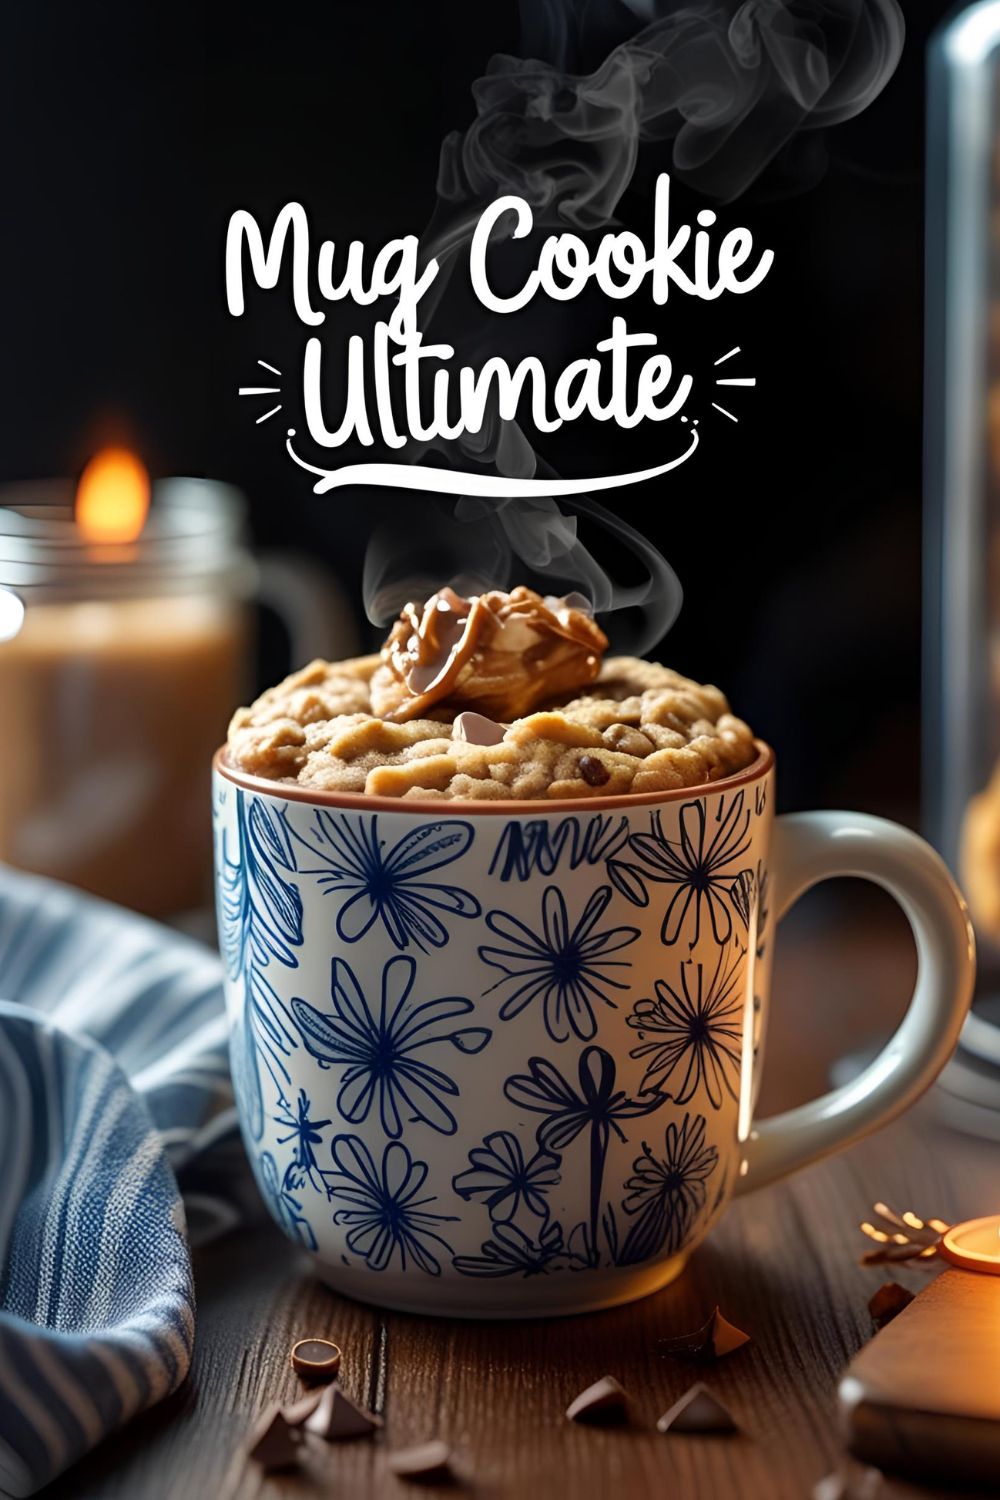
Skip to content
Home » Blog » The Ultimate Sea Fairy Cookie Recipe (Magical & Salty-Sweet!)

The Ultimate Sea Fairy Cookie Recipe (Magical & Salty-Sweet!)

Ever find yourself scrolling through your phone, past endless photos of beige food, and wish for something a little more… magical? Something that looks like it was plucked from a mermaid’s treasure chest or baked by a mystical creature in an underwater kitchen? Well, stop dreaming and preheat your oven. Today, we’re bringing a splash of enchantment to your baking sheet with the legendary sea fairy cookie. This isn’t just a cookie; it’s an edible escape, a salty-sweet treasure that’s as beautiful as it is delicious.

Why This Recipe Is Awesome (It’s Basically Edible Magic)

So, what makes this cookie worthy of its mythical name? First and foremost, these cookies are stunning. We’re talking a beautiful, watercolor icing effect in shades of ocean blue and seafoam green, finished with a magical shimmer that will have everyone asking, “How did you do that?” They are practically designed for dazzling your friends, winning themed parties, or just making your afternoon tea in Barishal feel a thousand times more glamorous.

But they aren’t just a pretty face! The cookie itself is a delicious sea salt vanilla sugar cookie that doesn’t spread, providing the perfect canvas. The sweet, crisp icing has a hint of salt that perfectly balances the flavor, creating a sophisticated salty-sweet bite that is utterly addictive. It’s a fun, creative project that proves you don’t need a magic wand to make something truly enchanting.

Ingredients: Your Potion for Enchantment

This recipe is a tale of two parts: the sturdy cookie “canvas” and the magical “paint.”

For the Sea Salt Vanilla Sugar Cookies:

  • 1 cup (2 sticks) unsalted butter, cold and cubed
  • 1 cup granulated sugar
  • 1 large egg
  • 1 teaspoon vanilla extract
  • ½ teaspoon salt (Use a good sea salt if you have it!)
  • 3 cups all-purpose flour

For the Ocean Shimmer Icing:

  • 3 cups powdered sugar, sifted
  • ¼ cup milk (plus more for thinning)
  • 2 tablespoons light corn syrup (The secret to a soft bite and a nice sheen!)
  • ½ teaspoon clear vanilla extract
  • Gel food coloring in shades of blue and green (teal, sky blue, navy, etc.)
  • Edible pearl or luster dust (This is the “fairy” part!)
  • Ocean-themed sprinkles (optional, but highly encouraged)

A Note on Magical Ingredients:

  • Gel Food Coloring: Gel is much more concentrated than liquid, so you’ll get vibrant ocean colors without making your icing watery.
  • Luster Dust: This edible powder is what gives the cookies their magical shimmer. You can find it online or in the cake decorating section of craft or baking stores.

Tools & Kitchen Gadgets Used: Your Magical Toolkit

To create these enchanted treats, you’ll need a few key items.

  • Stand Mixer or a Hand Mixer
  • Rolling Pin (Guide rings are helpful for even thickness.)
  • Cookie Cutters (Circles, shells, or starfish shapes are perfect.)
  • Baking Sheets lined with Parchment Paper
  • Mixing Bowls (Several small ones for mixing icing colors.)
  • Whisk
  • Squeeze Bottles or Piping Bags (For the icing.)
  • Scribe Tool or a Toothpick (For swirling colors and popping bubbles.)
  • Small, soft-bristled paintbrush (For food use ONLY! To apply the luster dust.)

Step-by-Step Instructions: Conjuring Your Cookies

Let’s break this magical process down into simple, manageable spells.

  1. Create the Dough: In your mixer, beat the cold, cubed butter and sugar until it resembles wet sand. Add the egg, vanilla, and salt, mixing until just combined. On low speed, gradually add the flour and mix until a dough forms.
  2. Chill the Dough: Wrap the dough in plastic and chill for at least 1 hour. This is a non-negotiable step to ensure your cookies don’t spread into mysterious sea blobs.
  3. Roll and Cut: Preheat your oven to 375°F (190°C). Roll the chilled dough to ¼-inch thickness on a lightly floured surface. Cut out your desired shapes and place them on parchment-lined baking sheets.
  4. Bake: Bake for 9-12 minutes. You want the edges to be set but the centers to be pale. Let them cool completely on a wire rack before you even think about decorating.

Act 2: The Ocean Icing and Decoration

  1. Make the Base Icing: In a medium bowl, whisk together the sifted powdered sugar, ¼ cup of milk, corn syrup, and vanilla extract. Stir until smooth. The consistency should be thick but pourable, like honey. If it’s too thick, add more milk, a tiny bit at a time.
  2. Divide and Color: Scoop about three-quarters of the white icing into a squeeze bottle or piping bag. This will be your base. Divide the remaining icing into 2-3 small bowls and use gel food coloring to create your ocean shades (a light blue, a teal, etc.). Transfer these colors to their own squeeze bottles or bags.
  3. Create the Watercolor Effect: Working with one cookie at a time, outline and “flood” the surface with the white base icing.
  4. Add the Color: While the white icing is still wet, immediately add a few dots or squiggles of your colored icings on top.
  5. Swirl the Magic: Take your scribe tool or a toothpick and gently drag it through the colors to create a beautiful, marbled, watercolor effect. Don’t overmix, or the colors will get muddy! Pop any air bubbles you see.
  6. Let It Dry: Let the cookies sit at room temperature for at least 6-8 hours, or overnight, until the icing is completely hard to the touch. Patience, young wizard.

Act 3: The Final Enchantment

  1. Add the Fairy Dust: Once the icing is completely dry, take your clean, food-safe paintbrush. Dip it into the edible pearl/luster dust and gently brush it over the surface of the cookies. You’ll see them instantly transform with a magical, iridescent shimmer.
  2. Add Sprinkles (Optional): If you’re using sprinkles, you can add them while the flood icing is still wet, or attach them later with a tiny dab of leftover icing as “glue.”

This is a magical treat, not a salad. Enjoy the enchantment!

  • Estimated Calories per cookie: ~220-260 calories
  • Fat: ~11g
  • Carbohydrates: ~30g
  • Protein: ~2g
  • Magic: 110%

Common Mistakes to Avoid: Don’t Let Your Magic Fizzle!

Avoid these common curses to ensure your cookies are enchanting.

  • Blobby Cookies: If your cookies spread, it means you didn’t chill your dough long enough or your butter was too soft. Cold dough is your best friend!
  • Muddy Colors: This happens when you over-swirl the icing colors. Be gentle and stop swirling before you think you need to. Less is more.
  • Watery Icing: If your icing is too thin, the colors will bleed together and it will take forever to dry. Aim for a thick, honey-like consistency for your base.
  • Applying Luster Dust Too Soon: If you try to brush the shimmer onto wet icing, you’ll just smear your beautiful watercolor design. The icing must be bone dry.

Variations & Customizations: Explore the Enchanted Depths

The sea is vast, and so are your cookie options!

  • Tropical Sea Fairy: Add ½ teaspoon of coconut extract to the cookie dough. After decorating, sprinkle the edges with finely crushed graham crackers or toasted coconut for a “sandy beach” effect.
  • Stormy Seas Cookie: Use the black pearl cookie dough recipe (with black cocoa) as your base. The shimmery blue and green icing will look absolutely stunning against the dark, stormy background.
  • Hidden Sea Glass: Before baking, press a few pieces of crushed hard candy (like Jolly Ranchers) into the center of your cut-out shapes. They will melt in the oven to create a beautiful, stained-glass effect.

FAQ Section: Your Guide to Magical Baking

You have questions about these mystical treats. I have the answers.

  • Q: What is edible luster dust, and is it really safe to eat? A: Yes! It’s a type of food-grade decorative powder that gives a shimmery, pearlescent finish. Make sure the label says “edible.” You can find it online or at most baking and craft stores.
  • Q: How do I get the watercolor effect without the colors getting muddy? A: Work quickly while the white base is wet. Use only a few drops of color. Drag your scribe tool through the colors just once or twice in a swirling motion. Don’t stir it like you’re mixing paint.
  • Q: What are the best cookie cutter shapes for this theme? A: Circles are a great canvas. Seashells, starfish, mermaid tails, and simple fish shapes are also perfect for this theme.
  • Q: Can I use royal icing instead of this glaze? A: Absolutely. A flood-consistency royal icing will also work beautifully for this technique and will dry harder. This simple glaze is just a bit more forgiving for beginners, IMO.
  • Q: My icing colors are too dark. What did I do wrong? A: You used too much gel food coloring. Gel colors are super concentrated. Start with just a tiny speck on a toothpick and add more until you get the pastel, watery shades you’re looking for.
  • Q: How long do I have to wait for the icing to dry? A: Plan for at least 6-8 hours, but overnight is safest, especially if you live in a humid climate like Barishal. A small fan pointed at the cookies (from a distance) can help speed up the drying time.
  • Q: How do I store these cookies? A: Once the icing is completely hard, you can store them in an airtight container at room temperature for up to a week. They can be layered between sheets of parchment paper.

You did it! You’ve successfully baked a batch of cookies that are as magical to look at as they are to eat. You’ve harnessed the shimmer of the sea and the sweetness of a fairy’s touch and turned it into an edible masterpiece. So go on, share your enchanted creations, and watch as your friends and family are spellbound by your baking prowess.

Leave a Reply

Your email address will not be published. Required fields are marked *