The Ultimate Mug Cake Microwave Recipe (Ready in 2 Minutes!)
It’s 9 PM. You’ve settled in for the night, you’re deep into a streaming binge, and the house is finally quiet. And then, it strikes. It’s not a subtle hint or a gentle suggestion for a snack. It’s a full-blown, undeniable, five-alarm demand from your soul for a warm, gooey, decadent chocolate cake. But the thought of preheating an oven and washing a bunch of bowls at this hour is simply laughable.
This, my friend, is a dessert emergency. This is a job for the mug cake microwave. This is your first responder, your secret weapon, your ticket to going from a desperate, cake-less void to pure, chocolatey bliss in less time than it takes to watch the opening credits of the next episode.
So, grab your favorite mug. Your life is about to get a whole lot better.
Why This Recipe is Awesome
If “a personal-sized cake in two minutes” isn’t enough to make you a true believer, let me elaborate on the sheer, unadulterated genius of this creation.
- It’s Actual, Real-Life Magic: You are about to witness a few simple pantry staples transform into a warm, decadent, molten-centered chocolate cake in about 90 seconds. It’s faster than getting a pizza delivered. It’s faster than putting on pants to go to the store. It’s so fast it almost feels like you’re breaking the laws of physics.
- The Cleanup is a Beautiful Joke: You mix it in the mug. You cook it in the mug. You eat it straight from the mug. The grand total of dishes you will have to wash is one (1) mug and one (1) fork. That’s it. It’s the official dessert of anyone who values their time and despises doing the dishes.
- Perfect Portion Control: This recipe makes one perfect, single-serving cake. There is no giant cake sitting on the counter, tempting you, judging you, for the next three days. It exists to solve your immediate problem, and then it is gone. The perfect, delicious crime.
Ingredients
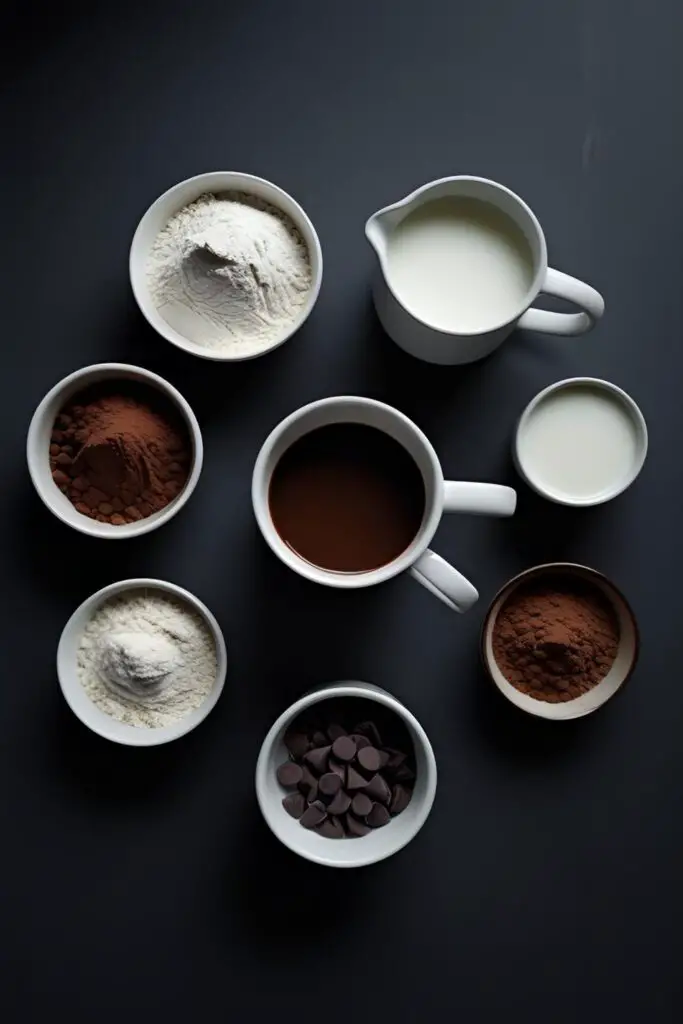
You almost certainly have all of this in your kitchen right now, just waiting for its moment to shine.
- ¼ cup all-purpose flour
- ¼ cup granulated sugar
- 2 tablespoons unsweetened cocoa powder
- ¼ teaspoon baking powder
- A tiny pinch of salt
- ¼ cup milk (any kind works—dairy, almond, oat, soy, you name it)
- 2 tablespoons melted unsalted butter or a neutral oil (like canola or vegetable)
- ½ teaspoon vanilla extract
- Optional but highly recommended: 1-2 tablespoons of chocolate chips, for creating a molten core.
Tools & kitchen gadgets used

Prepare to be underwhelmed in the best way possible. This is the pinnacle of minimalist baking.
- A Microwave-Safe Mug: And not a dainty little teacup. Choose a standard-sized mug that holds at least 12 ounces to prevent a chocolate batter volcano situation in your microwave.
- A Fork: This is your whisk, your spatula, and your eating utensil. A true multi-tool.
- Measuring Spoons: For a semblance of scientific accuracy. We’re not complete animals, after all.
- A Microwave: The magical box that bends time and space to bring you cake on demand.
Step-by-step instructions
Blink and you’ll miss it. This is faster than a commercial break on live TV.
Step 1: The Dry Dump Take your chosen mug (the bigger, the better). Dump in the flour, sugar, unsweetened cocoa powder, baking powder, and the pinch of salt. Give it a quick but thorough stir with your fork to break up any clumps and get everything nicely acquainted.
Step 2: The Wet Parade Pour the milk, melted butter (or oil), and the vanilla extract directly into the mug on top of the dry ingredients. Don’t you dare dirty another bowl for this. We are on a mission to create as few dishes as possible.
Step 3: Mix Like You Mean It Now, stir everything together with your fork until you have a smooth, thick, chocolatey batter. Make sure you scrape the bottom and the sides of the mug to get any hidden pockets of dry flour. That would be a tragedy. Stop mixing as soon as it’s combined.
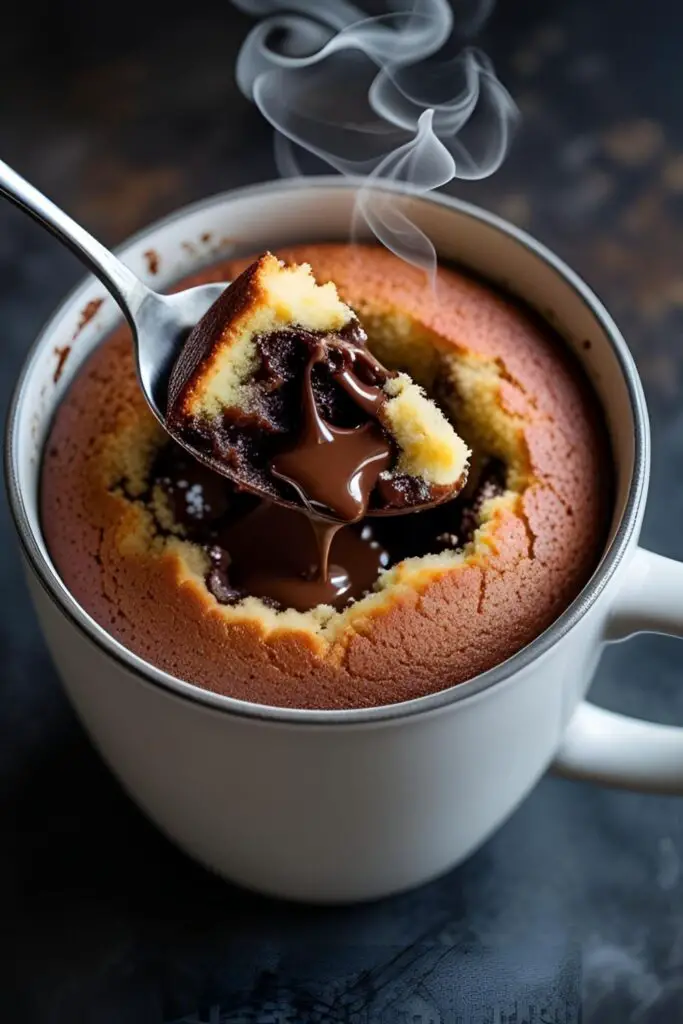
Step 4: The Molten Chocolate Secret If you’re using them (and you should be), now is the time to take your chocolate chips and gently push them into the center of the batter. This is the secret to creating a gooey, lava-like, molten core that will make you question all your life choices in the best way.

Step 5: Microwave to Glory Wipe the inside rim of the mug with your finger if you’re feeling fancy and want a clean-looking cake. Place the mug in the center of your microwave. Cook on HIGH for 70 to 90 seconds. Your microwave’s power will determine the exact time. The cake is done when the edges look cooked and set, but the very center should still look a little soft and slightly wet. This is the key to a fudgy texture!
Step 6: The Agonizing 60-Second Wait I know you want to dive in face-first. I get it. But the mug and the cake are currently the temperature of actual molten lava. You must let it sit for at least a minute or two before you eat it, unless you enjoy having a scorched tongue. Top with a small scoop of ice cream, a dollop of whipped cream, or just attack it straight up with a spoon.
Calories & Nutritional Info
It’s a brownie-cake in a mug. Let’s be real with ourselves and enjoy the moment.
- Serving Size: 1 mug cake
- Estimated Calories: Around 400-500 kcal, depending on your choice of milk/fat and toppings.
- Nutritional Highlights: An excellent and immediate source of comfort, chocolate, and happiness.
Common Mistakes to Avoid
This is easy, but there are a few ways to veer off the path of deliciousness. Don’t be that person.
- Using a Dainty Little Teacup: This recipe needs room to breathe, to expand, to become its best, fluffiest self. If you use a small mug, the batter will rise up and spill over, creating a chocolate volcano situation in your microwave that you will not enjoy cleaning up. Use a standard-sized mug of at least 12 ounces.
- Overmixing the Batter into a Rubber Puck: This is the #1 cause of a tough, rubbery mug cake. Once the flour is wet, you want to mix as little as possible. Mix just until the ingredients are combined and then put the fork down and step away. We are on Team Fudgy, not Team Rubbery.
- Nuking It into a Dry, Sad Hockey Puck: The difference between a perfect, fudgy mug cake and a dry, chocolate-flavored rock is about 10 seconds. Microwaves vary wildly in power. Always start with the shorter cooking time (70 seconds). A slightly undercooked, gooey center is the ultimate goal!
- Ignoring a Lumpy Batter: Forgetting to give the dry ingredients a good stir before adding the wet can result in a gross, dusty pocket of unincorporated cocoa powder in your finished cake. Give the dry stuff a good stir at the beginning!
Variations & Customizations
Once you’ve mastered the classic, the mug becomes your canvas for creativity.
- Peanut Butter Lava Mug Cake: Instead of chocolate chips, push a small spoonful of creamy peanut butter into the center of the batter before microwaving. The result is a molten peanut butter core that is absolutely life-changing.
- Mexican Hot Chocolate Mug Cake: Add a pinch of ground cinnamon and a tiny pinch of cayenne pepper to your dry ingredients before mixing. The subtle warmth and spice is an incredible contrast to the rich chocolate.
- The Nutella-Stuffed Mug Cake: This is next-level decadence. Instead of chocolate chips, push a generous spoonful of Nutella into the center of the batter before you microwave it. The result is a truly epic molten hazelnut core that will make you weak in the knees.
FAQ Section
All your urgent, late-night cake questions, answered.

1. Why is my mug cake tough or rubbery? You almost certainly overcooked it. Or you overmixed the batter. Try cooking it for 10-15 seconds less next time and mix only until the flour disappears.
2. Can I make this mug cake recipe with an egg? You can find mug cake recipes that use an egg, but they are much more prone to getting a rubbery texture if you overcook them even slightly. This egg-free version is more foolproof and tends to result in a fudgier, more brownie-like texture.
3. Can you make a mug cake in the oven? You could, but why would you? It would take about 15-20 minutes to bake in an oven-safe ramekin, which completely defeats the glorious, instant-gratification purpose of a mug cake. Stick to the microwave for this one.
4. My mug cake overflowed! What happened? Your mug was too small for the amount of batter. The cake needs space to rise as it cooks. Make sure you’re using at least a 12-ounce mug.
5. What can I top my mug cake with? The possibilities are endless! A small scoop of vanilla ice cream is the classic choice. A dollop of whipped cream, a drizzle of caramel or chocolate sauce, a spoonful of peanut butter, or some fresh raspberries are all fantastic options.
6. Can I use gluten-free flour for this recipe? Yes, you can substitute the all-purpose flour with a good quality 1-to-1 gluten-free baking blend. The texture will be slightly different, but it will still be a delicious and fudgy way to solve your cake emergency.
7. Why didn’t my mug cake rise? Your baking powder is likely old and has lost its power. Baking powder has a shelf life! Test it by putting a little in some hot water. If it fizzes enthusiastically, it’s good to go. If it just sits there, it’s time for a new container.
Final Thoughts
And there you have it. You are now a master of the emergency dessert protocol. You hold the power to summon a warm, delicious, chocolate cake out of thin air (and a microwave) in under two minutes. This is a dangerous and wonderful power to wield.
You are now officially unstoppable. You are never more than 120 seconds away from cake at any given moment. Use this knowledge wisely. (Or, you know, use it every night. I’m not here to judge.)