The Ultimate Angel Food Cake Recipe (Light, Airy & Ethereal!)
Let’s talk about a cake that defies gravity. A cake that is so light, so airy, so ethereally fluffy, it’s basically a sweet, edible cloud that has gently descended onto your plate. It has no butter, no oil, and no egg yolks… are we even making a cake at this point? Is this even legal?
Yes, my friends. It is. We are making the one, the only, the magical angel food cake, and I promise you, it’s far easier than you think. Forget the dense, sad-looking ones from the grocery store. Today, you are about to become a master of the lightest, most heavenly cake known to humankind.
So, are you ready to whip up some magic and bake an actual cloud? Let’s get started.
Why This Recipe is Awesome
If you’ve only ever had the store-bought version, you are in for a life-changing experience. This homemade cake is superior in every way.
- It’s Literally Like Eating a Cloud: I cannot overstate this. The texture is unlike any other cake on the planet. It’s uniquely spongy, slightly chewy, and impossibly light and airy. It’s the perfect dessert for when you want something sweet that won’t weigh you down, which is a blessing on a hot and humid day in Khulna.
- It’s (Almost) Guilt-Free: This is a naturally fat-free cake! It gets all of its structure and richness from beautifully whipped egg whites and sugar. It is the perfect, pristine white canvas for a mountain of fresh, seasonal fruit and a generous dollop of whipped cream.
- It’s a Total Showstopper: There is something incredibly impressive about a tall, perfectly white, beautifully risen angel food cake. It looks so professional and so difficult to make. People will think you are a baking wizard. They don’t need to know that the magic is just a bunch of carefully whipped egg whites.
Ingredients
The ingredients are simple, but the technique is key. Precision matters here!
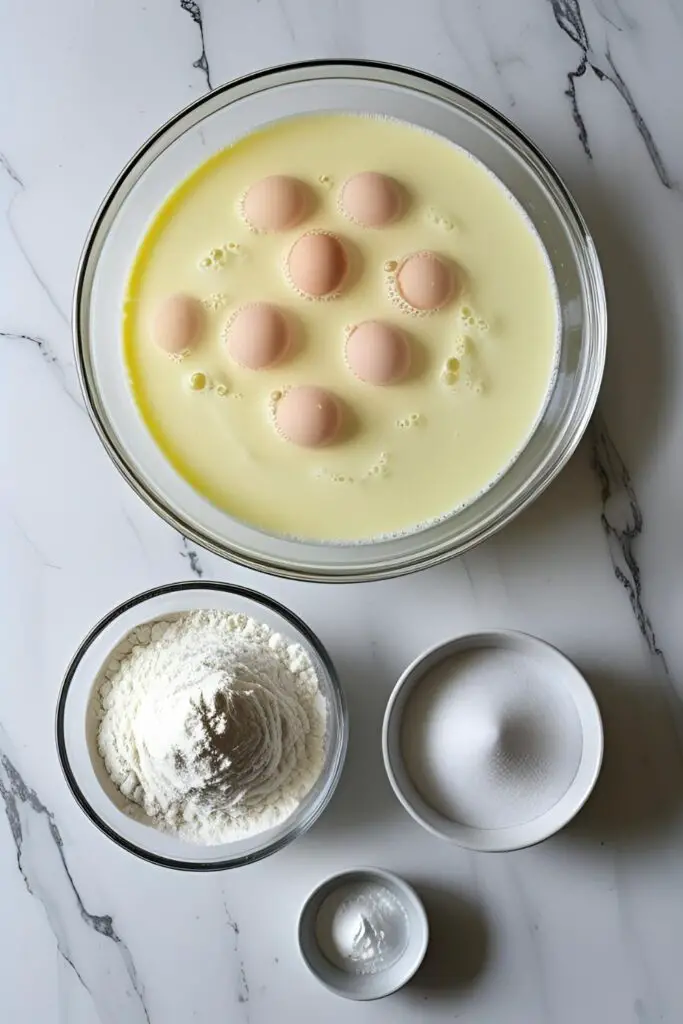
- 1 ½ cups superfine sugar (caster sugar), divided: If you can’t find it, you can make your own by pulsing regular granulated sugar in a blender for about 30 seconds.
- 1 cup cake flour, sifted: This is not a suggestion; it is a requirement for a tender crumb!
- 12 large egg whites, at room temperature (this is about 1 ½ cups)
- 1 ½ teaspoons cream of tartar: This is the essential stabilizer for your egg whites. Do not skip it!
- ¼ teaspoon salt
- 1 ½ teaspoons pure vanilla extract
- ½ teaspoon almond extract
Tools & kitchen gadgets used
This cake has a few specific needs. Having the right pan is absolutely crucial.
- An Angel Food Cake Pan (a 10-inch, 2-piece tube pan): This is 100% non-negotiable. It must be a two-piece pan with a removable bottom, and it must be made of a light-colored metal like aluminum. It should also have little “feet” on the top rim for cooling. Do not use a non-stick pan!
- A Stand Mixer with the whisk attachment, or a powerful Hand Mixer
- A Flour Sifter or a Fine-Mesh Sieve
- Several Large, Spotlessly Clean Bowls (metal or glass are best)
- A long, thin knife or an offset spatula (for releasing the cake from the pan)
Step-by-step instructions
Read this through, take a deep breath, and remember the two golden rules: no fat, and be gentle!
Step 1: The All-Important Prep First things first. Adjust your oven rack to the lower-middle position and preheat your oven to 350°F (175°C). And now for the most important instruction: DO NOT GREASE YOUR ANGEL FOOD CAKE PAN. I repeat, do not grease the pan. The batter needs to cling to the sides of the pan to climb up and get its signature height.
Step 2: Sift, Sift, and Sift Again This is not a suggestion; it is a vital step for a light cake. In a medium bowl, sift your cake flour and ½ cup of the superfine sugar together. Then, sift them together again. And maybe one more time for good measure. This makes the flour mixture incredibly light and airy.
Step 3: The First Whip In the large, spotlessly clean bowl of your stand mixer (or using a hand mixer), combine your room temperature egg whites, the cream of tartar, salt, and both extracts. Beat on a medium speed until the mixture is frothy and foamy.
Step 4: The Meringue Magic With the mixer running on medium-high speed, very slowly sprinkle in the remaining 1 cup of superfine sugar, about a tablespoon at a time. Continue to beat until the egg whites have transformed into a thick, white, beautiful meringue that holds firm, glossy peaks. This means that when you lift the whisk out, the peak that forms will mostly stand up straight, with just the very tip flopping over.
Step 5: The Gentle Fold (The Most Critical Step!) Now, you must be gentle. You just spent all that time whipping air into your egg whites; don’t murder it now! Sift about one-quarter of your flour mixture over the top of the meringue. Using a large spatula, gently fold it in by cutting down through the middle, scraping along the bottom, and bringing the batter over the top. Rotate the bowl and repeat until the flour is almost incorporated. Repeat this process with the remaining flour, one-quarter at a time, until all the flour is folded in and you see no more dry streaks.
Step 6: Fill the Pan Gently spoon the light, airy batter into your ungreased tube pan. Don’t just dump it all in at once, as this can deflate the batter. Smooth the top gently with your spatula.
Step 7: Time to Bake Bake for 35 to 45 minutes. The cake is done when it is a beautiful golden brown on top, the top springs back when you gently press on it, and a wooden skewer inserted into the center comes out clean with no wet batter.
Step 8: The Upside-Down Cool Down This is the weird but wonderful part of making an angel food cake. As soon as you take the pan out of the oven, you must immediately invert it (turn it upside down). Your angel food cake pan should have little “feet” that allow you to rest it upside down on the counter. If it doesn’t, you can hang the center tube over the neck of a sturdy bottle (like a wine or olive oil bottle). Let the cake cool completely in this upside-down position. This is crucial to prevent it from collapsing in on itself.
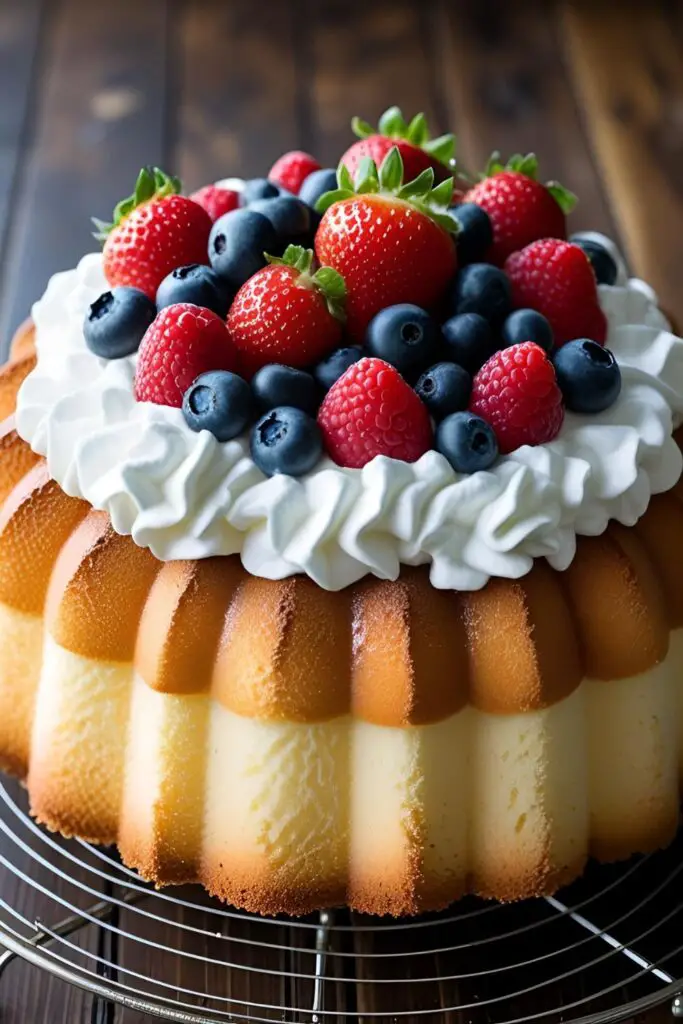
Step 9: Release and Serve Once the cake is completely cool (this will take about 2 hours), turn the pan right side up. Use a long, thin knife to carefully run around the outer edge of the cake and around the center tube to release it. Push up the removable bottom and then carefully release the cake from the bottom of the pan. Place it on a serving platter. Slice with a serrated knife and serve with fresh whipped cream and a mountain of fresh berries.
Calories & Nutritional Info
This is one of the lightest, most guilt-free cakes you can make!
- Serving Size: 1 slice (assuming the cake is cut into 12 slices)
- Estimated Calories: Around 130-150 kcal per slice.
- Fat-Free: This cake contains virtually no fat!
- Rich in: Protein (from all those egg whites!) and pure, airy deliciousness.
Common Mistakes to Avoid
This cake is a bit of a diva and has some rules. Follow them, and she will reward you.
- GREASING THE PAN: I know it goes against every single baking instinct you have, but you absolutely must not grease the pan. The delicate batter needs to cling to the clean, dry sides of the pan to climb up and get its signature impressive height. Greasing the pan will cause your beautiful cake to collapse into a sad, dense pancake.
- Using a Greasy Bowl or Utensils: Egg whites are the ultimate divas. If there is a single speck of fat, grease, or egg yolk in your bowl or on your beaters, they will refuse to whip up properly. Everything that touches your egg whites must be spotlessly clean and dry.
- Deflating Your Beautiful Batter: You just spent all that time whipping precious air into your egg whites. Don’t murder it with aggressive stirring. When you add the flour, you must gently FOLD it in. Cut down, scrape across, and fold over. Be patient and gentle.
- Not Cooling it Completely Upside Down: This is a non-negotiable, gravity-defying trick. If you cool the cake right-side up, its own weight will cause it to compress and become dense and chewy. It must cool completely while inverted.
Variations & Customizations
Once you’ve mastered the classic, you can get a little creative with this heavenly cake.
- Bright Lemon Angel Food Cake: Add the finely grated zest of two lemons to the superfine sugar before you sift it with the flour. Replace the almond extract with 1 teaspoon of pure lemon extract for a bright, citrusy, and even more refreshing cake.
- Chocolate Swirl Angel Food Cake: In a small bowl, make a paste by mixing 3 tablespoons of unsweetened cocoa powder with 4-5 tablespoons of hot water until smooth. After you’ve gently spooned your batter into the pan, drizzle the chocolate paste over the top. Use a butter knife to gently swirl it into the batter just once or twice to create a beautiful marble effect.
- “Gulab Jamun” Inspired Angel Food Cake: For a flavor twist inspired by the beloved sweet of Bangladesh and the subcontinent, replace the vanilla and almond extracts with 1 teaspoon of rose water and a ¼ teaspoon of ground cardamom. Serve the finished cake with a simple sugar syrup for drizzling and a sprinkle of chopped pistachios.
FAQ Section
All your airy, fluffy, and heavenly questions, answered.
1. Why did my angel food cake fall and collapse? The most common reasons are: you greased the pan, there was grease on your equipment and the egg whites didn’t whip properly, you deflated the batter by over-mixing, or you didn’t cool it completely upside down.
2. What is cream of tartar and is it really necessary? Yes, it is absolutely necessary! Cream of tartar is an acid that stabilizes the whipped egg whites. It helps them to whip up to their full volume and prevents them from collapsing.
3. Can I make this in a regular Bundt pan? It’s highly not recommended. Most Bundt pans are non-stick (which is bad for this cake) and they don’t have a removable bottom, which would make it nearly impossible to get the delicate, un-greased cake out without destroying it.
4. What do I do with all the leftover egg yolks? Don’t throw them out! You have the perfect excuse to make a rich homemade custard (crème anglaise), a creamy lemon curd, a delicious carbonara, or a fancy hollandaise sauce.
5. How do you get the cake out of the ungreased pan? Once the cake is completely cool, you just need to run a long, thin, flexible knife or an offset spatula carefully around the outer edge and the center tube to release it from the sides of the pan.
6. How do I properly store angel food cake? Store it in an airtight container at room temperature. It’s best enjoyed within 2-3 days, as it can start to dry out.
7. Why is my angel food cake chewy or tough? You most likely over-mixed the batter when you were folding in the flour. This develops the gluten and deflates the egg whites, resulting in a tougher, chewier texture instead of a light, spongy one.
Final Thoughts
And there you have it. You’ve created an edible cloud. A dessert that’s as magical to make as it is to eat. You’ve proven that you don’t need fat to make a fantastic cake, and you’ve mastered one of the most unique and impressive recipes in the entire baking world.
Now go on, slice into that beautiful, white, fluffy masterpiece. Pile it high with fresh berries and a cloud of your own homemade whipped cream, and enjoy a true slice of heaven.
