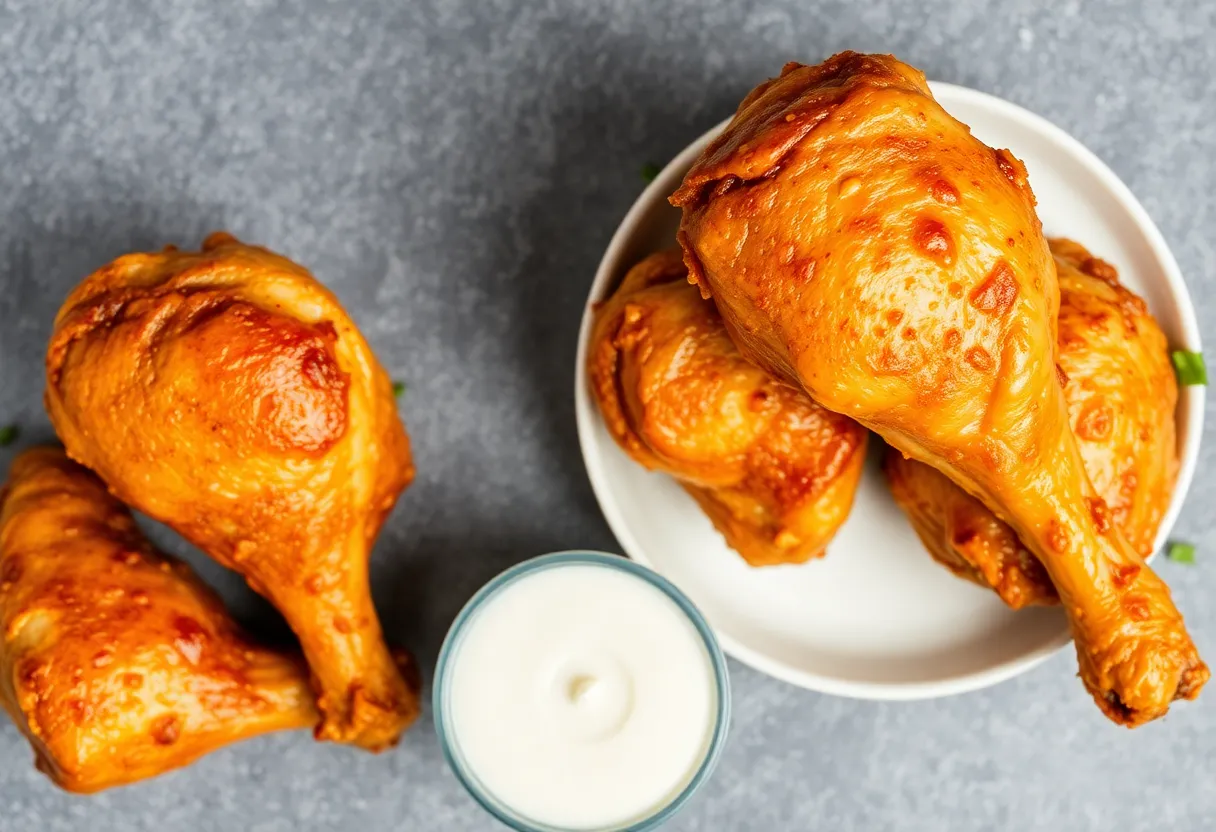
Air Fryer Chicken Drumsticks Crispy: The Only Recipe You’ll Ever Need
You want crispy chicken drumsticks. Not the sad, soggy kind that makes you question your life choices. The kind that crackles when you bite in, with juicy meat that doesn’t play games.
Guess what? Your air fryer is about to become your best friend. No deep-fry mess, no oven babysitting—just perfect drumsticks every time.
Ready to make magic happen?
Why This Recipe Slaps

This isn’t just another “meh” chicken recipe. The air fryer gives you crispy skin without drowning the drumsticks in oil. The seasoning blend?
Simple but deadly—garlic, paprika, and a hint of cayenne for those who like to live dangerously. Plus, it’s faster than ordering takeout and way cheaper. Win-win.
Ingredients You’ll Need
- 6-8 chicken drumsticks (because one is never enough)
- 1 tbsp olive oil (or any oil that won’t judge you)
- 1 tsp garlic powder (because bland chicken is a crime)
- 1 tsp paprika (for color and a smoky whisper)
- ½ tsp salt (don’t skip, unless you enjoy sadness)
- ½ tsp black pepper (the OG spice)
- ¼ tsp cayenne pepper (optional, for the brave)
Step-by-Step Instructions

- Pat the drumsticks dry. Wet chicken = steamed disappointment.
Use paper towels.
- Toss them in oil. Coat evenly, but don’t drown them. We’re not making soup.
- Mix the spices in a bowl. Sprinkle generously over the drumsticks.
Rub it in like you mean it.
- Preheat the air fryer to 380°F (193°C) for 3 minutes. Yes, this matters.
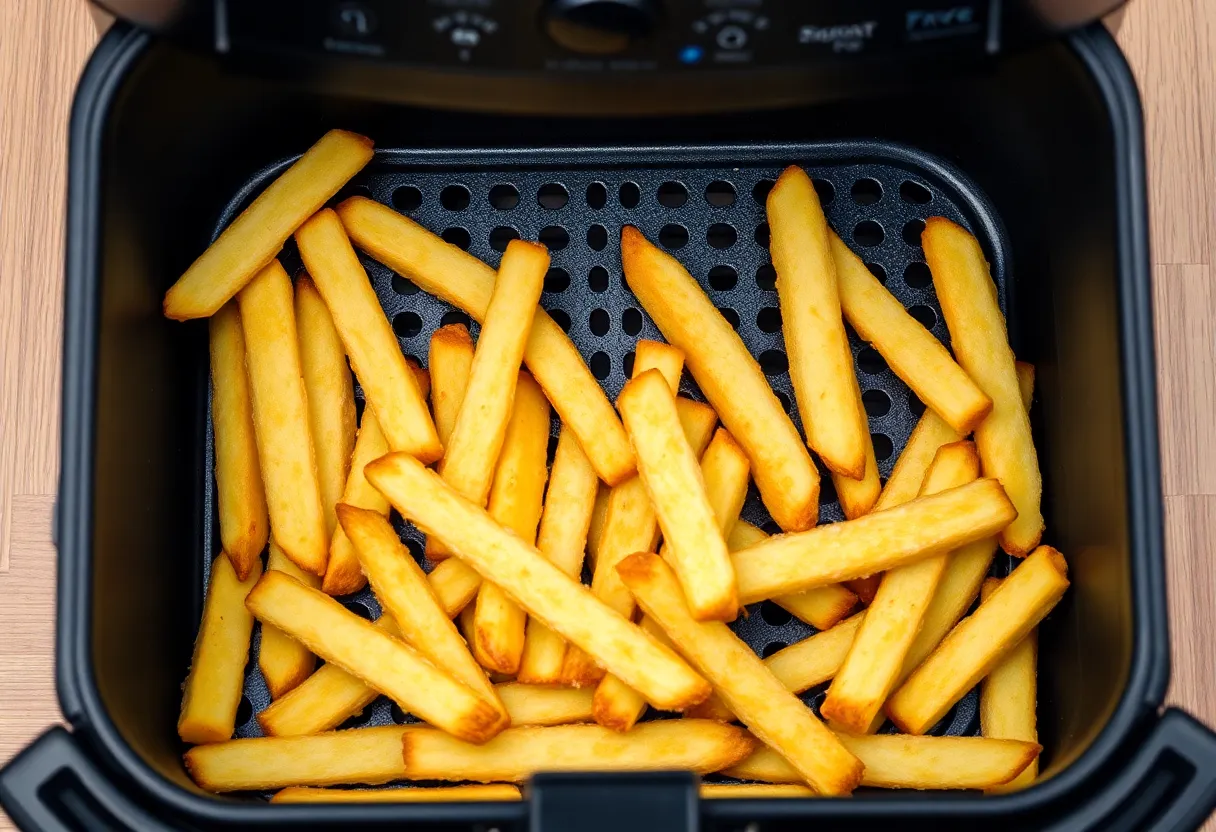
- Arrange the drumsticks in a single layer. No stacking unless you enjoy uneven cooking.
- Air fry for 12 minutes, flip, then another 10-12 minutes until golden and crispy.
- Check the internal temp. It should hit 165°F (74°C).
No guessing games.
- Let them rest for 5 minutes. Patience is a virtue, especially with juicy chicken.
How to Store Leftovers (If Any)
Let the drumsticks cool completely. Store them in an airtight container in the fridge for up to 3 days. Reheat in the air fryer at 350°F (177°C) for 3-4 minutes to bring back the crunch.
Microwaving is an option, but IMO, it’s a tragic one.
Why This Recipe is a Game-Changer

- Healthier than deep-frying but just as crispy. Science wins.
- Ready in under 30 minutes. Faster than your last Amazon delivery.
- Minimal cleanup. One bowl, one air fryer basket. Laziness approved.
- Customizable AF. Swap spices, add heat, or go mild.
You do you.
Common Mistakes to Avoid
- Overcrowding the air fryer. Steam is the enemy of crispiness.
- Skipping the preheat. Cold air fryers = uneven cooking. Don’t be that person.
- Not drying the chicken. Moisture is the villain here. Pat it like you’re mad at it.
- Ignoring the internal temp. Food poisoning isn’t a flex.
Use a thermometer.
Alternatives for the Adventurous

Swap paprika for smoked paprika if you’re fancy. Add a tablespoon of honey for sticky-sweet goodness. For a keto twist, coat the drumsticks in crushed pork rinds instead of oil.
FYI, your taste buds will thank you.
FAQs
Can I use frozen drumsticks?
Yes, but thaw them first. Frozen chicken in the air fryer = uneven cooking and sadness.
Why is my chicken not crispy?
You probably didn’t dry it well or overcrowded the basket. Also, check your air fryer’s wattage—weak fryers need more time.
Can I use boneless chicken?
Sure, but adjust the time.
Boneless cooks faster, so start checking at 10 minutes.
Do I need to flip the drumsticks?
Yes, unless you enjoy one side being crispy and the other side being… not.
Final Thoughts
This recipe is stupidly easy and stupidly good. Crispy air fryer chicken drumsticks are the weeknight hero you didn’t know you needed. Make them once, and you’ll never look back.
Now go forth and conquer dinner.