The Birthday Cake PNG Recipe: How to Bake a Cake So Perfect It Looks Fake
Okay, let’s talk. You’ve been there. You’re planning a party, designing an invite, and you fall down a rabbit hole searching for the perfect “birthday cake png.” You know, that flawless, cartoonishly perfect slice of cake with a transparent background that you can just drop into your design. But what if I told you that you could bake that image? What if you could create a real, edible cake so clean, so sharp, and so picture-perfect that it looks like a digital rendering brought to life?
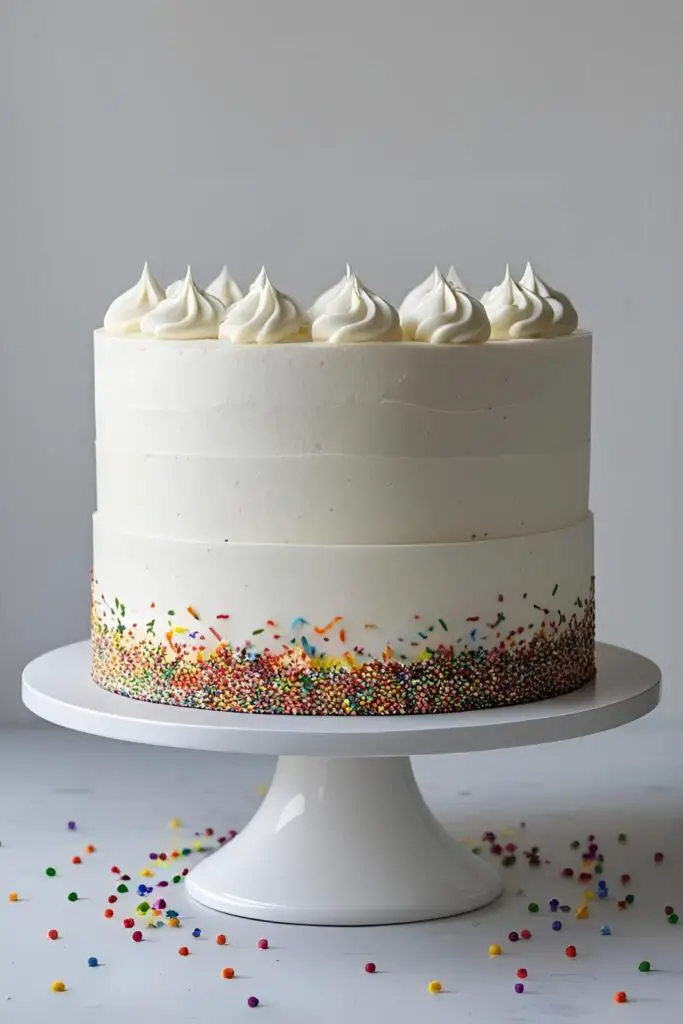
This isn’t just a recipe. This is your guide to creating the ultimate birthday cake png in physical, delicious form. We’re talking about a classic, crowd-pleasing funfetti cake with impossibly smooth frosting and edges so sharp they could cut glass. It’s the kind of cake that makes people ask, “Is that real?” before they dive in.
Why This Recipe is Basically Witchcraft
Still skeptical? Why should you attempt to bake a file format?
First off, this cake is the definition of iconic. It’s the birthday cake of your childhood dreams, but with a serious glow-up. We’re talking a moist, fluffy, from-scratch funfetti cake that tastes a million times better than anything from a box, paired with a vanilla buttercream that’s sweet, creamy, and not at all gritty.
But the real magic is in the finish. This recipe is designed to give you that flawless, graphic-designer-approved look. The stark white frosting and clean lines make it a “blank canvas” cake. It stands out on its own, like a PNG with a transparent background, ready to be the star of any party theme. It’s a minimalist masterpiece.
The “File Components” (aka Ingredients)
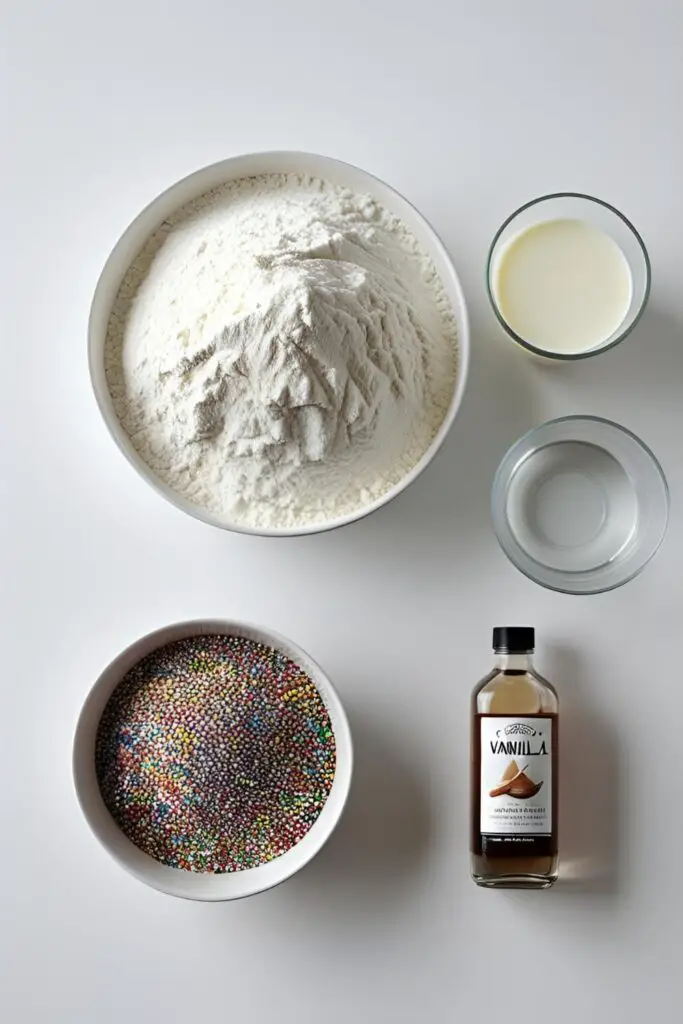

To render this masterpiece, you need the right source files. Quality is key.
For the “Perfectly Rendered” Funfetti Cake:
- All-Purpose Flour: 221 cups (315g), sifted.
- Baking Powder: 2 teaspoons.
- Baking Soda: 1/2 teaspoon.
- Salt: 1/2 teaspoon.
- Unsalted Butter: 1 cup (227g), softened to room temperature.
- Granulated Sugar: 143 cups (350g).
- Eggs: 4 large, at room temperature.
- Buttermilk: 1 cup (240ml), at room temperature. The secret to a moist crumb!
- Clear Vanilla Extract: 2 teaspoons. Using clear vanilla is crucial for a bright white cake crumb that makes the sprinkles pop.
- Rainbow Sprinkles (Jimmies): 3/4 cup. Do NOT use nonpareils (the little balls). They will bleed and turn your cake into a grey, muddy mess.
For the “Flawless White” Buttercream:
- Unsalted Butter: 2 cups (454g), softened.
- Powdered Sugar: 6 cups (720g), sifted.
- Heavy Cream or Milk: 3-4 tablespoons.
- Clear Vanilla Extract: 1 tablespoon. Again, clear vanilla is your best friend for achieving that pure, PNG-white frosting.
- Pinch of Salt.
Your “Software & Hardware” (The Tools)
To achieve a digitally precise finish, you need the right analog tools.
- Stand Mixer or Electric Hand Mixer: This provides the processing power for perfectly creamed butter and fluffy frosting.
- Three 8-inch Round Cake Pans: For creating a tall, impressive cake.
- Parchment Paper: Your “undo” button for stuck cakes.
- Sifter or Fine-Mesh Sieve: To prevent “pixelation” (lumps) in your cake and frosting.
- Cake Turntable: The “rotate canvas” tool for bakers. It’s essential for a smooth finish.
- Bench Scraper & Offset Spatula: These are your “vector tools.” The bench scraper creates those impossibly sharp edges, and the offset spatula is for flawless application.
Rendering Your Cake: Step-by-Step Guide
Alright, time to turn pixels into pastry. Follow these steps for a bug-free execution.
Step 1: Initialize the Cake “File”
Preheat your oven to 350°F(175°C). Grease your three 8-inch cake pans, line the bottoms with parchment, and grease the parchment. In a medium bowl, sift together the flour, baking powder, baking soda, and salt.
Step 2: Process the Batter
In the large bowl of your stand mixer, beat the softened butter and sugar on medium-high speed for 5-7 minutes. You want it to be very light, pale, and fluffy. Scrape down the sides of the bowl a few times.
Add the eggs one at a time, beating well after each. Mix in the clear vanilla extract. Reduce the mixer speed to low and add the dry ingredients in three additions, alternating with the buttermilk in two additions (start and end with dry). Mix until just combined.

Gently fold in the rainbow jimmies with a spatula. Do not use the mixer for this step, as it can break them and cause streaking.
Step 3: Bake and Export (from the Oven)
Divide the batter evenly among your three prepared pans. Bake for 25-30 minutes, or until the centers are set and a toothpick comes out clean. Let the cakes cool in the pans for about 15 minutes before turning them onto a wire rack to cool completely.
Step 4: Create the “Pixel-Perfect” Frosting
In a clean mixer bowl, beat the softened butter on high speed for 5 minutes until it’s nearly white and very fluffy. Turn the speed to low and gradually add the sifted powdered sugar.
Once the sugar is mostly incorporated, add the clear vanilla, salt, and 3 tablespoons of cream. Increase the speed to medium-high and beat for a full 5 minutes until the buttercream is incredibly light, airy, and brilliantly white.
Step 5: Assemble and Create the PNG Finish
Once your cakes are 100% cool, level them with a serrated knife if needed. Place the first layer on your turntable. Apply a thick layer of frosting. Repeat with the second and third layers.
Now, apply a thin crumb coat of frosting all over the cake. This is your base layer that traps all the crumbs. Chill the cake for 30 minutes in the fridge until the frosting is firm to the touch.

Apply a final, generous coat of white frosting. Use your bench scraper held vertically against the side while you spin the turntable to create a perfectly smooth, sharp-edged cylinder. Use your offset spatula to smooth the top. The goal is a flawless, almost artificial-looking perfection.
Step 6: Add a “Vector” Border
For that classic, clean birthday cake look, pour some rainbow sprinkles onto a plate. Carefully hold the chilled, frosted cake and gently press the bottom edge into the sprinkles, rotating as you go to create a perfect sprinkle border.
File Metadata (aka Nutritional Info)
For those who like to read the fine print.
- File Type: .CAKE
- File Size: Approx. 600 kcal per slice
- Color Profile: RGB (Rainbow, Glorious, Buttercream)
- Resolution: Deliciously high.
- Note: This file is not optimized for diet-conscious operating systems.
Common Glitches & Bugs (Mistakes to Avoid)
- Corrupted Colors (Bleeding Sprinkles): You used nonpareils. The Fix: Only use high-quality rainbow jimmies. They hold their color and won’t turn your beautiful white cake into a murky grey mess.
- System Crash (A Melted Mess): You tried to frost a warm cake. The Fix: Your cake layers need to be completely, utterly, 100% cool. No exceptions.
- Pixelated Finish (Lumpy Frosting): You didn’t sift your powdered sugar. The Fix: Sift everything! It takes an extra minute but results in a silky-smooth frosting worthy of a high-resolution display.
- Yellow Tint (“Incorrect Color Profile”): You used regular amber-colored vanilla extract. The Fix: For a stark, graphic-white frosting and cake, you must use clear vanilla extract.
The “Save As” Menu (Fun Variations)
Want to customize your file? Here are a few options.
- “Dark Mode” Edition: Make a rich chocolate cake, use a chocolate buttercream, and a border of chocolate sprinkles. It’s the same flawless finish, but with a dramatic, dark theme.
- “Change Hue/Saturation”: Keep the funfetti cake, but use a high-quality gel food coloring (like pink or blue) to tint your white buttercream for a different look. The clean, minimalist design works in any color.
- “Add a Layer Mask” (Gluten-Free): This recipe can be made gluten-free! Simply substitute the all-purpose flour with a good quality 1-to-1 gluten-free baking flour blend (like Bob’s Red Mill).
FAQs (Frequently Asked Queries)
Wait, is this a recipe for a real cake or a digital file?
This is a recipe for a very real, very delicious cake! We’re just using the term “birthday cake png” as inspiration to create a cake that is so visually perfect and clean that it looks like a flawless digital graphic.
How do you get frosting so incredibly white?
The two big secrets are beating your butter for at least 5 minutes before adding anything else (this aerates it and makes it paler) and using clear vanilla extract instead of the standard brown kind.
What’s the secret to those super sharp, clean edges?
A cake turntable and a bench scraper. Chill the crumb-coated cake until it’s very firm. Apply a thick final coat of frosting, then use the bench scraper held flat against the side to scrape off the excess while turning the cake. It’s a magical combination.
Can I make these as cupcakes?
Absolutely! This recipe will make about 24 picture-perfect funfetti cupcakes. Just be sure to fold the sprinkles in gently and top with a perfect swirl of that flawless white buttercream.
Seriously, why did my sprinkles bleed all over my cake?
You used the wrong kind. The hard, candy-coated nonpareils (little balls) have color that dissolves in wet batter. You need to use the softer, rod-shaped sprinkles often called “jimmies,” which are designed to hold their color during baking.
How do I store this cake to keep it looking perfect?
Store it in a cake carrier or a box in the refrigerator to keep the frosting firm and the edges sharp. Let it sit at room temperature for about 30 minutes before serving for the best flavor and texture.
Can I use a box mix for this?
You could, but the from-scratch version has a much better texture and flavor, and it’s easier to control the final look. If you must use a box mix, choose a good quality white cake mix and follow our advice about using buttermilk instead of water and folding in jimmies at the end.
Final Output
You did it. You didn’t just bake a cake; you rendered a masterpiece. You took a concept—a simple, clean digital image—and brought it into the real world in the most delicious way possible.
So go ahead, take a picture of your real-life birthday cake PNG. It needs no editing. Then, slice into that flawless finish and enjoy the delicious irony. Happy baking!