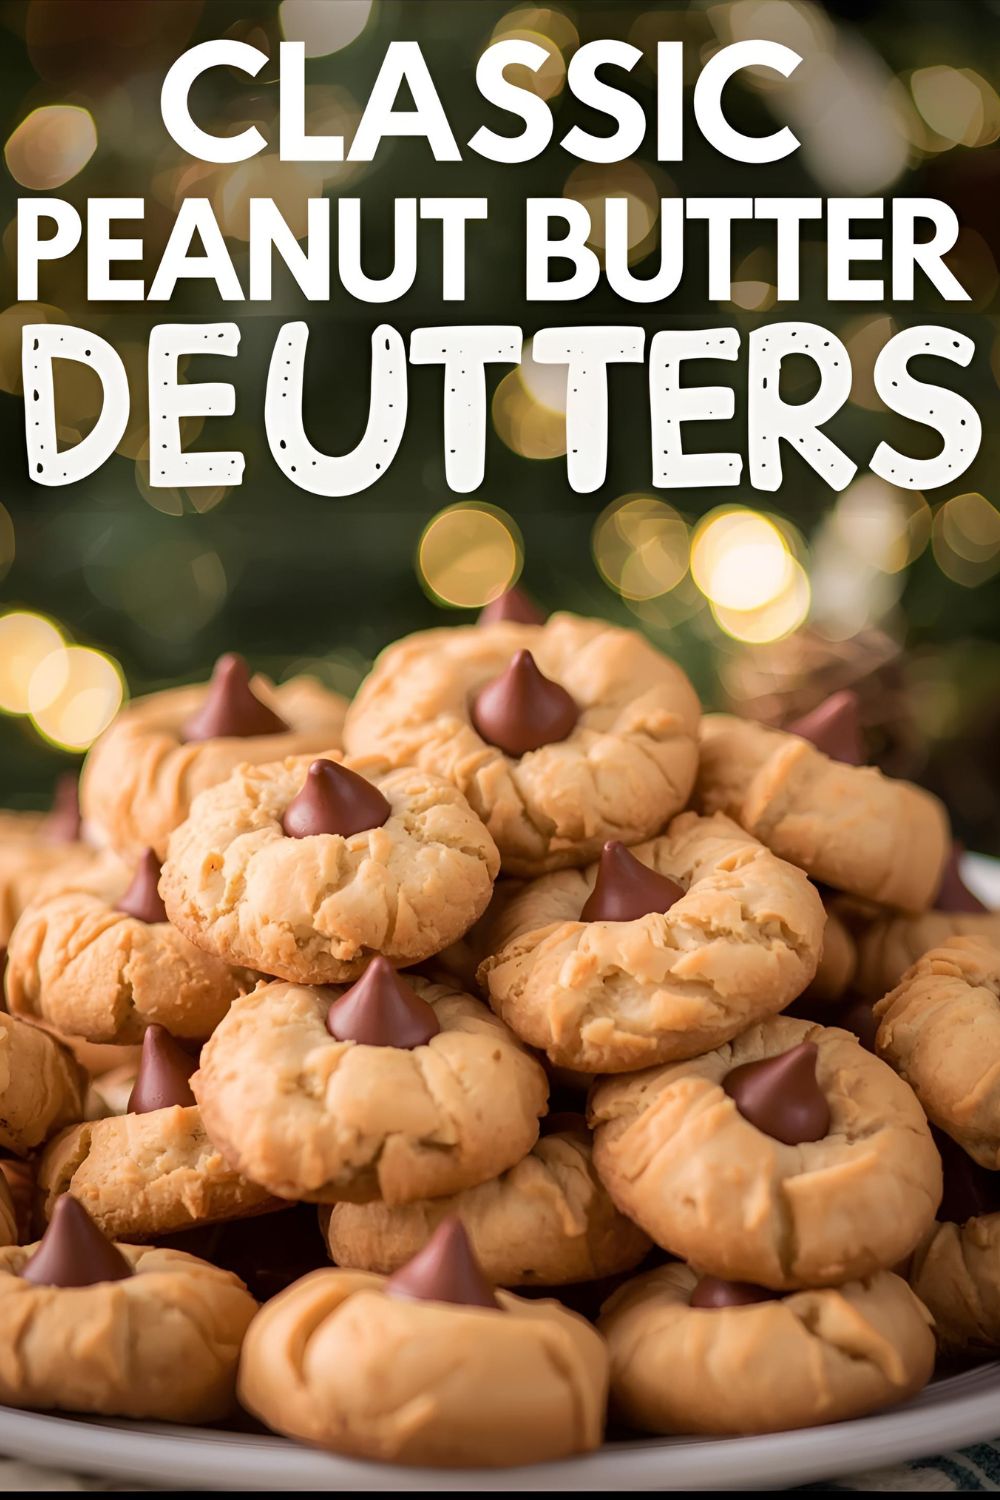
The Best Chewy Peanut Butter Cookies You’ll Ever Make (Seriously, They’re Epic!)
Okay, let’s have a moment of silence for all the sad, dry, crumbly peanut butter cookies out there. You know the ones. They promise a creamy, nutty delight, but deliver a mouthful of chalk. It’s a tragedy that unfolds in kitchens far too often, and honestly, it’s just not right. Peanut butter cookies deserve better. You deserve better!
But fear not, my friend, because today we are embarking on a journey to pure peanut butter bliss. We’re talking about a cookie that’s perfectly chewy, bursting with that unmistakable nutty flavor, and so ridiculously easy to make, you’ll wonder why you ever bought a store-bought version. This isn’t just a recipe; it’s a declaration of love to one of the most iconic cookies ever. Get ready to fall head over heels.
Why This Peanut Butter Cookie Recipe is Pure Gold
So, why should you ditch whatever sad recipe you’ve been using and commit to this one? Because it’s basically perfection in cookie form, that’s why.
First, the texture is spot-on. We’re aiming for that ideal chewy-crisp balance. Soft and tender in the middle, with a slightly crisp edge that gives way to a melt-in-your-mouth experience. It’s everything you want in a cookie, and nothing you don’t.
Second, it’s packed with peanut butter flavor. No weak, barely-there nuttiness here. We’re leaning into that rich, roasted peanut goodness, ensuring every bite is a delightful explosion of savory-sweet joy. It’s what you expect, right?
Finally, it’s ridiculously easy and forgiving. Even if you’re a baking newbie, you can nail this recipe. The dough is a dream to work with, and the results are consistently spectacular. Plus, it uses common pantry staples – no frantic searching for obscure ingredients in Khulna!
Your Dream Team: The Ingredients
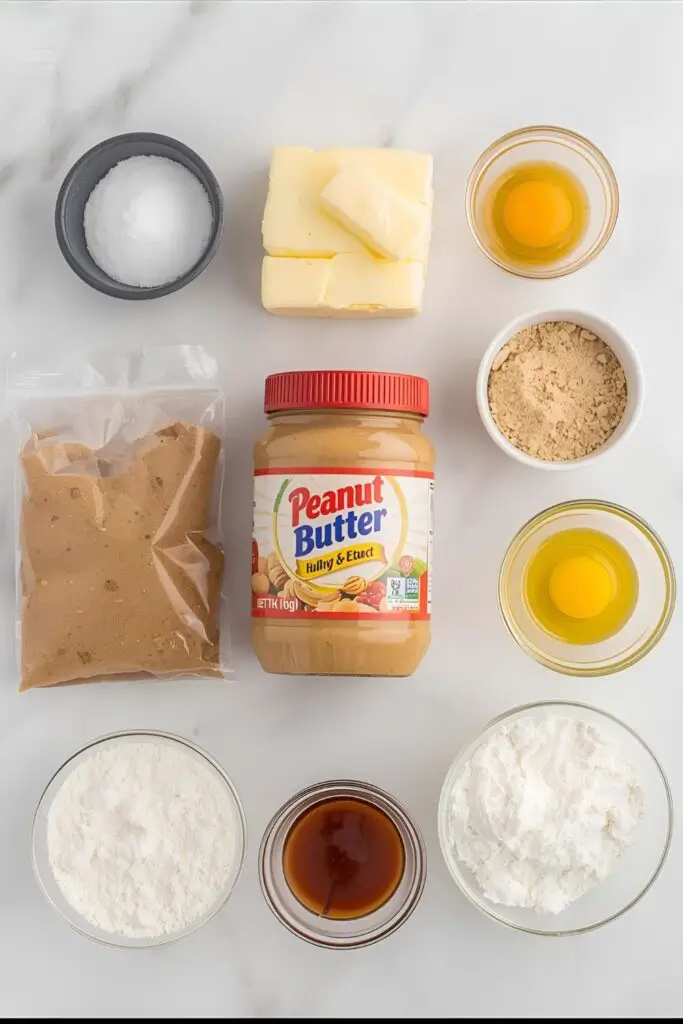
Gather ’round, humble ingredients, for your moment in the spotlight! This recipe makes about 2 dozen cookies, depending on size.
- 1 cup (2 sticks or 226g) Unsalted Butter, softened: Room temperature is key here, folks.
- 1 cup (200g) Granulated Sugar:
- 1 cup (200g) Packed Light Brown Sugar: The brown sugar adds moisture and chewiness. Don’t skip it!
- 1 cup (250g) Creamy Peanut Butter: Use regular, commercially processed peanut butter (like Jif or Skippy). Natural peanut butter (the kind you have to stir) can change the texture too much.
- 2 Large Eggs:
- 1 teaspoon Vanilla Extract:
- 2 cups (240g) All-Purpose Flour:
- 1 teaspoon Baking Soda:
- 1/2 teaspoon Salt: Crucial for balancing the sweetness and enhancing the peanut butter flavor.
Tools for Your Cookie Empire
You don’t need a fancy bakery, just a few basics to get these beauties whipped up.
- Large Mixing Bowl: For creaming butter and sugar.
- Electric Mixer (Stand Mixer or Hand Mixer): Makes life so much easier for creaming.
- Rubber Spatula: For scraping down the bowl and folding.
- Measuring Cups and Spoons: Precision, my friends!
- Baking Sheets: Two usually do the trick.
- Parchment Paper or Silicone Baking Mats: For non-stick baking and easy cleanup. Trust me on this.
- Small Cookie Scoop (1.5-2 tablespoon size): For perfectly uniform cookies.
- Fork: For making those classic crosshatch patterns.
The Sweet Journey: Step-by-Step to Cookie Heaven
Ready to make some magic? Let’s bake!
Step 1: Preheat and Prep Your Battlefield
First, get your oven preheating to 375°F (190°C). Line your baking sheets with parchment paper or silicone baking mats. This prevents sticking and makes cleanup a breeze.
Step 2: Cream It Good
In your large mixing bowl (or stand mixer), beat the softened unsalted butter, granulated sugar, and light brown sugar together with your electric mixer on medium speed. Beat for 2-3 minutes, until the mixture is light, fluffy, and pale. This step incorporates air, making your cookies tender.
Step 3: Add the Stars of the Show
Add the creamy peanut butter, eggs, and vanilla extract to the creamed butter mixture. Beat on medium speed until everything is well combined and smooth. Scrape down the sides of the bowl with your rubber spatula to make sure no hidden pockets of unmixed ingredients remain.
Step 4: Dry Ingredients Join the Party
In a separate, small bowl, whisk together the all-purpose flour, baking soda, and salt. This ensures they’re evenly distributed.
Gradually add the dry ingredient mixture to the wet mixture, beating on low speed until just combined. Do not overmix! Overmixing develops the gluten in the flour, leading to tough cookies. Mix until no streaks of flour remain, then stop.
Step 5: Scoop, Roll, and Crosshatch Like a Pro
Using your cookie scoop, drop rounded balls of dough (about 1.5-2 tablespoons each) onto your prepared baking sheets. Space them about 2 inches apart.
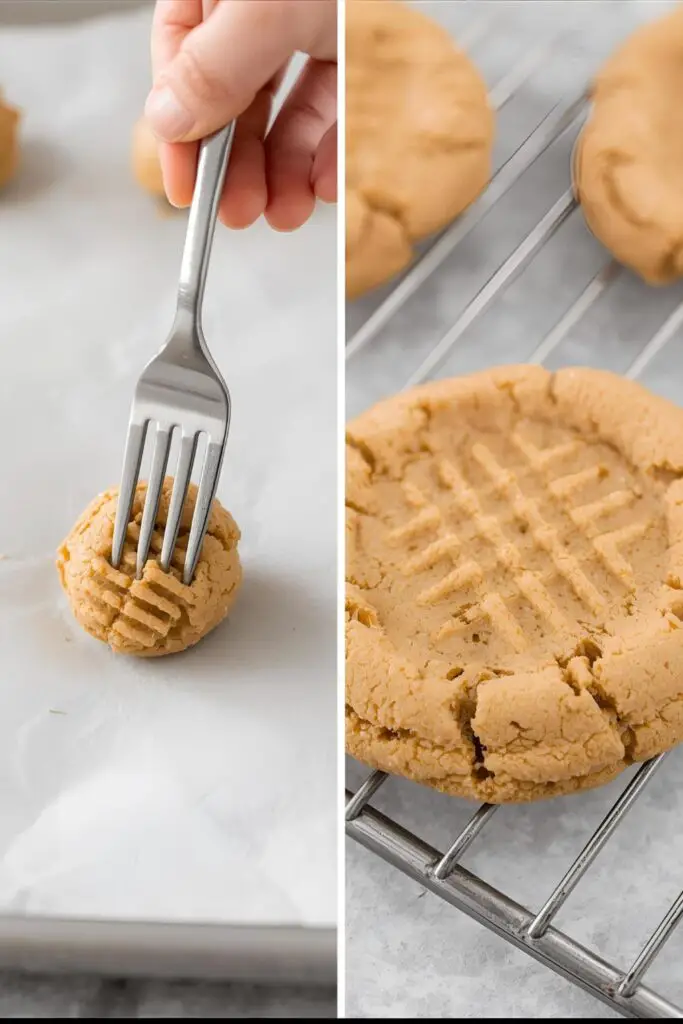
Now for the signature look! Take a fork and gently press the tines down onto each cookie dough ball, making a crisscross pattern. This helps the cookies flatten evenly and gives them that classic peanut butter cookie aesthetic.
Step 6: Bake ‘Em ‘Til Golden
Place the baking sheets in your preheated oven. Bake for 10-12 minutes. You’re looking for the edges to be lightly golden brown and the centers to look just set (they might still look a little soft in the very middle – that’s good!).
Step 7: The Most Important Wait (Seriously, Don’t Touch!)
Carefully remove the baking sheets from the oven. Let the cookies cool on the baking sheets for at least 5 minutes before attempting to move them. They are delicate when hot and need this time to firm up.
After 5 minutes, transfer the cookies to a wire rack to cool completely. (Or, you know, eat one warm. I won’t tell.)
Calories & Nutritional Info (Per Cookie)
This is a treat, so enjoy it! These values are estimates for one average-sized cookie (approx. 24 cookies per batch) and can vary based on exact ingredients and scoop size.
- Calories: Approximately 180-220 kcal
- Fat: Around 10-14g
- Carbohydrates: Roughly 20-25g
- Protein: About 4-6g
- Note: These cookies contain common allergens like peanuts, wheat, and eggs. Plan accordingly if you or your guests have allergies.
Common Mistakes to Avoid (Cookie Catastrophes)
- Using Natural Peanut Butter: I know, I know, it’s healthier. But natural peanut butter (the kind that separates) has a different fat and sugar content. It can make your cookies dry and crumbly. Stick to the creamy, processed stuff for this recipe.
- Overmixing the Flour: Once you add the dry ingredients, mix just until the flour disappears. Overmixing develops gluten, leading to tough, cakey cookies instead of chewy ones.
- Not Softening Your Butter: Cold butter doesn’t cream properly with sugar. You won’t incorporate enough air, resulting in dense, flat cookies. Plan ahead!
- Skipping the Fork Marks: It’s not just for looks! The crosshatch pattern helps the cookies spread evenly. Without it, they might stay too domed and not cook through properly.
- Baking on an Unlined Sheet: Prepare for stuck cookies and a nightmare cleanup. Parchment paper or silicone mats are your friends.
- Not Letting Them Cool on the Sheet: Hot cookies are fragile cookies. They need a few minutes to firm up on the warm baking sheet before moving. Patience, grasshopper.
Variations & Customizations (Get Creative!)
This classic cookie is perfect as is, but feel free to put your own spin on it!
- Chocolate Peanut Butter Chip Heaven: Fold in 1 cup of semi-sweet chocolate chips or peanut butter chips (or a mix of both!) with the dry ingredients. Because, well, chocolate.
- Spicy Peanut Butter Cookies (for the adventurous!): Add 1/2 teaspoon of ground ginger and a tiny pinch (1/8 teaspoon) of cayenne pepper to the dry ingredients for a subtle, unexpected warmth. Trust me, it works!
- Gluten-Free Peanut Butter Cookies: You can often substitute a good 1:1 gluten-free baking flour for the all-purpose flour in a recipe like this. Just ensure your GF flour blend contains xanthan gum.
- Vegan Peanut Butter Cookies: Substitute plant-based butter (like Miyoko’s or Earth Balance sticks) and use a flax egg (1 tbsp ground flaxseed + 3 tbsp water, let sit 5 mins) or a commercial egg replacer. Ensure your peanut butter is also vegan.
FAQ Section (Your Peanut Butter Cookie Conundrums)
1. Why do peanut butter cookies have fork marks? The fork marks (crosshatch pattern) are traditionally made to flatten the cookie dough balls evenly. Peanut butter cookie dough is often quite dense, and without this slight press, they might not spread out properly during baking, staying too thick.
2. Can I use crunchy peanut butter instead of creamy? Yes, you absolutely can! Crunchy peanut butter will give your cookies an extra textural element with little bits of peanuts. The overall texture of the cookie might be slightly less smooth, but still delicious.
3. My peanut butter cookies are crumbly. What went wrong? This often happens if you use natural peanut butter (which is drier) or if you overbaked them. Ensure you’re using commercially processed creamy peanut butter and don’t overbake; pull them when the edges are just golden.
4. How do I store peanut butter cookies to keep them fresh? Store cooled peanut butter cookies in an airtight container at room temperature for up to 5-7 days. They also freeze beautifully for up to 3 months!
5. Can I chill the cookie dough before baking? Yes, you can! Chilling the dough for at least 30 minutes (or even overnight) can help prevent spreading and deepens the flavors. If chilled, you might need to add an extra minute or two to the baking time.
6. What’s the best way to get uniform cookies? Use a cookie scoop! It ensures every cookie is the same size, which means they’ll all bake evenly. No more burnt tiny cookies and raw giant ones.
7. Can I use margarine instead of butter? While you technically can, butter offers superior flavor and texture. Margarine has a higher water content, which can affect the spread and crispness of your cookies. Stick to butter for the best results.
Final Thoughts
You’ve done it. You’ve officially mastered the art of the perfect peanut butter cookie. No more sad, dry imposters in your life. Only chewy, nutty, utterly irresistible treats.
So go ahead, grab a glass of milk, and enjoy the fruits of your (minimal) labor. Share them with friends (if you can bear to), or hoard them all for yourself (I support this decision). Just know that you’re now a peanut butter cookie legend. And, FYI, you’ll never buy them from the store again. You’re too good for that now.