The Chocolate Birthday Cake Decoration Guide That Changes Everything
You did it. You baked a chocolate cake. It smells incredible, and you know it’s going to taste like a dream. But let’s be honest, right now it just looks like a… brown circle. A delicious brown circle, sure, but it’s not exactly screaming “Happy Birthday, I am a special and celebratory cake!” You need a plan. You need a guide to chocolate birthday cake decoration that doesn’t involve spending eight hours sculpting a fondant dragon.
Forget your past decorating traumas. We are not about to pipe a million shaky rosettes. We are about to embrace the glorious, decadent, and surprisingly easy art of decorating a chocolate cake with… well, more chocolate. This is your ultimate guide to creating a chocolate birthday cake decoration so stunning, people will think you ordered it from a fancy bakery.
Why These Chocolate Decorations Reign Supreme
So, why are we focusing on these specific, chocolate-on-chocolate techniques?
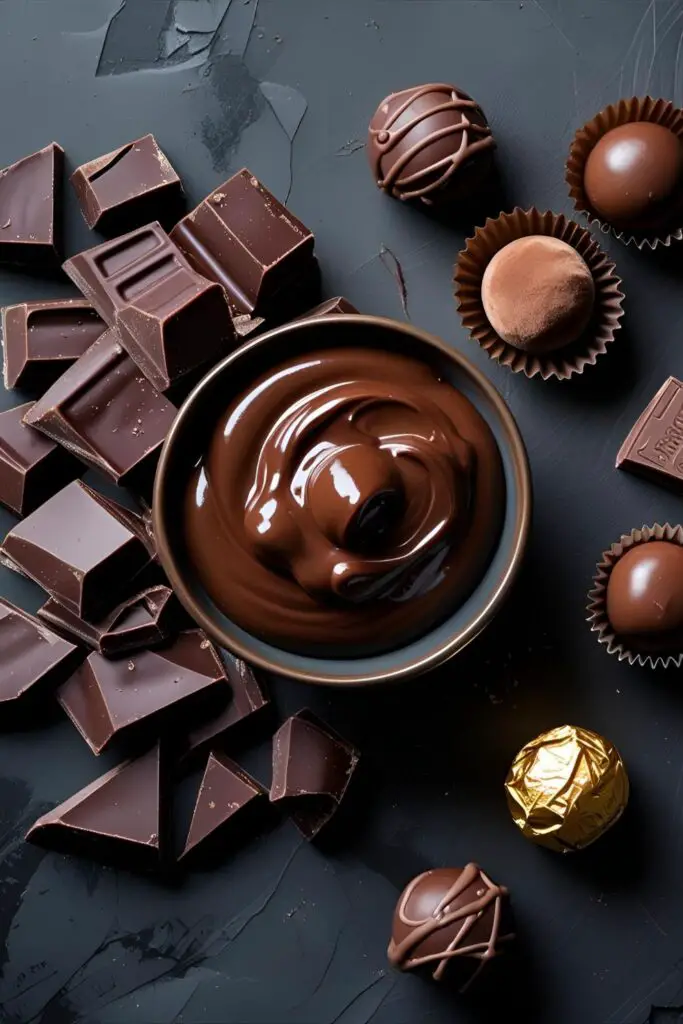
First, they amplify the flavor. Instead of covering up that delicious chocolate cake with generic, sugary frosting, we’re adding more layers of chocolatey goodness. We’re talking rich ganache, crunchy chocolate bark, and silky chocolate curls. It’s a decoration that makes the cake taste even better. What a concept!
Second, they look incredibly impressive for minimal effort. A dramatic chocolate drip cascading down the side of a cake? A rustic pile of chocolate shards? These techniques look like they require a culinary degree and the steady hand of a surgeon. The secret? They are ridiculously easy to do.
Finally, they are endlessly customizable. You can go minimalist and chic, or you can go for a maximalist “chocolate overload” vibe. These techniques are the building blocks for you to create a cake that perfectly matches the birthday person’s personality.
Your Decorating Arsenal: The Ingredients
To create these chocolate-on-chocolate masterpieces, you’ll need a few key supplies.
- The Canvas:
- One baked and frosted chocolate cake. A simple chocolate buttercream or fudge frosting is the perfect base.
- The “Paint” & “Sculptures”:
- 8 oz (about 1 ½ cups) good-quality semi-sweet or dark chocolate, chopped or in chip form. This is for drips, shards, and curls.
- ½ cup heavy cream (for making ganache).
- An assortment of chocolate candies and cookies. Think Ferrero Rocher, chocolate truffles, KitKats, Oreo cookies, chocolate-covered pretzels, Maltesers, etc.
- Unsweetened cocoa powder for dusting.
Key Ingredient Note: Don’t skimp on the quality of your decorating chocolate! Since it’s a main feature, using good-quality chocolate with a higher cacao percentage will make a huge difference in taste and how well it melts.
The Decorator’s Toolbox
You don’t need a lot of fancy equipment, but these tools will make you feel like a pro.
- Cake Turntable
- Offset Spatula and Bench Scraper (for getting a smooth canvas)
- Heatproof bowl and a small saucepan for making ganache
- Squeeze Bottle or a spoon for the drip
- A large Baking Sheet lined with Parchment Paper
- Vegetable Peeler (for making simple chocolate curls)
Step-by-Step Instructions: The Chocolate Glow-Up
Let’s assume you’re starting with a simply frosted chocolate cake. Now, let’s make it a work of art.
H3: First, The Perfect Canvas
Before you decorate, you need a good base. Make sure your cake is fully assembled and has a smooth (or intentionally rustic) coat of chocolate frosting. For the best results with a drip, chill your frosted cake in the fridge for at least 30 minutes. A cold cake helps control the drips.
H3: Chocolate Birthday Cake Decoration 1: The Dramatic Drip
This is the #1 way to make any cake look instantly professional.
- Make the Ganache: Place your chopped chocolate in a heatproof bowl. Heat the heavy cream in a saucepan until it just simmers. Pour the hot cream over the chocolate and let it sit, untouched, for 5 minutes.
- Stir & Cool: Slowly stir the mixture from the center outwards until you have a smooth, glossy ganache. Now, let it cool. For drips, you want it to be slightly warm and fluid, but not hot. It should be the consistency of thick honey.
- The Drip Test: Test the consistency on the side of a cold glass. If it runs down too fast, it’s too warm. If it’s too clumpy, it’s too cold.
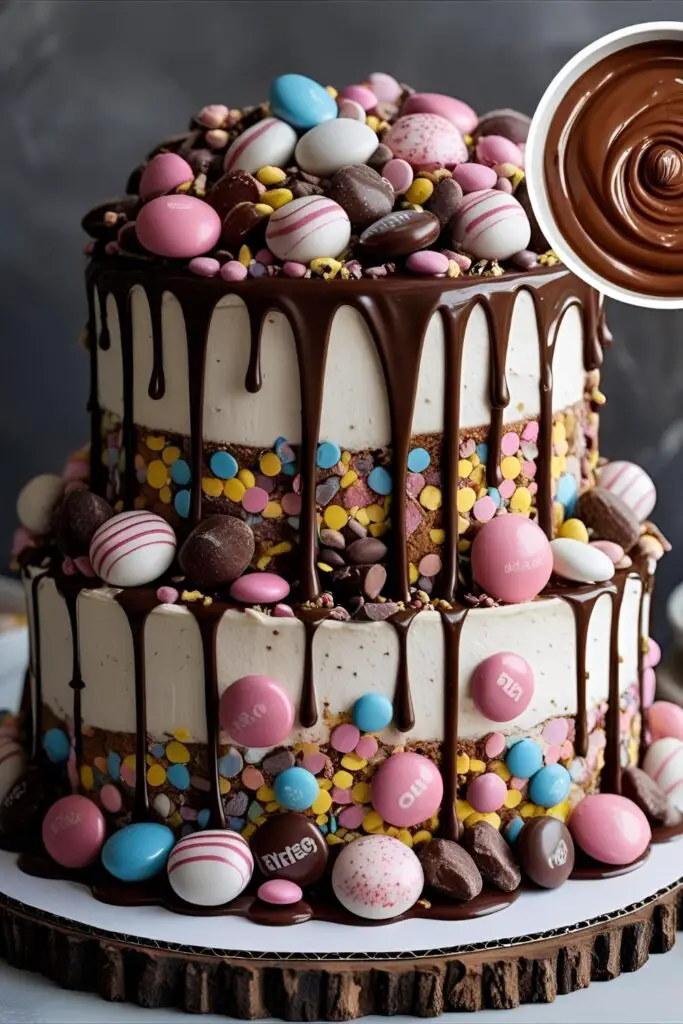
- Apply the Drip: Using a squeeze bottle or a spoon, apply the ganache around the top edge of your chilled cake, letting it cascade down the sides. Once the drips are done, pour the remaining ganache on top and smooth it out.
H3: Chocolate Birthday Cake Decoration 2: The “Chocolate Overload”
This is a maximalist’s dream and a fantastic way to use up favorite candies.
- After applying your drip (or just on a frosted cake), start creating a “moon” or crescent shape on top of the cake with your decorations.
- Build with Intention: Start with larger items, like whole Oreos or Ferrero Rocher, to create a base.
- Fill in the Gaps: Use smaller candies like truffles, Maltesers, or chocolate-covered pretzels to fill in the spaces.
- Create Height: Don’t just lay everything flat. Pile the candies up, lean them against each other, and create a sense of abundance and height. It should look like a glorious, delicious treasure pile.
H3: Chocolate Birthday Cake Decoration 3: The Rustic Shards & Curls
This method is elegant, modern, and surprisingly simple.
- Make Chocolate Bark: Melt about a cup of your chopped chocolate. Pour it onto a parchment-lined baking sheet and spread it into a thin, even layer. Let it set at room temperature or in the fridge until firm.
- Break it Up: Once firm, simply break the chocolate bark into rustic, jagged shards of various sizes.
- Make Chocolate Curls: For simple curls, take a vegetable peeler and run it along the side of a room-temperature block of chocolate.
- Arrange Artfully: Press the larger shards into the top and sides of the cake. Sprinkle the smaller shards and curls around the base and on top. It’s an effortlessly chic look.
Calories & Nutritional Info
You’re adding chocolate to a chocolate cake. Let’s not ask questions we don’t want the answers to.
- Calories: Adding about 100-200 extra calories of pure, unadulterated joy per slice.
- Main Food Group: Chocolate.
- Recommended Daily Allowance: The limit does not exist on a birthday.
Common Mistakes to Avoid (Or, How to Prevent a Chocolate Catastrophe)
- A Disastrous Drip: This is the most common pitfall. If your ganache is too hot, it will run all the way down the cake and pool at the bottom. If it’s too cold, it will be clumpy and won’t drip at all. Your cake must be cold, and your ganache must be slightly warm and fluid.
- A Messy Overload: The “overload” cake can quickly go from looking abundant to looking like you just dumped a bag of candy on a cake. Create structure and height by starting with bigger pieces and building up from there.
- Using Bad Chocolate: The decorations are a prominent flavor. If you use waxy, cheap chocolate candy melts or chips, your beautiful cake will taste… cheap. Use good-quality baking chocolate.
- Ignoring the Chill: A cold, firm cake is your best friend for almost all of these techniques. It prevents the frosting from smearing and gives you control over your decorations. Don’t skip the chilling step.
Variations & Customizations
Feel like adding another layer of flavor? Go for it.
- The Black & White: Use a dark chocolate cake, but create your drip, shards, and curls out of high-quality white chocolate. The visual contrast is stunning and very modern.
- Add a Pop of Freshness: Intersperse your chocolate overload pile with beautiful, bright fresh raspberries or sliced strawberries. The pop of red adds a touch of elegance and the tartness of the fruit cuts through the richness of the chocolate.
- Go for Gold (or Silver): For a truly celebratory cake, use a soft, food-safe paintbrush to lightly dust some of your chocolate shards or candies with edible gold or silver luster dust. It adds a touch of glamor and makes the cake feel extra special.
FAQ: Your Chocolate Decoration Questions, Answered
Let’s clear up some of the most common queries.
H3: What is the best chocolate to use for a drip?
A good-quality semi-sweet or dark chocolate (around 60-70% cacao) works best. It provides a great flavor and a beautiful, glossy finish. Avoid milk chocolate as it can be too soft, and chocolate chips as they contain stabilizers that prevent smooth melting.
H3: How do you make easy chocolate curls without a special tool?
The vegetable peeler method is the easiest! Just make sure your block of chocolate is at room temperature. If it’s too cold, it will splinter; if it’s too warm, it will be mushy.
H3: Can I use these decoration ideas on a store-bought cake?
YES! This is the ultimate hack. Buy a plain frosted chocolate cake from a bakery and add your own dramatic drip or chocolate overload topping. Everyone will think you’re a baking genius.
H3: How far in advance can I decorate a chocolate cake?
The drip and shards can be added a day in advance. The “overload” cake with various candies is also fine to make a day ahead. Store the finished cake in the fridge.
H3: My ganache seized and got grainy! What do I do?
This usually happens from overheating or getting a drop of water in it. You can sometimes save it by stirring in a tablespoon or two of very hot cream or milk to try and smooth it out.
H3: How do I store a cake with a ganache drip?
In the refrigerator. The ganache will become very firm when chilled. For the best eating experience, let the cake sit at room temperature for at least 30-60 minutes before serving to allow the ganache and frosting to soften slightly.
H3: What are some other super easy chocolate decoration ideas?
Simply grating a chocolate bar over the top of the cake looks beautiful and rustic. You can also create a simple pattern by dusting the top with cocoa powder using a stencil.
Final Thoughts: Welcome to a World of Chocolate
There you have it. You are now equipped with an arsenal of easy yet impressive chocolate birthday cake decoration ideas. You have the power to transform any simple cake into a decadent, show-stopping centerpiece that tastes as incredible as it looks.
So go on, embrace the drip, pile on the candy, and create something wonderfully, unapologetically chocolatey. You’ve got this. Your cakes will never be boring again.


