There’s a world of creativity waiting for you in acrylic painting, but many artists often fall into common pitfalls that can hinder your artistic progress. From improper paint mixing to neglecting the right brushes, these mistakes can lead to frustration and unintentional effects on your artwork. In this guide, you will discover simple strategies to avoid these challenges, helping you enhance your skills and achieve the beautiful results you desire. Let’s dive in and unlock your full potential as an acrylic artist!
Understanding Acrylic Paint
For artists looking to master their craft, understanding acrylic paint is vital. This versatile medium dries quickly and offers brilliant colors, making it suitable for various techniques. However, its fast drying time can be a challenge for blending and layering. Familiarizing yourself with its properties will help you harness its potential and avoid common pitfalls.
Choosing the Right Brand
Understanding the differences between acrylic paint brands can significantly impact your artistry. Not all acrylics are created equal; some brands offer higher pigmentation and better texture than others. Exploring various brands will allow you to find the one that best suits your style and techniques.
Selecting the Appropriate Medium
Acrylic paint can be transformed greatly by selecting the right medium. With a wide range of options available, such as gels, pastes, and retarders, you can manipulate the paint’s viscosity, drying time, and finish. This flexibility allows you to achieve various effects, from a thick impasto to a smooth glaze. However, it’s important to test these mediums on scrap paper to avoid altering your final piece adversely. Using the right medium can enhance your work remarkably, enabling you to explore textures and styles you may not have considered before.
Common Techniques and When to Use Them

Any painter can benefit from mastering various acrylic painting techniques. Knowing when to apply each technique can elevate your work and help you achieve desired effects. Whether you’re layering colors for depth or blending shades for smooth transitions, understanding these methods allows you to enhance your artistic expression and create stunning visuals. By experimenting with different techniques, you’ll discover what resonates with your style and improves your overall painting skills.
Layering for Depth
An effective way to create a sense of depth in your artwork is through layering. By applying multiple transparent layers of acrylic paint, you can build rich, complex visuals that draw the viewer in. Start with a base color and gradually add layers, allowing each one to dry before applying the next for optimal results. This technique not only enriches the color but also adds dimension to your pieces.
Blending Techniques
Clearly, blending techniques are imperative for achieving smooth transitions and gradients in your acrylic paintings. Different methods, such as wet-on-wet and wet-on-dry blending, can provide varied results. You might prefer to use soft brushes or a palette knife, depending on the desired effect. Experimenting with these techniques will enable you to find the best approach for your artistic vision, adding richness and dynamism to your work.
With blending techniques, you have the opportunity to create visually captivating effects. Utilizing a soft brush for a wet-on-wet blend works remarkably well, especially when you want seamless gradations. Alternatively, with a dry brush for wet-on-dry techniques, you can achieve more textured and distinct transitions. Varying pressure during blending is also important, as it helps control the amount of paint being applied. By embracing these blending methods, you can unlock the potential to elevate your acrylic paintings to unparalleled heights.
Essential Tools for Acrylic Painting
There’s a variety of important tools that you need to gather before commenceing on your acrylic painting journey. Having the right materials will enhance your experience and allow your creativity to flow more freely. This includes brushes, palettes, surfaces, and other accessories tailored for acrylic paint, giving you the best chance to create stunning artwork.
Brushes

Some brushes are specifically designed for acrylics and come in various shapes and sizes. From flat to round, each type serves different purposes in your painting process. Investing in a good set of acrylic brushes will greatly improve your technique and help you achieve the desired effects in your artwork.
Palettes and Surfaces
For your acrylic paints, choosing the right palettes and surfaces can make a significant difference in your results. Acrylics can dry quickly, so using a palette with a lid helps keep your colors workable longer. Surfaces like canvas, wood, or acrylic paper are ideal as they provide the right texture for the paint to adhere effectively.
It’s important to note that different surfaces can absorb moisture differently, affecting your drying time and the paint’s appearance. Opt for a non-porous surface like a primed canvas or acrylic board for a more vibrant color output. Additionally, using a palette knife alongside your brushes can help you mix colors better and create unique textures, enhancing your artistic expression.
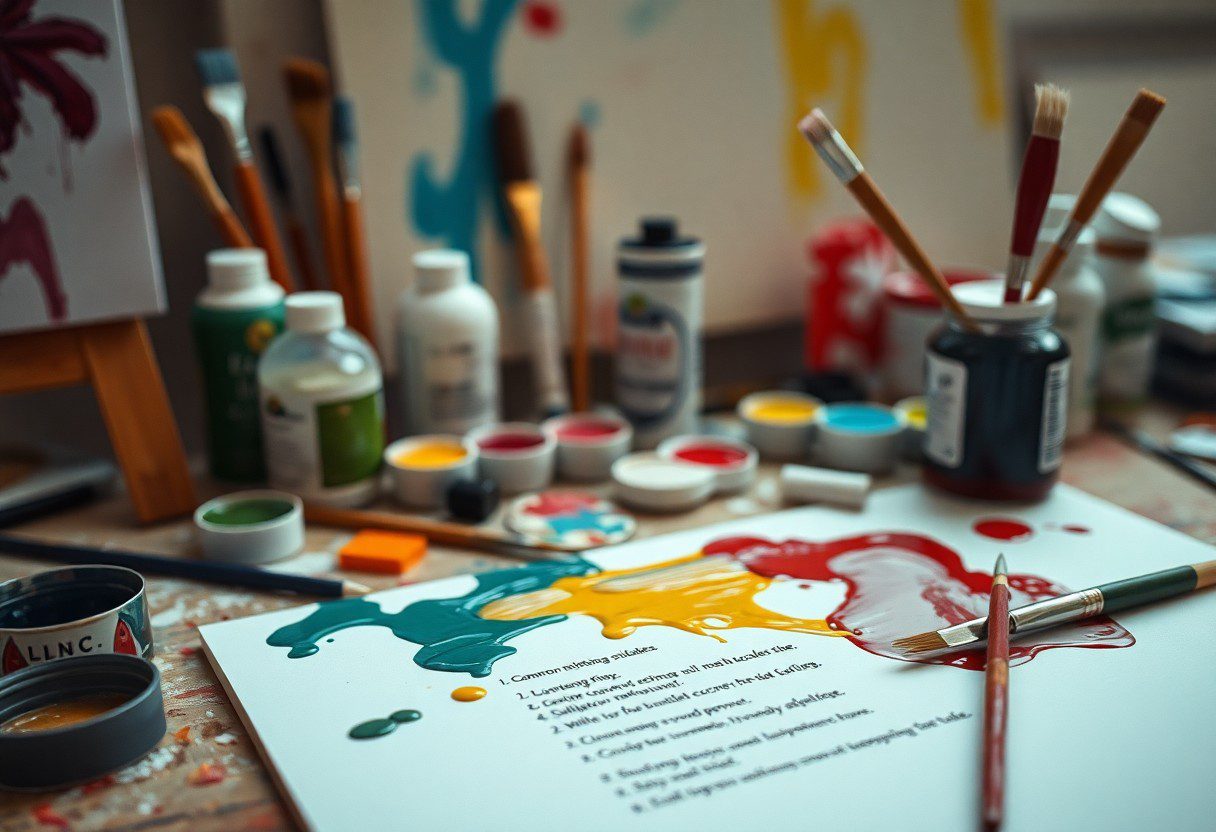
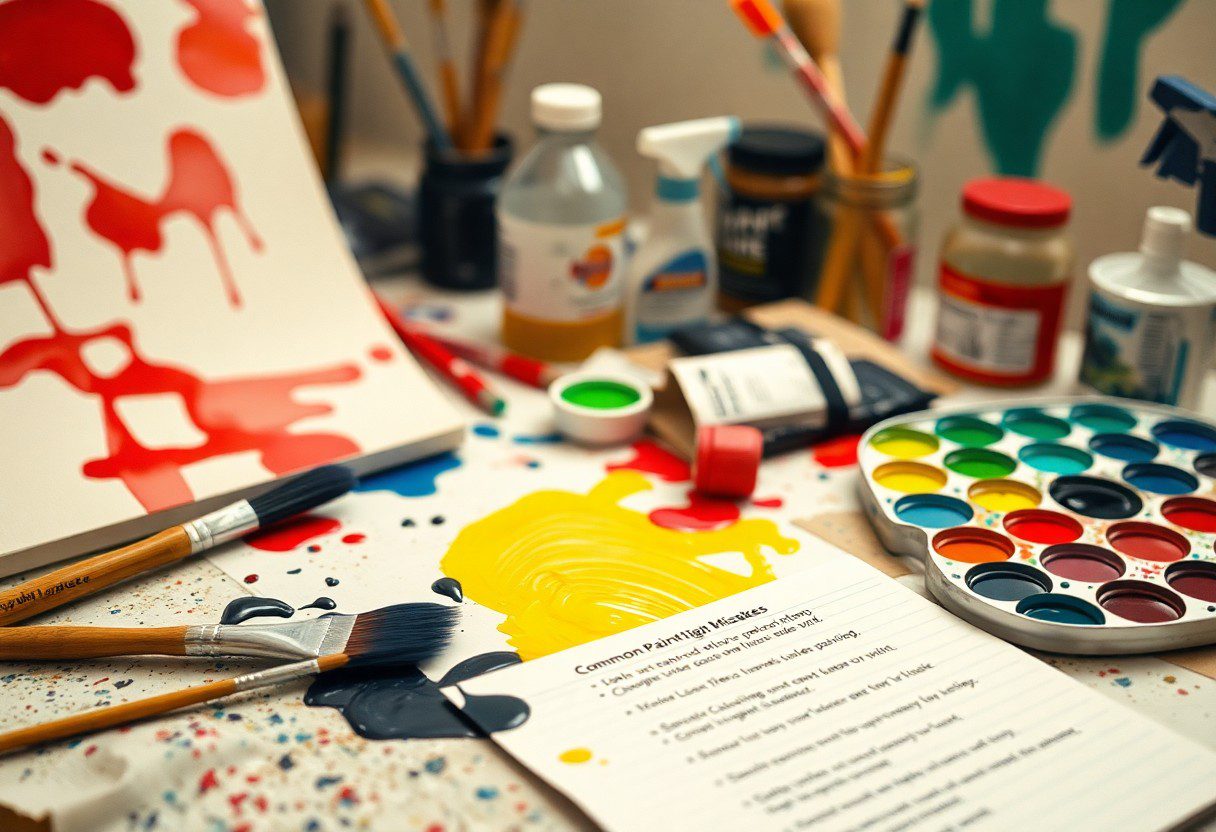
Common Mistakes to Avoid
Now that you are ready to embrace the world of acrylic painting, it’s vital to be aware of some common mistakes that can hinder your progress. By identifying these pitfalls and learning how to sidestep them, you’ll foster a more enjoyable and successful artistic journey. Let’s explore the critical areas where you can improve your technique and enhance your creativity.
Overworking the Paint
While it might be tempting to continually alter your brush strokes, overworking the paint can lead to a muddy or lifeless canvas. Instead of achieving depth and vibrancy, you risk losing the original essence of your artwork.
Skipping the Sketch

Assuming that you can dive directly into painting without a solid plan is a mistake many artists make. Skipping the sketch phase can result in composition issues and can make it difficult to communicate your vision effectively.
Plus, starting with a sketch allows you to experiment with composition and proportions without committing to paint. This preliminary step serves as a blueprint for your final piece, enabling you to visualize your ideas and make adjustments. Never underestimate how a well-thought-out plan can positively influence your workflow, giving you the confidence to bring your artistic vision to life.
Tips for Maintaining Color Vibrancy
Many artists struggle to maintain the color vibrancy of their acrylic paintings, which can dull over time. Here are some tips to keep your colors bright:
- Use high-quality acrylic paints.
- Avoid thinning paints excessively with water to maintain color saturation.
- Work on a clean, white surface to enhance color brightness.
- Use a palette lid or wet palette to keep paints moist during sessions.
Thou will see a significant improvement in your artwork with these strategies.
Protecting Your Palette
Protecting your palette ensures that your acrylics remain workable and vibrant. Use a wet palette to keep your paints moist longer, preventing them from drying out too quickly. Cover your palette with a lid or plastic wrap when not in use, as this will help maintain the consistency of your paints, allowing for smoother application and brighter hues.
Correct Water Usage
On the subject of acrylic painting, water plays an important role in managing paint consistency. Utilizing correct water usage can enhance your painting experience, but too much water can compromise the integrity of the paint. Generally, aim to use water sparingly; remember that acrylics are already water-based. If you find your paint too thick, add only a little water at a time to achieve the desired consistency while preserving vibrancy.
A careful balance is imperative—using less than 30% water ensures your pigments remain strong and rich. Furthermore, employing medium specifically designed for acrylics can yield better results, supporting your paint’s adhesion and durability. Take heed, as over-diluting could lead to a washed-out appearance in your artwork, undermining your efforts.
Factors Affecting Your Painting Process
After understanding the basic techniques of acrylic painting, it’s important to examine the factors that can impact your painting process. These include:
- Environmental conditions
- Personal workflow
- Available materials
- Time management
- Motivation
Thou must consider these elements to enhance your overall painting experience.
Environmental Conditions
Little do many artists realize that the environmental conditions you paint in can greatly influence your work. Factors such as light, temperature, and humidity can affect the drying time and integrity of your acrylic paint, leading to unintentional results.
Personal Workflow
One key aspect to monitor is your personal workflow. Establishing a routine and understanding your optimal working style can significantly boost your efficiency and creativity.
For instance, if you tend to engage in numerous breaks, you may face difficulties reverting your focus back onto the canvas, ultimately prolonging your sessions. Creating a consistent schedule that includes dedicated painting time, setup rituals, and breaks can enhance your productivity. Be mindful not to let distractions creep in, as they can hinder your artistic flow and result in frustration. Aim for a structured workflow, and you’ll find that your painting process becomes smoother and more enjoyable.
To wrap up
With these considerations, you can significantly improve your acrylic painting skills by avoiding common pitfalls. By being mindful of your materials, taking the time to experiment, and understanding how to layer and mix colors effectively, you can enhance your artistic expression. Additionally, staying patient and allowing your work to dry properly can prevent frustration. Embrace the learning process and keep practicing, as each mistake is an opportunity for growth and creativity in your artwork.
Q: What are some common mistakes beginners make when mixing acrylic paints?
A: One frequent mistake is using too much water when mixing paints. While water can make the paint more fluid, it can dilute the pigments, leading to a washed-out appearance. To avoid this, it’s better to use a slow-drying medium or an acrylic retarder if you need a thinner consistency. Additionally, beginners often overlook the importance of mixing colors properly, leading to an unexpected hue. Take your time to mix colors on a palette to see the results before applying them to your canvas.
Q: How can I prevent my acrylic paint from drying too quickly?
A: Acrylic paints are known for drying quickly, which can be a challenge for artists who prefer to work with wet paint. To slow down the drying time, you can use a palette with a lid or a wet palette, which maintains moisture in the paints. Another option is to mix a retarder into your paint, allowing for a longer working time. Finally, working on smaller sections of your painting at a time can help you manage the drying process better.
Q: What mistakes do artists make regarding layering in acrylic painting?
A: A common error is not allowing adequate drying time between layers. Applying wet paint on top of wet layers can lead to muddy colors and unwanted mixing. To avoid this, let each layer dry completely before adding the next one, which usually takes about 20-30 minutes with acrylics. Additionally, some artists may apply too thick a layer, which can lead to uneven texture. Consider using thin washes for your initial layers and building up gradually for depth and dimension.
Q: How can I ensure proper brush care when working with acrylic paints?
A: Failing to clean brushes promptly after use is a common mistake that can ruin your brushes. Acrylic paint dries quickly, and if it hardens in the bristles, it can become irreversible. To prevent this, rinse your brushes in water immediately after use and reshape the bristles. For deeper cleaning, use soap and water or a brush cleaner. Make it a habit to have a container of water nearby while painting to keep your brushes clean during your sessions.
Q: What should I avoid when it comes to selecting surfaces for acrylic painting?
A: Artists sometimes make the mistake of using inappropriate surfaces that are not primed for acrylic paint, leading to issues such as poor adhesion or warping. Using raw canvas or a paper not designed for acrylics can cause the paint to soak in too much, resulting in dull colors. To avoid this, choose canvases that are pre-stretched and primed or use acrylic paper. Additionally, always consider the surface texture, as too smooth or too rough can affect the paint application and final outcome.