Picture this: you want cookies. Not tomorrow. Not after an agonizing hour of chilling dough.
Right. Now. Enter the no-chill chocolate chip cookie—crispy edges, chewy centers, and zero patience required.
Who has time to wait when sugar cravings strike like a toddler’s tantrum? These cookies bake up perfectly every time, with no fancy techniques or “resting for flavor development” nonsense. If your willpower is weaker than a soggy napkin, this recipe is your new best friend.
Warning: you might eat the entire batch before they even cool. No regrets.
Why These Cookies Are Stupidly Good


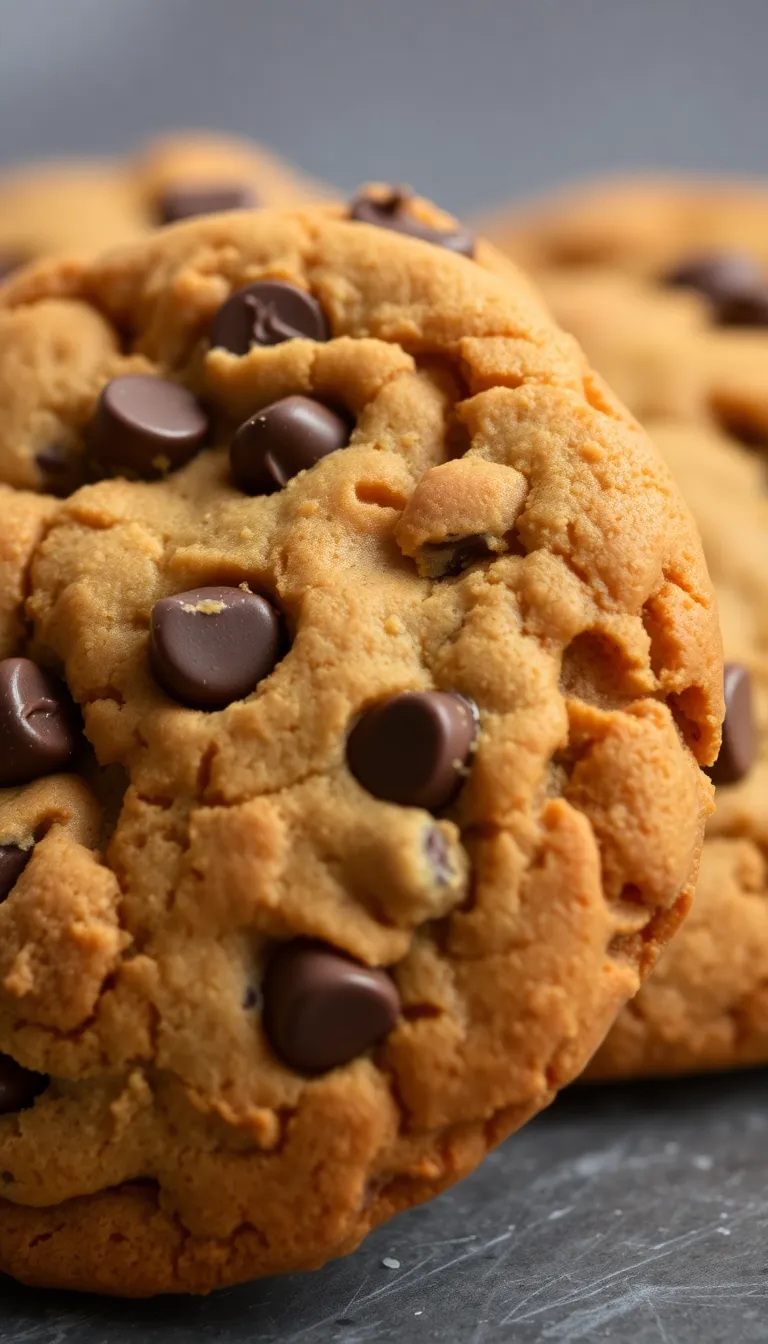
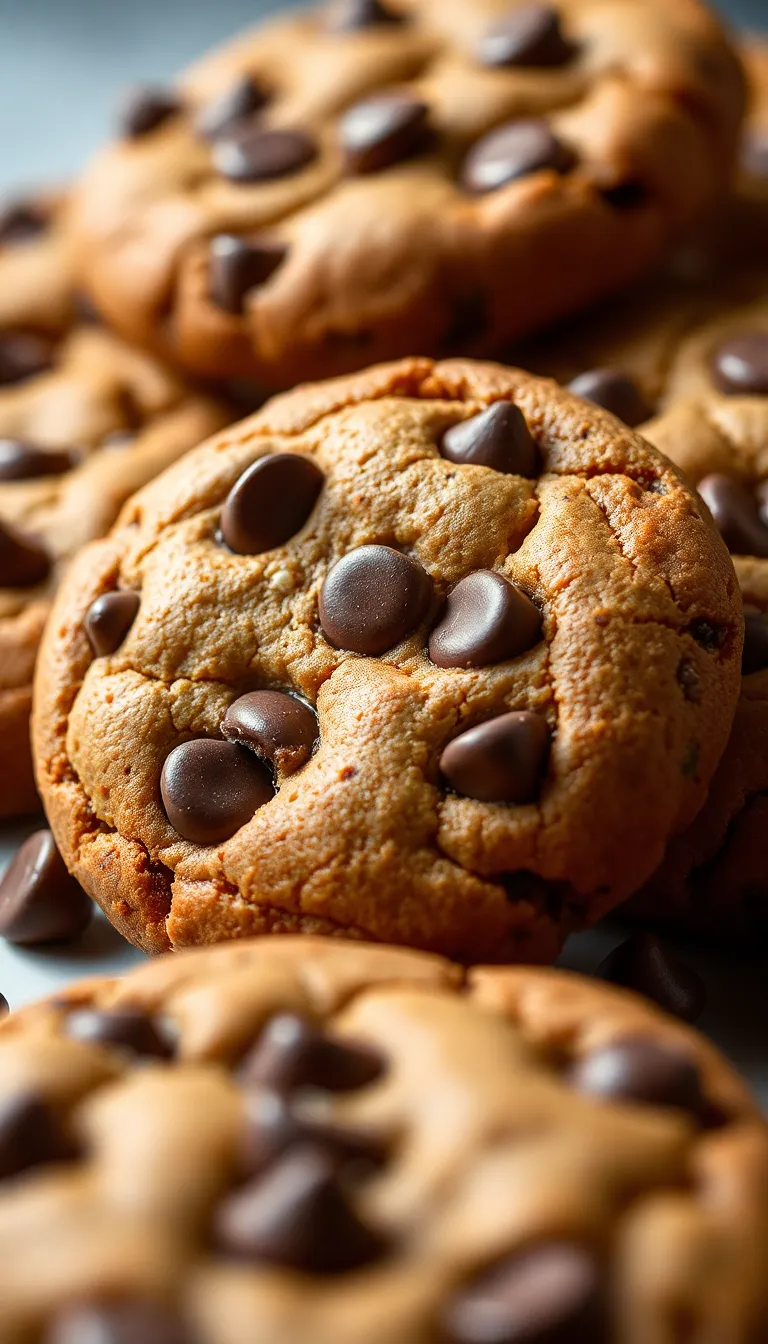
No-chill doesn’t mean no-flavor. These cookies are buttery, caramelized, and loaded with melty chocolate.
The secret? Brown sugar for chewiness, a higher baking temperature for crispy edges, and just the right dough hydration to skip the chill without spreading into a pancake. They’re the Goldilocks of cookies—not too thick, not too flat, just right. Plus, you go from craving to chewing in under 30 minutes.
Try not to cry when you realize how many years you wasted chilling dough.
Ingredients You’ll Need
- 1 cup (2 sticks) unsalted butter, melted (yes, melted—no waiting for room temp)
- 1 cup brown sugar (packed, because we’re not monsters)
- ½ cup granulated sugar (for that crisp edge)
- 2 large eggs (the glue holding your poor life choices together)
- 2 tsp vanilla extract (the good stuff, not that imitation sadness)
- 2 ½ cups all-purpose flour (spooned and leveled, unless you enjoy hockey pucks)
- 1 tsp baking soda (not baking powder—this isn’t a cake)
- ½ tsp salt (because sweet without salty is basic)
- 2 cups chocolate chips (or chunks, or chopped chocolate—live your truth)
Step-by-Step Instructions
- Preheat your oven to 375°F (190°C). Higher heat = faster crispy edges. Science.
- Mix melted butter and sugars in a bowl until combined. No fancy mixer needed—elbow grease works.
- Add eggs and vanilla. Stir until the mixture looks suspiciously smooth.
- Dump in flour, baking soda, and salt. Mix until just combined.
Overmixing = tough cookies. Don’t do it.
- Fold in chocolate chips. Or pour them in aggressively. We don’t judge.
- Scoop dough onto a baking sheet (lined with parchment, because scrubbing pans is the worst).
- Bake for 9–11 minutes until edges are golden but centers look slightly underdone.
They’ll firm up—trust the process.
- Let cool for 5 minutes on the sheet. Or eat one immediately and burn your tongue. Your call.
How to Store These Bad Boys

Store in an airtight container at room temp for up to 5 days—if they last that long. For longer storage, freeze the baked cookies or unbaked dough balls.
To reheat, zap frozen cookies in the microwave for 10 seconds or bake frozen dough balls for an extra minute. Pro tip: Hide them from roommates. Trust no one.
Why This Recipe Wins at Life
No-chill means no planning, no waiting, and no self-control.
These cookies are perfect for impromptu cravings, last-minute guests, or emotional emergencies. They’re also forgiving—swap sugars, add nuts, or brown the butter if you’re feeling fancy. Plus, the dough is safe to eat raw (no eggs? no problem).
It’s basically a public service.
Common Mistakes to Avoid
- Overmeasuring flour. Spoon and level—don’t scoop like you’re digging for gold.
- Overbaking. They’ll look underdone when you pull them out. This is good.
- Using cold butter. Melted butter is key here. Room temp won’t cut it.
- Skimping on salt. Salt balances sweetness.
Don’t be shy.

Swaps and Substitutions

No brown sugar? Use all granulated and add 1 tbsp molasses. Vegan?
Swap butter for coconut oil and eggs for flax eggs. Gluten-free? Use a 1:1 GF flour blend.
Out of chocolate chips? Crush a candy bar or cry into your empty pantry. IMO, improvisation builds character.
FAQs
Can I use salted butter?
Sure, but reduce added salt to ¼ tsp.
Unless you love salt. Then go wild.
Why did my cookies spread too much?
Either your baking soda is old, your oven’s too cold, or you didn’t measure flour right. Or all three.
Tragedy.
Can I add nuts?
Absolutely. Walnuts, pecans, or even pretzels for salty crunch. FYI, raisins are a war crime.
How do I make them thicker?
Chill the dough for 30 minutes or add 2 tbsp extra flour.
But then it’s not no-chill, is it? Think about what you’ve done.
Final Thoughts
These cookies are the lazy baker’s dream—fast, foolproof, and dangerously addictive. They’re proof that great things don’t always require patience.
Now go forth and bake. And maybe share. Or don’t.
We won’t tell.