The Ultimate Pink Vintage Cake: A Guide to Being Extra
Let’s talk about cake trends. For years, it’s been all about minimalism. Naked cakes, semi-naked cakes, cakes with a single, sad little flower on top. It was all very… tasteful. But what if you’re tired of tasteful? What if your soul craves a little more… drama? My friend, I am thrilled to announce that maximalism is back, and it has come for our desserts. Welcome to the glorious, over-the-top, unapologetically fabulous world of the pink vintage cake.
You’ve seen them all over your feed: heart-shaped confections dripping with intricate piped swags, frilly ruffles, and delicate shell borders, all in dreamy shades of pink. They look like something Marie Antoinette would have commissioned for a casual Tuesday. And they look impossibly difficult to make.
Here’s the secret: they’re not. It’s all just a series of simple piping techniques layered on top of each other. Today, we’re pulling back the velvet curtain and I’m going to show you how to create your very own pink vintage cake. It’s time to unleash your inner maximalist.
Why This Recipe Is a Whole Vibe
In a world of quiet good taste, why should you embrace the glorious noise of a pink vintage cake?
First, it is a jaw-dropping work of art. This is not a cake; this is a centerpiece. It’s a conversation starter. It’s the kind of dessert that makes people whip out their phones before they even think about asking for a slice. If you want to make a statement, this is how you do it.
Second, it’s an incredibly fun and rewarding skill to learn. This cake is all about the joy of decorating. It’s an excuse to play with piping tips, master new techniques, and create something truly unique. The feeling of accomplishment when you pipe that final perfect shell border is, frankly, unparalleled.
Finally, it’s unapologetically joyful. There is nothing subtle about a pink vintage cake. It’s fun, it’s frilly, it’s a little bit kitschy, and it’s a whole lot of fabulous. It’s a celebration of abundance and extravagance, and in a world that can sometimes feel a bit beige, we could all use a little more of that.
The Royal Ingredients
To build a palace of sugar, you need a strong foundation and some very glamorous materials.
For the Sturdy Almond Cake:
- 2 1/2 cups all-purpose flour
- 2 teaspoons baking powder
- 1/2 teaspoon salt
- 1 cup unsalted butter, softened
- 2 cups granulated sugar
- 4 large eggs, room temperature
- 1 cup whole milk, room temperature
- 1 teaspoon vanilla extract
- 1 teaspoon almond extract
For the Super-Sturdy “Crusting” Buttercream (The Key!):
- 1 cup unsalted butter, softened
- 1 cup high-ratio vegetable shortening (for stability)
- 8 cups powdered sugar, sifted
- 1/2 cup milk or water
- 2 teaspoons clear vanilla extract
- 1/2 teaspoon salt
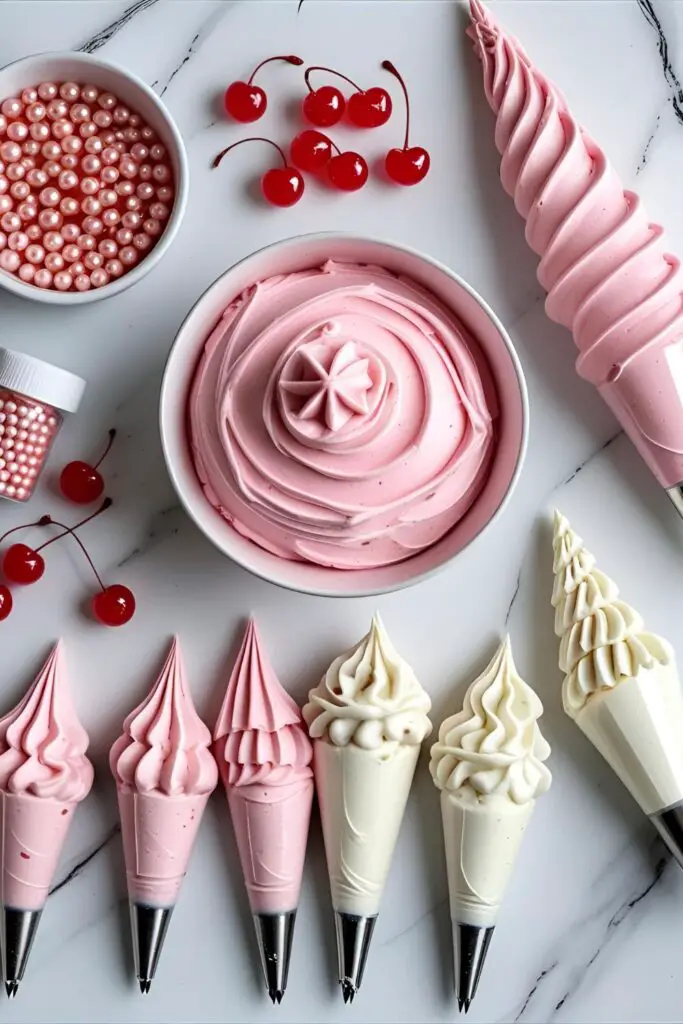
- Gel Food Coloring: At least two shades of pink (a light and a medium).
For the Crowning Jewels:
- Edible sugar pearls
- Maraschino cherries with stems (optional, for the ultimate retro touch)
The Royal Decorator’s Toolkit
This is not the time for minimalism. To create a proper pink vintage cake, you need the right gear.
- A Stand Mixer: A KitchenAid Stand Mixer is your royal decree for making the large batch of stiff buttercream this project requires.
- A Heart-Shaped Cake Pan: While not mandatory, an 8-inch heart-shaped cake pan will instantly give your cake that iconic vintage look.
- A Master Piping Tip Set: This is the most important part! You’ll need a variety of tips. A Wilton or Ateco Master Decorating Set is a fantastic investment. Specifically, you’ll want:
- Shell border tips (like #21 or #32)
- Small and medium round tips (like #3 and #10)
- Star tips (like #16 or #18)
- A petal or ruffle tip (like #104)
- A Cake Turntable: Non-negotiable for piping even swags and borders.
- Piping Bags: You will need several.
Step-by-Step: The Royal Proclamation
Ready to build your frilly, fabulous masterpiece? Let’s pipe!
Part 1: The Perfect Canvas
Step 1: Bake the Cake Preheat your oven to 350°F (175°C). Grease and flour your heart-shaped pan. Bake the almond cake recipe as directed. Let it cool completely.
Step 2: Make the Buttercream In your stand mixer, beat the butter and shortening together until smooth. On low speed, gradually add the sifted powdered sugar. Add the vanilla, salt, and milk/water, then beat on medium-high speed for 5-7 minutes until light, fluffy, and very stiff. This sturdy buttercream is the secret to a great pink vintage cake.
Step 3: Frost and Chill Divide your buttercream. Leave about half white or dye it a very pale base pink. Use the rest to create one or two darker shades of pink. Apply a smooth, flawless base coat of the lightest pink to your cooled cake. Chill the cake for at least 30 minutes until the frosting is firm to the touch.
Part 2: The Piping Masterclass
Step 4: The Battle Plan Before you touch the cake, practice your piping on a piece of parchment paper. Get a feel for the pressure and motion needed for each design. It’s a great idea to sketch out your desired pink vintage cake design.
Step 5: The Foundation – Shell Borders Using a medium star or shell tip and your medium pink frosting, pipe a shell border around the top and bottom edges of your cake. This creates the frame for your entire design.
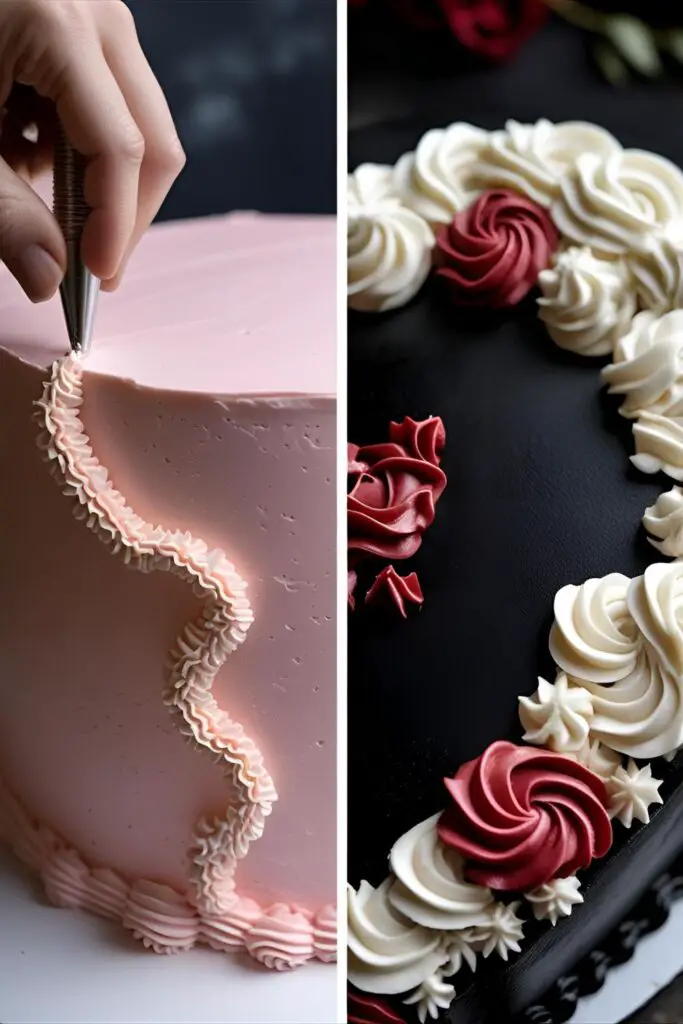
Step 6: The Drama – Swags and Garlands This is the iconic vintage look. Mark evenly spaced points around the side of your cake with a toothpick. Using a round or star tip, pipe a “U” shape or swag from one point to the next. You can layer multiple swags for an even more dramatic effect.
Step 7: The Frills – Overpiping and Ruffles This is where we get extra. Go back over your initial shell borders and swags with a smaller tip and a darker pink, adding more detailed ropes, stars, or dots. Use a petal or ruffle tip to add delicate ruffles along the borders. The key to the pink vintage cake is building layers of detail.
Step 8: The Jewels Carefully place your edible pearls at the junctions of your swags or in the center of piped rosettes. If you’re using them, top your highest peaks of frosting with a glamorous maraschino cherry.
Calories & Nutritional Info
An official decree from the Ministry of Fabulousness.
- Serving Size: One decadent, frilly slice.
- Minimalism Content: 0%
- Calories: Darling, we don’t count calories when we’re being this glamorous. It’s simply not done. (But if the royal accountant insists, it’s about 700 per slice. It’s mostly art.)
- Primary Benefit: Cures blandness.
Common Mistakes to Avoid (Don’t Be a Hot Mess)
Let’s keep this project looking regal, not ragged.
- The Buttercream Meltdown: Your intricate pipes are sagging into a sad, droopy mess. Your frosting is too soft. For vintage piping, you need a very stiff, stable buttercream. Using shortening helps, as does keeping your kitchen cool. If your hands warm up the bag, pop it in the fridge for 10 minutes.
- The Wobbly Pipes: Your lines are shaky and uneven. Practice on parchment paper first. Also, make sure you are using your cake turntable to help create smooth, even swags and borders.
- The Over-Piped Chaos: Your cake looks less like a vintage masterpiece and more like a piping bag exploded on it. The key to this look is organized maximalism. Plan your design, start with the biggest shapes (borders, swags), and then layer the smaller details on top.
- The Color Catastrophe: Your shades of pink are clashing or muddy. Stick to 2-3 shades within the same color family (e.g., a baby pink, a dusty rose, and a magenta) for a cohesive look.
Variations & Customizations
Once you’ve mastered the technique, you can create a whole line of these fabulous cakes.
- Monochromatic Dreams: Who says it has to be a pink vintage cake? This style looks absolutely stunning in a single color with different shades, like a vintage mint green, a dreamy baby blue, or even an elegant all-white for a wedding.
- The Gothic Romance: For a dramatic, edgy twist, make the base frosting black or deep burgundy. Pipe the intricate vintage details in white, pale pink, or even blood red. It’s a whole different vibe.
- The Mini-Vintage: The “more is more” aesthetic works beautifully on a small scale too. Try these techniques on a small heart-shaped bento cake or even on individual cupcakes for the most extra-looking treats at the bake sale.
Frequently Asked Questions (Your Royal Audience)
You have questions? Her Majesty will now answer them.
1. What is a vintage or Lambeth style cake? It’s a highly ornate style of cake decorating that originated in England, made famous by Joseph Lambeth. It’s characterized by layering intricate piping techniques like shells, swags, ruffles, and overpiping to create a dramatic, 3D, almost fabric-like effect.
2. What is the best frosting for intricate piping? A stiff, crusting American buttercream is the best for this style. The addition of shortening helps it hold its shape perfectly and “crust” over, protecting the delicate details.
3. What piping tips do I absolutely need for a pink vintage cake? If you could only buy a few, you would need a medium shell/star tip (like a Wilton #32), a small star tip (#16), and a small round tip (#3). This will allow you to create the basic borders, swags, and overpiped details.
4. How do you pipe those swoopy swags on the side of a cake? Use a turntable! Mark your start and end points with a toothpick. Hold your piping bag at a 45-degree angle, squeeze to anchor the frosting at the start point, then let the frosting fall in a gentle curve as you turn the cake, re-attaching at the end point.
5. Can I make a pink vintage cake in advance? Yes. The crusting buttercream is very stable. You can fully decorate the cake a day or two in advance and store it in the fridge. The decorations will be very firm. Let it sit at room temperature for an hour before serving.
6. Why is my piping not sharp and defined? Your frosting is likely too soft. Try adding more sifted powdered sugar to stiffen it, or chill your piping bag for 15-20 minutes.
7. How do you get a smooth base coat to start with? A chilled crumb coat is the first step. For the final layer, use a bench scraper against the sides as you rotate the cake on a turntable for a perfectly smooth canvas for your pink vintage cake.
Final Thoughts
Congratulations, you maximalist marvel! You have officially rejected the tyranny of tasteful minimalism and embraced the joyous, unapologetic fabulousness of the pink vintage cake. You’ve learned that “more is more” and created a dessert that is as fun to make as it is to look at.
So go forth and be extra. Pipe those ruffles, drape those swags, and top it all off with a cherry. Your dessert table deserves a little drama. You’ve earned your crown as the queen of cakes.


