How to Make a Dazzling Disco Ball Cake (and Be the Star of the Party)
Forget everything you know about boring, flat cakes. Today, we’re venturing into the third dimension. We’re getting groovy. We’re bringing the party, the whole party, and nothing but the party in cake form. Get your glitter and your boogie shoes ready, because you are about to learn how to make a jaw-dropping, show-stopping, absolutely spectacular disco ball cake.
I know what you’re thinking. A sphere? Covered in tiny, shiny squares? It sounds like a project that requires an engineering degree and the patience of a saint. But what if I told you it’s really just a series of simple (okay, one of them is a little tedious) steps? You are about to create the undisputed centerpiece of any birthday, New Year’s Eve party, or 70s-themed bash. Let’s get this party started.
Why This Cake is Your Ticket to Legendary Status
So, why should you commit to creating this edible icon? The reasons are as shiny and numerous as the tiles on the cake itself.
- It’s an Absolute Showstopper: This isn’t just a cake; it’s an experience. When you walk into a room with this glittering orb, time will slow down. A hush will fall over the crowd. People will gasp. It’s the ultimate edible prop for a fantastic party.
- Surprisingly Forgiving: Here’s a little secret… all those hundreds of tiles are great at hiding imperfections! As long as you get a reasonably round shape, the sparkle will distract from any minor lumps or bumps. It’s a maximalist’s dream.
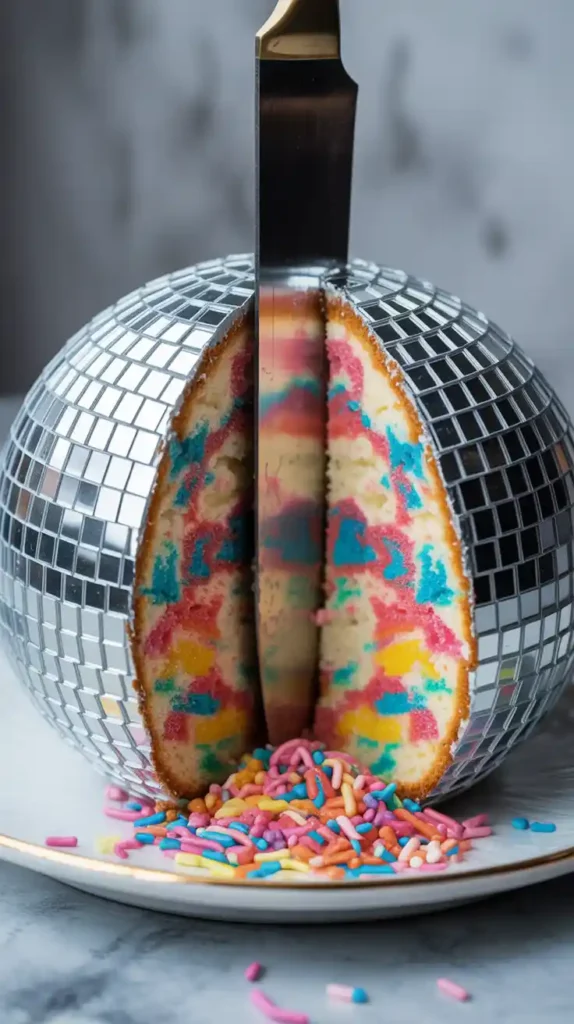
- Delicious on the Inside: Beneath that glamorous exterior lies a moist, sturdy, and delicious funfetti cake that’s a party in its own right. It’s not just a pretty face; it tastes incredible, too.
The Ingredient Lineup
To build our glittering globe, we need a solid foundation and a whole lot of sparkle.
For the Sturdy Funfetti Cake Base:
- All-Purpose Flour: 3 cups.
- Granulated Sugar: 2 cups.
- Baking Powder: 2 ½ teaspoons.
- Salt: 1 teaspoon.
- Unsalted Butter: 1 cup (2 sticks), at room temperature. Don’t you dare use cold butter.
- Vegetable Oil: ½ cup. For extra moisture and a tender crumb.
- Large Eggs: 4, at room temperature.
- Vanilla Extract: 1 tablespoon.
- Buttermilk: 1 cup, at room temperature.
- Rainbow Sprinkles: ¾ cup of the long, jimmies-style sprinkles.
For the “Cement” Buttercream & Sparkle:
- Unsalted Butter: 2 cups (4 sticks), softened.
- Powdered Sugar: 7-8 cups, sifted.
- Vanilla Extract: 2 teaspoons.
- Heavy Cream or Milk: 4-6 tablespoons.
- Salt: ½ teaspoon.
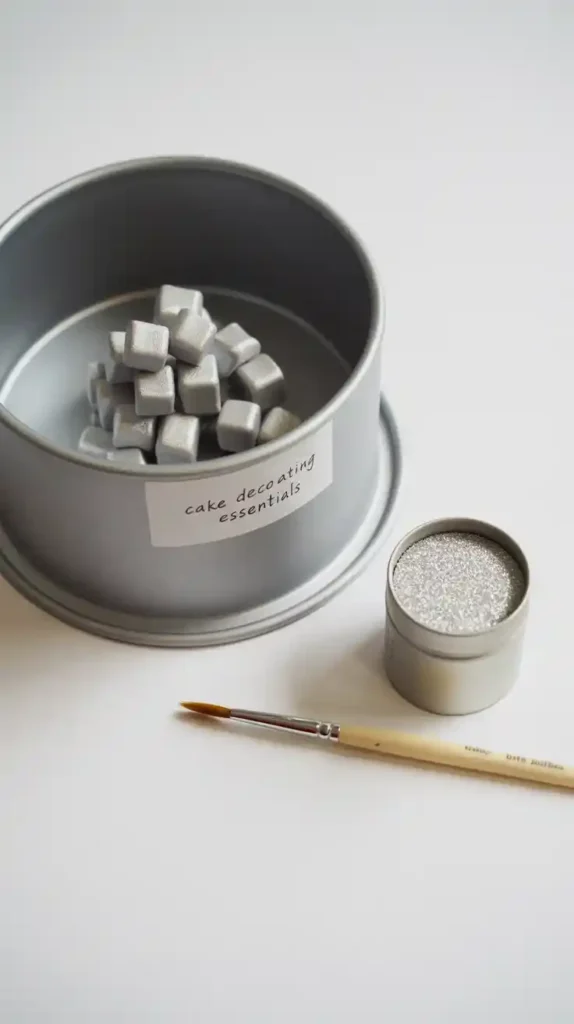
- Silver Fondant or Wafer Paper: A small package. Or, if you’re a true disco diva, pre-cut edible silver squares (sequins).
- Silver Luster Dust: This is non-negotiable for the mirror effect.
- Clear Alcohol or Extract: A few teaspoons (like vodka or lemon extract) to mix with the luster dust.
Tools & Kitchen Gadgets: The Disco-Building Kit
Having the right gear is half the battle. Here’s what you’ll need to construct this masterpiece.
- Sphere Cake Pan Set (6-inch or 8-inch): This will make your life infinitely easier. Alternatively, you can use two oven-safe glass or metal bowls of the same size.
- Cake Turntable: Absolutely essential for carving and frosting a round object smoothly.
- A Serrated Knife: For leveling and carving your cake sphere.
- Offset Spatula & Bench Scraper: Your best friends for achieving a smooth buttercream finish.
- Fondant Roller: To roll out your fondant nice and thin.
- A Pizza Cutter or a Small Square Cookie Cutter: For cutting your hundreds of tiles.
- Small, food-safe Paintbrush: For applying the silver luster dust paint.
- A Sturdy Cake Board: To build your masterpiece on.
Step-by-Step Instructions: Let’s Get This Ball Rollin’

Take a deep breath. Put on some Donna Summer. We’re going to do this in manageable phases.
Phase 1: Bake the Hemispheres
- Prep: Preheat your oven to 350°F (175°C). Grease and flour your two sphere pan halves (or oven-safe bowls) very, very well.
- Make the Batter: In a large bowl, whisk together the flour, sugar, baking powder, and salt. In a separate bowl, whisk together the butter, oil, eggs, vanilla, and buttermilk. Pour the wet ingredients into the dry and mix until just combined. Gently fold in the rainbow sprinkles.
- Bake: Divide the batter evenly between your two prepared pans. Bake for 45-55 minutes, or until a long skewer inserted into the center comes out clean. Sphere cakes take longer to bake than flat layers.
- Cool: Let the cakes cool in the pans for 20 minutes before turning them out onto a wire rack to cool completely. Seriously, don’t even think about touching them until they are 100% cool.
Phase 2: Create the Sphere
- Level and Glue: Once cool, use a serrated knife to level the flat top of each cake hemisphere. Place one half, flat-side-up, on your cake board. Spread a generous layer of buttercream on top and place the other hemisphere on top, flat-side-down, to form a ball.
- Carve It Up: Now, channel your inner Michelangelo. Place the cake on your turntable and use your serrated knife to carefully shave off any lumps and bumps, creating as smooth and round a sphere as you can. Don’t panic! It doesn’t need to be perfect.
Phase 3: Frost and Smooth
- Crumb Coat: Apply a thin, messy layer of buttercream all over your cake sphere to trap any loose crumbs. Chill in the fridge for at least 30 minutes until it’s firm.
- Final Coat: Apply a second, more generous layer of buttercream. Use your offset spatula and bench scraper to get it as smooth and round as possible. This is the foundation for your tiles, so take your time. Chill it again until firm.
Phase 4: Time to Tile (The Fun, Tedious Part)
- Make Your Squares: Roll out your silver fondant very thin. Use a pizza cutter or a small square cutter to cut it into hundreds of tiny (about ½-inch) squares. This is a great time to listen to a podcast or force a friend to help you.
- Apply the Tiles: Starting from the bottom of the cake and working your way up in rows, gently press the fondant squares into the chilled buttercream. Stagger them like bricks for an authentic look. Cover the entire cake. Yes, this will take a while. It’s worth it.
Phase 5: Make it Shine
- In a small bowl, mix a teaspoon of silver luster dust with a few drops of clear alcohol or extract to form a paint.
- Using your food-safe paintbrush, carefully paint over all the fondant squares. This is the final, magical step that transforms your cake from a grey, tiled ball into a glittering, reflective disco ball.
Calories & Nutritional Info (A Ball of Fun)
Listen, you just spent hours creating an edible disco ball. The calories are irrelevant. The primary nutrient is pure, unadulterated fabulousness.
- Calories per slice: A lot. But you’ll burn it off on the dance floor.
- Serves: A crowd of very impressed, very happy people.
- Joy Factor: Off the charts.
Common Mistakes to Avoid (Disco Disasters)
- Using a Soft Cake: If you use a light, airy sponge cake, it will crumble and collapse when you try to carve it. You need a sturdy, dense cake like the one in this recipe.
- A Lumpy Sphere: If you don’t take the time to carve a relatively smooth ball and apply a smooth coat of buttercream, your tiles will look wonky and uneven. The shape underneath matters.
- Buttercream Meltdown: If your kitchen is warm and your buttercream is too soft, your tiles will slowly slide down the cake in a sad, glittery landslide. Keep the cake chilled and work in a cool room if possible.
- Skipping the Luster Dust: The grey fondant squares are just the beginning. The luster dust is what creates the mirror effect. Without it, it’s just a tiled ball cake. We came for disco, so give it the shine it deserves.
Variations & Customizations
Feeling extra? Of course you are.
1. The Rainbow Disco Ball
Instead of silver fondant, use several different colors of fondant (pink, orange, yellow, green, blue, purple) to create a vibrant, rainbow-tiled disco ball. It’s a stunning twist on the classic.
2. The Piñata Surprise
Before you “glue” the two cake halves together, carefully hollow out a small cavity in the center of each half. Fill the cavity with a mountain of sprinkles, M&Ms, or other small candies. When you cut the cake, the candy will spill out in a joyous cascade.
3. The Dark & Moody Disco Ball
Use a rich chocolate fudge cake and dark chocolate buttercream. Cover it with black or dark grey fondant squares and paint them with silver luster dust for a chic, moody, and sophisticated disco ball perfect for an elegant evening party.
FAQ: Your Sparkliest Questions, Answered
Do I have to use a sphere cake pan?

It makes it much easier, but no. You can bake the cake in two well-greased, oven-safe bowls of the same size. Just be prepared for a bit more carving to get the shape right.
What’s the easiest way to get all those silver squares?
The most time-consuming part is cutting the tiles. To save your sanity, you can buy pre-made edible silver sequins or confetti squares from a baking supply store or online. This is an amazing time-saving hack.
How do I cut a sphere cake?
It seems tricky, but it’s simple! The easiest way is to slice the entire cake in half, right down the middle. Then, lay each half flat-side-down on the cutting board and slice it like a regular loaf cake.
This seems like it takes forever. Can I make it in stages?
Absolutely! I highly recommend it.
- Day 1: Bake the cake layers. Once cool, wrap them well and store at room temperature.
- Day 2: Carve, assemble, and crumb coat the cake. Keep it chilled in the fridge.
- Day 3: Apply the final coat of frosting, add the tiles, and paint with luster dust.
How long will the finished cake last?
Because of the buttercream, you should store the cake in the refrigerator. It will stay fresh for up to 3-4 days. Let it sit at room temperature for about 30 minutes before serving for the best texture.
Can I use something other than fondant for the tiles?
Yes! Thinly sliced white chocolate or candy melts, cut into squares, can also work. You can also use edible wafer paper.
My luster dust paint is too thick/thin. What do I do?

You’re looking for the consistency of watercolor paint. If it’s too thick, add another drop of alcohol/extract. If it’s too thin and transparent, add a bit more luster dust.
Final Thoughts
Take a step back and admire your creation. You didn’t just bake a cake. You created an icon. You built the life of the party from sugar, butter, and pure, unadulterated disco energy. You are a rockstar.
Now, put that shimmering masterpiece in the center of the room, turn up the music, and get ready for the compliments to roll in. When people ask where you bought it, just strike a pose and tell them it was made with a little bit of magic and a whole lot of sparkle.