Misting system repair involves fixing and maintaining the equipment for optimal functionality. A properly functioning misting system can provide a cool and refreshing outdoor environment during hot summer months.
However, like any other mechanical system, misting systems can experience issues over time that may require repair. Whether it’s a clogged nozzle, a leaky valve, or a malfunctioning pump, addressing these issues is essential to ensure the system operates efficiently and effectively.
With regular maintenance and timely repairs, you can enjoy the benefits of a well-functioning misting system that enhances your outdoor experience. We will explore common misting system problems and provide insights on how to tackle them, ensuring your misting system is always in top condition.
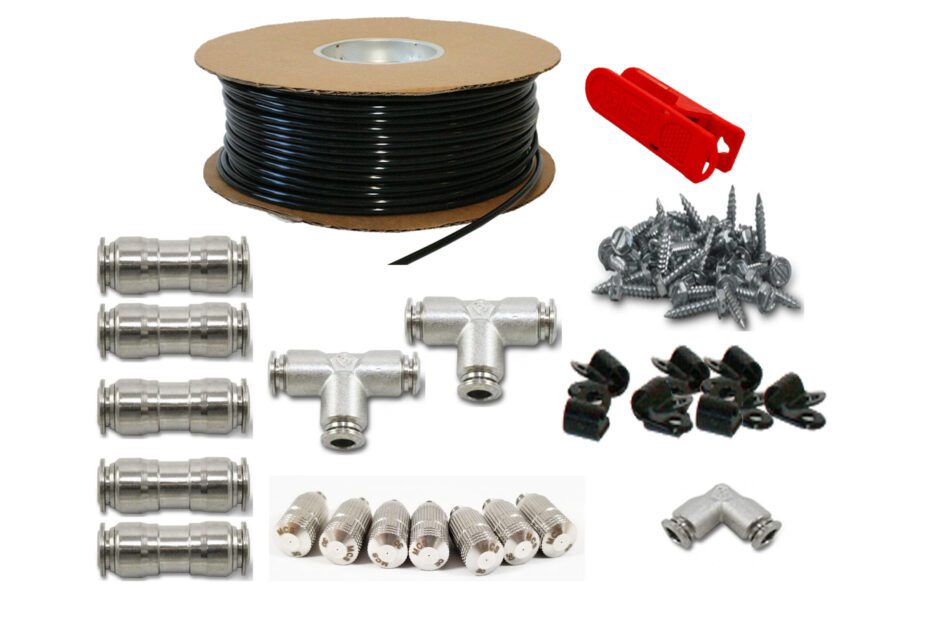
Credit: www.homedepot.com
Common Misting System Issues
Misting systems are a popular way to keep outdoor spaces cool and comfortable during the hot summer months. However, like any other system, they can experience certain issues that require repair and maintenance. In this section, we will discuss some of the most common misting system issues and how to address them.
Clogged Nozzles
One of the most common issues with misting systems is clogged nozzles. Over time, dust, debris, and minerals can build up in the nozzles, causing them to become blocked. When this happens, the misting system may not deliver a consistent and even spray of water.
To resolve this issue, start by turning off the misting system and removing the clogged nozzle. Soak the nozzle in a mixture of equal parts white vinegar and water for about 30 minutes to dissolve the deposits. Use a small brush, like a toothbrush, to gently scrub away any remaining debris. Rinse the nozzle thoroughly with clean water and reattach it to the misting system. This process can help unclog the nozzle and restore proper functionality to the misting system.
Leaking Connections

Another common issue that misting systems may face is leaking connections. Leaks can occur at the joints or fittings where the different components of the misting system connect. These leaks can result in water wastage and reduce the overall effectiveness of the system.
To fix leaking connections, start by inspecting all the joints and fittings for any signs of leakage. Tighten any loose connections using a wrench or pliers, making sure not to overtighten them. If the leak persists, you may need to replace the faulty component, such as a damaged O-ring or a cracked fitting. Regularly checking for and resolving leaking connections can help maintain the efficiency of your misting system.
Low Pressure
Low pressure is another issue that misting systems may encounter. When the system experiences low pressure, the misting nozzles may not generate the desired fine mist, resulting in reduced cooling efficiency.
To troubleshoot low-pressure issues, start by checking the water supply. Ensure that the supply valve is fully open and that there are no blockages in the supply line. If the water pressure is still low, you may need to examine the pump for any issues, such as a clogged filter or a worn-out diaphragm. Cleaning or replacing these components can help restore the water pressure and improve the performance of your misting system.
Dealing with and resolving common misting system issues, such as clogged nozzles, leaking connections, and low pressure, can help ensure that your system operates at its best. Regular maintenance and prompt repairs will extend the lifespan of your misting system and keep your outdoor spaces cool and comfortable throughout the summer season.
Diagnosing The Problem
When your misting system stops working, it’s crucial to quickly identify the root cause of the issue. Diagnosing the problem accurately will allow you to efficiently repair your misting system and restore its functionality. Here are three essential steps to help you diagnose the problem:
Inspecting Nozzles
One common issue with misting systems is clogged or damaged nozzles. Inspecting the nozzles is the first step in diagnosing the problem. Begin by visually examining each nozzle to check for any blockage or signs of wear and tear. Use a flashlight if needed to see clearly. If you notice any debris or mineral buildup obstructing the nozzle openings, it’s important to clean them carefully.
- Visually inspect each nozzle for blockage or damage.
- Use a flashlight if necessary to see clearly.
- Carefully clean any debris or mineral buildup obstructing the nozzle openings.
Checking Connections
Faulty connections can also cause your misting system to malfunction. Once you’ve inspected the nozzles, move on to checking the connections. Carefully examine the tubing connections, fittings, and clamps to ensure they are secure and tight. Be on the lookout for any visible leaks or loose components. Making sure all connections are properly seated and sealed is crucial for the efficient operation of your misting system.
- Examine tubing connections, fittings, and clamps for tightness.
- Look for any visible leaks or loose components.
- Ensure all connections are properly seated and sealed.
Measuring Pressure
In order for your misting system to work effectively, it’s essential to measure the pressure. Incorrect pressure levels can lead to inadequate cooling or excessive water consumption. Use a pressure gauge to measure the pressure at different points in the system, such as at the pump and individual nozzle locations. Compare the readings to the manufacturer’s recommended pressure range to determine if your misting system is operating within optimal levels.
- Use a pressure gauge to measure the pressure at various points in the system.
- Compare the readings to the manufacturer’s recommended pressure range.
- Determine if your misting system is operating within optimal levels.
Quick Fixes For Clogged Nozzles
A simple and effective solution to clogged nozzles in a misting system, providing quick fixes for efficient repair. Keep your system running smoothly with these hassle-free solutions.
If you have a misting system, you know how frustrating it can be when the nozzles get clogged. Clogged nozzles can significantly reduce the efficiency of your system, leading to poor cooling performance. But there’s no need to worry. With a few quick fixes, you can easily tackle this problem and get your misting system up and running smoothly again.
Removing And Cleaning Nozzles
One of the simplest ways to fix clogged nozzles is by removing them and giving them a thorough cleaning. Here’s how you can do it:
- Start by turning off the water supply to your misting system.
- Locate the clogged nozzle and carefully unscrew it from the misting line.
- Inspect the nozzle for any visible dirt, debris, or mineral buildup.
- If you notice any blockages, use a stiff brush or toothbrush to scrub away the dirt gently.
- Rinse the nozzle with clean water to remove any remaining debris.
- Once the nozzle is clean, reattach it to the misting line, making sure it is tightly secured.
- Turn on the water supply and check if the nozzle is spraying properly.
Using A Needle To Unclog Nozzles
Another effective method to unclog your misting system’s nozzles is by using a needle. This technique can help dislodge any stubborn blockages and restore the functionality of the nozzle. Here’s a step-by-step guide:
- Again, start by turning off the water supply to your misting system.
- Take a small needle or pin and gently insert it into the nozzle opening.
- Move the needle around in a circular motion to break up any debris or mineral deposits that may be causing the clog.
- Carefully remove the needle and turn on the water supply to flush out any dislodged particles.
- Repeat this process for each clogged nozzle in your misting system.
By following these quick fixes for clogged nozzles, you can easily maintain the efficiency of your misting system and continue enjoying its cooling benefits. Remember to clean your nozzles regularly to prevent future clogs and ensure optimal performance.
Solutions For Leaking Connections
One common issue with misting systems is leaking connections. If you notice water leakage around your misting system fittings, it’s essential to address the problem promptly. Leaking connections not only waste water but can also reduce the effectiveness of your system. In this section, we’ll explore two effective solutions for fixing this problem: tightening loose connections and replacing faulty O-rings.
Tightening Loose Connections
If you come across loose connections in your misting system, tightening them is a quick and simple solution. Loose connections occur when fittings and pipes are not securely fastened, allowing water to escape. To fix this, follow these steps:
- Start by turning off the water supply to your misting system. This will help prevent any accidental water leakage while you’re working on the connections.
- Inspect all the connections along the misting system. Look for any visible gaps or signs of water leakage.
- Using an adjustable wrench or pliers, carefully tighten each connection. Remember not to overtighten, as this can lead to damage.
- Once all the connections are tightened, turn the water supply back on and check for any remaining leaks. If the leakage persists, move on to the next solution.
Replacing Faulty O-rings
If tightening the connections didn’t resolve the leaking issue, the problem may lie with faulty O-rings. O-rings are small rubber seals that create a watertight seal between fittings or at the end of misting system components. Here’s how you can replace the faulty O-rings:
- First, turn off the water supply to your misting system to prevent any water leakage.
- Locate the fittings or components where the O-rings are located. These are typically found at the end of pipes, connections, or misting nozzles.
- Carefully remove the O-ring using a small screwdriver or your fingers. Take note of its size and shape to ensure you purchase the correct replacement.
- Once the old O-ring is removed, clean the surface where it was seated to ensure a proper seal with the new O-ring.
- Place the new O-ring in its designated spot, making sure it fits snugly. Apply a small amount of lubricant, such as petroleum jelly, to help create a watertight seal.
- Tighten the connection or reassemble the misting system, ensuring all components are securely in place.
- Finally, turn the water supply back on and check for any leaks. If there are no visible leaks, your misting system should be ready to go!
By taking the time to tighten loose connections and replace faulty O-rings, you can effectively solve the problem of leaking connections in your misting system. Remember to perform regular checks and maintenance to keep your system running smoothly and efficiently. This way, you can fully enjoy the benefits of a functional and leak-free misting system.
Addressing Low Pressure
Low pressure in a misting system can greatly reduce its effectiveness in cooling and humidifying the surrounding area. To ensure optimal performance, it is important to address low pressure issues promptly. In this section, we will discuss two common steps to take when troubleshooting low pressure: adjusting the water supply and cleaning or replacing the pressure regulator.
Adjusting Water Supply
If you are experiencing low pressure in your misting system, one of the first things to check is the water supply. Inadequate water flow can lead to reduced pressure. Here are a few steps you can take to adjust the water supply:
- Check the main water line leading to the system to ensure it is fully open. Sometimes, the valve may be partially closed, limiting the water flow.
- Inspect the filter or strainer in the water line to see if it is clogged. Remove any debris or sediment that may be obstructing the flow.
- Consider installing a larger or more powerful water pump, especially if your misting system covers a larger area. A pump with higher flow capacity can help improve pressure.
Cleaning Or Replacing Pressure Regulator
The pressure regulator is responsible for maintaining a consistent pressure in your misting system. If it becomes clogged or malfunctions, it can result in low pressure. Here are the steps to clean or replace the pressure regulator:
- Locate the pressure regulator, which is usually situated near the water pump or in the main water line.
- Turn off the water supply to the misting system, either by closing the main valve or shutting off the pump.
- Remove the pressure regulator from its housing and inspect it for any signs of debris or damage.
- If the regulator is dirty, clean it thoroughly using a mild cleaning solution and a soft brush. Pay close attention to the inlet and outlet ports.
- If the regulator is damaged or excessively worn, it may be necessary to replace it with a new one. Consult the manufacturer’s instructions or seek professional assistance.
- Reassemble the pressure regulator and reconnect it to the water line. Ensure all connections are tight and secure.
- Turn on the water supply and test the misting system for improved pressure.
Conclusion
Addressing low pressure in a misting system is crucial for maintaining its effectiveness. By adjusting the water supply and cleaning or replacing the pressure regulator, you can resolve low pressure issues and ensure optimal performance. Regular maintenance and periodic checks are essential for keeping your misting system running smoothly.
:max_bytes(150000):strip_icc()/rsp-product-levoit-luh-d302-wus-humidifiers-bedroom-large-room-at-amazon-dburreson-002-1-929add2e5911437dad735d7a466f704b.jpeg)
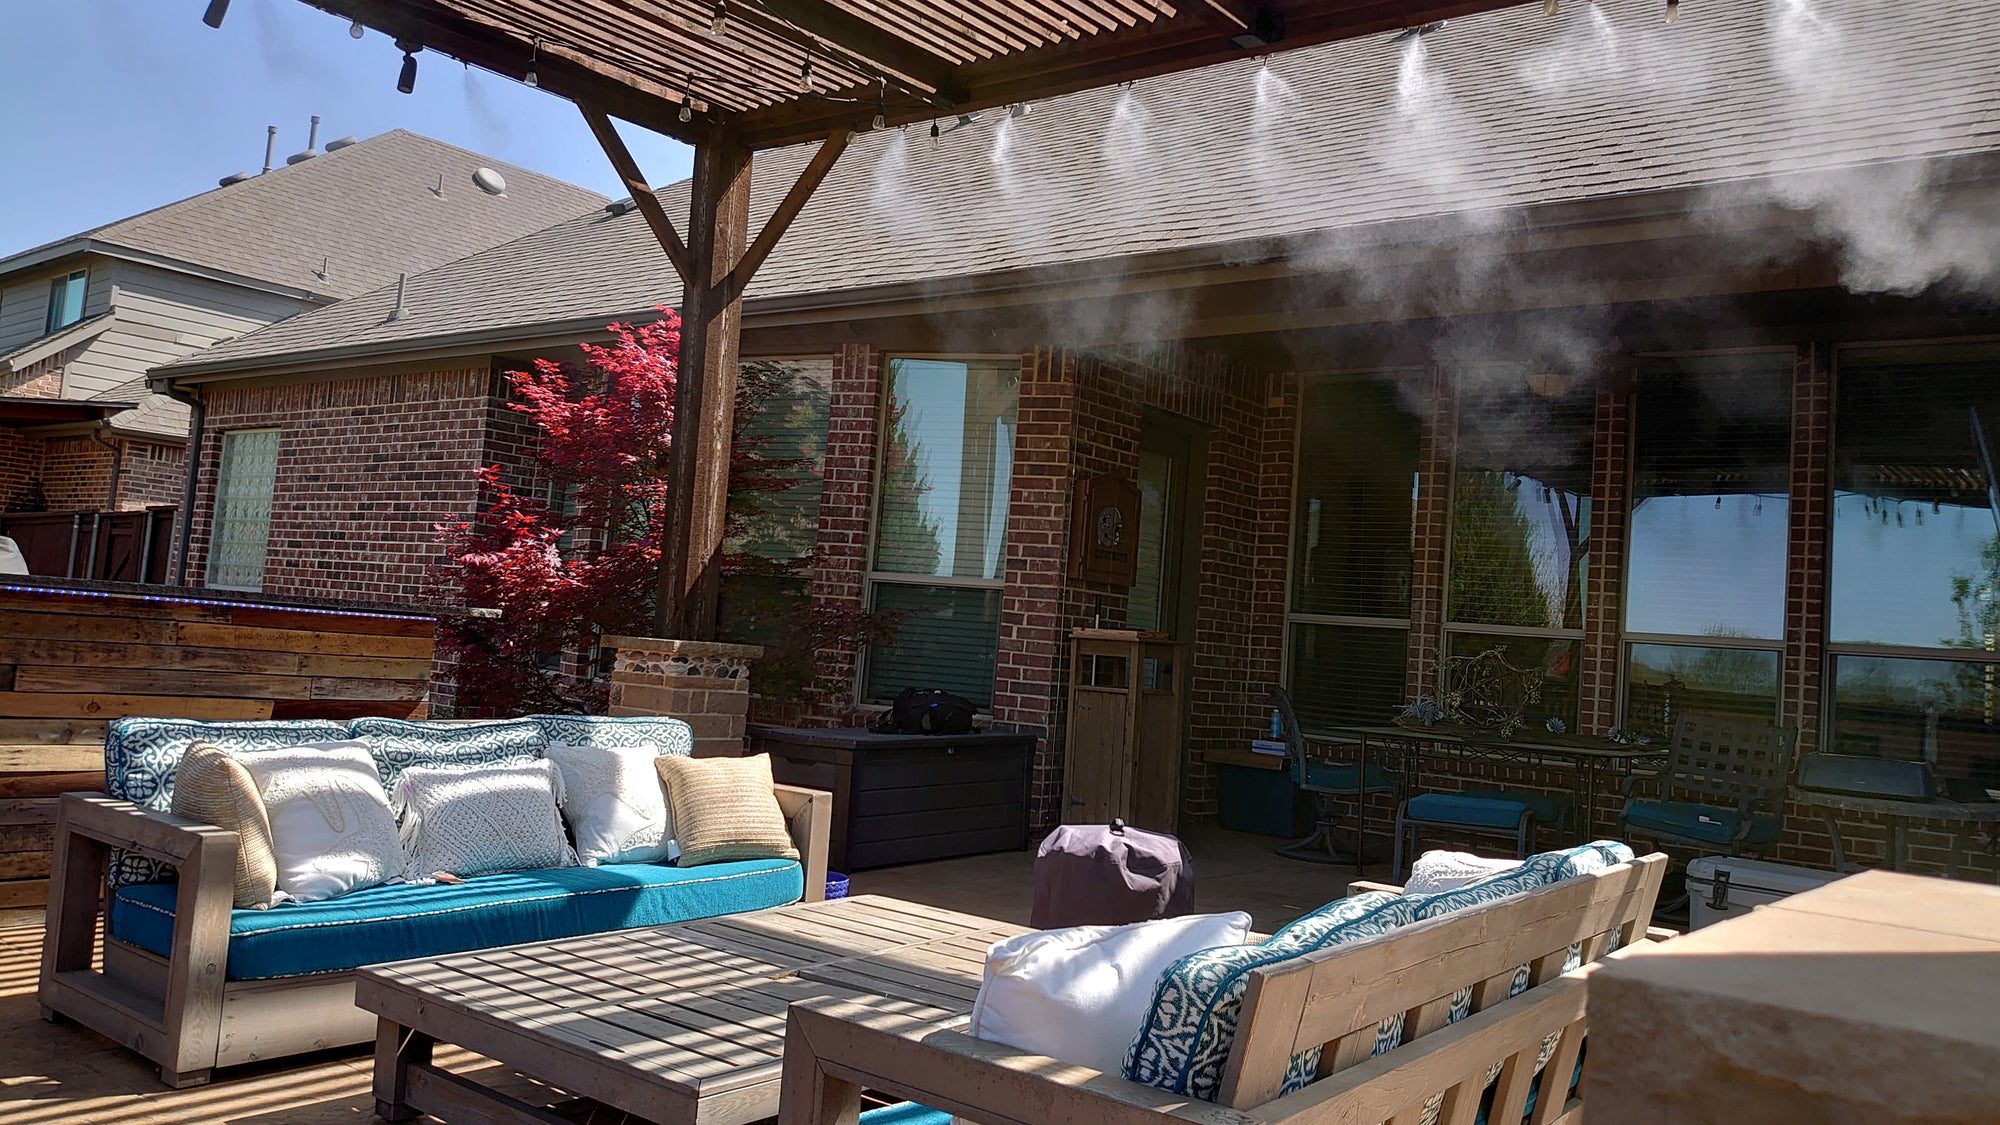
Credit: www.realsimple.com

Credit: www.mistersparky.com
Frequently Asked Questions Of Misting System Repair
How Do I Troubleshoot A Malfunctioning Misting System?
To troubleshoot a malfunctioning misting system, start by checking the connections, ensuring the pump is working, and inspecting the nozzles for clogs. If these steps don’t fix the issue, it’s best to contact a professional for further assistance.
Can I Repair A Clogged Misting Nozzle Myself?
Yes, you can easily clean a clogged misting nozzle yourself. Start by removing the nozzle, soaking it in vinegar for about 30 minutes, and then using a small brush or pin to remove any remaining debris. Rinse the nozzle thoroughly and reattach it to the system.
What Are The Signs Of A Leak In A Misting System?
Signs of a leak in a misting system can include low pressure, water pooling around the tubing or nozzles, or visible damage to the tubing. If you suspect a leak, it’s important to locate and repair it promptly to avoid further damage to the system and potential water wastage.
Conclusion
To ensure your misting system is in top-notch condition, regular maintenance and timely repairs are crucial. Neglecting even minor issues can lead to major malfunctions and costly repairs down the line. By hiring a professional for misting system repair, you can rest easy knowing that your system will operate efficiently, producing a refreshing and comfortable outdoor environment.
Don’t wait until it’s too late, prioritize regular maintenance and repairs for optimal performance.
- Why Ease of Use is Crucial in Trucking Dispatch Software - September 22, 2024
- Better Communication With Dispatchers: How Trucking Dispatch Software Can Optimize Operations - September 7, 2024
- Maximizing Efficiency: The Importance of Accurate Location Tracking for Trucking Operations - August 23, 2024