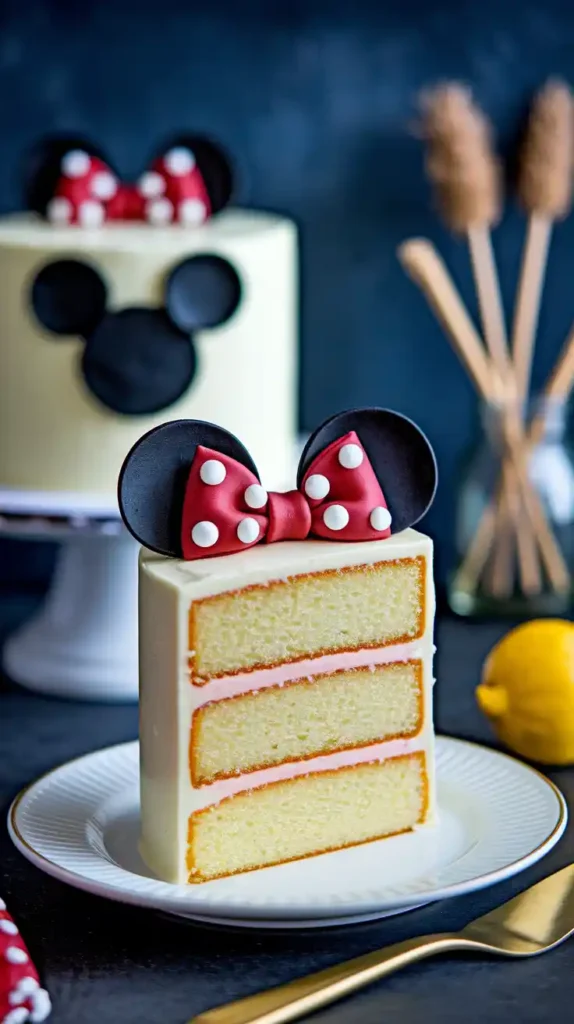
Remember pulling out the classic Mickey ears at Disneyland? Yeah, that same magic comes to life with this mickey mouse cake. It’s like childhood in cake form—who wouldn’t care?
Why This Mickey Mouse Cake Is Awesome
This mickey mouse cake is simple to bake but delivers big nostalgia vibes. Soft vanilla sponge, smooth buttercream, and cute edible ears—ideal for impressing at birthday parties (no cake decorator degree required).
Ingredients
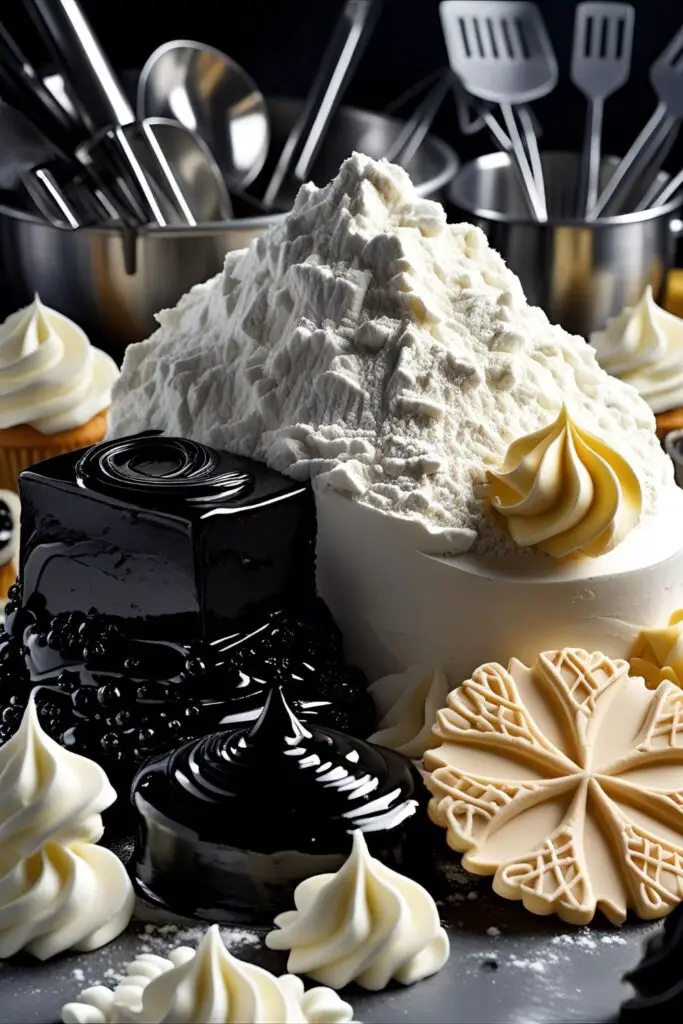
- 2 cups all‑purpose flour
- 1½ cups sugar
- 2 tsp baking powder
- ½ tsp salt
- ½ cup softened butter
- ¾ cup milk
- 3 eggs
- 2 tsp vanilla extract
- Black gel food coloring
- 2 cups vanilla buttercream
- Edible wafer paper or fondant for ears (black)
Substitutions: Almond flour for GF, coconut oil for dairy‑free.
Tools & Kitchen Gadgets Used
- Round 8″ cake pan
- Two small bowls for ear templates
- Mixer (stand or hand)
- Mixing bowls & spatulas
- Serrated leveler
- Offset spatula & bench scraper
- Piping bags
- Cake turntable
- Measuring cups/spoons
(Amaze your visitors with affiliate links here!)
Step-by-Step Instructions
- Preheat oven to 350 °F. Grease pan & bowls.
- Cream butter + sugar until fluffy.
- Add eggs one at a time + vanilla.
- Alternate in flour & milk—stop mixing just before it looks flawless.
- Pour into pan; bake 25–30 mins until toothpick’s clean.
- Bake batter in bowls for ears using small round molds.
- Cool cakes completely; level flat.
- Stack and crumb‑coat with buttercream. Chill.
- Smooth final coat, pipe sides if desired.
- Place fondant/wafer paper ears, then pipe eyes and nose.
Calories & Nutritional Info (per slice, 12 slices)
- 400 kcal
- Carbs: 52 g
- Fat: 19 g
- Protein: 4 g
Tip: Swap to light buttercream to trim ~50 kcal.
Common Mistakes to Avoid
- Ears drooping? Make them sturdy—chill fondant before placing.
- Crumb coat messy? Chill cake first—it makes smoothing easier AF.
- Color too light? Black gel needs a tiny bit; you can always darken.
- Uneven layers? Level them! Cake leveler = your secret weapon.
Variations & Customizations
- Keto twist: Almond flour base + cream cheese frosting.
- Chocolate version: Swap ½ cup flour for cocoa powder.
- Fruit-filled: Add raspberry jam between layers.
- Funfetti Mickey: Stir sprinkles into batter.
- Personalized: Add his name or age with fondant cutouts.
FAQ Section
- Can I bake ears separate? Yes—use small bowl molds or prep-wafer circles.
- Should cake be chilled before frosting? Absolutely—crisp edges make smoothing easy.
- How to store cake? Room temp 2 days; refrigerate longer.
- Can I freeze it? Sure—hold off on ears until after thawing.
- Gel frosting too stiff? Add a teaspoon of milk.
- Can kids help? Totally! Fondant ears are perfect for little decorators.
- What if buttercream melts? Keep cake cool, especially in summer.
Final Thoughts
Your mickey mouse cake is nostalgic, adorable, and simple enough that even baffled bakers can master it. Time to sparkle some magic—because why buy a boring store cake when you could DIY this cutie?