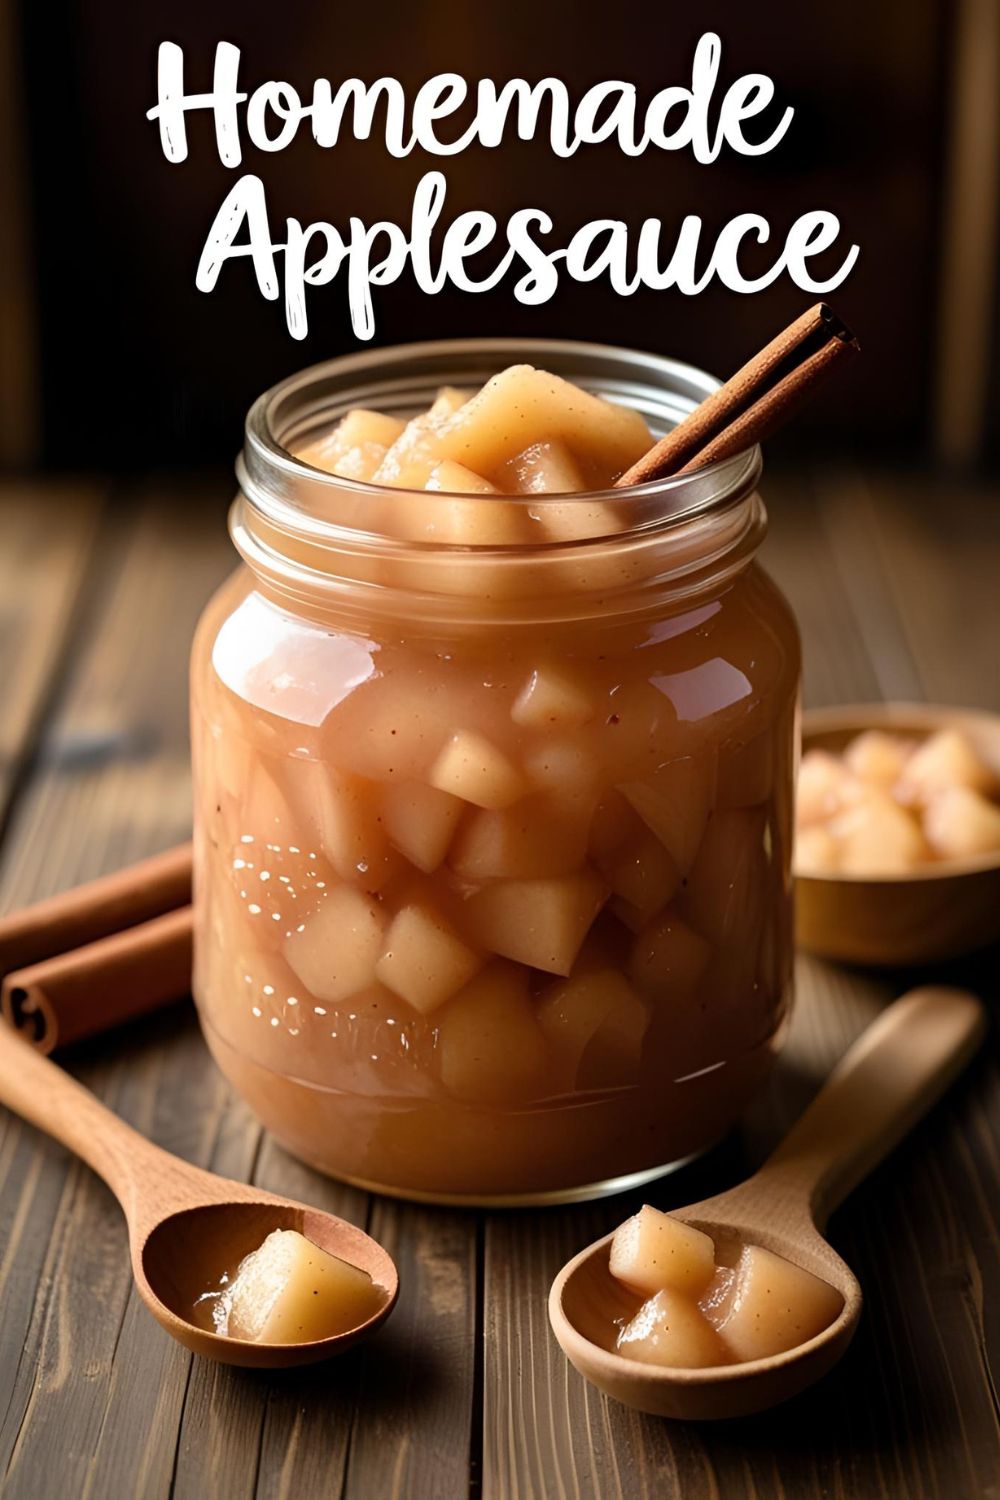
How to Make Applesauce From Scratch (It’s So Easy, It’s Almost Ridiculous)
How to Make Applesauce From Scratch (It’s So Easy, It’s Almost Ridiculous)
Let’s have a frank discussion about that jar of applesauce from the grocery store. You know the one. It sits there on the shelf, a pale, lifeless, gloppy substance that tastes more like a sweet, sad memory of an apple than an actual apple. We buy it, we eat it, but does it ever really spark joy? Does it make our kitchens smell like an autumnal paradise? No. It does not.
What if I told you that you are about 30 minutes and a handful of apples away from making the most vibrant, flavorful, soul-soothing applesauce of your entire life? What if I told you the process is so easy, it barely qualifies as a recipe? Today, my friend, you are going to learn how to make applesauce from scratch, and you will forever look at that sad jar on the shelf with nothing but pity.
Why Homemade Applesauce Is Infinitely Superior
So why should you bother peeling a few apples when you can just twist a lid? Oh, the reasons are plentiful and delicious.
First and foremost, you are the master of your apple destiny. You control everything. Want it super smooth and silky? Done. Prefer it chunky and rustic? You got it. Crave a sweet, cinnamon-spiced sauce, or a tart, unsweetened, purist version? The power is entirely in your hands. This is your sauce, tailored perfectly to your taste buds.
Second, this recipe is so easy, it’s almost laughable. If you can chop an apple (or even just roughly quarter it) and stir a pot occasionally, you possess all the necessary skills to make phenomenal applesauce. It’s one of the most forgiving, low-effort, high-reward kitchen projects on the planet.
Finally, your house will smell like heaven on earth. Seriously. The aroma of fresh apples and warm spices gently simmering on the stove is better than any scented candle money can buy. It’s the smell of comfort, of nostalgia, of pure, unadulterated coziness. People will walk into your house and immediately feel happy.
The (Flexible) Ingredients List

The beauty of applesauce is its simplicity. You only need a few things, and you can play around with all of them.
- Apples: About 3-4 pounds (or 8-10 medium apples). The type of apple you use will have the biggest impact on the final flavor. We’ll talk more about this below!
- Liquid: ½ cup. You can use water, apple cider, or apple juice for an extra apple-y kick.
- Lemon Juice: 1 tablespoon of fresh juice. This is crucial for brightening the flavor and preventing the applesauce from turning an unappealing brown.
- Optional Sweetener: 2 to 4 tablespoons of brown sugar, granulated sugar, maple syrup, or honey. You can add more, less, or none at all! It all depends on the sweetness of your apples and your personal preference.
- Optional Spices:
- 1-2 cinnamon sticks.
- A pinch of ground nutmeg.
- A couple of whole cloves.
- A star anise pod.
A Note on Apples: The best applesauce is often made with a mix of apples!
- For a sweet, classic sauce: Use McIntosh, Gala, Fuji, or Golden Delicious. These break down easily and are naturally sweet.
- For a tarter, more complex sauce: Use Granny Smith, Braeburn, or Pink Lady.
- My favorite combo? A mix of McIntosh (for softness) and Granny Smith (for tartness).
The Tools for Your Apple Adventure

You don’t need any fancy gadgets for this. Just the basics.
- A Large, Heavy-Bottomed Pot or Dutch Oven: This will distribute the heat evenly and prevent the bottom from scorching.
- A Vegetable Peeler: To get those skins off (unless you prefer to leave them on!).
- An Apple Corer or a Paring Knife: To remove the cores and seeds.
- A Wooden Spoon: For stirring.
- A Potato Masher: For creating a wonderfully rustic, chunky applesauce.
- An Immersion Blender or a Regular Blender: For achieving a super-smooth, silky applesauce.
Step-by-Step: The Path to Apple Nirvana
This is one of the coziest, most satisfying cooking processes ever. Let’s get started.
Step 1: Prep Your Apples This is the most “work” you’ll have to do. Peel, core, and roughly chop your apples. Don’t worry about making the pieces perfect or uniform; they are all going to break down into glorious mush anyway.
Step 2: Toss Everything in the Pot Place your chopped apples in your large pot. Add your liquid (½ cup of water or cider), the lemon juice, any sweetener you’re using, and your whole spices (like the cinnamon sticks). Give everything a quick stir.
Step 3: The Gentle Simmer Bring the mixture to a boil over medium-high heat, then immediately reduce the heat to low, cover the pot, and let it simmer. Your job now is to stir it occasionally (every 5-10 minutes) to make sure nothing is sticking to the bottom.
Step 4: Cook Until Tender Let the apples simmer for about 20-30 minutes. You’ll know they’re ready when they are incredibly tender and fall apart easily when you press them with your spoon. Your kitchen should now smell absolutely divine.
Step 5: The Texture Decision (Choose Your Own Adventure!) This is where you decide what kind of applesauce you want to be today.
- For Chunky Applesauce: Remove the whole spices (the cinnamon sticks, etc.). Use a potato masher to mash the apples directly in the pot until you reach your desired level of chunkiness.
- For Smooth Applesauce: Remove the whole spices. Use an immersion blender directly in the pot to blend the sauce until it’s perfectly smooth. Alternatively, you can carefully transfer the hot apple mixture to a regular blender and blend until silky (be sure to vent the blender lid to let steam escape!).
Step 6: Taste and Perfect Now, taste your creation. Does it need a little more sweetness? A pinch more spice? This is your moment to adjust it perfectly to your liking. Serve it warm for a comforting treat, or let it cool and store it in the fridge.
Calories & Nutritional Info (It’s Practically a Health Food!)


This is one dessert/snack you can feel pretty darn good about.
- Estimated Calories (Unsweetened): Around 80-100 kcal per ½ cup serving.
- A Healthy Choice: Homemade applesauce is packed with fiber (especially if you leave the skins on), vitamins like Vitamin C, and antioxidants.
- You Control the Sugar: Unlike store-bought versions that can be loaded with high-fructose corn syrup, you are in complete control of the sugar content. Making it unsweetened is a fantastic, healthy option.
Common Applesauce Errors to Avoid
It’s hard to mess this up, but not impossible. Here’s what to watch out for.
- Using Terrible Apples. The quality of your apples directly determines the quality of your sauce. Using waxy, bland, or mealy apples (I’m looking at you, Red Delicious) will result in a waxy, bland, mealy applesauce. Use flavorful apples that you would actually enjoy eating.
- Scorching the Bottom. This is a gentle simmer, not a high-octane boil. If your heat is too high, the sugars will burn on the bottom of the pot before the apples have had a chance to soften, resulting in a bitter, smoky flavor. Keep the heat on medium-low and stir occasionally.
- Adding Too Much Liquid at the Start. Apples are full of water that they will release as they cook. If you add too much liquid at the beginning, you can end up with a watery, soupy applesauce. Start with just ½ cup; it’s easier to add more later than it is to take it away.
- Forgetting the Lemon Juice. That little squeeze of acid does two very important things: it prevents the apples from oxidizing and turning a sad shade of brown, and it brightens and enhances the natural apple flavor, keeping it from tasting flat. Don’t skip the lemon!
Variations & Customizations
This simple sauce is a playground for flavors.
- Slow Cooker Applesauce: The ultimate “set it and forget it” method. Toss all your ingredients into your slow cooker, stir, and cook on low for 6-8 hours or on high for 3-4 hours. Mash or blend as desired. Your house will smell amazing all day long.
- Pear-Applesauce with Ginger: Swap out half of the apples for ripe, juicy pears. Add a teaspoon of freshly grated ginger along with the other spices. The combination of sweet pear, tart apple, and warm ginger is absolutely heavenly.
- Savory Applesauce for Pork or Chicken: Make the applesauce completely unsweetened. Instead of cinnamon, simmer the apples with a sprig of fresh rosemary and a few sprigs of thyme. This creates a sophisticated, savory condiment that is the perfect accompaniment to roasted pork chops or chicken.
Your Burning Applesauce Questions, Answered
Let’s get to the bottom of your apple queries.
What are the absolute best apples for making applesauce?
A mix is always best! But if you have to choose one, McIntosh is the king for its soft texture and classic “apple-y” flavor. Gala, Golden Delicious, Fuji, and Jonagold are also fantastic choices.
Do I have to peel the apples?
Nope! Leaving the skins on will give you a more rustic, chunky texture and will add a ton of extra fiber and nutrients. The skins will soften completely. If you want a super-smooth sauce, however, you should peel them.
How do I make a completely unsweetened applesauce?
Simple: just omit the sugar or any other sweetener. Choose sweeter apple varieties like Gala or Fuji, and you’ll find it’s plenty sweet on its own.
How long does homemade applesauce last in the fridge?
When stored in an airtight container (like a mason jar), your homemade applesauce will last for about 7 to 10 days in the refrigerator.
Can I freeze homemade applesauce?

Yes, it freezes beautifully! Let it cool completely, then pour it into freezer-safe bags or containers, leaving a little bit of headspace for expansion. It will last for months in the freezer.
Why did my applesauce turn brown?
That’s just oxidation—the same thing that happens when you leave a sliced apple on the counter. The lemon juice in the recipe is specifically there to help prevent this and keep your sauce looking bright and appetizing.
Can I use this method with other fruits?
Absolutely! This simmering method works wonderfully for making pear sauce or even peach sauce. Just adjust the sweetness and spices to your liking.
Final Thoughts
Look at you. You took a few humble apples and, with just a little time and heat, you transformed them into a bowl of pure, unadulterated comfort. Your kitchen smells like a dream, and you have a delicious, wholesome snack that you made with your own two hands. You’ll never be able to look at that bland, lifeless jar at the store the same way again.
Now go on, get yourself a spoon, and enjoy a warm bowl of your creation. You deserve to feel a little smug about your newfound domestic prowess.