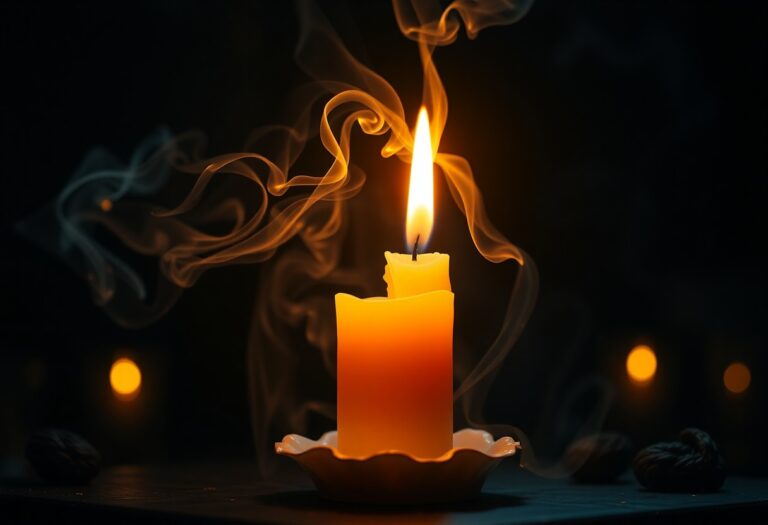
A guide to making your own eco-friendly candles at home.
In recent years, the demand for eco-friendly products has surged, reflecting a growing awareness of environmental issues and a desire for sustainable living. Among these products, eco-friendly candles have gained popularity as consumers seek alternatives to traditional candles that often contain harmful chemicals and non-renewable materials. Eco-friendly candles are crafted from natural ingredients, such as soy wax, beeswax, or palm wax, and are often scented with essential oils rather than synthetic fragrances.
This shift not only benefits the environment but also enhances the overall candle experience, providing a cleaner burn and a more pleasant aroma. The appeal of eco-friendly candles extends beyond their composition; they also embody a lifestyle choice that prioritizes health and sustainability. Traditional candles can release toxins into the air when burned, contributing to indoor air pollution.
In contrast, eco-friendly candles are designed to minimize these risks, making them a safer option for homes, especially those with children or pets. As consumers become more conscious of their purchasing decisions, the market for eco-friendly candles continues to expand, offering a variety of options that cater to diverse preferences and needs.
Key Takeaways
- Eco-friendly candles are a sustainable and non-toxic alternative to traditional candles, making them better for the environment and your health.
- Choosing the right materials and ingredients, such as soy wax and cotton wicks, is essential for making eco-friendly candles.
- Step-by-step instructions for making eco-friendly candles include melting the wax, adding essential oils for scent, and pouring the mixture into containers.
- Adding natural scents and colors to eco-friendly candles can be achieved using essential oils and natural dyes, such as beetroot powder or turmeric.
- Eco-friendly packaging and presentation options include using recycled or biodegradable materials, and minimalistic, earthy designs.
Choosing the Right Materials and Ingredients
Selecting the right materials is crucial when embarking on the journey of making eco-friendly candles. The primary ingredient in most candles is wax, and opting for natural waxes is essential for creating an environmentally friendly product. Soy wax is one of the most popular choices due to its renewable nature and ability to burn cleanly.
Derived from soybeans, this wax is biodegradable and produces less soot compared to paraffin wax, which is a byproduct of petroleum. Additionally, soy wax has a lower melting point, allowing for a longer burn time and better scent throw. Another excellent option is beeswax, which is not only natural but also has unique properties that enhance the candle’s performance.
Beeswax candles emit negative ions when burned, which can help purify the air by neutralizing pollutants. Furthermore, they have a natural honey scent that requires little to no additional fragrance. For those who prefer plant-based options, palm wax is another alternative; however, it is essential to source sustainably harvested palm wax to avoid contributing to deforestation and habitat destruction.

In addition to the wax, the choice of wick is equally important. Cotton wicks are a popular choice for eco-friendly candles as they are free from harmful chemicals and metals. Some candle makers also opt for wooden wicks, which provide a unique crackling sound reminiscent of a fireplace and can enhance the ambiance of any space.
When selecting wicks, it’s vital to ensure they are lead-free and made from natural fibers to maintain the integrity of the eco-friendly candle.
Step-by-Step Instructions for Making Eco-Friendly Candles

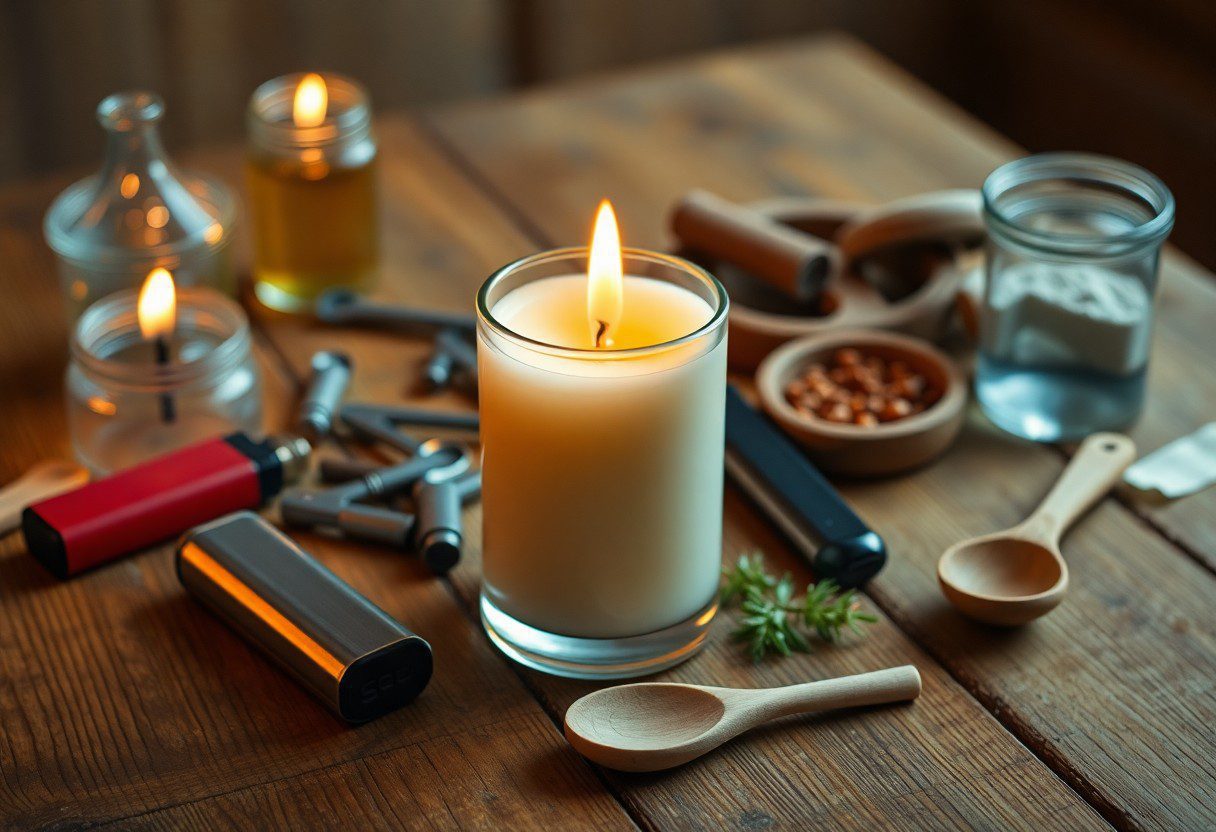
Creating your own eco-friendly candles can be a rewarding and enjoyable process. To begin, gather your materials: natural wax (such as soy or beeswax), wicks, containers or molds, a double boiler or microwave-safe bowl for melting the wax, and any desired scents or colors. Start by measuring out the amount of wax needed based on the size of your container; a general rule of thumb is to fill your container with wax flakes to determine how much you will need.
Once you have your wax measured, melt it using a double boiler or microwave. If using a microwave, heat in short intervals to prevent overheating. The ideal temperature for melting soy wax is around 170°F (77°C), while beeswax requires slightly higher temperatures.
After the wax has melted completely, remove it from heat and allow it to cool slightly before adding any essential oils or natural colorants. Essential oils not only provide fragrance but can also offer therapeutic benefits depending on the type used. Next, prepare your wick by securing it to the bottom of your container using a small amount of melted wax or a wick sticker.
Once the wick is in place, carefully pour the melted wax into the container while ensuring the wick remains centered. Leave some space at the top for any additional decorative elements you may want to add later. Allow the candle to cool completely before trimming the wick to about ¼ inch above the surface of the wax.
This process not only results in a beautiful candle but also allows you to customize it according to your preferences.
Adding Natural Scents and Colors
One of the most appealing aspects of making eco-friendly candles is the ability to personalize them with natural scents and colors. When it comes to fragrance, essential oils are the go-to choice for those seeking an aromatic experience without synthetic additives. Popular essential oils include lavender for relaxation, eucalyptus for clarity, and citrus oils like lemon or orange for an uplifting atmosphere.
The key is to experiment with different combinations to create unique blends that resonate with your personal taste. To incorporate scents into your candles effectively, add essential oils once the melted wax has cooled slightly but is still in liquid form. A general guideline is to use about 1 ounce of essential oil per pound of wax; however, this can be adjusted based on personal preference and the strength of the oil used.
Stir gently but thoroughly to ensure even distribution throughout the wax before pouring it into your container. In addition to scents, natural colorants can enhance the visual appeal of your eco-friendly candles. Options such as plant-based dyes or natural pigments derived from spices (like turmeric for yellow or beetroot powder for pink) can be used to achieve beautiful hues without compromising on sustainability.
When adding colorants, it’s best to mix them into the melted wax before pouring it into containers. This allows for an even distribution of color throughout the candle.
Eco-Friendly Packaging and Presentation
The presentation of eco-friendly candles plays a significant role in their appeal, especially when considering gift-giving or retail sales. Choosing sustainable packaging materials is essential in maintaining an eco-conscious approach throughout the entire candle-making process. Recyclable or biodegradable materials such as glass jars, metal tins, or recycled cardboard boxes can be used effectively while minimizing environmental impact.
When packaging your candles, consider using minimalistic designs that highlight their natural qualities. Simple labels made from recycled paper can provide essential information about the candle’s ingredients and burning instructions while maintaining an aesthetic that aligns with eco-friendly values. Additionally, incorporating elements like twine or hemp string can add a rustic touch that resonates with consumers seeking authenticity in their purchases.
For those looking to sell their eco-friendly candles, consider offering refill options or encouraging customers to repurpose containers after use. This not only promotes sustainability but also fosters customer loyalty by creating a sense of community around environmentally responsible practices. By prioritizing eco-friendly packaging and presentation, candle makers can effectively communicate their commitment to sustainability while enhancing the overall consumer experience.
Safety Tips for Making and Burning Eco-Friendly Candles

While making eco-friendly candles can be a fun and creative endeavor, safety should always be a top priority throughout the process. When melting wax, it’s crucial to monitor temperatures closely to prevent overheating or accidental burns. Using a thermometer can help ensure that you maintain appropriate temperatures during both melting and pouring stages.
Additionally, always work in a well-ventilated area to avoid inhaling fumes from heated wax or essential oils. When it comes to burning eco-friendly candles, proper wick maintenance is essential for safety and performance. Trimming wicks before each use helps prevent excessive soot production and ensures an even burn.
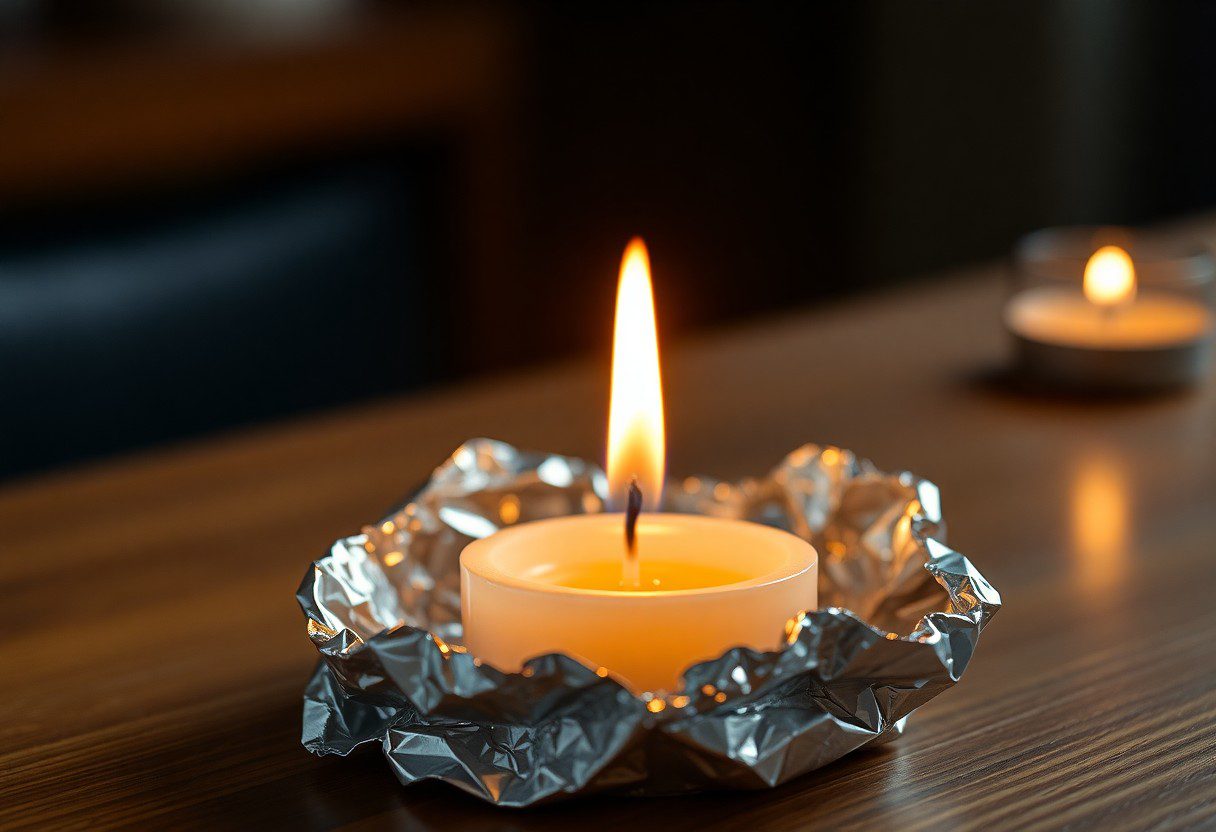
A wick that is too long can lead to larger flames and increased soot emissions, which can negate some of the benefits associated with using eco-friendly materials. It’s recommended to keep wicks trimmed to about ¼ inch above the surface of the wax. Furthermore, always place candles on stable surfaces away from flammable materials and never leave them unattended while burning.
It’s advisable to keep candles out of reach of children and pets to prevent accidents. By following these safety tips during both the candle-making process and while burning them at home, you can enjoy your eco-friendly creations with peace of mind.
Benefits of Using Eco-Friendly Candles
The benefits of using eco-friendly candles extend far beyond their composition; they encompass health advantages, environmental impact reduction, and enhanced sensory experiences. One significant benefit is improved indoor air quality. Traditional paraffin candles release harmful chemicals such as benzene and toluene when burned, which can contribute to respiratory issues and other health problems over time.
In contrast, eco-friendly candles made from natural waxes produce little to no soot or toxins when burned properly. Moreover, many consumers appreciate that eco-friendly candles often utilize sustainable sourcing practices in their production processes. For instance, soy wax is derived from renewable resources—soybeans—while beeswax is a byproduct of honey production that supports local beekeepers and promotes biodiversity through pollination efforts.
By choosing eco-friendly candles, consumers contribute positively to environmental conservation efforts while supporting ethical practices within industries. Additionally, eco-friendly candles offer unique sensory experiences through their use of natural scents derived from essential oils rather than synthetic fragrances that can cause allergic reactions or irritations in some individuals. The therapeutic properties associated with various essential oils can enhance relaxation or uplift mood depending on personal preferences—making these candles not just decorative items but also tools for enhancing well-being.
Conclusion and Additional Resources
As interest in sustainable living continues to grow, eco-friendly candles represent an accessible way for individuals to make environmentally conscious choices in their everyday lives. By understanding how to select appropriate materials and ingredients while following safe practices during both production and use, anyone can create beautiful candles that align with their values. For those interested in further exploring this topic or seeking additional resources on making eco-friendly candles at home, numerous online platforms offer tutorials and community support for aspiring candle makers.
Websites dedicated to DIY projects often feature step-by-step guides along with forums where enthusiasts share tips and experiences related to crafting sustainable products. Books focused on natural living frequently include sections on homemade candles as part of broader discussions about reducing waste and embracing eco-conscious practices in daily life. By tapping into these resources, individuals can deepen their understanding of sustainable candle-making while enjoying the creative process that comes with crafting personalized products that illuminate their spaces responsibly.
If you’re interested in making your own eco-friendly candles at home, you may also want to check out this article on stylish DIY travel candles for adventures. This article provides tips and ideas for creating portable candles that you can take with you on your travels. Additionally, you may want to visit this article to learn about the importance of safety labels on candle compliance. And for more crafting inspiration and resources, be sure to visit the Crafters Buzz website.
FAQs
What are eco-friendly candles?
Eco-friendly candles are candles that are made from natural, sustainable, and non-toxic materials. They are designed to have a minimal impact on the environment and human health.
Why should I make my own eco-friendly candles at home?
Making your own eco-friendly candles at home allows you to control the ingredients and ensure that they are non-toxic and sustainable. It also gives you the opportunity to customize the scents and colors to your preference.
What are the benefits of using eco-friendly candles?
Eco-friendly candles are better for the environment as they are made from renewable resources and do not release harmful chemicals when burned. They also promote a healthier indoor air quality compared to traditional paraffin candles.
What are some common ingredients used in making eco-friendly candles?
Common ingredients used in making eco-friendly candles include soy wax, beeswax, coconut wax, essential oils for fragrance, and natural wicks such as cotton or hemp.
Are there any safety considerations when making eco-friendly candles at home?
When making eco-friendly candles at home, it is important to follow safety guidelines for handling hot wax and using fragrance oils. It is also important to use proper candle-making equipment and work in a well-ventilated area.