Tips for achieving even burning and preventing wax from pooling.
Selecting the appropriate wick size and type is crucial for achieving optimal candle performance. The wick serves as the conduit for fuel, drawing wax up to the flame where it is vaporized and combusted. If the wick is too small, it may not produce enough heat to melt the wax adequately, leading to a poor burn and wasted wax.
Conversely, a wick that is too large can create an excessively large flame, resulting in soot production and an uneven burn. Therefore, understanding the relationship between wick size, candle diameter, and wax type is essential for crafting a well-functioning candle. Different types of wicks are available, each designed for specific waxes and candle styles.
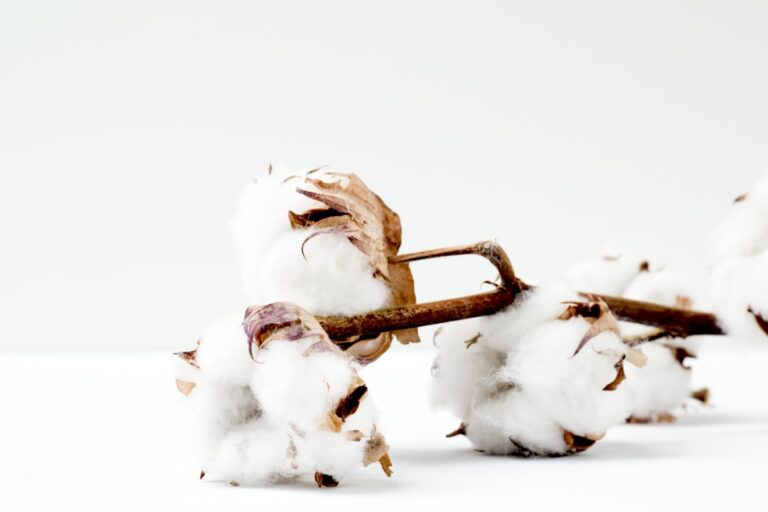
Cotton wicks are popular for their clean burn and ease of use, while wood wicks provide a unique crackling sound reminiscent of a fireplace. Additionally, wicks can be treated with various materials, such as zinc or paper, to enhance their burning characteristics. For instance, a zinc-core wick may be ideal for larger candles as it provides stability and helps maintain a consistent flame height.
When choosing a wick, consider the diameter of the candle; generally, a larger candle will require a thicker wick to ensure proper fuel delivery. Testing different combinations can lead to discovering the perfect match for your specific candle formulation.
Trimming the wick before each use
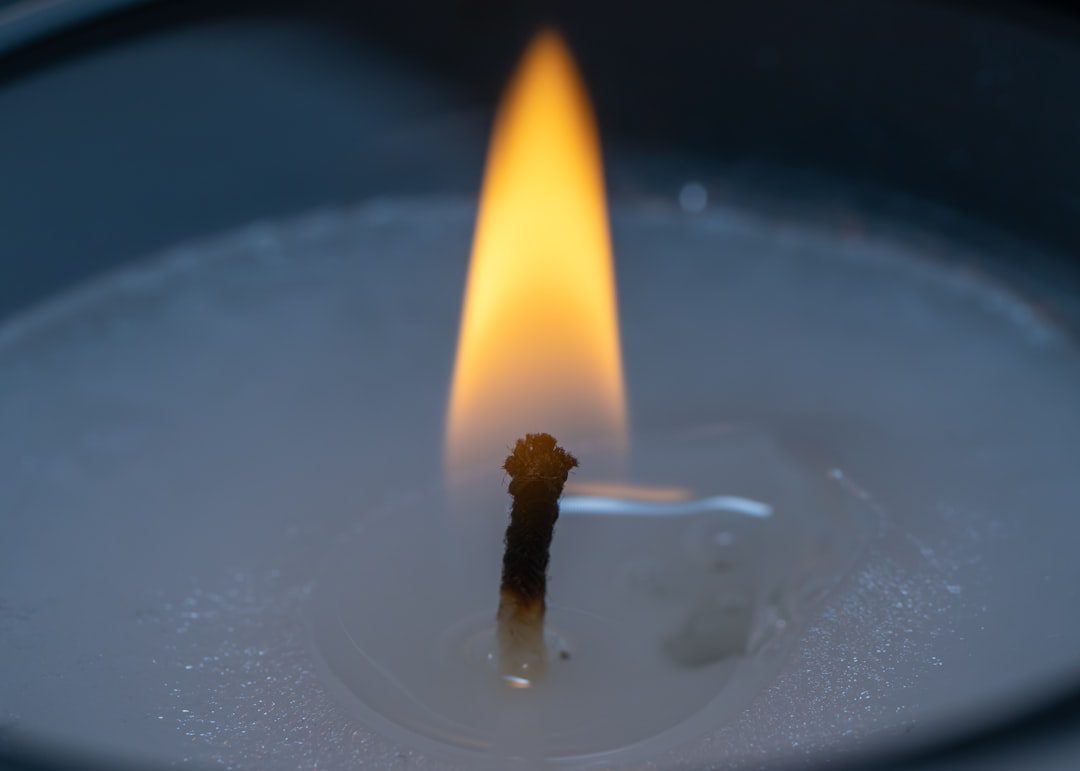
Trimming the wick before lighting a candle is a simple yet effective practice that can significantly enhance the candle’s performance. A properly trimmed wick should be approximately 1/4 inch long. This length allows for an optimal flame size that promotes even melting of the wax while minimizing soot production.
If the wick is too long, it can lead to a flickering flame and excessive smoke, which not only detracts from the ambiance but can also pose health risks due to increased soot particles in the air. In addition to improving burn quality, trimming the wick can also extend the life of the candle. A shorter wick reduces the amount of wax consumed during burning, allowing for a longer-lasting experience.
Furthermore, it helps prevent mushrooming, where carbon builds up on the wick tip, creating an unsightly and inefficient burn. By incorporating this simple maintenance step into your candle routine, you can enjoy a cleaner, more efficient burn while maximizing the longevity of your favorite scented candles.
Keeping the candle away from drafts

Drafts can significantly impact how a candle burns, leading to uneven melting and an inconsistent flame. When a candle is placed in a drafty area, such as near an open window or air vent, the airflow can cause the flame to flicker or lean to one side. This not only affects the aesthetic appeal of the candle but can also result in wasted wax as it melts unevenly.
To achieve a consistent burn and maximize fragrance throw, it is essential to position candles in areas free from drafts. Moreover, keeping candles away from drafts can enhance safety. A flickering flame may increase the risk of accidental fires if it comes into contact with nearby flammable materials.
By ensuring that candles are placed in stable environments with minimal airflow, you can enjoy their beauty and fragrance without compromising safety. Consider using candle holders that provide stability and protection from drafts while also complementing your home decor.
Using a candle snuffer instead of blowing out the flame
When it comes time to extinguish a candle, many people instinctively blow out the flame. However, this method can create smoke and cause wax splatter, which detracts from the overall experience. Instead, using a candle snuffer is a more effective and elegant way to extinguish a flame without creating unwanted mess or smoke.
A snuffer works by depriving the flame of oxygen, allowing it to go out gently and cleanly. In addition to providing a cleaner extinguishing method, using a snuffer can also help preserve the integrity of the wick. Blowing out a candle can cause the wick to bend or become misshapen, which may affect future burns.
By using a snuffer, you maintain the wick’s structure and ensure that it will perform optimally during subsequent uses. This small adjustment in your candle care routine can lead to improved performance and longevity of your favorite candles.
Avoiding burning the candle for too long
Candle enthusiasts often find themselves lost in the ambiance created by flickering flames and delightful scents. However, it is essential to be mindful of how long you burn your candles at one time. Most experts recommend limiting burn time to no more than four hours at a stretch.
Burning candles for extended periods can lead to excessive heat buildup, which may cause the container to become dangerously hot or even crack in extreme cases. Additionally, prolonged burning can lead to tunneling—a phenomenon where only the center of the candle burns down while the outer edges remain solid. This not only wastes wax but also diminishes fragrance throw as less surface area is exposed to air.
To avoid these issues, consider setting a timer or creating a routine that allows you to enjoy your candles without overextending their burn time. By practicing moderation in your burning habits, you can ensure that your candles provide consistent enjoyment over time.
Using a candle warmer or plate to prevent pooling

Candle pooling occurs when melted wax collects around the edges of the container instead of being consumed by the flame. This often happens when candles are burned for too short a time or when they are not properly maintained. To combat this issue, using a candle warmer or plate can be an effective solution.
A candle warmer gently heats the wax from below without producing an open flame, allowing for an even melt across the entire surface. Using a warmer not only prevents pooling but also enhances fragrance release without the risks associated with an open flame. This method is particularly beneficial for scented candles that may not have been designed for long burn times or those made with delicate fragrances that could be overwhelmed by high heat.
Additionally, warmers come in various styles that can complement your home decor while providing an alternative way to enjoy your favorite scents safely.
Rotating the candle periodically while burning
Rotating your candle periodically while it burns is another technique that can enhance its performance and longevity. As candles burn down, they tend to develop uneven surfaces due to variations in heat distribution across different areas of the wax pool. By gently rotating the candle every 30 minutes or so during its burn time, you can promote even melting and prevent tunneling.
This practice is particularly useful for larger candles or those with multiple wicks, as it helps ensure that all areas of the wax are heated evenly. Additionally, rotating your candle can help distribute fragrance more uniformly throughout your space, creating a more balanced aromatic experience. This simple adjustment in your burning routine can lead to improved performance and satisfaction with your candles.
Using a lid or cover to extinguish the flame
Using a lid or cover to extinguish a candle is an effective method that combines functionality with aesthetics. When you place a lid over a burning candle, it deprives the flame of oxygen, causing it to go out without producing smoke or splatter. This method not only keeps your space cleaner but also helps preserve any remaining fragrance in the wax by sealing it off from air exposure.
Moreover, using a lid after extinguishing your candle can help protect it from dust and debris when not in use. This is particularly important for scented candles that may lose their fragrance potency if left exposed for extended periods. By incorporating this practice into your candle care routine, you can maintain both cleanliness and fragrance integrity while enjoying your favorite candles for longer periods.
In conclusion, proper candle care involves several key practices that enhance performance and longevity while ensuring safety and enjoyment. From selecting the right wick size and type to employing techniques like trimming wicks and using snuffers or lids for extinguishing flames, each step contributes to an optimal burning experience. By being mindful of these practices, you can elevate your enjoyment of candles and create inviting atmospheres in your home with ease.
If you’re looking for more tips on achieving even burning and preventing wax from pooling, check out this article on DIY Sturdy Pillar Candles for Any Occasion. This article provides step-by-step instructions on how to create sturdy pillar candles that burn evenly and prevent wax from pooling, ensuring a longer-lasting and more enjoyable candle experience.
FAQs
What are some tips for achieving even burning of a candle?
Some tips for achieving even burning of a candle include trimming the wick to 1/4 inch before each use, allowing the candle to burn long enough for the entire top layer of wax to melt, and keeping the candle away from drafts.
How can I prevent wax from pooling in a candle?
To prevent wax from pooling in a candle, it is important to trim the wick to 1/4 inch before each use, avoid burning the candle for more than 4 hours at a time, and keep the candle on a level surface to ensure even melting.