The Ultimate Guide on How to Cook Chicken in an Air Fryer (And Banish Dryness Forever!)
Let’s be honest. You’ve had “healthy” chicken breast that had the texture and flavor of packing material. We all have. You choke it down with a gallon of water, telling yourself it’s good for you, while dreaming of something, anything, with a little bit of flavor and moisture. Well, my friend, I’m here to tell you that your days of sad, dry chicken are over. Today, we’re learning how to cook chicken in an air fryer so perfectly that you’ll wonder why you ever made it any other way.
That magical countertop appliance isn’t just for reheating fries. It’s your secret weapon for creating the juiciest, most flavorful, and ridiculously easy chicken breast of your life. Get ready to transform your meal prep, weeknight dinners, and your relationship with chicken forever.
Why This Recipe is a Weeknight Miracle
So, why trust your precious chicken to a miniature convection oven? Because it’s brilliant, that’s why. This isn’t just another chicken recipe; it’s a solution to a culinary crisis.
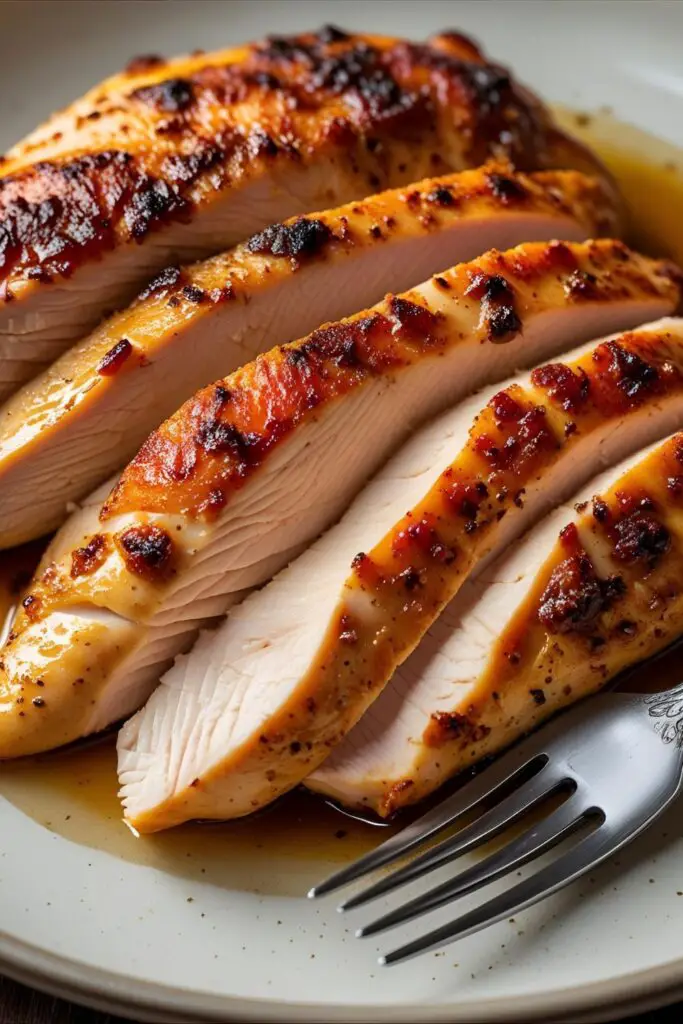
- Impossibly Juicy Results: I’m not exaggerating. The high, circulating heat of the air fryer cooks the chicken so quickly that it doesn’t have time to dry out. The result is a tender, moist interior that will make you a believer.
- Crispy, “Fried” Texture (Without the Fryer): You get a beautifully golden-brown, slightly crispy exterior that tastes indulgent, but without all the breading and oil of actual fried chicken.
- Wickedly Fast and Easy: We’re talking about perfectly cooked chicken in under 20 minutes. The cleanup is a breeze, and the process is so simple you could do it half-asleep (but please don’t, that’s a safety hazard).
- The Ultimate Meal Prep Hero: Cook a few of these at the beginning of the week, and your future self will thank you. Your sad desk salads are about to get a major promotion.
The Simple Ingredient Lineup
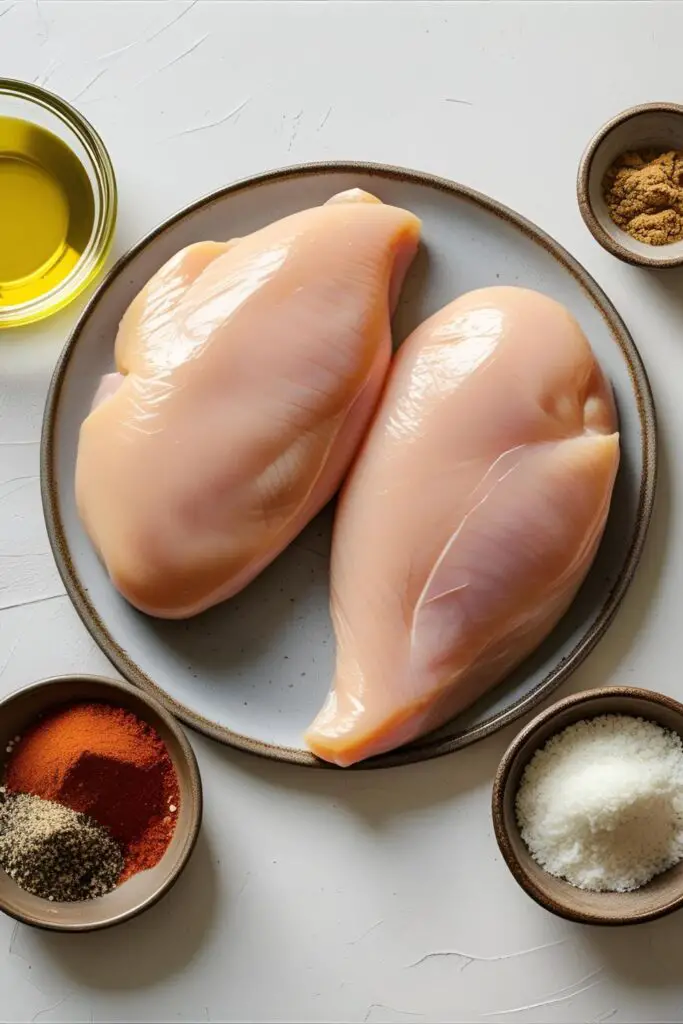
You don’t need a pantry full of fancy stuff to make amazing chicken. It’s all about the technique.
- Boneless, Skinless Chicken Breasts: Two medium-sized breasts (about 6-8 oz each) are perfect for a standard air fryer.
- Olive Oil or Avocado Oil: Just a tablespoon to help the seasonings stick and the chicken brown beautifully.
- The Perfect Spice Rub: This simple blend is my go-to for incredible flavor.
- 1 teaspoon smoked paprika (don’t skip the smoked part, it’s a game-changer!)
- 1 teaspoon garlic powder
- ½ teaspoon onion powder
- ½ teaspoon salt
- ¼ teaspoon black pepper
Your Trusty Kitchen Gadgets
The right tools make all the difference between good chicken and great chicken.
- An Air Fryer: The star of our show. Any basket-style model will work perfectly.
- An Instant-Read Meat Thermometer: This is 100% non-negotiable. It is the ONLY way to know for sure if your chicken is cooked through but not overcooked. Seriously, buy one.
- Meat Mallet or a Rolling Pin: To get the chicken to an even thickness for even cooking.
- A Small Bowl: For mixing your glorious spice rub.
- Tongs: For safely flipping the chicken without scratching your air fryer basket.
Step-by-Step to the Juiciest Chicken Ever

Ready to change your life? Or at least your dinner? Let’s do this.
- Prep the Chicken (Don’t Skip This!): Chicken breasts are naturally thicker on one end. To ensure they cook evenly, place them between two sheets of parchment paper or plastic wrap and pound them with a meat mallet or rolling pin until they are an even thickness of about ¾-inch. This is a crucial step for avoiding that dreaded dry-on-one-end, raw-on-the-other situation.
- Pat it Dry: Use paper towels to pat the chicken breasts completely dry. A dry surface helps the seasoning stick and allows the outside to get nice and brown.
- Mix & Season: In a small bowl, mix together your smoked paprika, garlic powder, onion powder, salt, and pepper. Rub the chicken breasts with the tablespoon of oil, then coat them generously on all sides with the spice mixture. Don’t be shy!
- Preheat Your Air Fryer: Set your air fryer to 380°F (190°C) and let it preheat for 3-5 minutes. Starting in a hot basket gives the chicken a head start on developing that lovely crust.
- Time to Cook: Place the seasoned chicken breasts in the preheated air fryer basket in a single layer. Make sure they aren’t overlapping. Give them some personal space to let the air circulate. Cook for 10 minutes.
- Flip It: After 10 minutes, use your tongs to flip the chicken breasts over. Cook for another 5-8 minutes. The exact time will depend on the thickness of your chicken.
- Check the Temp (The Most Important Step): After the flip, start checking the internal temperature. Insert your meat thermometer into the thickest part of the chicken breast. You are looking for a final temperature of 165°F (74°C). This is the USDA-recommended temperature for safe consumption.
- LET IT REST: Once the chicken reaches 165°F, remove it from the air fryer and place it on a cutting board. Let it rest for at least 5 minutes before slicing. This allows the juices to settle back into the meat, ensuring every bite is moist and tender. If you cut it too soon, all that delicious juice will run out onto your cutting board.
Calories & Nutritional Info (The Healthy Part)
Here’s the breakdown for one 6oz seasoned chicken breast.
- Calories: Approximately 200-240 kcal
- Protein: A fantastic 35-40g.
- Carbohydrates: Less than 1g.
- Fat: Around 5-7g.
- Key takeaway: This is an incredibly lean, high-protein powerhouse that’s perfect for keto, low-carb, and generally healthy diets.
Common Mistakes That Lead to Culinary Crimes
Avoid these common pitfalls to ensure your chicken is perfect every time.
- Cooking Uneven Chicken: If you don’t pound the chicken to an even thickness, the thin end will be dry and tough by the time the thick end is cooked through. Pound your chicken.
- Playing “Is It Done?” Roulette: Guessing when chicken is cooked is a dangerous game that often ends in dry, overcooked meat or, even worse, foodborne illness. Use a meat thermometer. It’s the only way to be sure.
- The Impatient Slicer: I know it smells amazing, but slicing into that chicken right out of the fryer is a one-way ticket to Drysville. Let it rest for 5 minutes. Your patience will be rewarded with juicy perfection.
- Crowding the Basket: Your chicken needs hot air circulating all around it to cook properly. If you cram too many pieces in, they will steam instead of “fry.” Cook in batches if you need to.
Riff on a Classic: Fun Variations
Once you’ve nailed the basic recipe, it’s time to get creative.
- Spicy Southwest Air Fryer Chicken: Add 1 teaspoon of chili powder and ½ teaspoon of cumin to the spice rub. After resting and slicing, serve it with a squeeze of fresh lime juice, some avocado, and your favorite salsa.
- Lemony Herb Chicken: Ditch the paprika and instead use 1 teaspoon of dried oregano, ½ teaspoon of dried thyme, and the zest of one lemon in your spice rub. It’s incredibly fresh and bright.
- 2-Minute BBQ Chicken: Cook the chicken as directed. In the last 2 minutes of cooking time, brush both sides with your favorite BBQ sauce and let it cook for one more minute per side to get the sauce nice and caramelized.
Frequently Asked Questions (Your Chicken Queries, Answered)
I hear your questions. Let’s get them answered.
1. How long does it take to cook a chicken breast in the air fryer? For a standard 6-8 oz chicken breast pounded to ¾-inch thickness, it takes about 15-18 minutes at 380°F (190°C), flipping halfway. The final word, however, always comes from your meat thermometer.

2. Do I need to flip chicken in the air fryer? Yes, for the best results. Flipping ensures both sides get evenly cooked and develop a nice golden-brown crust.
3. What temperature should I cook chicken breast in the air fryer? I find that 380°F (190°C) is the sweet spot. It’s hot enough to cook it quickly and keep it juicy, but not so hot that the outside burns before the inside is cooked.
4. Can I cook frozen chicken breasts in an air fryer? You can, but it’s not ideal. The texture won’t be as good, and it will take much longer (add about 50% more cook time). For the juiciest results, always start with thawed chicken.
5. How do I keep my chicken from drying out in the air fryer? Three things: 1) Pound it to an even thickness, 2) Don’t overcook it (use a thermometer!), and 3) Let it rest after cooking. Some people also swear by a quick 15-minute brine in saltwater before cooking.
6. Should I use oil on chicken in the air fryer? Yes, a little bit. It helps the seasonings stick, promotes browning, and ensures the chicken doesn’t stick to the basket. A light coating is all you need.
7. How do I know when air fryer chicken is done? With a meat thermometer. I know I sound like a broken record, but it’s that important. The chicken is safely cooked and perfectly done when the internal temperature in the thickest part reaches 165°F (74°C).
Final Thoughts: The End of Boring Chicken

You are now officially a master of air fryer chicken. You hold the key to unlocking juicy, flavorful, and incredibly easy weeknight meals. No more dry, sad chicken. No more boring salads. From this day forward, you are a culinary champion.
So go forth and air fry. Make your coworkers jealous of your meal-prepped lunches. Impress your family with a “fancy” dinner that took you 20 minutes. You’ve got this.