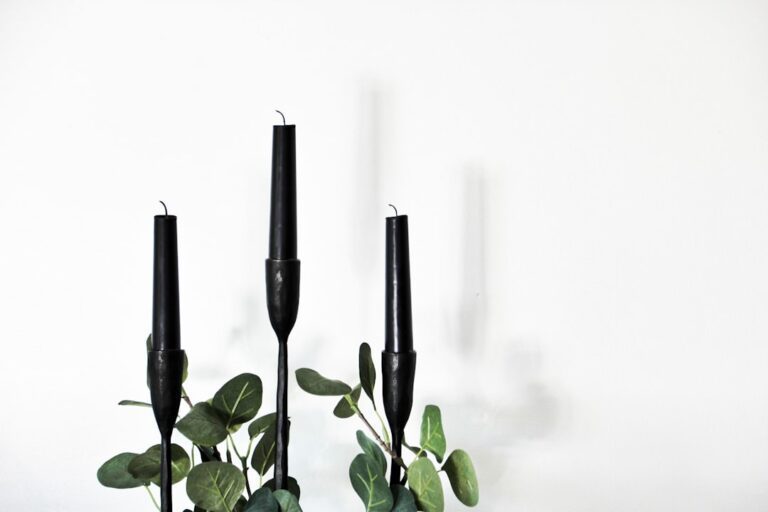
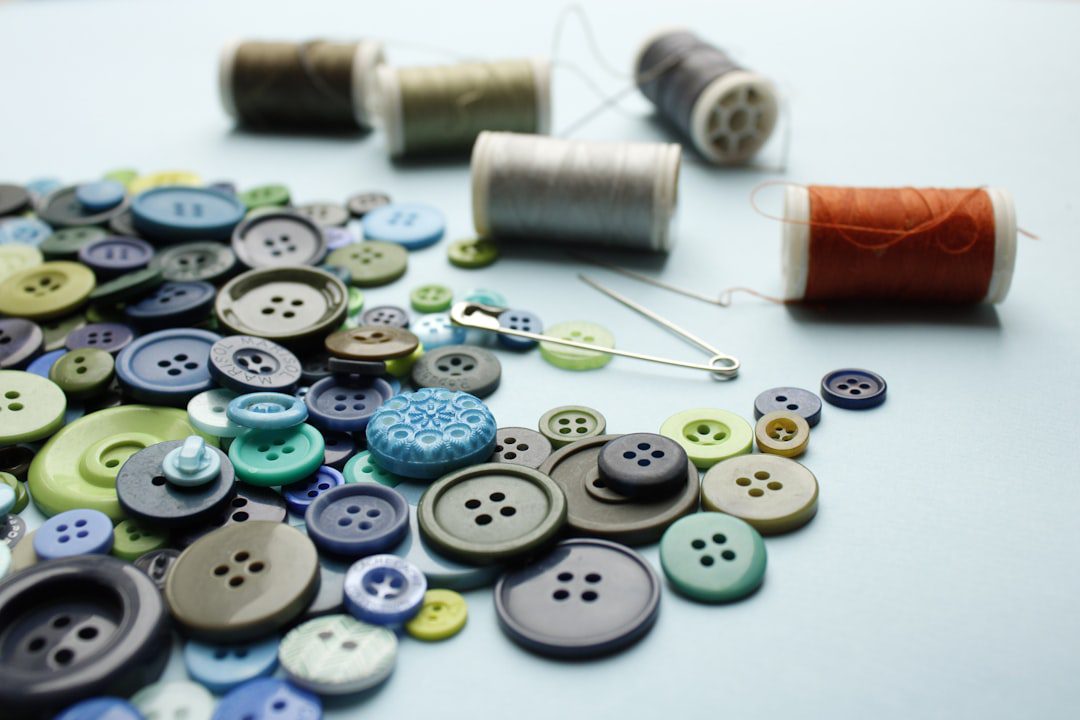
How to choose the right wick size for different types of candles.
Wick size is a critical element in the art of candle making, influencing not only the aesthetic appeal of the candle but also its performance and safety. The wick serves as the conduit for fuel, drawing wax up to the flame where it is vaporized and combusted. If the wick is too small, it may struggle to draw enough wax, leading to a weak flame and poor burn quality.
Conversely, a wick that is too large can create an excessively large flame, resulting in soot production, uneven burning, and even potential fire hazards. Therefore, understanding the importance of wick size is essential for both novice and experienced candle makers. The relationship between wick size and candle performance is multifaceted.
A well-chosen wick ensures a consistent burn rate, optimal fragrance throw, and minimal soot production. It also affects the candle’s overall appearance; a properly sized wick will create a clean, even melt pool, while an improperly sized wick can lead to tunneling or excessive pooling of wax around the edges. This not only diminishes the visual appeal of the candle but can also waste wax and reduce burn time.
Thus, selecting the right wick size is fundamental to achieving a high-quality candle that meets both functional and aesthetic standards.
Factors to consider when choosing the right wick size
When selecting the appropriate wick size for a candle, several factors must be taken into account. One of the most significant considerations is the type of wax being used. Different waxes have varying melting points and burn characteristics, which directly influence how a wick performs.
For instance, paraffin wax typically requires a different wick size compared to soy or beeswax due to its unique properties. Additionally, the fragrance load—how much scent is added to the wax—can also impact wick selection. A higher fragrance load may necessitate a larger wick to ensure that the candle burns evenly and effectively disperses the scent.
Another crucial factor is the diameter of the candle. The size of the container or mold dictates how much wax is present and how much heat needs to be generated by the wick. A larger diameter requires a thicker or longer wick to maintain an adequate melt pool, while smaller candles can often utilize thinner wicks.
Environmental factors such as draftiness in the room where the candle will be burned can also affect wick performance; drafts can cause uneven burning and may require adjustments in wick size or type to compensate for these conditions.
Choosing the right wick size for container candles

Container candles present unique challenges when it comes to wick selection. The enclosed space of a container can create a more controlled burn environment, but it also means that the wick must be carefully chosen to ensure that it generates enough heat to melt the wax evenly across the surface. For container candles, it is generally advisable to start with a wick that is slightly larger than what might be used for an open-pour candle of similar diameter.
This compensates for the potential cooling effect of the container walls. In addition to diameter, the height of the wick plays a significant role in performance. A taller wick can produce a larger flame, which may be necessary for larger containers but could lead to excessive soot in smaller ones.
Testing different wick sizes in various container types is essential for achieving optimal results. Candle makers often conduct burn tests with multiple wick sizes to observe how each performs in terms of burn time, melt pool depth, and scent throw. This empirical approach allows for fine-tuning and ensures that each container candle burns beautifully and efficiently.
Choosing the right wick size for pillar candles
Pillar candles differ from container candles in that they are freestanding and typically have a larger diameter. This necessitates careful consideration of wick size to ensure an even burn throughout the life of the candle. For pillar candles, it is crucial to select a wick that can support a larger melt pool without causing excessive soot or tunneling.
A common practice is to use a thicker or braided wick for larger pillars, as these wicks are better equipped to handle the increased wax volume. The height of pillar candles also influences wick selection. Taller pillars may require longer wicks to ensure that they can maintain an adequate flame size throughout their burn time.
Additionally, factors such as fragrance load and wax type must be considered; for example, a heavily scented pillar may need a larger wick to accommodate the additional oils without compromising burn quality. As with container candles, testing various sizes and types of wicks is essential for achieving optimal performance in pillar candles.
Choosing the right wick size for taper candles

Taper candles present their own unique set of challenges when it comes to wick selection. These slender candles are designed to fit into holders and typically have a smaller diameter than both container and pillar candles. The primary goal with taper candles is to achieve a steady burn without excessive dripping or soot production.
For this reason, taper wicks are often made from materials that allow for a controlled burn rate. When selecting a wick for taper candles, it is important to consider both diameter and length. A thinner wick may be suitable for smaller tapers, while larger tapers may require thicker wicks to ensure they burn evenly without creating an overly large flame.
Additionally, taper candles are often made from paraffin or beeswax, which have different burning characteristics; thus, choosing a wick that complements the specific wax type is essential for achieving optimal results. As with other types of candles, testing various sizes will help determine which works best for specific taper designs.
Choosing the right wick size for soy wax candles

Soy wax has gained popularity among candle makers due to its eco-friendly properties and excellent scent throw capabilities. However, selecting the right wick size for soy wax candles can be somewhat challenging due to its unique burning characteristics. Soy wax tends to burn cooler than paraffin wax, which means that it often requires a larger or more robust wick to achieve an adequate melt pool and consistent burn.
When working with soy wax, it is advisable to start with wicks that are specifically designed for use with this type of wax. Many manufacturers offer wicks that are optimized for soy blends, taking into account factors such as melt point and fragrance load. Additionally, because soy wax has a lower melting point than some other waxes, it may be necessary to conduct thorough testing with various wick sizes to find one that provides an even burn without excessive soot or tunneling.
Choosing the right wick size for beeswax candles
Beeswax is another popular choice among candle makers due to its natural properties and delightful honey scent. However, beeswax has a higher melting point than many other waxes, which means that selecting an appropriate wick size is crucial for achieving optimal performance. A thicker or more robust wick is often necessary when working with beeswax to ensure that it generates enough heat to melt the wax evenly.
In addition to considering melt point, beeswax candles often have unique aesthetic qualities that can influence wick selection. For instance, many beeswax candles are rolled or molded into specific shapes that may require careful consideration of how the wick interacts with these forms. Testing different sizes and types of wicks will help determine which provides the best balance between flame size and burn quality while maintaining the natural beauty of beeswax.
Testing and troubleshooting wick sizes for optimal candle performance
Testing various wick sizes is an essential part of the candle-making process that cannot be overlooked. Candle makers often engage in extensive experimentation with different wicks in order to identify which combinations yield optimal results in terms of burn time, scent throw, and overall performance. This process typically involves creating multiple test candles using different wicks while keeping other variables constant—such as wax type, fragrance load, and container shape—to isolate the effects of each variable.
Troubleshooting issues related to wick size can also be an important aspect of refining candle performance. Common problems include tunneling (where the candle burns down the center but leaves unburned wax around the edges), excessive soot production, or inconsistent flame height. Each of these issues can often be traced back to improper wick sizing or selection.
By carefully observing how each test candle performs during its burn cycle, makers can make informed adjustments—whether that means switching to a thicker or thinner wick or altering other components like fragrance load or wax type—to achieve their desired results. In conclusion, understanding and selecting the right wick size is fundamental in candle making across various types of candles including container, pillar, taper, soy wax, and beeswax varieties. Each type presents unique challenges and considerations that must be addressed through careful testing and observation.
By mastering these elements, candle makers can create high-quality products that not only look beautiful but also perform exceptionally well.
If you’re interested in learning more about the symbolism of candles in literature and art, check out this fascinating article on candles in literature and art: symbolism through ages. Understanding the cultural significance of candles can add a deeper layer of meaning to your candle-making process.
FAQs
What is the importance of choosing the right wick size for different types of candles?
Choosing the right wick size is crucial for ensuring that the candle burns properly and safely. A wick that is too small may result in tunneling, while a wick that is too large can cause the candle to burn too hot and produce excessive soot.
How do you determine the right wick size for a specific type of candle?
The right wick size for a specific type of candle can be determined by considering factors such as the diameter of the candle, the type of wax used, and any added fragrance or color. Conducting burn tests with different wick sizes can also help in determining the most suitable option.
What are the different types of wicks available for candles?
There are several types of wicks available for candles, including cotton wicks, wood wicks, and wicks with a core made of materials such as zinc or paper. Each type of wick has its own unique burning characteristics and is suitable for different types of candles.
How does the type of wax used in a candle affect the choice of wick size?
The type of wax used in a candle can affect the choice of wick size due to variations in burn characteristics. For example, soy wax may require a different wick size compared to paraffin wax, as soy wax tends to burn cooler and may need a larger wick to achieve a full melt pool.
What are some common signs that indicate the wick size for a candle needs to be adjusted?
Common signs that indicate the wick size for a candle needs to be adjusted include tunneling (uneven melting), excessive smoking or soot, and a weak or flickering flame. These signs may indicate that the current wick size is not suitable for the specific candle.