The Art of Grilled Cheese: Crafting the Perfect Sandwich
Selecting the Bread
Your choice of bread sets the foundation for a stellar grilled cheese. Opt for hearty varieties like sourdough, whole grain, or brioche to balance the rich, melty cheese. A good rule of thumb is to aim for a thickness of about half an inch; this allows the exterior to crisp beautifully while the inside remains gooey and luscious. Try toasting slices lightly before assembling your sandwich for added texture and flavor.
Layering cheeses enhances both taste and texture. A combination of sharp cheddar for its robust flavor and creamy mozzarella for its stretchiness creates a delightful contrast. Aim for about three ounces of cheese per sandwich for maximum melty goodness. Choose cheeses with varying melting points, like Gruyère or fontina, to create complexity and depth.
Elevate your sandwich by incorporating extra ingredients. Slices of ripe tomatoes or crispy bacon can provide a refreshing balance. For an unexpected twist, consider adding caramelized onions or a touch of mustard. Remember to keep proportions in mind; you want your additions to complement rather than overshadow the core flavors.
The grilling process requires patience. Use medium heat to ensure an even melt without burning your bread. Generously butter the external sides of the sandwich and place it on the skillet, flipping only when golden brown, typically after 3-4 minutes. Allowing the cheese to melt fully before removing the sandwich from the pan guarantees that each bite is a harmonious blend of flavors.
Sourcing Your Ingredients: Quality Matters

Quality ingredients elevate your grilled cheese from simple to sensational. Seek out fresh, artisanal bread and premium cheeses that will meld beautifully during grilling. Opting for organic or locally-sourced products guarantees better taste and texture. Cheddar aficionados may enjoy the depth of flavor from aged varieties, while Gouda lovers might appreciate its unctuous, creamy profile. Exploring markets or specialty stores for unique ingredients can also inspire exciting new combinations in your sandwich, ultimately making lunchtime a delightful culinary experience.
Choosing the Right Bread: Options Beyond White
Your choice of bread plays a pivotal role in creating a remarkable grilled cheese experience. Beyond the classic white bread, consider rustic sourdough, hearty multigrain, or buttery brioche for a delicious twist. Each type brings its own texture and flavor, enhancing the overall taste. Experiment with rolls, bagels, or even tortillas for a different approach, ensuring you also look for bread with good structure that holds up to melting cheese and toasting.
Selecting Cheeses: A Melting Pot of Flavors
Your selection of cheese can make or break your grilled cheese masterpiece. Embrace a variety of flavors and textures by choosing combinations such as creamy Gruyère and sharp cheddar or tangy goat cheese paired with robust blue cheese. This melting pot of flavors not only adds depth but also creates a more satisfying mouthfeel. Mixing cheeses also opens the door to experimenting with uncommon varieties—add a hint of Monterey Jack for a silky texture or Fontina for earthiness, ultimately highlighting your personal taste.
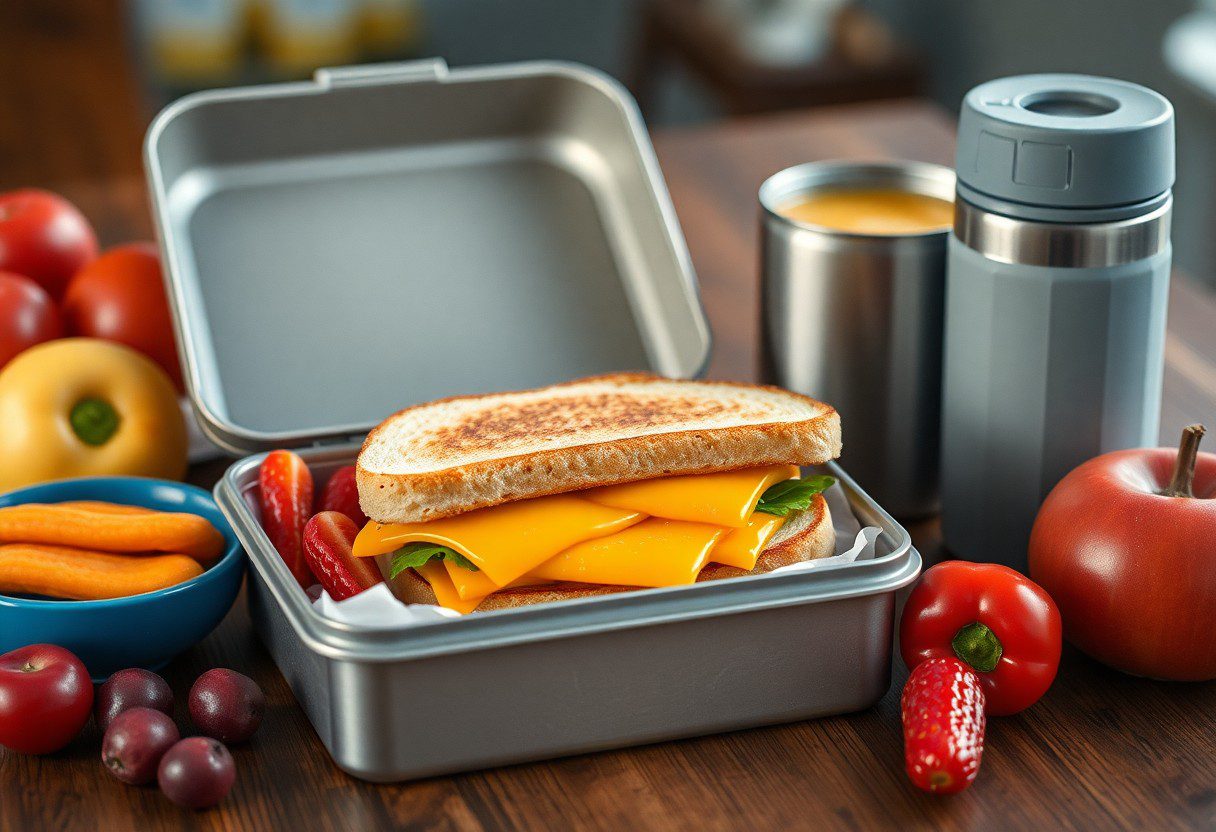
Essential Packing Supplies: The Right Tools for Freshness
Keeping your grilled cheese fresh requires the right packing supplies. Look for sturdy, insulated lunch bags that can maintain temperature, especially if you’re packing hot sandwiches. Don’t overlook the importance of appropriate containers and wraps that can help minimize sogginess while keeping your delicious creation intact until lunchtime.
Containers That Preserve Crispy Goodness
Select containers designed to prevent moisture buildup, such as vented lunch boxes or insulated bento boxes. These options create an air pocket that allows for proper airflow, ensuring your grilled cheese maintains its crunchy exterior while keeping the interior warm and gooey. Additionally, choosing the right size prevents the sandwich from moving around, which helps retain its shape during transport.
The Importance of Wax Paper vs. Foil

Using wax paper instead of foil for your grilled cheese can elevate your packing game. Wax paper creates a breathable barrier that allows steam to escape, preventing sogginess while maintaining that desirable crunch. Conversely, foil traps moisture, which may lead to a lackluster sandwich come lunchtime. Wax paper is also non-stick, making it easier to unwrap and enjoy your meal without tearing apart the sandwich.
Furthermore, wax paper offers a more eco-friendly option compared to aluminum foil, which has a heavier environmental footprint due to its production process. By opting for wax paper, you’re not only preserving the quality of your grilled cheese but also contributing positively to sustainability efforts. In addition, the classic look of a sandwich wrapped in wax paper can enhance your lunch presentation, making it feel more like a gourmet treat than a simple meal. Wrap your grilled cheese snugly, and watch as it retains its fresh taste and texture until it’s time to dig in.
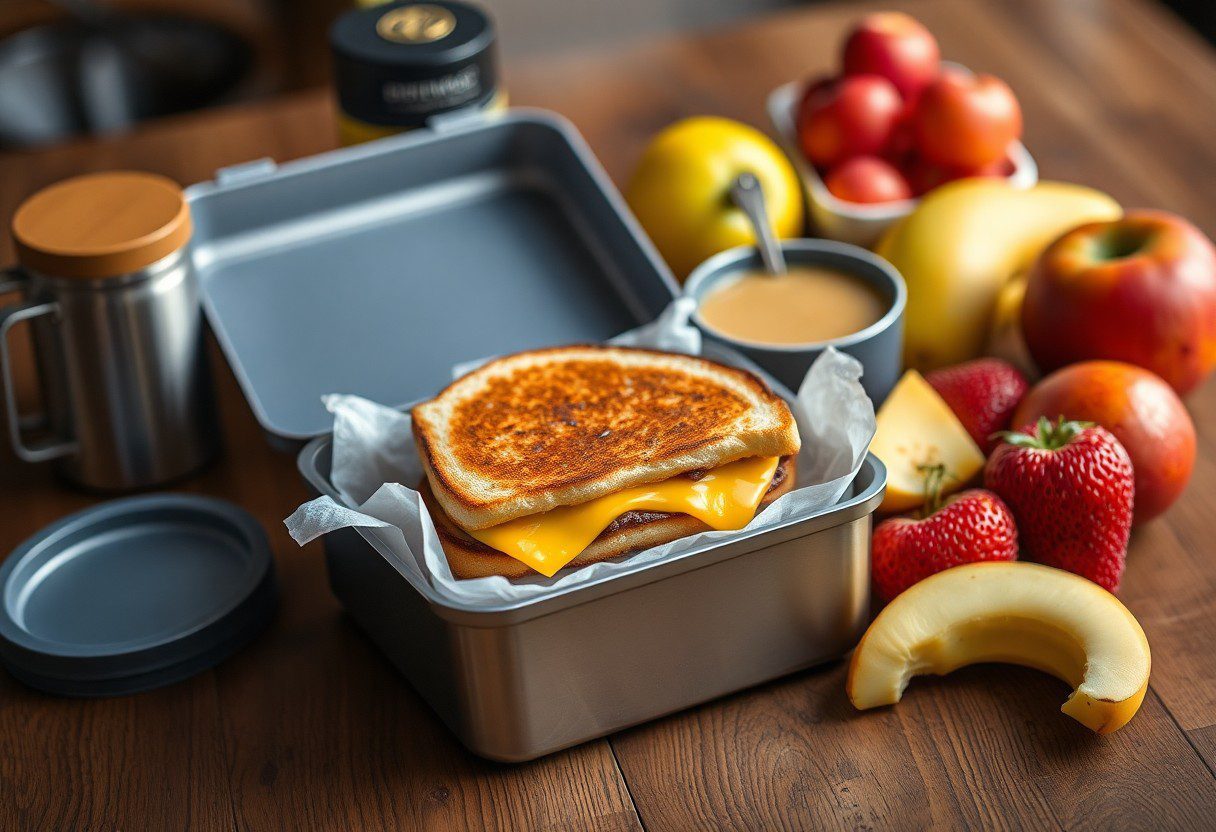
Assembly Process: The Step-by-Step Guide to Packing
| Step 1: | Begin by preparing your grilled cheese, ensuring it is perfectly toasted and melty. |
| Step 2: | Let the sandwich cool slightly to prevent moisture buildup in the packaging. |
| Step 3: | Wrap your sandwich in parchment paper, then place it into a sturdy container. |
| Step 4: | Seal the container securely to maintain freshness and prevent spills. |
Cooling for Optimal Texture: Why Patience Pays Off
Allowing your grilled cheese to cool for a few minutes after cooking is vital for maintaining the right texture. The bread firms up slightly, reducing the chance of it becoming soggy during transit. This simple step prevents moisture from escaping the sandwich, leading to a delightful balance of crispy crust and gooey cheese when you’re ready to enjoy it later.
Layering Techniques: Keeping Cheese Central
Strategically layering your ingredients not only enhances the flavor but also keeps the cheese as the star of your grilled cheese. Place your cheese slices in the middle of the bread, surrounded by other ingredients like tomato or avocado to protect against melty messes. This ensures that as you bite into your sandwich, the delicious molten cheese remains intact and front and center.
Proper layering is vital in achieving a perfect grilled cheese sandwich. Start with a slice of bread, add a cheese layer, then incorporate other ingredients, finishing with more cheese and another slice of bread on top. For instance, if adding tomatoes, consider slicing them thinly and placing them adjacent to the bread but not directly against the cheese. This protects the cheese from excess moisture while allowing the flavors to meld beautifully. Taking the time to layer thoughtfully translates into a satisfying sandwich experience when lunchtime rolls around.
Creative Add-Ons: Elevating Your Grilled Cheese Game

Transform your basic grilled cheese into something extraordinary with a few creative add-ons. Consider mixing bold flavors and interesting textures for a gourmet twist. Think about adding ingredients like caramelized onions, crispy bacon, or even spicy jalapeños to add depth and character to your sandwich. These little enhancements not only elevate the taste but also make your packed lunch exciting and different every day.
Condiments and Spreads: Beyond the Basics
Elevate your grilled cheese experience by experimenting with unique condiments and spreads. Instead of traditional butter, try garlic aioli or chipotle mayo for a zesty kick. Additionally, flavored mustards, tangy pesto, or even a drizzle of honey can add wonderful contrasts to the savory cheese. These spreads not only enhance flavor but also add a gourmet touch that will make your packed lunch stand out.
Adding Vegetables: Flavor and Nutrition Boost
Incorporating vegetables into your grilled cheese not only adds flavor complexity but also increases its nutritional value. Leafy greens like spinach or kale can complement melted cheese beautifully, while roasted peppers and tomatoes add sweetness and depth. Mushrooms bring a savory earthiness that pairs well with many cheeses. This not only ensures a more balanced meal but also keeps your lunch exciting and fresh.
Adding vegetables to your grilled cheese is an easy way to sneak in extra nutrients without sacrificing flavor. For example, spinach is rich in iron and vitamins, while adding roasted red peppers can provide a boost of vitamin C. Even thin slices of zucchini or avocado can introduce healthy fats into your meal. Experiment by layering different vegetables; for instance, sautéing mushrooms and adding them alongside sharp cheddar creates a flavor party that’s hard to resist. The options are endless, ensuring each grilled cheese creation can be a delightful blend of taste and health benefits.
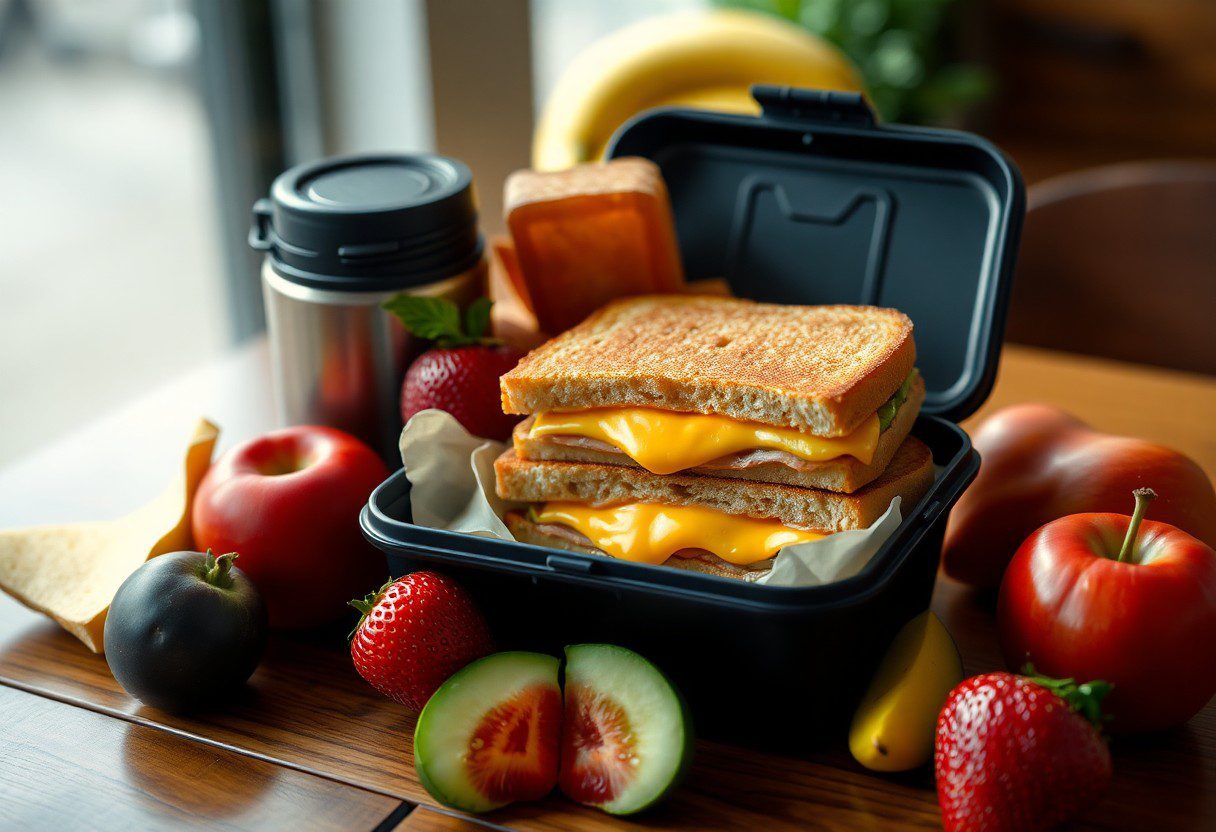
Timing and Temperature: Key Factors for Enjoyment
Grilled cheese sandwiches are best enjoyed when they maintain their delightful warmth and gooey texture. If you plan to pack one for lunch, timing and temperature play a significant role in preserving its magic. Allowing your sandwich to cool for just a moment before packing prevents sogginess while also ensuring it remains warm enough to melt your cheese. Aim for a balance—neither too hot to the touch nor too cool to enjoy, ideal around 140°F. This simple attention to detail offers a scrumptious experience during your meal break.
- Keep the sandwich warm in an insulated container
- Use parchment paper to absorb excess moisture
- Pack it alongside a small ice pack if it’s a longer wait
- Aim for lunchtime user consumption around 12-1 PM
Cold vs. Warm Packing: Pros and Cons
| Pros | Cons |
|---|---|
| Easy to pack and transport | Less flavorful than a hot sandwich |
| Can add veggies or cold toppings easily | Cheese might harden if left out too long |
| No risk of burning | Sogginess can occur with time |
| Convenient for quick lunches | Less satisfying in taste |
| Good for variety in lunch options | Textural differences from the original |
Packing Cold vs. Packing Warm: Pros and Cons
Deciding whether to pack your grilled cheese cold or warm influences its overall taste and satisfaction during lunch. Cold sandwiches offer convenience and simpler prep, but they lack the comforting warmth that makes grilled cheese iconic. A warm sandwich retains that melty goodness, providing comfort and flavor, but comes with concerns about temperature and messiness during transit.
Reheating Strategies for Lunchtime Bliss
To achieve grilled cheese perfection at lunchtime, reheating strategies matter. You can leverage microwave, oven, or skillet methods to maintain a crispy texture while bringing back warmth. For the microwave, place your sandwich on a plate, cover with a damp paper towel, and heat in 30-second intervals. If you prefer the oven, wrap it in foil at 350°F for about 10 minutes. A skillet can also be your best friend; simply reheat it on low heat, flipping gently to avoid burning.
Optimal reheating ensures your grilled cheese is back to its best form for lunch. A skillet is hands-down the favored method since it allows for even heating, crisping up the bread without compromising on the gooey cheese inside. By employing these strategies, your grilled cheese will be ready to reignite that lunchtime bliss you crave. Taking just a few extra moments to ensure proper reheating can make all the difference in enjoying a delectable mid-day treat.
Final Words
So, when you pack your grilled cheese for lunch, make sure to choose sturdy bread and let it cool before wrapping. Use parchment paper to maintain its crispness while allowing some steam to escape, and place it in an insulated container to keep it warm until you’re ready to enjoy. Adding a small container of your favorite dipping sauce can elevate your meal. By following these simple steps, you will ensure that your grilled cheese is both delicious and satisfying when lunchtime rolls around.
FAQ
Q: What is the best way to package a grilled cheese sandwich for lunch?
A: To package a grilled cheese sandwich for lunch, allow it to cool slightly after cooking to prevent condensation. Wrap it in foil or parchment paper, which will help retain warmth and keep the sandwich from getting soggy. Alternatively, you can place it in a reusable sandwich container designed to keep food fresh and intact. If you want to maintain the crispness, consider heating it for a short time in an air fryer or toaster oven before eating.
Q: Can I add condiments or extras to my grilled cheese for lunch?
A: Yes, adding condiments or extras can enhance the flavor of your grilled cheese. Consider packing small containers of mustard, ketchup, or even a slice of tomato or avocado separately to prevent the sandwich from getting soggy. This way, you can add them right before eating, ensuring your grilled cheese stays delicious and maintains its texture.
Q: How can I keep my grilled cheese warm until lunchtime?
A: To keep your grilled cheese warm until lunch, you can wrap it in foil and place it in an insulated lunch bag or thermos designed for hot foods. Using a heated lunch box is another option, as it can keep your meal warm. If you’re using a standard lunch box, adding a small heat pack can also help in maintaining warmth until it’s time to eat.
Q: Is it advisable to pack grilled cheese with other foods?
A: It is possible to pack grilled cheese with other foods, but it is important to consider how different items may affect each other. For best results, avoid packing it with wet items like salads or soups that can create moisture. Instead, pack it with drier snacks such as chips, carrot sticks, or crackers to avoid sogginess and maintain the integrity of the sandwich.
Q: How should I store any leftover grilled cheese?
A: If you have leftover grilled cheese, ensure it cools completely before storing. Place the sandwich in an airtight container or wrap it tightly in plastic wrap to keep it from drying out. Refrigerate the sandwich, and try to consume it within a day or two for the best taste. To reheat, consider using a skillet or toaster oven to restore its crispness rather than using a microwave.