How to Make Grits (That Don’t Suck, We Promise)
Let’s be brutally honest for a second. There are two kinds of people in this world: people who love grits, and people who have only ever been served a bowl of lumpy, bland, wallpaper paste masquerading as grits. If you’re in the latter camp, I don’t blame you for your skepticism. But I’m here today as a grits evangelist to show you the light. We’re going to learn how to make grits that are so creamy, so flavorful, and so ridiculously comforting, they’ll make you a believer. Prepare for a Southern-style culinary conversion.
Why This Recipe Is Awesome (And Will Change Your Breakfast Game)
So, why should you take a chance on this humble bowl of ground corn? Because when made correctly, grits are the ultimate comfort food. This recipe will give you a pot of impossibly creamy, rich, and flavorful grits that serve as the perfect blank canvas for anything your heart desires. They are the Southern answer to risotto or polenta, but frankly, they’re easier to make.
This recipe is simple, uses basic ingredients, and can be customized in a million different ways. Master this one pot of cheesy grits, and you can serve it for breakfast with eggs and bacon, or for dinner as the base for a show-stopping shrimp and grits. You’ll look like a seasoned Southern chef, and only you will know how easy it was. What’s not to love?
Ingredients: The Path to Creamy Perfection
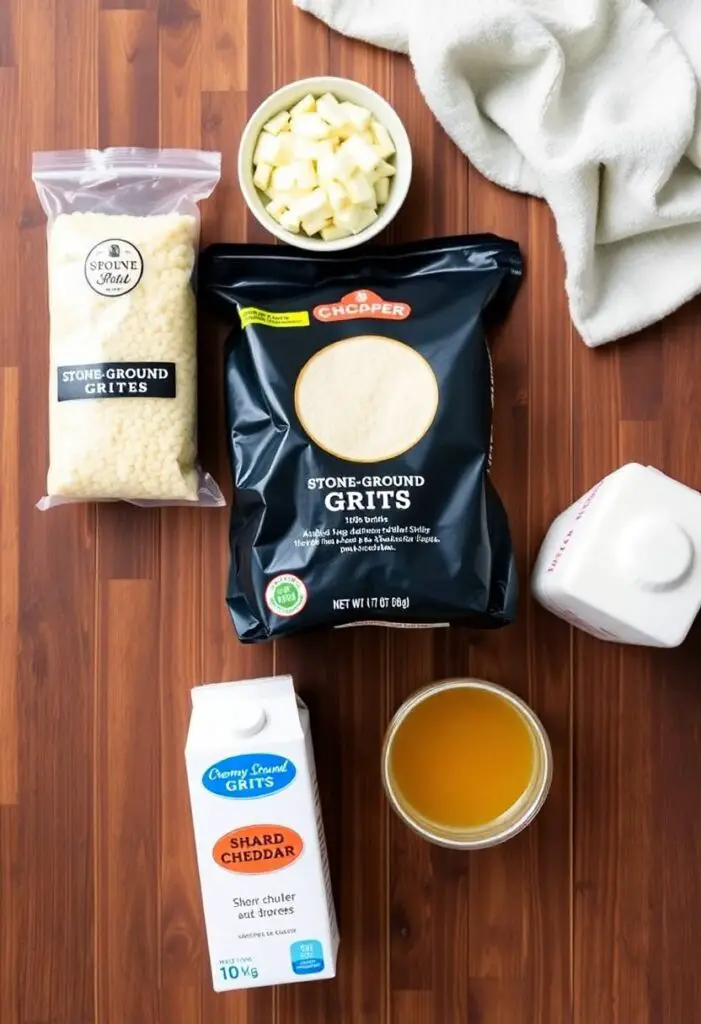
The secret to great grits starts with, well, great grits. The type you buy is crucial.
- 1 cup stone-ground or old-fashioned grits (NOT instant. I repeat, NOT instant.)
- 2 cups whole milk
- 2 cups chicken or vegetable broth (or water, but broth adds more flavor)
- 4 tablespoons unsalted butter
- 1 cup shredded sharp cheddar cheese (or cheese of your choice)
- 1 teaspoon salt
- ½ teaspoon black pepper
A Very Important Sermon on the Types of Grits:
- Stone-Ground Grits: This is the holy grail. They are coarsely ground, retain more of the corn flavor, and cook up into the creamiest, most luxurious texture. They take longer to cook (20-30 mins), but they are worth every second.
- Old-Fashioned or Quick Grits: These are more finely ground and cook faster (5-10 mins). They are a perfectly acceptable substitute and will still yield a delicious result with this recipe.
- Instant Grits: Do not use these. Just don’t. They are pre-cooked and dehydrated, and result in a texture that is, frankly, an insult to grits everywhere. We’re better than that, people.
Tools & Kitchen Gadgets Used: Your Anti-Lump Arsenal
You don’t need much, but these two items are non-negotiable for success.
- A Heavy-Bottomed Saucepan or Dutch Oven (This prevents scorching on the bottom!)
- A Whisk (This is your primary weapon in the war against lumps.)
- Wooden Spoon or Spatula (For stirring later on.)
- Measuring Cups and Spoons
- Cheese Grater (Because grating your own cheese is always better!)
Step-by-Step Instructions: The Ritual of Creaminess
Follow these steps precisely, and I guarantee you lump-free, glorious grits.
- Boil Your Liquid: In your heavy-bottomed saucepan, combine the 2 cups of milk and 2 cups of broth (or water). Add the 1 teaspoon of salt. Bring this mixture to a rolling boil over medium-high heat.
- The Sacred Whisking: Once the liquid is boiling, reduce the heat to medium-low. Now, while whisking constantly with one hand, use your other hand to slowly and steadily pour the 1 cup of grits into the liquid. This constant motion is the absolute key to preventing lumps from forming.
- Simmer and Stir: Continue to whisk for a minute or two until the grits start to thicken. Then, turn the heat down to low, cover the pot, and let them simmer. You’ll need to cook them for about 20-25 minutes for stone-ground grits or 5-7 minutes for quick grits.
- Don’t Abandon Your Post: During this simmering time, you need to stir them frequently (every 5 minutes or so). This prevents them from sticking to the bottom and burning. A wooden spoon works well for this part.
- The Glorious Finale (Cheese & Butter!): Once the grits are thick, creamy, and have lost their raw, gritty texture, turn off the heat. Stir in the 4 tablespoons of butter until it’s completely melted. Then, gradually stir in the 1 cup of shredded cheese until it’s smooth and incorporated.
- Season and Serve: Finish by stirring in the ½ teaspoon of black pepper. Taste and adjust the seasoning if needed. Serve immediately while hot and creamy!
Calories & Nutritional Info (Per Serving, Estimated)

This is a rough estimate for one serving of these cheesy grits, assuming the recipe makes 4 servings.
- Estimated Calories per serving: ~400-450 calories
- Fat: ~25g
- Carbohydrates: ~30g
- Protein: ~15g
- Sodium: A glorious amount, thanks to the broth and cheese.
Nutritional Notes:
- A fantastic source of comfort and joy.
- Grits are naturally gluten-free (but check your packaging for cross-contamination).
- Rich in carbohydrates for a good boost of energy.
Common Mistakes to Avoid: Grits-Takes You Don’t Want to Make
Avoid these common blunders for perfect grits every time.
- Adding Grits to Cold Liquid: This is a one-way ticket to Lump City. Always bring your liquid to a boil first.
- Dumping the Grits In All at Once: Don’t do it! You’ll get a giant, stubborn clump. Pour them in a slow, steady stream while whisking.
- Forgetting to Stir: Grits are heavy and will sink to the bottom of the pot and scorch if you don’t stir them regularly while they simmer.
- Under-seasoning: Grits are a blank canvas. They need salt, pepper, and fat (butter, cheese) to come alive. Don’t be shy with the seasoning! Taste as you go.
Variations & Customizations: The Grits Universe Is Vast
Once you’ve mastered the basic cheesy grits, the possibilities are endless.
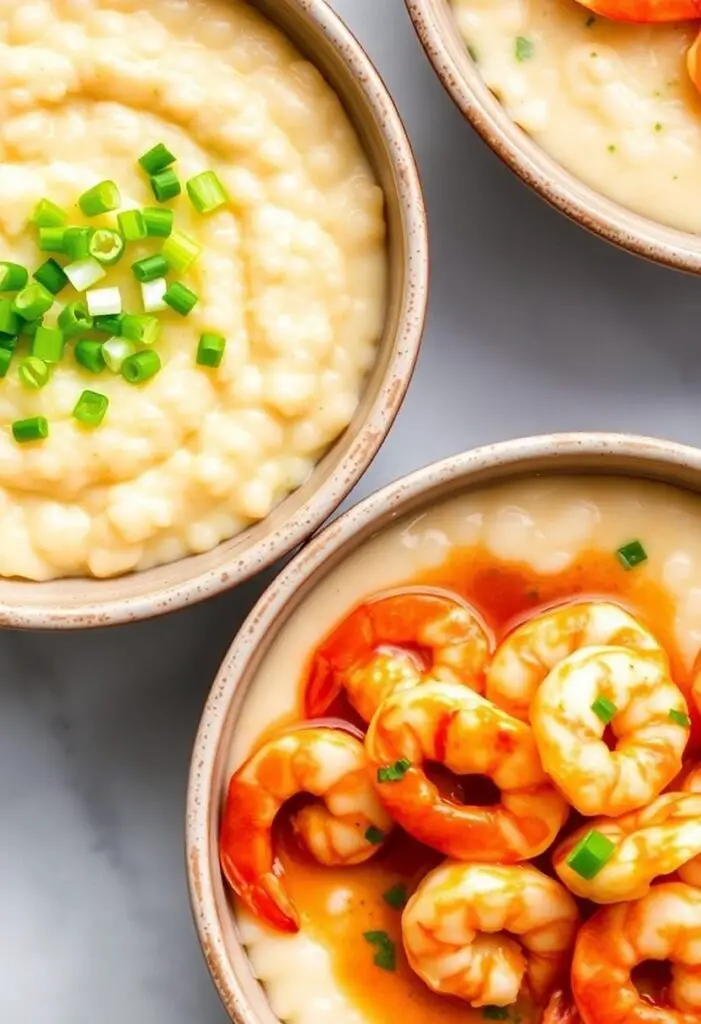
- Classic Shrimp and Grits: While your grits are finishing, sauté some shrimp in a separate pan with garlic, butter, and a splash of lemon juice. Spoon the shrimp and buttery sauce right over a bowl of your cheesy grits.
- Spicy Jalapeño Cheddar Grits: Add 2-3 tablespoons of chopped pickled jalapeños and a pinch of cayenne pepper when you add the cheese. It’s a fantastic kick of heat.
- Vegan Creamy Grits: Use 4 cups of vegetable broth instead of the milk/broth combo. At the end, stir in a good quality vegan butter and 2-3 tablespoons of nutritional yeast for that cheesy, umami flavor.
- Loaded Breakfast Grits: Top a bowl of cheesy grits with a fried egg, crumbled bacon or sausage, and some chopped green onions. It’s the ultimate weekend breakfast.
FAQ Section: All Your Grits-Related Questions, Answered
New to the grits game? No problem. I’ve got you covered.
- Q: What exactly are grits? A: Grits are made from dried corn (maize) that has been treated with an alkali to remove the hull (a process called nixtamalization) and then ground down. They are essentially a type of corn porridge.
- Q: What is the difference between grits and polenta? A: They are very similar! Both are ground corn porridge. The main difference is the type of corn used. Grits are traditionally made from dent corn (common in the American South), while Italian polenta is typically made from flint corn. Polenta is usually a bit coarser and more yellow.
- Q: How do you really prevent grits from getting lumpy? A: The foolproof method: Bring the liquid to a boil FIRST, then pour the grits in a SLOW, STEADY stream while WHISKING CONSTANTLY. This is the secret.
- Q: Can I use just water to make grits? A: You can, but they will be significantly less flavorful and creamy. Using milk and/or broth is a simple way to add a ton of flavor right from the start.
- Q: How long do cooked grits last in the fridge? A: You can store leftover grits in an airtight container in the fridge for 3-4 days. They will solidify when cold.
- Q: How do you reheat leftover grits? A: Place the cold, solidified grits in a saucepan with a splash of milk or broth over low heat. Whisk constantly as they warm up, adding more liquid as needed, until they are hot and creamy again.
- Q: Are grits healthy? A: On their own, grits are a decent source of carbohydrates and are low in fat. It’s the butter, cheese, and cream we love to add that turns them into a rich indulgence. But hey, life is about balance, right?
Final Thoughts: Go Forth and Be a Grits Guru!
You did it! You have faced the fearsome pot of grits and emerged victorious, armed with the knowledge to create a creamy, dreamy, lump-free masterpiece. No longer will you be intimidated by this Southern staple. Go forth, experiment with toppings, and spread the gospel of good grits. Welcome to the club; we’re happy to have you.