Storage can significantly impact the freshness and longevity of your fruits. By choosing mason jars for your fruit storage, you not only extend their shelf life but also create an aesthetically pleasing way to showcase your bounty. In this guide, you’ll learn effective techniques to properly prepare, pack, and store various fruits in mason jars, ensuring they stay fresh and delicious for longer. Whether you’re aiming to preserve seasonal produce or simply organizing your kitchen, these tips will help you maintain the quality of your fruit effortlessly.
The Benefits of Mason Jar Storage
Mason jars offer a plethora of advantages for storing fruit that go beyond just functionality. They provide superior preservation, enabling you to enjoy the seasonal bounty year-round. These jars also help maintain an organized kitchen and offer an aesthetically pleasing alternative to conventional plastic containers. By incorporating mason jars into your fruit storage routine, you can enhance both the longevity of your produce and the visual appeal of your kitchen space.
Preserving Freshness: The Airtight Advantage
The airtight seal of mason jars is a game-changer for preserving freshness. By creating a vacuum seal, these jars effectively keep out air, moisture, and contaminants, which are the main culprits in food spoilage. For example, berries stored in mason jars can stay fresh for days, retaining their flavor and texture longer than if left in store packaging. This significant reduction in exposure to the elements means you can savor farm-fresh fruits without the worry of premature spoilage.
Esthetic Appeal: Organizing with Style
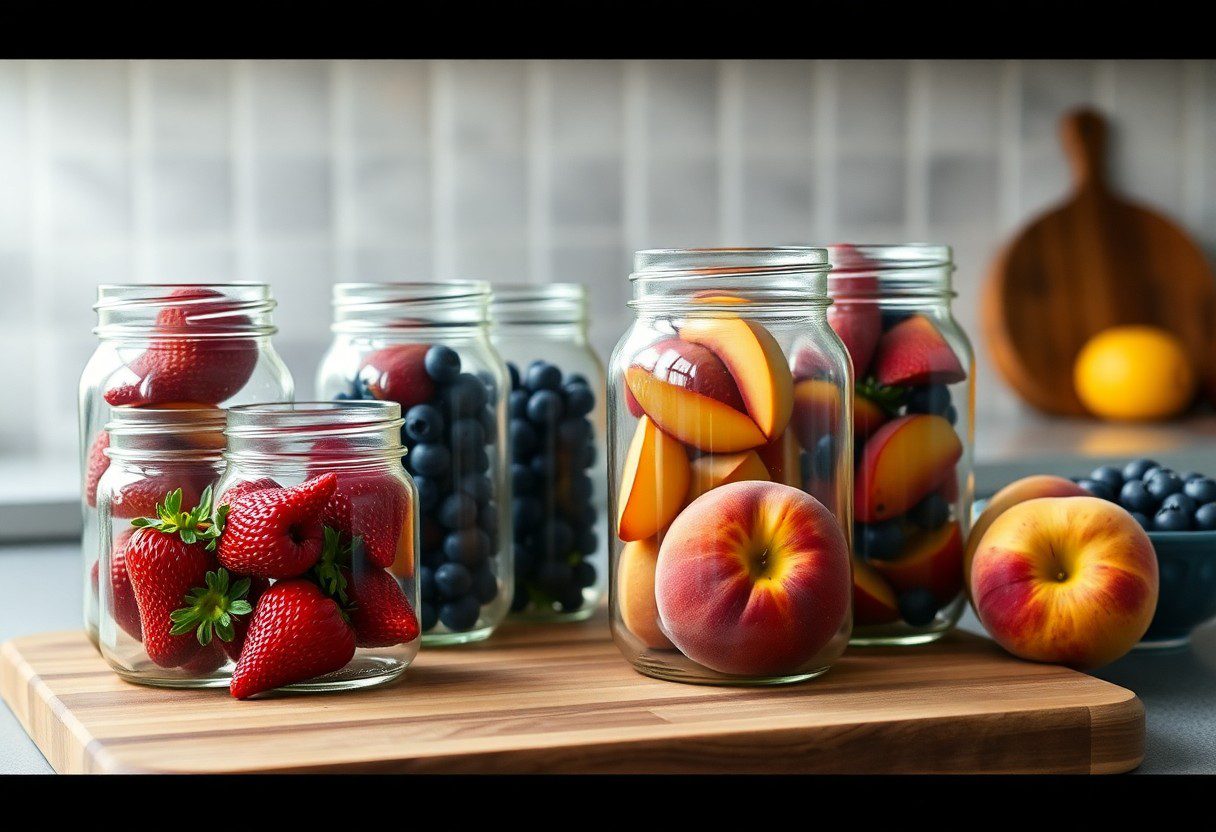
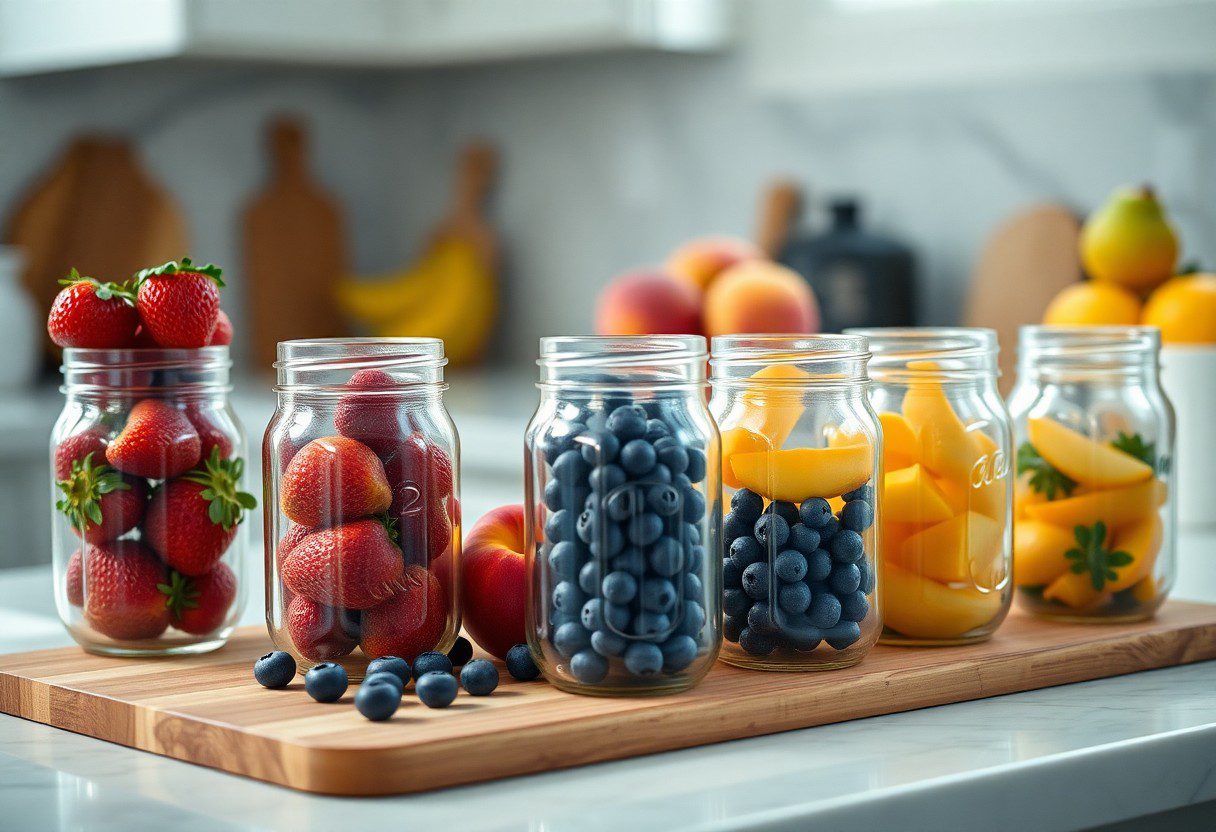
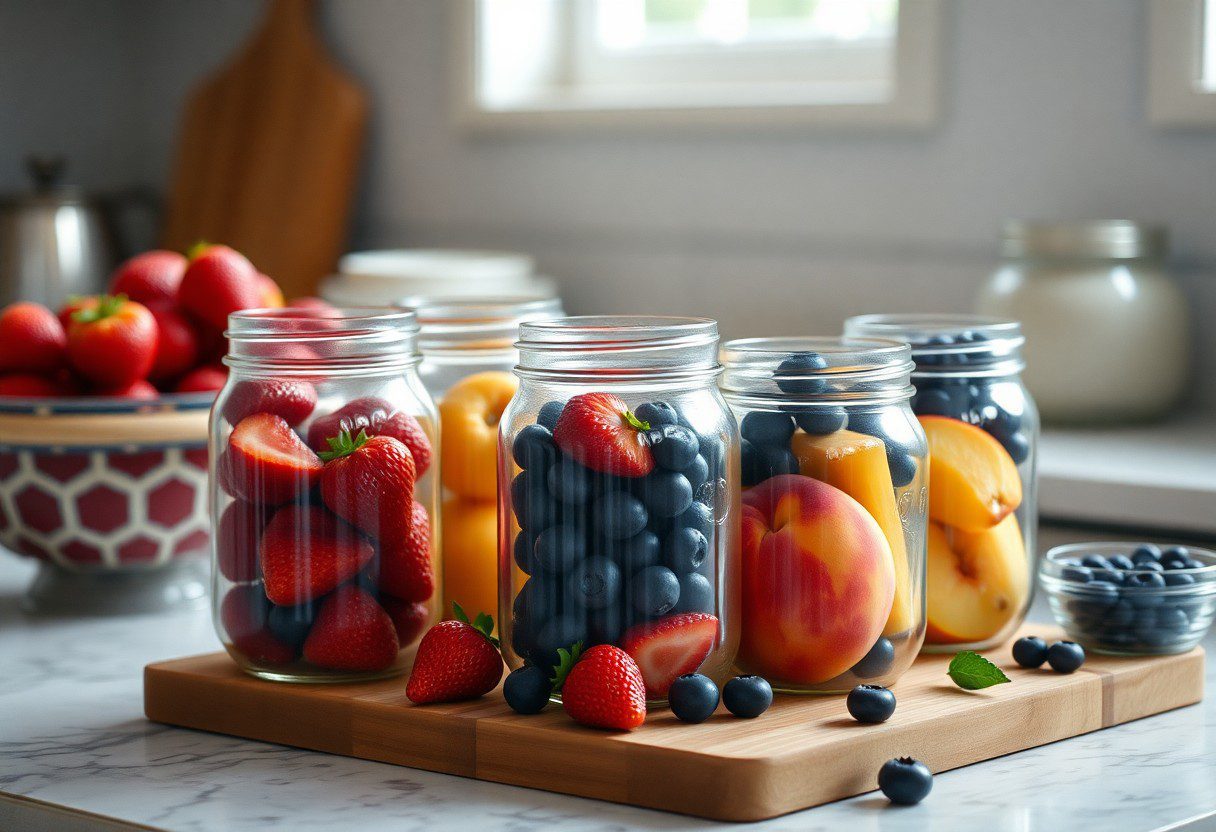
Mason jars are not only practical but also stylish, making them a fantastic choice for displaying your fruit. Their clear glass allows you to see the vibrant colors of the fruit, creating a stunning visual display in your kitchen or pantry. Furthermore, you can easily label the jars for added organization, enhancing the overall decor of the space. Consider grouping various fruits together by color or type; this creates an eye-catching centerpiece that invites both functionality and elegance into your home.
Arranging fruits in mason jars can also spark creativity in your kitchen. Use jars of different sizes to create dynamic layers with fruits like oranges, apples, and grapes. The variety in height and width adds an intriguing visual element, and the see-through nature of glass emphasizes freshness. For an added touch, consider placing them on open shelves, kitchen counters, or even as a dining table centerpiece. Not only does it keep your fruit fresh, but it transforms your kitchen into a beautifully curated space that reflects your personal style and love for quality produce.
Preparing Your Fruit for Mason Jars

Proper preparation is vital for extending the life of fruit stored in mason jars. This involves selecting the freshest produce, thoroughly washing it, and using the right cutting techniques to ensure that your fruit not only looks appealing but also stays safe and flavorful for a longer duration.
Selecting the Right Fruit: Freshness Matters
Choosing ripe, high-quality fruit enhances flavor and prolongs shelf life. Look for fruit that’s vibrant in color, free from blemishes, and feels firm to the touch. Seasonal selections often yield the best taste and price. For example, strawberries should be deep red and aromatic, while peaches should yield slightly to pressure without being mushy.
Washing and Cutting Techniques: Ensuring Safety and Shelf Life
Washing your fruit under running water removes dirt, bacteria, and pesticides, while cutting techniques play a significant role in reducing spoilage. Use a sharp knife and a clean cutting board to slice your fruit into even, uniform pieces, which allows for consistent packing in the jar and maximizes shelf stability. Avoid cutting too far in advance, as exposure to air can lead to browning and nutrient degradation.
In addition to washing thoroughly, consider soaking certain fruits in a vinegar solution for a deeper clean, especially when they have tough skins, like apples or pears. Once washed, pat the fruit dry with a clean towel to eliminate excess moisture, which can lead to mold growth within the jar. Cutting the fruit into larger pieces may help it retain moisture, while smaller pieces provide quicker access to nutrients and flavors. Combining these techniques ensures your fruit remains fresh and delightful throughout its time in storage.
Choosing the Right Mason Jar
Selecting the perfect mason jar is vital for preserving your fruit effectively. Consider the type of fruit you’re storing; softer fruits benefit from wide-mouth jars that allow for gentle packing without bruising. For items like berries, choose jars that provide ample airflow and ventilation. The right size also matters: avoid overpacking smaller varieties, as it can lead to spoilage. Evaluate your storage space, as clear or colored glass can provide a visually appealing display while ensuring nutritious snacks are readily available.
Sizes and Styles: Matching Fruit to Container

Different fruits pair better with specific jar sizes and styles, enhancing preservation and presentation. For instance, a quart-sized jar is ideal for holding larger fruits like apples or peaches, while pint-size jars work perfectly for smaller berries. Additionally, consider using straight-sided jars for fruits that are cut or sliced, as they make removal easier without damaging the fruit’s integrity. Ultimately, choosing the right size and style will contribute significantly to how well your fruit remains fresh.
Essential Jar Features: Lids and Seals
Sealing your mason jars correctly is fundamental to preventing spoilage and extending shelf life. Look for jars with two-piece lids, which consist of a flat metal lid and a ring. This design creates an airtight seal when properly heated, especially during canning processes. Make sure to inspect the seals for imperfections before use; any damage can compromise the shelf life of your stored fruit. A tight seal also prevents air and moisture from entering, effectively minimizing the risk of mold or fermentation.
Choosing high-quality lids and ensuring a proper seal can make a substantial difference in fruit preservation. The two-piece design allows for easy inspection of the seal after processing; if the lid pops back when pressed, it indicates failure. You might also consider reusable silicone lids or vacuum-sealed options for more eco-friendly storage alternatives. Keep in mind, proper storage techniques paired with the right latch system will keep your fruit fresh and delicious for weeks, letting you enjoy them at their best.
Techniques for Packing Fruit into Jars
Packing fruit properly in mason jars preserves its freshness and extends its shelf life. Start with clean, sterilized jars and layer your fruit to prevent bruising. Consider the size of the fruit and cut larger pieces into manageable chunks. Tightly pack the fruit to minimize air pockets, as oxygen can accelerate spoilage. Make use of a combination of different fruits for visual appeal and flavor variety. Finally, leave some headspace at the top of the jar to allow for expansion during the sealing process.
Layering for Maximum Shelf Life
Layering fruit in your mason jars not only enhances visual appeal but also aids in preserving freshness. Begin with hardier fruits, like apples or pears, as the base layer. Follow with softer fruits, such as berries or peaches, ensuring you don’t crush them. Packing them snugly helps reduce oxygen exposure while allowing you to utilize the fruit’s natural juices to create a lovely mixture at the bottom of the jar, which can keep the contents moist and flavorful.
Vacuum Sealing: Techniques and Tools

Vacuum sealing is an effective method to prolong the shelf life of your fruit in mason jars. To do this, you’ll need vacuum sealing tools, which can range from handheld devices to more advanced vacuum sealers that work with jars. Simply place your fruit in the jar, fit the vacuum sealing attachment over the lid, and remove as much air as possible by activating your vacuum pump. This helps maintain the fruit’s texture, flavor, and nutritional integrity for longer periods.
Among the various tools available, handheld vacuum sealers are perfect for small batches and easy to handle. For larger quantities, countertop vacuum sealers offer speed and efficiency. Silicone jar sealers can also be utilized, allowing you to vacuum-seal your jars without needing to store large machines. When sealing, ensure you create an airtight seal by following the manufacturer’s guidelines. You’ll notice significantly better quality retention in your fruits while minimizing waste.
Best Practices for Storing Mason Jars
Your mason jar storage practices can significantly influence the freshness and longevity of your fruit. Always consider factors such as temperature, humidity, and exposure to light, which can all impact the quality and safety of your stored produce.
Temperature and Environment: Optimal Storage Conditions
Storage Condition | Recommendation
| Temperature | Store jars at cool, stable temperatures (ideally between 32°F and 40°F). |
| Lighting | Avoid direct sunlight; opt for dark, cool cabinets or pantries instead. |
| Humidity | Keep humidity levels low to prevent mold growth; a dry environment is best. |
| Airflow | Ensure jars are placed with some space between them for adequate air circulation. |
Duration of Storage: Knowing When to Use
Freshness declines over time, so understanding how long you can keep fruit in mason jars is necessary. Most fruits, when prepared and stored correctly, can last anywhere from a few days to several weeks. Monitor them for any signs of spoilage to ensure a safe and tasty experience.
Generally, soft fruits like berries can last about one week, while tougher varieties such as apples and pears can remain fresh for two weeks or more. Always label your jars with the date of storage, so you can track when to enjoy the fruit at its best. If you notice any off-smells, discoloration, or mold, discard the fruit immediately to avoid health risks.
Final Words
So, if you want to keep your fruit fresh and flavorful, storing them in mason jars is an excellent choice. Make sure to wash and dry your fruit thoroughly before placing them in the jars, and consider layering different types of fruit for a colorful display. Always leave some air space to prevent squishing and seal the jars tightly before storing them in a cool, dark place. With proper care, your mason jars can extend the life of your fruit, making it a convenient and attractive storage solution.
FAQ
Q: What types of fruits can be stored in mason jars?
A: You can store a variety of fruits in mason jars, including berries (such as strawberries, blueberries, and raspberries), sliced apples, peaches, and grapes. It’s best to choose fresh, ripe fruits that are free from bruises or blemishes for optimal storage.
Q: How do I prepare fruits for storage in mason jars?
A: Preparing fruits for storage involves washing them thoroughly under cold water to remove any dirt or pesticides. For certain fruits, like apples and peaches, you may want to slice them into smaller pieces. If storing berries, ensure they are dry to prevent mold growth. You can also add a little lemon juice to apple slices to prevent browning.
Q: How should I store the mason jars filled with fruit?
A: Once you have filled the mason jars with fruit, make sure to seal them tightly with a lid. It’s best to store these jars in the refrigerator if you’re keeping them for short-term use, as cooler temperatures help preserve freshness. For long-term storage, consider freezing the fruits in mason jars, leaving some space at the top for expansion.
Q: Can I store fruits in mason jars without the need for sterilization?
A: While sterilization of mason jars is typically recommended for long-term canning, for short-term storage of fresh fruits in the refrigerator, it is not strictly necessary. Just ensure the jars are clean and dry before adding the fruit. If you plan to preserve fruits for extended periods, sterilizing the jars through boiling or using a dishwasher is advisable.
Q: How long can I store fruit in mason jars before it goes bad?
A: The shelf life of fruit stored in mason jars depends on the type of fruit and storage conditions. Typically, fresh fruit in the refrigerator can last from a few days to a week when stored properly. If you freeze fruit in mason jars, it can last several months. Always check for signs of spoilage, such as an off smell, discoloration, or mold, before consuming.