How to Make Vanilla Paste at Home (And Never Buy It Again!)
Ever been in the baking aisle, reached for a tiny, elegant jar of vanilla bean paste, casually glanced at the price tag, and had a small, private heart attack? You’re not alone. For that price, you’d expect it to be made from unicorn tears and delivered by a tiny angel on a golden chariot. But what if I told you that learning how to make vanilla paste at home is not only ridiculously easy but will also make you feel like a certified kitchen genius?
Welcome to your new favorite DIY project. This is the ultimate “bougie on a budget” life hack for anyone who loves to bake. We’re about to take a handful of vanilla beans and turn them into liquid gold—a thick, fragrant paste speckled with beautiful vanilla seeds that will elevate everything from cookies to custards.
So, are you ready to save a frankly absurd amount of money and upgrade your baking game forever? Let’s get into it.
Why This Recipe is Awesome
If the idea of never having to spend $20 on a thimble-sized jar of anything isn’t enough, here’s why you need to make this, like, yesterday.
- It’s SO. MUCH. CHEAPER: I cannot stress this enough. The markup on store-bought vanilla paste is astronomical. For the price of one tiny jar, you can buy enough vanilla beans to make two or three times the amount. It’s simple math, people!
- The Flavor is Unbeatable: When you make it yourself, you control the quality. You can use amazing vanilla beans and get a pure, potent, unadulterated vanilla flavor that store-bought versions, with their fillers and stabilizers, just can’t match.
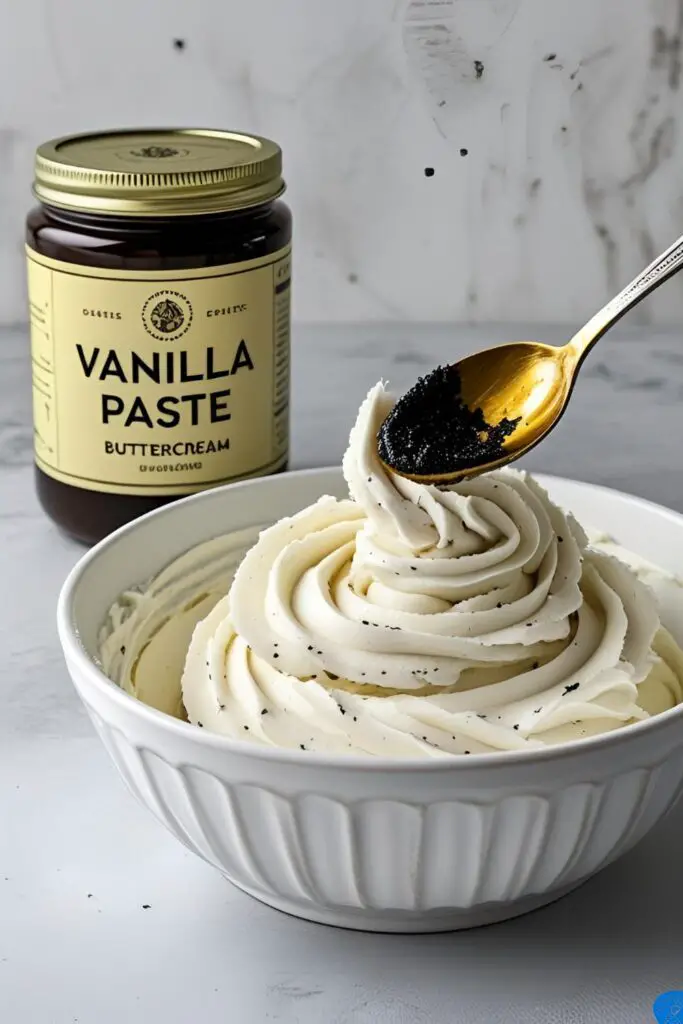
- It Makes You Look Insanely Fancy: Those beautiful black specks in your ice cream or buttercream? That’s the calling card of vanilla paste. It instantly makes any dessert look more professional and rustic. Plus, a small jar of this stuff makes for an incredible homemade gift.
Ingredients
You’ll be shocked at how simple this is. You only need a few key players.
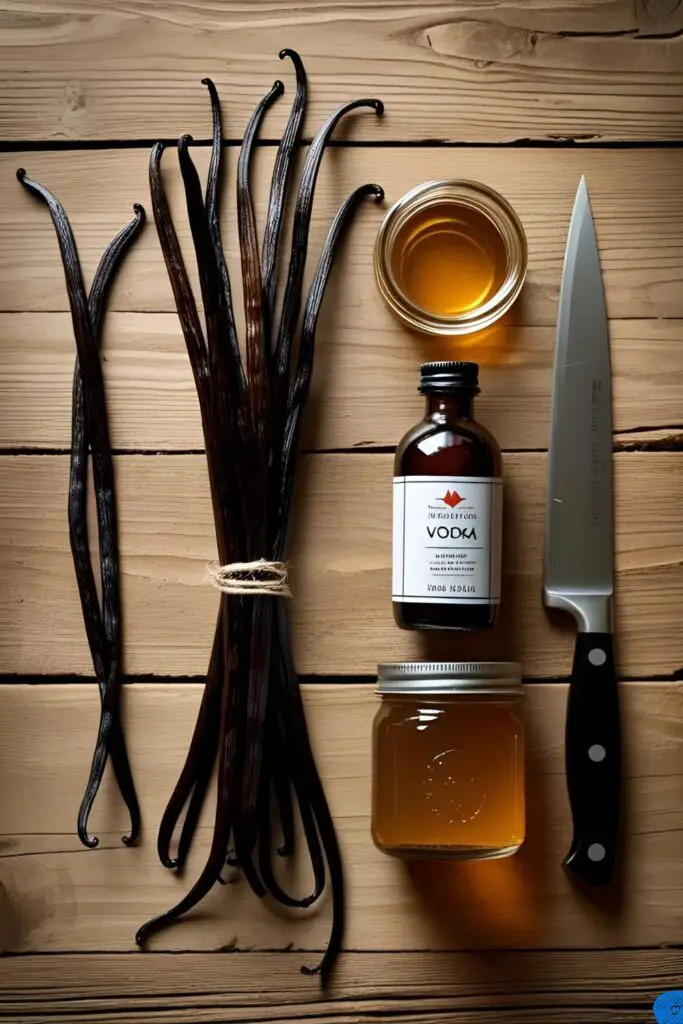
- Vanilla Beans: About 8-10 beans. Here’s a pro tip: Use Grade B (or extract grade) vanilla beans. They are less moist and pretty than the pricey Grade A beans, but they are perfect for extracting flavor and are much, much cheaper.
- Liquid Sweetener: ¾ cup. You have options!
- Agave Nectar or Corn Syrup: For a classic, neutral paste.
- Maple Syrup: For a warmer, richer flavor profile.
- Sugar-Free Syrup: Use a keto-friendly liquid sweetener like allulose or monk fruit syrup.
- Alcohol: ¼ cup. This acts as a preservative and flavor extractor.
- Vodka: Clean and neutral, it lets the vanilla shine.
- Bourbon or Dark Rum: Adds complexity and warmth.
Tools & Kitchen Gadgets Used
To create your liquid gold, you’ll need a few trusty tools.
- A High-Powered Blender or Food Processor (this is essential for pulverizing the pods)
- A Small, Sharp Knife (a paring knife works perfectly)
- Cutting Board
- Small Saucepan
- Silicone Spatula
- Small Glass Jars with Tight-Fitting Lids (for storing your precious creation)
- Fine-Mesh Sieve (optional, if you want an ultra-smooth paste)
Step-by-Step Instructions
Time to play mad scientist. This is the fun part!
Step 1: Perform Bean Surgery Lay a vanilla bean flat on your cutting board. Using the tip of your sharp knife, carefully split the bean in half lengthwise, from top to bottom. Use the back of your knife to scrape out all of those glorious, tiny seeds. This stuff is affectionately known as “vanilla caviar.” Repeat with all of your beans, placing the seeds in a small bowl.
Step 2: Don’t Waste the Pods! This is the most important step. Do not throw away the scraped pods! All the flavor is locked in there. Take the empty pods and chop them into small, ½-inch pieces.
Step 3: Create the Syrup Base In your small saucepan, combine your liquid sweetener of choice (agave, etc.) and your alcohol (vodka, etc.). Gently warm the mixture over low heat for just a minute or two until it’s warm and fluid. Do not let it boil! You’re just trying to get things moving, not make vanilla candy.
Step 4: Let the Magic Steep Remove the saucepan from the heat. Add the scraped vanilla seeds AND the chopped vanilla pods to the warm syrup. Give it a good stir. Now, let it sit for at least 30 minutes (or up to a few hours if you have the time) to let the flavors infuse. Let them get to know each other.
Step 5: Blend it to Oblivion Carefully pour the entire mixture—seeds, pods, and all—into your high-powered blender or food processor. Secure the lid tightly. Now, blend on high speed for a solid 2 to 3 minutes. You want to completely pulverize the pods until the mixture is as smooth and uniform as possible. It will be thick, dark, and speckled.
Step 6: Jar It Up Pour your finished vanilla paste into your clean, airtight glass jars. Seal them tightly. That’s it! You just made vanilla paste. Give yourself a pat on the back.
Calories & Nutritional Info
Honestly? Who’s counting? But for the curious among us…
- Serving Size: 1 teaspoon
- Estimated Calories: Around 20-25 kcal, depending on the sweetener used.
- Primary Nutrient: Pure, unadulterated joy.
- Contains: A small amount of sugar/carbs from the sweetener. It’s a flavor agent, not a health food. 😉
Common Mistakes to Avoid
Avoid these rookie moves to ensure your vanilla paste is perfect.
- Using Your Fancy, Expensive Beans: Save those beautiful, plump Grade A vanilla beans for custards or for putting on display. Grade B beans are literally made for extracting and are the smart, affordable choice here.
- Throwing Away the Pods: I will cry if you do this. The scraped-out pods contain a massive amount of vanilla flavor. You must use the entire bean to get the most bang for your buck and the most intense paste.
- Under-Blending: A quick 30-second pulse is not going to cut it. The pods are tough. You need to let that blender run for several minutes to break them down into microscopic specks. If you don’t, you’ll have a chunky, unpleasant paste.
- Boiling the Syrup: You are gently warming the liquid to help it infuse. Boiling it will cook off the alcohol (which you need for preservation) and can make your sweetener seize up or become too thick. Low and slow is the tempo.
Variations & Customizations
Once you’ve mastered the classic, why not get a little creative?
- Sugar-Free / Keto Vanilla Paste: This is an easy swap. Simply use a keto-friendly liquid sweetener like monk fruit syrup, allulose syrup, or a stevia-based liquid in place of the agave or corn syrup.
- Warm Spiced Vanilla Paste: Add a single cinnamon stick, a star anise, or a few whole cloves to the syrup during the steeping phase. Remove the whole spices before blending. This is absolutely incredible for holiday baking.
- Bourbon & Maple Vanilla Paste: Go for a richer, more complex flavor profile by using a good quality bourbon and pure maple syrup. This version is phenomenal in bread pudding, pecan pies, or even just a spoonful in your morning coffee.
FAQ Section
Let’s answer the questions that are buzzing in your head.
1. What’s the difference between vanilla paste and vanilla extract? Extract is a thin, alcohol-based liquid with infused vanilla flavor. Paste is a thick, syrupy suspension that contains the actual vanilla seeds and pulverized pods, giving it a more intense flavor and those signature black specks. Generally, 1 tsp of paste = 1 tsp of extract = 1 vanilla bean.
2. What are Grade A vs. Grade B vanilla beans? Grade A beans (gourmet grade) have higher moisture content, are plump and oily, and are best for cooking where the bean itself is the star. Grade B beans (extract grade) are drier and less pretty but have a concentrated flavor that is perfect for making extracts and pastes.
3. How long does homemade vanilla paste last? Thanks to the sugar and alcohol, it’s very shelf-stable. Stored in a cool, dark place (like your pantry), it will last for at least a year. The flavor will actually deepen and improve over the first few months.
4. Can I make this without alcohol? Yes, you can substitute the alcohol with water or more sweetener. However, this will significantly shorten its shelf life. An alcohol-free version should be stored in the refrigerator and used within a month.
5. My vanilla paste is too thick/thin. How do I fix it? Easy! If it’s too thick, blend in another tablespoon of warm water or alcohol until it reaches your desired consistency. If it’s too thin, return it to the saucepan and gently warm it for a few minutes to allow some liquid to evaporate (don’t boil!).
6. What can I use vanilla paste in? Anything you would use vanilla extract in! It’s especially wonderful in light-colored desserts where you want to see the vanilla specks, like ice cream, panna cotta, shortbread, sugar cookies, and buttercream frosting.
7. Do I have to strain the paste? Nope! If you use a high-powered blender, the pods should be so pulverized that you won’t notice them. The point is to use the whole bean for maximum flavor.
Final Thoughts
Look at you, with your beautiful jar of homemade liquid gold. You’ve officially graduated to the next level of baking. You’ve outsmarted the grocery store, saved yourself a small fortune, and created something that will make every single thing you bake taste better.
Now go forth and add it to everything. Your cookies, your cakes, your whipped cream, your morning yogurt, a sneaky spoonful directly into your mouth… I won’t tell. You deserve it.


