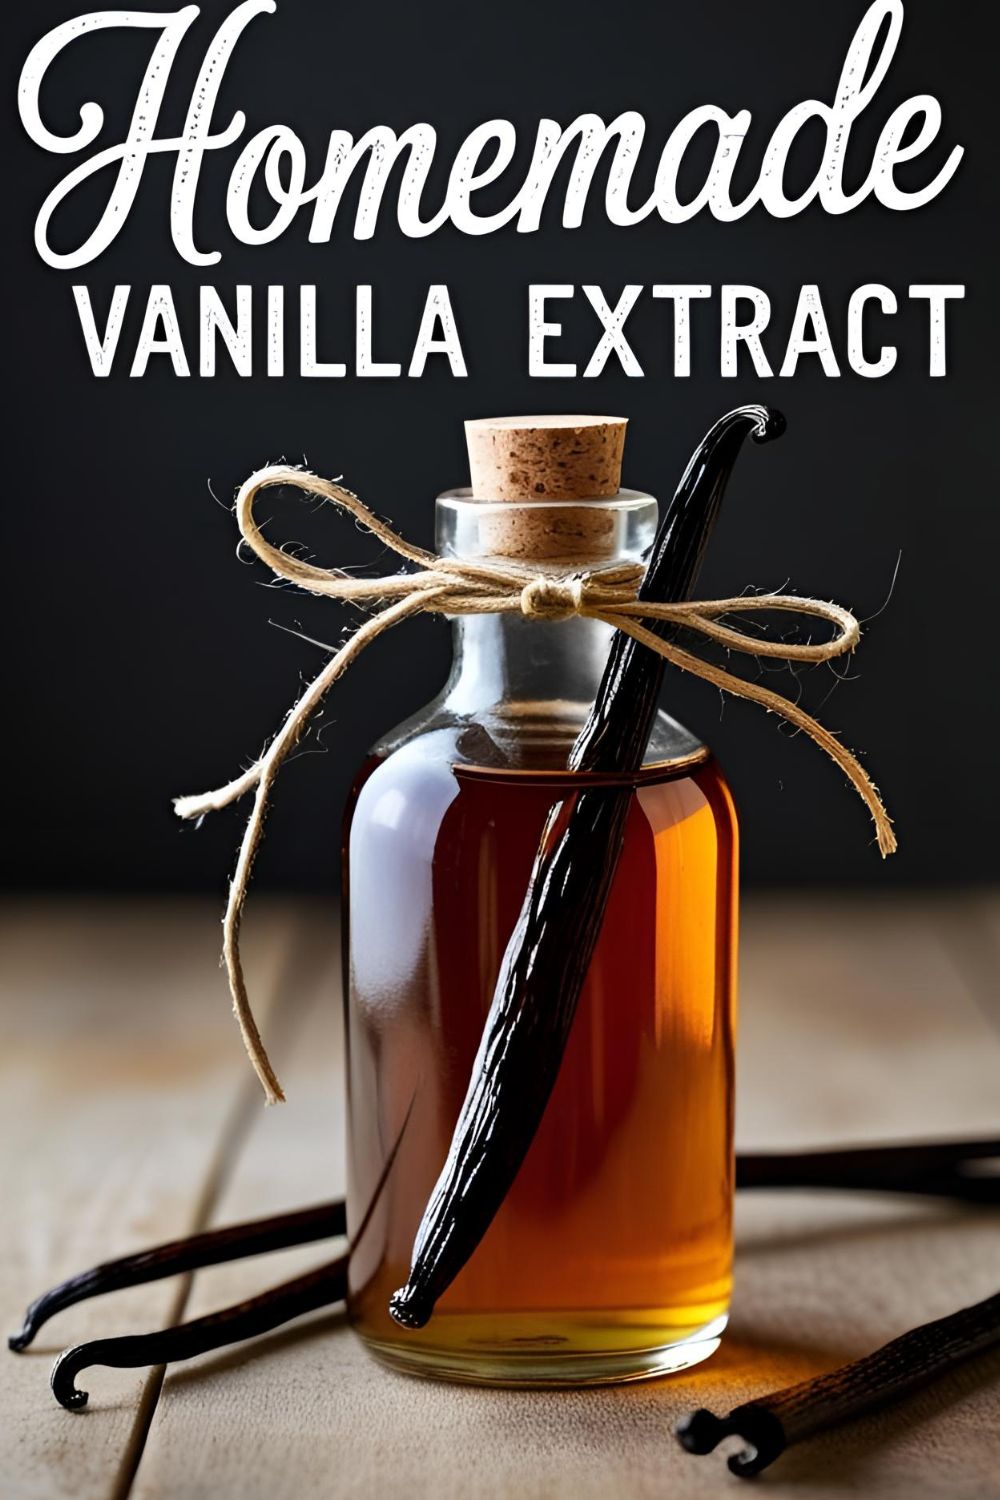
How to Make Vanilla Extract at Home (It’s Cheaper & Tastes Way Better!)
How to Make Vanilla Extract at Home (It’s Cheaper & Tastes Way Better!)
Let’s talk about that moment of quiet desperation in the baking aisle. You’re grabbing your flour and sugar, feeling good about your life choices, and then you reach for the vanilla extract. You pick up a tiny, two-ounce bottle, glance at the price tag, and your soul momentarily leaves your body. How can this little bottle of brown liquid cost more than a bottle of wine? And not the cheap stuff, either.
What if I told you that you could opt out of this madness? That you could learn how to make vanilla extract at home that is not only ridiculously easy but is also infinitely more flavorful and dramatically cheaper in the long run? It’s true. This isn’t really a recipe; it’s more like a magic trick with two ingredients and one instruction: wait.
Get ready to start the easiest, most passive-aggressive DIY project of your life. Your wallet and your baked goods are about to thank you.
Why This “Recipe” is a Baking Game-Changer
This is less of a recipe and more of a long-term investment in your future happiness. Here’s why it’s the best project you’ll start all year.
First, it is laughably easy. I’m not kidding. If you can put something in a jar and then put that jar in a cupboard, you have the advanced culinary skills required for this recipe. It’s a “set it and forget it” project that requires about five minutes of active work for a reward that lasts for years.
Second, the flavor is on another level. The stuff you buy at the store is fine, I guess. But homemade vanilla extract? It’s a whole different beast. It’s complex, aromatic, and incredibly rich. You can even customize the flavor by using different types of spirits or vanilla beans. It’s the secret ingredient that will make people ask, “What did you do to these cookies?!”
Finally, it’s a gift-giving power move. Nothing says “I am a thoughtful, sophisticated person who has their life together” like gifting a beautiful bottle of homemade vanilla extract. It’s the perfect present for the baker in your life, and they never have to know it only took you five minutes of actual effort.
The (Extremely) Short Ingredient List

Prepare yourself. This is going to be intense.
- Vanilla Beans: You’ll need about 5-6 beans per 8 ounces of alcohol. The star of the show! We’ll get into the specifics below.
- Grade B (or “Extract Grade”) Beans: These are the best choice. They are drier than the plump, pricey Grade A beans and have a lower moisture content, which actually makes them perfect for infusing alcohol. They are also significantly cheaper.
- Types of Beans: Madagascar beans will give you that classic, creamy, all-purpose vanilla flavor. Tahitian beans are more floral and fruity. Mexican beans are a bit smoky and spicy.
- Alcohol: You need one 750ml bottle (about 3 cups) of 80-proof (40% alcohol) liquor. The alcohol is what “extracts” the flavor compounds from the beans.
- Vodka: The most popular choice because it’s a neutral canvas that lets the pure vanilla flavor shine. Don’t waste your money on the top-shelf stuff; a decent, mid-range bottle is perfect.
- Bourbon, Brandy, or Rum: For the more adventurous! Using a darker spirit will add its own delicious notes of caramel, oak, and spice to the finished extract.
The Alchemist’s Toolkit

Your laboratory requires very little.
- Glass Jars or Bottles with Airtight Lids: You’ll need at least one 1-liter (or a few smaller) jars for the initial infusion. Amber or dark-colored glass is best as it protects the extract from light, but clear glass stored in a dark place works just fine.
- A Sharp Paring Knife & Cutting Board: For the very strenuous task of splitting the vanilla beans.
- A Funnel (Optional but helpful): For decanting your finished extract into smaller, gift-able bottles without making a mess.
- Labels: So you can write the date on your jar and pretend you’re a serious artisan.
Step-by-Step: The World’s Easiest Recipe
Clear your schedule. This might take you a whole five minutes.
H3: Part 1: The Extremely Strenuous Prep Work
- Split the Beans: Take your vanilla beans and, using your sharp paring knife, carefully slice them open lengthwise from top to bottom. You don’t need to cut them all the way in half; you just want to open them up to expose all those tiny, magical seeds (this is often called “vanilla caviar”).
- Optional: Scrape ’em: For an extra flavor boost, you can run the back of your knife down the inside of the split beans to scrape some of the seeds out, but it’s not strictly necessary. The alcohol will do the work.
H3: Part 2: The Combination and The Long Wait
- Beans in the Jar: Place your split vanilla beans into your clean, dry glass jar.
- Add the Booze: Pour your chosen alcohol (vodka, bourbon, etc.) into the jar, ensuring the vanilla beans are completely submerged. This is important for proper extraction and to prevent any spoilage.
- Seal and Shake: Screw the lid on tightly. Now, give the jar a really good shake, like you’re mixing a fancy cocktail.
- The Hardest Part: Wait. Place the jar in a cool, dark place, like the back of a pantry or a cupboard. And now… you wait.
- Shake It Occasionally: For the first few weeks, try to remember to give the jar a good shake once a week. After that, just shake it whenever you happen to remember it exists.
- How Long is the Wait? Your extract will start to look and smell like vanilla in about 8 weeks, but for a truly deep, rich, and complex flavor, you want to wait at least 6 months, and ideally a full year. I know, I know. Patience is a virtue.
Nutritional Info (The Briefest of Chapters)

Let’s break down the nutritional powerhouse that is vanilla extract.
- Serving Size: 1 teaspoon
- Estimated Calories: About 12
- Key Nutrients: Alcohol. And patience.
- Note: You are adding this to baked goods by the teaspoon. Its nutritional impact is negligible, but its impact on flavor is monumental.
Common Mistakes to Avoid (The Path to Weak Extract)
It’s hard to mess this up, but people find a way. Don’t be one of them.
- Using Pricey Grade A Beans: You’re literally just soaking them. Don’t waste your money on the beautiful, plump, and expensive Grade A beans meant for cooking. Grade B (extract grade) beans are cheaper and perfect for this job.
- Using Weak Alcohol: If your alcohol is less than 35% ABV (70-proof), it won’t be effective at extracting all the flavor compounds and, more importantly, it won’t properly preserve the beans. Stick to 80-proof spirits.
- Being Wildly Impatient: This is the big one. If you crack it open after a month, it’s just going to taste like vanilla-scented vodka. Time is the most important ingredient in this recipe. Let it sit. Seriously. Forget about it for a while.
- Storing It in the Light: Sunlight and heat are the enemies of good flavor. They can cause the delicate flavor compounds to break down. A cool, dark cupboard is its happy place.
- Leaving Beans Exposed to Air: Make sure your beans are fully submerged in the alcohol. Any parts sticking out can get slimy and potentially moldy. If they float, you can weigh them down or cut them into smaller pieces.
Variations & Customizations (Create Your Signature Blend)
Now that you’re a master extractor, why not get creative?
- Warm Spiced Vanilla: Add one or two cinnamon sticks, a few whole cloves, or a couple of allspice berries to the jar along with your vanilla beans. This creates a wonderfully warm, spiced extract that is absolutely incredible in holiday baking.
- Bourbon or Dark Rum Vanilla: My personal favorite. Using a good-quality bourbon instead of vodka adds deep, rich notes of caramel, oak, and toffee. Dark rum will give it a molasses-like sweetness. It’s a game-changer for chocolate chip cookies and brownies.
- The “Infinity Bottle”: Your vanilla extract doesn’t have to end! As you use it, you can simply top the bottle off with a little more of the same spirit. Every 6 months or so, add a fresh, split vanilla bean to keep the flavor going strong. You can essentially have a perpetual supply of homemade vanilla.
Frequently Asked Questions (Your Extract-spert Panel)
What is the best alcohol to use for homemade vanilla extract?
A decent, mid-range 80-proof vodka is the best all-around choice. It’s a neutral flavor and is very affordable. You don’t need anything fancy; a big bottle of something like Smirnoff or Svedka is perfect.
How many vanilla beans do I need for a cup of vodka?
A great starting point is 5-6 vanilla beans per 8 ounces (1 cup) of alcohol. For a standard 750ml bottle (about 25 ounces), you’ll want around 15-18 vanilla beans for a nice, strong extract.
What’s the real difference between Grade A and Grade B vanilla beans?
Grade A beans are the “gourmet” beans. They are plump, oily, and have a higher moisture content, making them ideal for scraping the seeds out for things like custards and ice cream. Grade B beans are drier with less moisture, which makes them perfect for extracting in alcohol. They are also much more affordable.
How long does homemade vanilla extract really last?
Properly made and stored in a cool, dark place, it will last… pretty much indefinitely. The alcohol acts as a preservative. In fact, the flavor will only continue to deepen and improve over time.
Why isn’t my extract getting dark? It’s been a month!
Patience, my friend! It takes time. The color will slowly change from a light tea color to a deep, dark amber. A month is just the beginning of its journey. Give it a shake and put it back in the cupboard.
Can I reuse the vanilla beans after the extract is made?
Yes! Don’t throw them out. You can take a bean out, let it dry, and stick it in your sugar jar to make incredible vanilla sugar. You can also dry them out and grind them into a powder to add to coffee or baked goods.
Is making your own vanilla extract actually cheaper?
Yes, especially in the long run. While the initial investment in a bottle of alcohol and a bundle of vanilla beans might seem like a lot, it will produce a huge amount of extract that is far superior to and will last much longer than those tiny, expensive bottles from the store.
Final Thoughts
Congratulations! You have just embarked on one of the most rewarding and low-effort culinary projects in existence. You’ve taken two simple ingredients and, with the magic of time, are creating a staple that will elevate every single thing you bake from now on.
Go label your jar, put it in the back of your darkest cupboard, and set a reminder on your phone for six months from now titled: “Check on my glorious vanilla potion.” Your future self—and your future cookies—will thank you profusely.