You’re About to Make Your Grandma’s Fanciest Candy, and It’s Not as Scary as It Looks
Alright, let’s journey back in time. Picture a crystal candy dish at your grandma’s house, filled with shimmering, impossibly delicate, and slightly intimidating sweets. Among them, the undisputed queen: ribbon candy. You’re here because a tiny, brave part of your brain whispered, “I wonder how to make ribbon candy?” and I am here to tell you that this is a brilliant, if slightly audacious, idea.
Forget your simple cookies and basic brownies. Today, we’re leveling up. We’re playing with molten sugar. We’re creating edible art. This is the kind of project that makes you feel like a magical old-world confectioner. Does it require a bit of attention to detail and a healthy respect for hot sugar? Yes. Is it going to be one of the most satisfying and impressive things you’ve ever made in your kitchen? You bet it is.
Why You Absolutely Need to Try This
So, why should you, a perfectly sane person, willingly choose to work with what is essentially delicious lava? I’m so glad you asked.
First, it is breathtakingly beautiful. Seriously. The way the light catches the satiny sheen of the pulled sugar, the delicate, wavy shapes—it’s a work of art. A bowl of homemade ribbon candy is an instant centerpiece and a guaranteed conversation starter.
Second, the flavor and texture are unbeatable. When you make it yourself, you can use high-quality flavorings. Imagine vibrant peppermint, zesty lemon, or warm cinnamon that actually tastes real. And the texture? That signature snap and airy crunch of freshly made hard candy is something you just can’t get from a dusty, store-bought box.
Finally, the bragging rights are immense. Telling people, “Oh, this? Yeah, I just whipped up a batch of ribbon candy from scratch,” is a flex of epic proportions. It looks incredibly difficult, but it’s really just a process. Follow the steps, and you’ll look like a candy-making wizard.
Your Confectionary Quest: Ingredients
The beauty of this recipe is its simplicity. You don’t need a long list of fancy ingredients, just a few key players.
- 2 cups granulated sugar.
- ⅔ cup light corn syrup. (This is not optional; it’s the secret to preventing crystallization!)
- ¾ cup water.
- 1 teaspoon flavoring oil (like peppermint, lemon, cinnamon, etc.). It must be an oil-based candy flavoring, not a water-based extract!
- A few drops of gel food coloring.
The Candy Maker’s Arsenal: Tools & Gadgets
This is one of those recipes where having the right tools isn’t just helpful—it’s essential for success and, frankly, for safety.
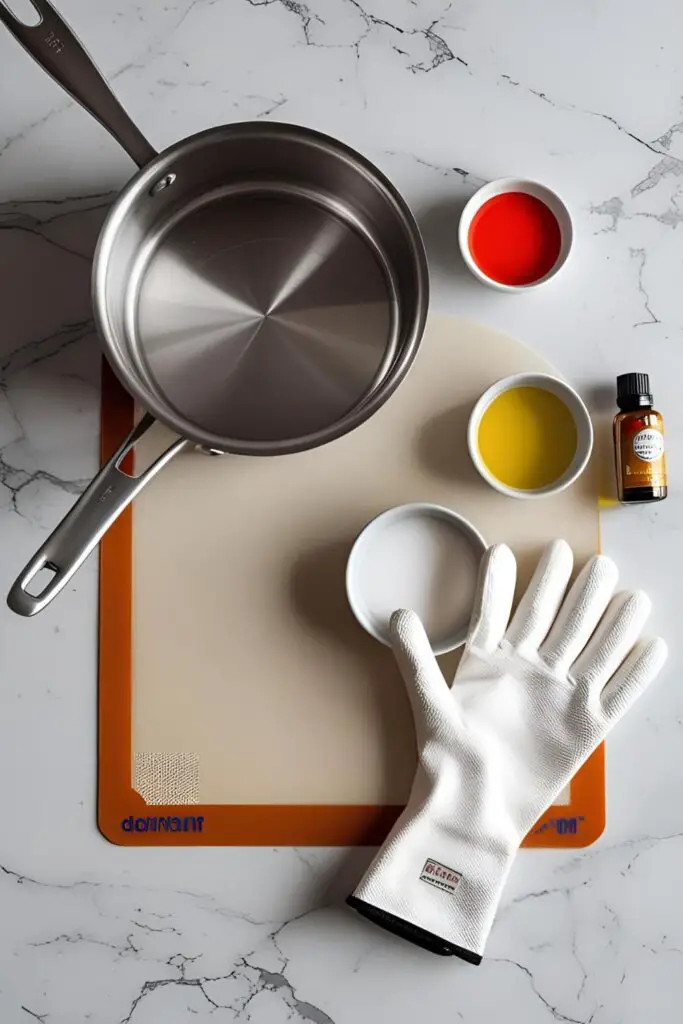
- Heavy-Bottomed Saucepan (at least 2-quart): A thin pan will create hot spots and burn your sugar. Go for something sturdy.
- Candy Thermometer: This is non-negotiable. You cannot eyeball this. A digital one is great for accuracy.
- Heat-Resistant Gloves: You will be handling very hot candy. Get a pair of clean cotton gloves to wear under food-safe vinyl or nitrile gloves. This is your armor.
- Silicone Baking Mat (Silpat): The perfect non-stick surface for pouring and working with hot sugar.
- Bench Scraper or a Metal Spatula: For manipulating the cooling sugar.
- Kitchen Scissors: For cutting the candy ribbons. Make sure they are clean and lightly oiled.
- Pastry Brush and a small bowl of water: For washing down the sides of the saucepan.
The Sweet Science: Step-by-Step Instructions
Ready to feel like a scientist and an artist at the same time? Let’s do this. Read through all the steps before you begin. Mise en place (getting all your stuff ready) is your best friend here.
Step 1: Prep Your Workspace (The “Lab”) Lay out your silicone mat on a heat-resistant surface. Have your food coloring and flavoring oil open and ready to go. Lightly oil your kitchen scissors. Set up your pastry brush and bowl of water next to the stove. Put on your gloves. You are now a candy surgeon.
Step 2: Cook the Sugar Syrup In your heavy-bottomed saucepan, combine the sugar, corn syrup, and water. Stir over medium heat until the sugar is completely dissolved. Once it starts to boil, stop stirring. Clip your candy thermometer to the side of the pan, making sure the tip is submerged in the syrup but not touching the bottom of the pan.
Step 3: The Waiting Game Let the syrup boil undisturbed. Use your wet pastry brush to wash down any sugar crystals that form on the sides of the pan. Watch the thermometer closely. You are aiming for the “hard crack” stage, which is 300-310°F (149-154°C). This will take some time, so be patient.
Step 4: Act Fast! As soon as the syrup reaches the target temperature, immediately remove the pan from the heat. Let the bubbles subside for a moment, then quickly stir in your food coloring and flavoring oil. Be careful; the mixture will steam and sputter vigorously.
Step 5: The Pour and Cool Pour the molten candy mixture onto your prepared silicone mat. Let it sit for a few minutes until it’s just cool enough to handle but still very pliable. It will form a skin as it cools from the outside in.
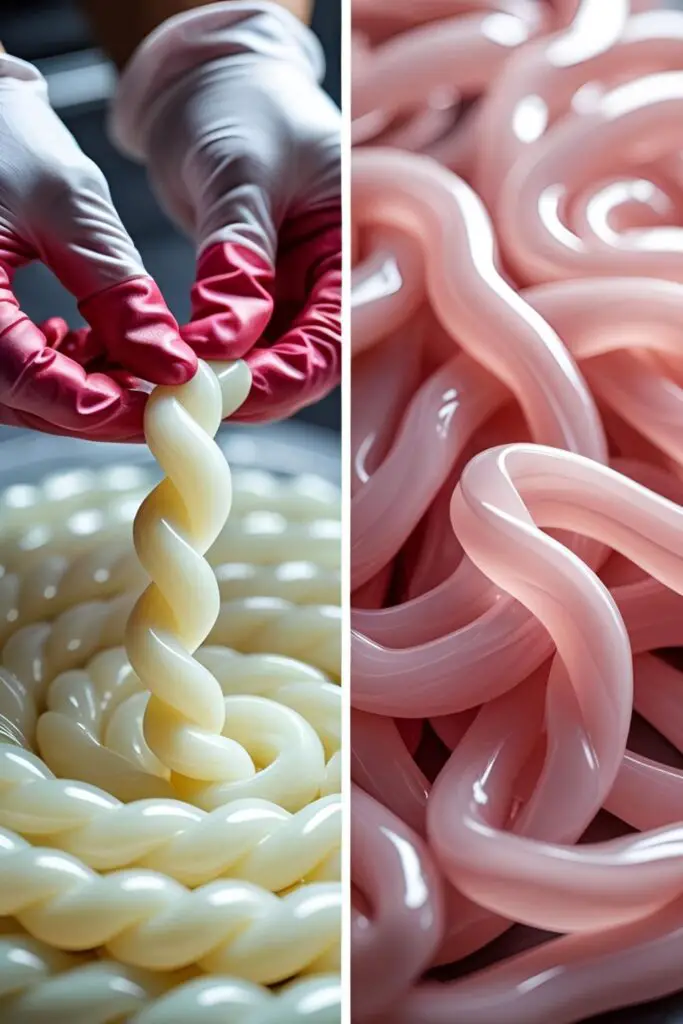
Step 6: The Pulling Process (The Magic Part) This is where the magic happens. Using your gloved hands and a bench scraper, begin to fold the edges of the cooling candy into the center. Once it’s a cohesive mass, start pulling it. Stretch it out into a long rope, fold it back on itself, and pull again. Repeat this process over and over. You will see the candy transform from a translucent blob into an opaque, satiny rope. It will also become much stiffer as it cools. This is a bit of a workout!
Step 7: Shape the Ribbons Once the candy is satiny and firm but still workable, use your oiled scissors to cut off a piece of the rope. Quickly roll it into a thinner rope (about ½ inch in diameter). Lay the rope down on the silicone mat and gently fold it back and forth on itself to create the classic wavy ribbon shape.
Step 8: Let It Harden Let the shaped ribbons cool completely at room temperature on the silicone mat. They will become hard and brittle. Once they are fully hardened, they will have that signature snap. Store them in an airtight container immediately.
Nutritional Information (Spoiler: It’s Sugar)
Let’s not kid ourselves. We just made candy out of pure sugar.
- Calories: ~100-120 per ounce (a few pieces)
- Sugar: A whole lot.
- Fat: 0g
- Joy: Immeasurable.
- Note: This is a special treat. Enjoy the artistry and the deliciousness in moderation.
Avoiding a Sticky Situation: Common Mistakes
Candy making is precise. Here’s how to avoid a meltdown.
- Stirring After it Boils: Stirring the boiling syrup encourages sugar crystals to form, which will ruin the texture of your candy. Once it boils, hands off!
- Not Using a Candy Thermometer: Guessing the temperature is a recipe for disaster. You’ll end up with soft, sticky candy (if undercooked) or burnt, bitter candy (if overcooked). Use a thermometer.
- Ignoring Humidity: Hard candy and humidity are mortal enemies. Do not attempt to make this on a rainy or very humid day. The moisture in the air will make your candy sticky and prevent it from hardening properly.
- Using Extracts Instead of Oils: Regular alcohol-based extracts can evaporate from the heat and even cause the hot sugar to seize. You must use concentrated, oil-based candy flavorings for the best results.
- Not Respecting the Heat: Molten sugar is incredibly hot and can cause severe burns. Wear your heat-resistant gloves and work carefully and deliberately. This is not a project for young kids to help with.
Creative Customizations (Your Signature Candy)
Once you’ve mastered the basic technique, the possibilities are endless.
- Striped Ribbon Candy: Divide the hot candy into two portions before it sets. Color one portion, leave the other white (or color it differently). As you pull, keep the two colors separate, then twist the ropes together before cutting and shaping for a beautiful striped effect.
- Spicy Cinnamon Ribbons: Use cinnamon candy oil and a vibrant red food coloring for a classic, fiery treat. You can even add a tiny pinch of cayenne pepper for a real kick.
- Sour Power Ribbons: Use a tart flavoring oil like green apple or lemon. After the ribbons have hardened, lightly brush them with a bit of water and dredge them in a mixture of citric acid and sugar for a super sour coating.
Your Questions, Answered (FAQ)
1. Why is corn syrup necessary? Can I leave it out? No, you really can’t. Corn syrup is an “interfering agent.” It contains long chains of glucose that get in the way of the regular sugar molecules, preventing them from forming large crystals. Without it, your candy would likely turn into a grainy, sugary mess.
2. My candy got hard before I could finish shaping it! What do I do? Pulled sugar cools and hardens quickly. You have to work fast. Some professional candy makers use a warming light to keep it pliable for longer, but for home cooks, it’s a race against the clock. If it gets too hard, unfortunately, there’s not much you can do besides break it up and enjoy the pieces.
3. How do I store homemade ribbon candy? The key is to keep it away from moisture. Store it in a very well-sealed, airtight container. Some people even add a food-safe silica gel packet to the container to absorb any moisture. It should last for several weeks if stored properly.
4. Can I use a marble slab instead of a silicone mat? Yes, a marble slab is a classic tool for candy making. You’ll just need to make sure it’s well-oiled so the candy doesn’t stick.
5. How do I clean my pot after making candy? Don’t try to scrub the hardened candy out! Simply fill the pot with water and put it back on the stove. Bring the water to a boil, and the hardened sugar will dissolve completely.
6. What are the best flavors to use? Peppermint, spearmint, wintergreen, cinnamon, lemon, orange, and cherry are all classic and delicious choices. Just make sure you’re buying “candy oils” or “flavoring oils,” not extracts.
7. Can I double the recipe? I wouldn’t recommend it for your first time. A larger batch of molten sugar is harder to handle and cools at a different rate. Master a single batch first before you try to scale up.
Final Thoughts
You did it. You stared into the face of molten sugar and didn’t flinch (much). You pulled and shaped and created something truly beautiful and delicious. You’ve officially conquered one of the most classic, and let’s be honest, most impressive homemade candies out there.
Now, go on and fill that crystal candy dish. Watch as your friends and family marvel at your skills. And when they ask where you bought such exquisite candy, just smile and say, “Oh, I just whipped these up.” You’ve earned that moment of pure, sweet satisfaction. 🙂


