How to Make Pretzels at Home (The Ultimate Soft & Chewy Recipe!)
Let’s be honest, there are few things in life as purely satisfying as a warm, chewy, deeply golden-brown soft pretzel, generously sprinkled with crunchy salt. You know the kind—the ones you get at a fancy bakery or a street fair that are bigger than your head. But you probably think they’re some kind of mystical, complicated bread that requires a German baker’s license to create.
What if I told you that learning how to make pretzels at home is not only possible but is also a ridiculously fun and rewarding project? What if I told you that you are just a few simple ingredients and one cool science experiment away from the best pretzel of your life? Today, we’re demystifying the dough, conquering the classic twist, and embracing the magic of the baking soda bath.
So, are you ready to transform your kitchen into the best German bakery in town? Let’s get twisted.
Why This Recipe is Awesome
If “a giant, warm, salty carb” isn’t enough of a reason, let’s break down why this recipe is a total game-changer.
- The Texture and Flavor are Unbeatable: Forget those dry, crunchy, sad little sticks in a bag. We’re talking about a pretzel with a deep, malty flavor, a dense and incredibly satisfyingly chewy interior, and that classic, shiny, deep-brown crust that can only be achieved through a little bit of kitchen chemistry.
- It Makes You Look Like a Baking Rockstar: When you pull a tray of these perfectly twisted, golden-brown pretzels out of your oven, your friends and family will look at you with a newfound sense of awe and respect. You’re not just a cook; you’re a baker of complex, yeasted goods. They don’t need to know how surprisingly simple the steps actually were.
- It’s a Super Fun Process: You get to play with a soft, beautiful dough, practice your twisting skills (or lack thereof, no judgment here), and perform a cool, bubbly science experiment with a baking soda bath. It’s an entire afternoon of delicious, hands-on fun.
Ingredients
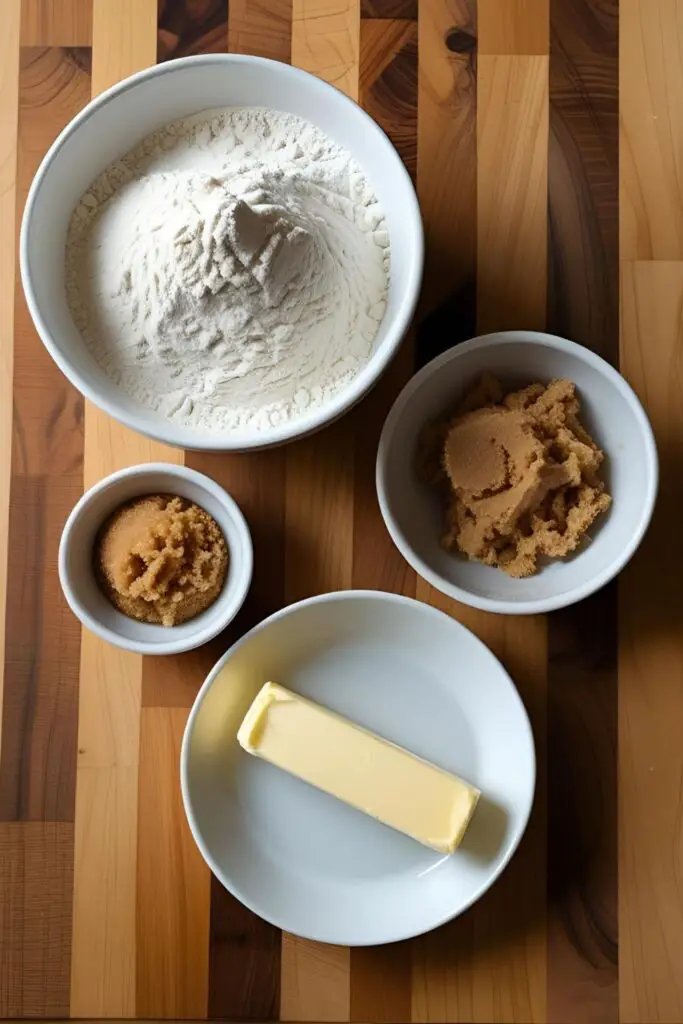
The ingredients are simple pantry staples. The magic is in how you put them together.

For the Chewy Pretzel Dough:
- 1 ½ cups warm water (about 110°F / 43°C)
- 1 tablespoon brown sugar
- 2 ¼ teaspoons active dry yeast (1 standard packet)
- 4 ½ cups all-purpose flour (maida)
- 2 teaspoons salt
- 4 tablespoons unsalted butter, melted
For the Baking Soda Bath (The Magic Step!):
- 10 cups water
- ½ cup baking soda
For the Topping:
- 1 large egg yolk, beaten with 1 tablespoon of water
- Coarse sea salt or pretzel salt, for sprinkling
Tools & kitchen gadgets used
You’ll need a big pot for the science experiment part, but the rest is standard baking gear.
- A Stand Mixer with a dough hook attachment (or a large bowl and your own two hands)
- A Large Pot or Dutch Oven (for the baking soda bath)
- A Slotted Spoon or Spider Strainer (for safely rescuing the pretzels from the hot water)
- Baking Sheets
- Parchment Paper
- A Bench Scraper (helpful for dividing the dough)
- A Pastry Brush
Step-by-step instructions
This is a journey with a few steps, but each one is simple. Let’s do this!
Step 1: Wake Up the Yeast In the bowl of your stand mixer (or a large mixing bowl), combine the warm water and the brown sugar. Sprinkle the yeast over the top. Give it a gentle stir and then let it sit for about 5-10 minutes. It should become foamy and bubbly. This is how you know your yeast is alive and ready to party.

Step 2: Make the Dough Attach the dough hook to your mixer. Add the flour, salt, and melted butter to the bowl with the yeast mixture. Mix on low speed until a shaggy dough forms, then increase the speed to medium and knead for 5-7 minutes. The dough should be smooth, elastic, and pull away from the sides of the bowl. (If kneading by hand, do so on a floured surface for about 10 minutes).
Step 3: The First Rise Lightly grease a large bowl with oil. Form your dough into a ball, place it in the bowl, and turn it over to coat it lightly in oil. Cover the bowl with a clean kitchen towel and place it in a warm, draft-free spot for about 1 hour, or until the dough has doubled in size.
Step 4: The Twist (The Fun Part!) Gently punch the air out of the risen dough and turn it out onto a clean, un-floured work surface. Divide the dough into 8-12 equal pieces. Roll one piece of dough into a long rope, about 20-24 inches long. To make the classic twist:
- Form the rope into a “U” shape.
- Cross the ends over each other twice.
- Lift the ends up and press them down onto the bottom of the “U”.
- Voilà! It’s a pretzel! (Don’t worry if they look weird. Weird-shaped pretzels are just as delicious).
Step 5: The Baking Soda Bath (The Science Part!) Preheat your oven to 450°F (230°C). In your large pot, bring the 10 cups of water and ½ cup of baking soda to a rolling boil. Carefully, one at a time, drop each pretzel into the boiling water for just 30 seconds. It will puff up and feel a bit slippery. Use your slotted spoon to lift it out, let the excess water drip off, and place it on a parchment-lined baking sheet.
Step 6: The Finishing Touches Once all your pretzels have had their bath, brush the tops with the beaten egg yolk wash. This is what will give them that beautiful, shiny, deep brown color. Now, sprinkle them generously with coarse pretzel salt.
Step 7: Bake to Golden-Brown Perfection Bake the pretzels for 12 to 15 minutes, or until they are a deep, rich, mahogany brown. Don’t be afraid of the dark color—that’s where all the classic pretzel flavor is! Let them cool for a few minutes before diving in.
Calories & Nutritional Info

It’s a glorious carb. Let’s just embrace it.
- Serving Size: 1 pretzel (assuming the recipe makes 12)
- Estimated Calories: Around 200-250 kcal per pretzel.
- Excellent Source of: Happiness and the perfect excuse to buy some fancy mustard.
Common Mistakes to Avoid
Avoid these pretzel pitfalls for a perfect, chewy result every time.
- Murdering Your Yeast: Yeast is a living organism, and it is a delicate flower. If your water is too hot (hotter than a comfortable bath), you will kill it, and your dough will never rise into a beautiful, puffy cloud. Use lukewarm water.
- An Under-Kneaded, Flabby Dough: To get that classic, satisfyingly chewy pretzel texture, you need to develop the gluten in the flour. You must knead the dough until it’s smooth and elastic. If you’re doing it by hand, prepare for a good arm workout. It’s worth it.
- Skipping the Baking Soda Bath: I cannot stress this enough. If you skip this step, you will not have a pretzel. You will have a pretzel-shaped breadstick. A delicious, pretzel-shaped breadstick, but not a pretzel. The baking soda bath is non-negotiable for creating that signature dark crust and tangy, unmistakable pretzel flavor.
- Being Afraid of a Dark, Beautiful Crust: A pale, blonde pretzel is a sad, under-baked pretzel. It won’t have the right flavor or texture. You want them to be a deep, rich, beautiful mahogany brown. That’s where all the flavor lives.
Variations & Customizations
Once you’ve mastered the classic, you can start your own pretzel shop.
- Spicy “Naga Morich” Cheese Pretzels: For a fiery, local twist that is not for the faint of heart, omit the salt topping. After the egg wash, sprinkle your pretzels with a layer of shredded cheese and a very, very light dusting of dried Naga Morich (ghost pepper) powder before baking. Serve with a cooling yogurt or mint dip.
- Sweet Cinnamon Sugar Pretzels: Skip the salt topping entirely. After the pretzels come out of the oven, brush them generously with more melted butter and then dredge them in a shallow dish filled with a mixture of cinnamon and sugar.
- “Everything Bagel” Pretzels: Again, skip the salt topping. After you’ve brushed the pretzels with the egg wash, sprinkle them generously with “everything bagel” seasoning (a mix of poppy seeds, sesame seeds, dried garlic, and dried onion).
FAQ Section
All your twisty, yeasty questions, answered.
1. What is the purpose of the baking soda bath? The baking soda bath is a crucial step in pretzel making. The alkaline solution gelatinizes the outside of the dough, which prevents it from fully “springing” in the oven. This helps to create the dense, chewy interior and, most importantly, it promotes the Maillard reaction, which gives pretzels their unique, deep brown, shiny crust and tangy flavor.
2. Can I make pretzels without a stand mixer? Absolutely! Just mix the dough in a large bowl with a wooden spoon, and then knead it by hand on a lightly floured surface for about 10-12 minutes, or until it’s smooth and elastic.
3. My dough didn’t rise. What did I do wrong? The most likely culprit is that your yeast was old and expired, or the water you used was too hot and killed the yeast. Always check the expiration date on your yeast packet!
4. Can I make the pretzel dough ahead of time? Yes. After the dough has been kneaded, you can place it in a greased bowl, cover it, and let it do its first rise slowly in the refrigerator for up to 24 hours.
5. How do I get that classic pretzel shape? It takes a little practice! The key is to roll your dough into a long, even rope. Make a “U” shape, cross the ends over each other twice, then lift the ends and press them onto the bottom curve of the “U”. Don’t worry if your first few look a little abstract—they will still be delicious.
6. What’s the best kind of salt to use for pretzels? A coarse sea salt or a specific “pretzel salt” is best. These large crystals will not dissolve into the dough during baking and will provide that classic salty crunch.
7. How do I store and reheat homemade pretzels? Homemade pretzels are at their absolute best when eaten fresh on the day they are made. If you have leftovers, store them in a loosely sealed paper bag at room temperature for a day. To reheat, pop them in a 350°F (175°C) oven for about 5 minutes to bring back their crisp exterior.
Final Thoughts
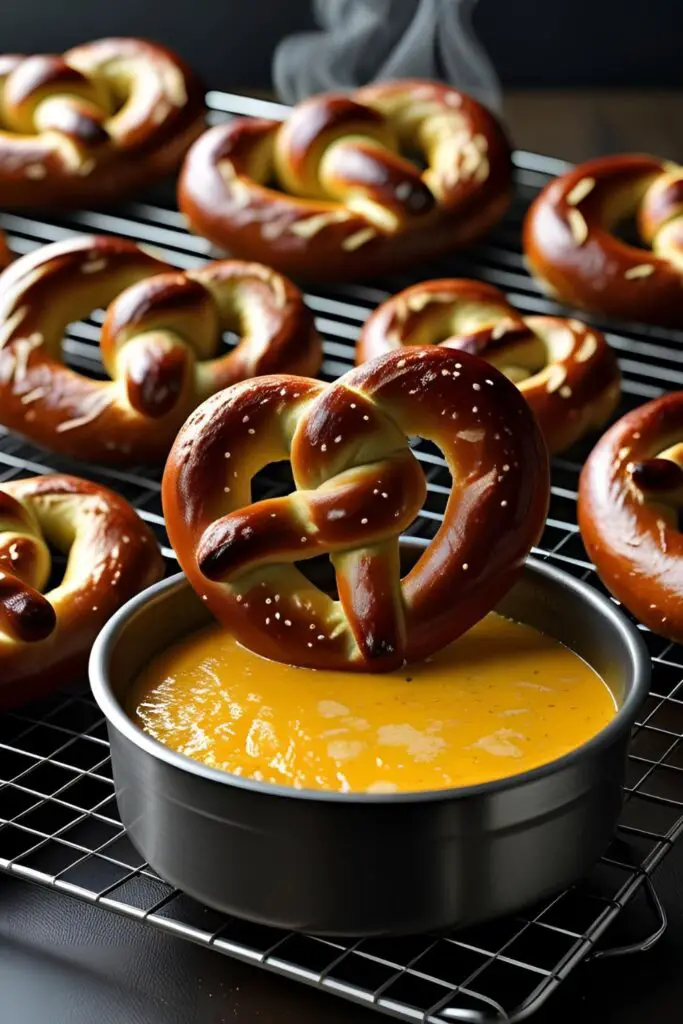
And there you have it. You’ve tamed the yeast, you’ve mastered the twist, and you have conquered the mighty baking soda bath. You are now a certified pretzel-making rock star, capable of producing warm, chewy, salty perfection whenever you please.
Now go on, grab a cold drink, your favorite spicy mustard, or a bowl of warm cheese sauce, and enjoy the glorious fruits of your labor. The frozen pretzel section of the grocery store has officially been defeated.