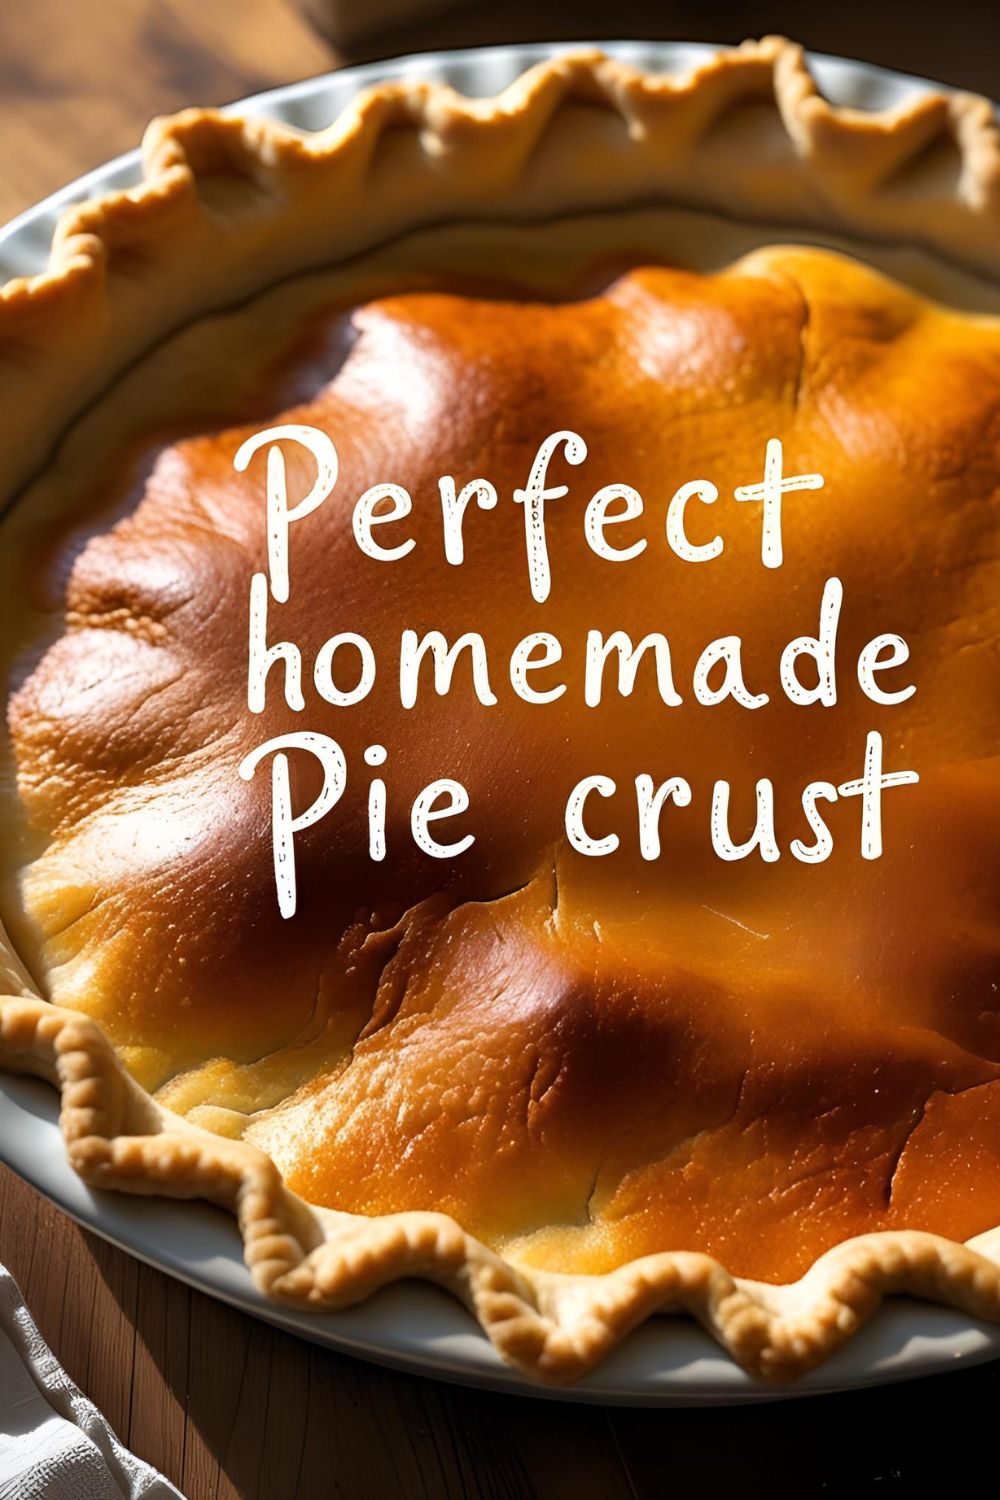
How to Make Perfect Pie Crust From Scratch (It’s Not as Hard as You Think!)
How to Make Perfect Pie Crust From Scratch (It’s Not as Hard as You Think!)
Let’s talk about that sad, rolled-up tube of dough in the refrigerated section of the grocery store. It sits there, pale and lifeless, next to the canned biscuits. It’s the “I give up” of the baking world. It gets the job done, I suppose, but does it bring you joy? Does it have delicate, buttery layers that shatter when you pierce it with a fork? Does it taste like anything other than refrigerated cardboard? No.
Today, we stage a rebellion. We are breaking up with bland, bidding farewell to flimsy, and saying sayonara to store-bought. You are going to learn how to make pie crust from scratch, and in doing so, you will discover that it’s one of the most satisfying, delicious, and empowering things you can create in your own kitchen. You are about to become a pie god.
Why This Recipe Is a Certified Game-Changer
So, why go through the “hassle” of making your own crust? Oh, my friend, it’s not a hassle; it’s an upgrade. An upgrade for your pies, your quiches, and your soul.
First, the flavor and texture are on another planet. An all-butter crust tastes, unsurprisingly, like rich, glorious butter. It’s salty, it’s savory, and it provides the perfect counterpoint to any sweet or savory filling. The texture is a revelation: unbelievably flaky, tender, and light. It’s the difference between a good pie and a pie people talk about for weeks.
Second, this is a foundational kitchen skill. Once you master this simple dough, a universe of culinary possibilities opens up. You can make sweet pies, savory pot pies, rustic galettes, fancy quiches, adorable hand pies… you name it. This one recipe is your ticket to a whole new level of baking.
Finally, it’s just plain impressive. Showing up to a gathering with a pie cradled in a visibly flaky, golden-brown, homemade crust? That’s a power move. People will look at you with a mixture of awe and reverence. Let them. You’ve earned it.
The (Beautifully Simple) Ingredients List

The best things in life are often the simplest. This pie crust requires just four basic ingredients, which means their quality really shines.
- All-Purpose Flour: 11/4 cups, plus more for rolling.
- Salt: ½ teaspoon. Fine sea salt is great.
- Sugar: 1 teaspoon. Just a touch! Even in savory pies, this helps with browning and tenderizing the crust.
- Very Cold Unsalted Butter: ½ cup (1 stick or 113g). This is the star of the show. Cut it into ½-inch cubes and then pop it back in the fridge or even the freezer for 15 minutes before you start.
- Ice Cold Water: About 4-6 tablespoons. Start with a glass of water filled with ice cubes.
The Golden Rule of Pie Crust: I will say this many times. Everything must be as cold as possible. Your butter, your water, even your hands if you can manage it. Heat is the mortal enemy of flaky pie crust. Cold, solid pieces of butter are what create the flaky layers. Remember: Cold = Flaky. Warm = Tough.
The Baker’s Toolkit: Your Pie-Making Arsenal

You have a couple of options for making this dough. Here’s the gear you might need.
- A Food Processor: This is the fastest, easiest, most foolproof method for making pie dough.
- A Pastry Blender (or Pastry Cutter): If you’re going old-school, this tool is designed to “cut” the butter into the flour by hand.
- A Large Mixing Bowl: Essential if you’re making it by hand.
- A Rolling Pin: For rolling out your beautiful dough.
- A 9-inch Pie Plate: Glass, ceramic, or metal will all work.
- A Bench Scraper: Incredibly useful for handling the dough without warming it up too much with your hands.
- A Pastry Mat (Optional): A silicone mat with measurements can make rolling out a perfect circle a breeze.
Step-by-Step: Taming the Pie Dough Beast
We’re going to walk through this process slowly. The key is to work quickly and keep everything cold.
Method 1: The Food Processor (Easy Mode)
- Pulse the Dry Goods: In the bowl of your food processor, add the flour, salt, and sugar. Pulse 2-3 times just to combine.
- Add the Cold Butter: Scatter your very cold, cubed butter over the flour mixture. Pulse in 1-second bursts about 8-10 times. You’re looking for the butter pieces to be roughly the size of peas. Do not over-process!
- Drizzle the Ice Water: With the machine running, drizzle the ice-cold water through the feed tube, one tablespoon at a time. Stop as soon as the dough starts to clump together and pull away from the sides. It will look shaggy, not like a smooth ball.
- Form and Chill: Turn the shaggy dough out onto a lightly floured surface. Do not knead it! Use your hands to quickly and gently press the dough into a 1-inch thick disk. Wrap it tightly in plastic wrap and refrigerate for at least 1 hour (or up to 2 days).
Method 2: By Hand (The Classic Way)
- Whisk the Dry Goods: In a large, chilled bowl, whisk together the flour, salt, and sugar.
- Cut in the Butter: Add your very cold, cubed butter to the bowl. Using a pastry blender or two knives, “cut” the butter into the flour until the largest pieces are the size of peas. Your fingers can work in a pinch, but work quickly so you don’t melt the butter.
- Add the Ice Water: Sprinkle the ice-cold water over the mixture, one tablespoon at a time. Use a fork to gently toss the mixture together until it starts to become shaggy and holds together when you squeeze a piece.
- Form and Chill: Follow Step 4 from the food processor method. Gently press the shaggy dough into a disk, wrap it tightly, and chill for at least 1 hour.
Rolling and Fitting the Crust:
- Let it Rest (Briefly): Let the chilled dough sit on the counter for 5-10 minutes to make it slightly easier to roll.
- Roll it Out: On a lightly floured surface, roll the dough out from the center, turning it a quarter turn after each roll to keep it from sticking and to maintain a circular shape. Roll it into a circle about 12 inches in diameter.
- Transfer to the Pan: Gently fold the dough in half, then in half again to form a triangle. Place the point in the center of your pie plate and unfold.
- Fit and Trim: Gently press the dough into the bottom and up the sides of the pan. Don’t stretch it! Trim the overhang to about 1 inch, then fold it under and crimp the edges as desired. Now you are ready to chill again (if the recipe calls for it) and fill your pie!
Calories & Nutritional Info (Just the Crust!)

This is for a single 9-inch crust, divided into 8 servings. The filling is a whole other story!
- Estimated Calories: Around 200-240 kcal per slice of crust.
- All-Butter Goodness: It’s primarily flour and butter, so it’s rich in carbohydrates and fat. It is the foundation of pie, one of life’s greatest pleasures. Treat it as such.
Common Pie Crust Crimes (And How to Avoid Them)
Pie dough can sense fear. Here’s how to show it who’s boss.
- The Sin of Warmth. I cannot say this enough. Heat is the enemy. Warm butter melts into the flour, creating a paste. This paste develops gluten and results in a tough, mealy, greasy crust instead of a light, flaky one. Your butter and water must be arctic cold.
- The Overworking Offense. You are making a delicate pastry, not a loaf of sourdough bread. Do not knead the dough. The more you handle and work it, the more you develop gluten, which makes the crust tough. Embrace a shaggy, slightly crumbly dough. Less is more.
- The Water-Logging Misdemeanor. It’s tempting to add more water to make the dough come together easily. Don’t fall into this trap. Too much water develops too much gluten and leads to a leathery, tough crust. Add just enough water, one tablespoon at a time, for the dough to barely hold together.
- Skipping the Chill. The resting time in the fridge is not a suggestion; it’s a commandment from the pie gods. Chilling allows the gluten strands to relax (preventing toughness) and, most importantly, re-chills the butter, ensuring it will create steam and flaky layers in the oven. Never skip the chill.
Variations & Customizations
Once you nail the basic crust, you can start getting fancy.
- Savory Cheddar-Herb Crust: Add ½ cup of finely shredded sharp cheddar cheese and 1 tablespoon of fresh, chopped herbs (like thyme, rosemary, or chives) to the flour mixture before cutting in the butter. This is phenomenal for quiches and meat pies.
- Rustic Whole Wheat Crust: Replace half of the all-purpose flour with whole wheat flour. This gives the crust a nuttier, heartier flavor and texture that’s wonderful with apple or pear pies.
- Sweet & Spicy Nut Crust: Add 2 tablespoons of sugar, ¼ cup of finely chopped pecans or walnuts, and ½ teaspoon of cinnamon to the dry ingredients. This is the perfect base for pumpkin, sweet potato, or pecan pie.
Your Burning Pie Crust Questions, Answered

Let’s demystify some of the most common pie dough problems.
Why did my pie crust shrink so much when I baked it?
This is usually caused by two things: the gluten wasn’t allowed to relax, or the dough was stretched when fitting it into the pan. To prevent this, always let your dough rest in the fridge for at least an hour after mixing AND for at least 30 minutes after fitting it into the pie plate.
Can I really make good pie crust in a food processor?
Yes! It’s my preferred method. It’s incredibly fast and keeps the butter colder because you’re not touching it with your warm hands. The key is to use short pulses and to stop before the dough forms a solid ball.
My crust is always tough, not flaky. What am I doing wrong?
This is the classic sign of overworked dough or too much water. Remember to handle the dough as little as possible and only add the bare minimum of water needed to bring it together.
Can I use shortening or lard instead of butter?
Yes. Shortening creates a very tender, almost crumbly crust but has zero flavor. Lard creates the absolute flakiest crust but can have a savory flavor. An all-butter crust provides the best balance of amazing flavor and excellent flakiness.
What is “blind baking” and how do I do it?
Blind baking is pre-baking a crust before adding the filling, which is necessary for fillings that don’t need to be baked (like pastry cream). To do it, line the chilled, unbaked crust with parchment paper, fill it with pie weights or dried beans, and bake at 375°F (190°C) for about 15-20 minutes. Remove the weights and parchment and bake for another 5-7 minutes until golden.
Can I make pie dough ahead of time?
Yes, and you should! The dough can be refrigerated for up to 3 days or frozen for up to 3 months. Wrap it tightly in plastic wrap and then place it in a freezer bag. Thaw it in the refrigerator overnight before using.
My dough keeps cracking when I try to roll it out. What’s wrong?
It’s just too cold straight from the fridge. Let the chilled disk of dough sit on the counter for 5-10 minutes to warm up ever so slightly. It will become much more pliable and easier to roll without cracking.
Final Thoughts

Look at you. You did it. You took four simple ingredients and you tamed the pie crust beast. You are now a person who makes their own pie crust from scratch. You wield the power of flaky layers and buttery goodness. The entire world of pies, quiches, tarts, and galettes is now your playground.
So go forth and be flaky. Your taste buds, and everyone you bake for, will thank you.