How to Make Crepes Easy (Seriously, It’s Easier Than Pancakes)
Let’s be honest, crepes have a reputation. They sound fancy, delicate, and French—something you order at a ridiculously overpriced brunch spot while trying to look sophisticated. You probably imagine a chef in a tall white hat meticulously swirling batter in a special pan. Well, I’m here to tell you that’s all a brilliant marketing scheme. The truth? If you can operate a blender and flip a pancake (badly), you already know how to make crepes easy. Prepare to unlock a new level of culinary prowess that will have your friends and family convinced you secretly attended pastry school in Paris.
Why This Recipe Is Awesome (And Will Make You Look a Culinary Genius)
So why should you abandon your trusty pancake mix for these thin, elegant delights? First, this recipe is foolproof. We’re using a blender, which means you can say goodbye to lumpy batter forever. You literally dump everything in, press a button, and boom—perfect, silky-smooth batter in under a minute.
Second, crepes are the ultimate culinary chameleon. They can be sweet, savory, a main course, a dessert, or a snack. They’re lighter than pancakes, endlessly versatile, and the perfect vehicle for literally any filling you can dream of. Making a stack of these for brunch makes you look like a rockstar, but the dirty little secret is that it was probably easier than making toast.
Ingredients: Your Passport to France (Sort Of)

You don’t need any fancy, imported ingredients. You probably have everything in your kitchen right now.
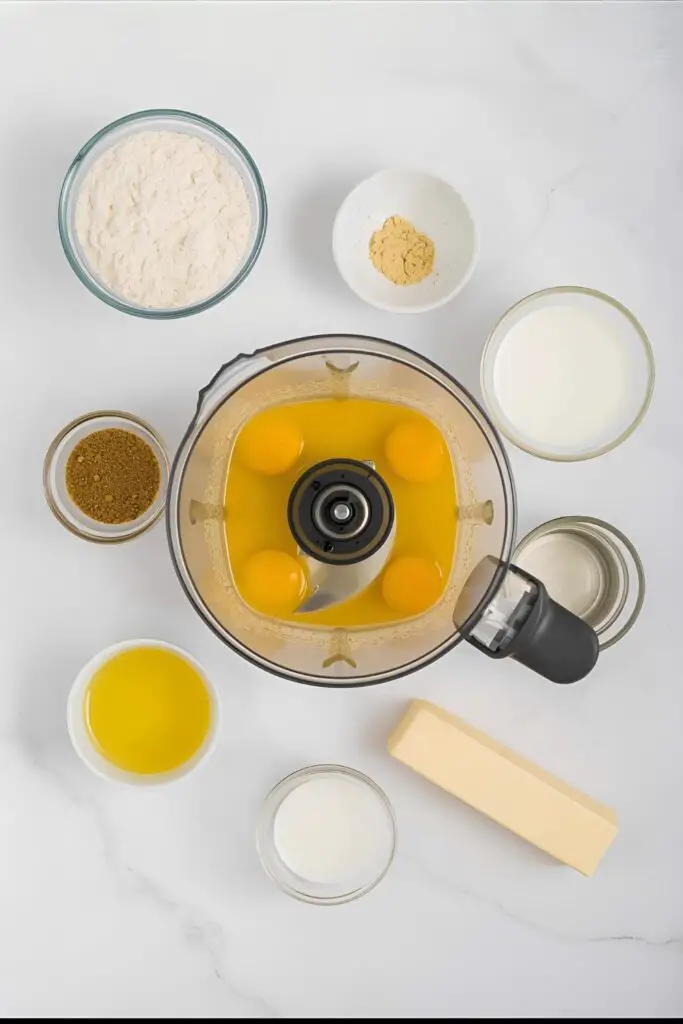
- 1 cup all-purpose flour
- 2 large eggs
- ½ cup milk (whole milk is best for richness)
- ½ cup water
- ¼ teaspoon salt
- 2 tablespoons unsalted butter, melted, plus more for the pan
- 1 tablespoon granulated sugar (for sweet crepes, optional)
Key Substitutions:
- For Savory Crepes: Simply omit the sugar. That’s it!
- Gluten-Free: Swap the all-purpose flour for a good 1:1 gluten-free baking flour blend.
- Dairy-Free: Use your favorite plant-based milk (oat or almond work well) and a neutral-flavored oil or vegan butter instead of dairy butter.
Tools & Kitchen Gadgets Used: Your Crêpe-Making Crew
The right tools make this process ridiculously simple.
- A Blender (This is the secret weapon for perfectly smooth, lump-free batter. Any blender will do!)
- A Good Non-Stick Skillet (An 8 to 10-inch skillet is perfect. You don’t need a special crepe pan.)
- Ladle or ¼-Cup Measuring Cup (For pouring the perfect amount of batter.)
- Thin Spatula (An offset spatula or a fish spatula is amazing for flipping.)
- Mixing Bowl (For the batter to rest in.)
- Whisk (If you’re a masochist and decide not to use a blender.)
- Pastry Brush (For buttering the pan, optional but handy.)
- Wire Cooling Rack
Step-by-Step Instructions: Let’s Get Swirling!
This is a two-part mission: making the batter (the easy part) and cooking the crepes (the fun part).
Part 1: Making the Easiest Batter of Your Life
- Combine Everything: Place all the ingredients—flour, eggs, milk, water, salt, melted butter, and sugar (if using)—into the blender. Yes, all at once.
- Blend It Good: Secure the lid and blend on high for about 30-45 seconds, or until the batter is completely smooth and frothy. Scrape down the sides if needed and give it one last quick blitz.
- Let It Rest (This is Non-Negotiable!): Pour the batter into a bowl, cover it, and let it rest in the refrigerator for at least 30 minutes, or up to 24 hours. This step allows the gluten to relax and the flour to fully hydrate, which is the key to tender, non-rubbery crepes. Do not skip this!
Part 2: Cooking the Perfect Crepes
- Heat Your Pan: Place your non-stick skillet over medium heat. You want it hot enough that a drop of water sizzles, but not so hot that it’s smoking.
- Butter It Up: Add a very small amount of butter (like ¼ teaspoon) to the hot pan and swirl it around to coat the bottom evenly.
- Pour and Swirl: Give your rested batter a quick stir. Pour about ¼ cup of batter into the center of the pan. Immediately pick up the pan and swirl it in a circular motion to spread the batter into a thin, even layer across the entire bottom.
- Cook the First Side: Cook for about 60-90 seconds, or until the edges start to look dry and lift away from the pan, and the surface looks set.
- The Flip: Gently slide your thin spatula under the edge of the crepe. If it’s ready, it will lift easily. In one swift, confident motion, flip the crepe over. Be brave! The first one is always the sacrificial one, so don’t worry if it messes up.
- Cook the Second Side: Cook for another 30-45 seconds. This side cooks much faster.
- Stack ‘Em Up: Slide the finished crepe onto a plate or wire rack. Repeat the process with the remaining batter, adding a tiny bit more butter to the pan every few crepes as needed. Stack the finished crepes on top of each other; this keeps them warm and soft.
Calories & Nutritional Info (Per Plain Crepe)
This is a rough estimate for one plain crepe without any fillings. The fillings are your own delicious business.
- Estimated Calories: ~90-110 calories
- Fat: ~5g
- Carbohydrates: ~10g
- Protein: ~3g
- Sugar: ~1g (if using)
Common Mistakes to Avoid: Your Guide to Crepe Success
Avoid these common blunders to go from crepe zero to crepe hero.
- Skipping the Rest: I know, you’re impatient. But resting the batter is the secret to a tender crepe. If you skip it, your crepes can be tough and rubbery.
- The Pan Is Too Hot/Cold: If the pan is too hot, the batter will cook before you can swirl it. If it’s too cold, it will just sit there and take forever to cook. Medium heat is your Goldilocks zone.
- Using Too Much Batter: You’re making a delicate crepe, not a thick pancake. Using too much batter will result in a thick, doughy final product. A thin layer is all you need.
- Being Afraid of the Flip: Hesitation is your enemy. A quick, confident flip is the way to go. Use a thin spatula and just go for it. Remember the rule of the first sacrificial crepe! It’s there to help you learn.
Variations & Customizations: The World Is Your Crepe
Now that you’re a master, the fun begins.
- Decadent Chocolate Crepes: Reduce the flour to ¾ cup and add ¼ cup of unsweetened cocoa powder to the blender with the other dry ingredients. These are amazing filled with strawberries and whipped cream.
- Savory Herb Crepes: Omit the sugar and add 2 tablespoons of finely chopped fresh herbs (like chives, parsley, and dill) to the batter after blending. Fill with smoked salmon, cream cheese, and capers.
- Healthy-ish Buckwheat Crepes (Galettes): For a heartier, gluten-free savory option, replace the all-purpose flour with buckwheat flour and omit the sugar. These are classic in France and are delicious filled with ham, egg, and Gruyère cheese.
- Endless Filling Ideas:
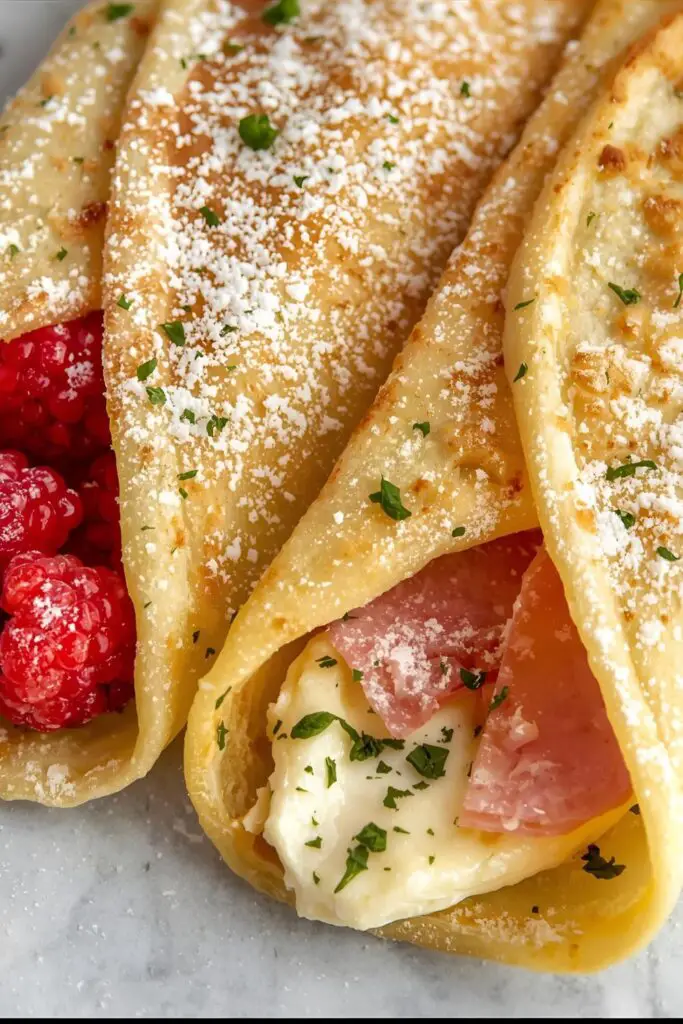
- Sweet: Nutella and banana, lemon juice and sugar, berries and cream, apple pie filling, dulce de leche.
- Savory: Sautéed mushrooms and spinach, chicken and pesto, ham and cheese, scrambled eggs and avocado.
FAQ Section: All Your Crepe Curiosities, Answered
You’ve got questions about these French pancakes. I’ve got answers.
- Q: Why is my crepe batter lumpy? A: You probably didn’t use a blender! A blender is the foolproof way to get silky-smooth batter every time. If you’re mixing by hand, add the liquid to the dry ingredients slowly while whisking constantly.
- Q: Do I really, truly have to let the batter rest? A: Yes, you really, truly do. It makes a huge difference in the final texture, preventing them from being rubbery. Think of it as a little nap for your batter.
- Q: What kind of pan is best for making crepes? A: A good quality non-stick skillet is all you need. You don’t have to buy a specialty crepe pan unless you plan on opening your own crêperie.
- Q: Why is my first crepe always a disaster? A: Welcome to the club! It’s a universal law of cooking. The first one is a test to make sure your pan temperature and batter amount are right. Don’t worry, it’s the chef’s snack.
- Q: How do you flip a crepe without it tearing? A: Make sure it’s fully cooked on the first side (the edges will lift easily), use a thin, flexible spatula, and be confident!
- Q: Can I make the crepe batter ahead of time? A: Yes! The batter can be made up to 24 hours in advance and stored in an airtight container in the fridge. This actually makes the crepes even better.
- Q: How do I store leftover cooked crepes? A: Stack them with a small piece of parchment paper between each one to prevent sticking. Wrap the stack tightly in plastic wrap and store in the fridge for up to 3 days or in the freezer for up to 2 months.
Final Thoughts: You Are Now a Crêpier
Congratulations! You’ve officially demystified the crepe. You are now a master of the swirl and the flip, capable of whipping up an elegant breakfast or dessert at a moment’s notice. So go ahead, dust off your blender, and get ready to impress everyone, including yourself. You’ll never look at a $15 brunch menu the same way again.

