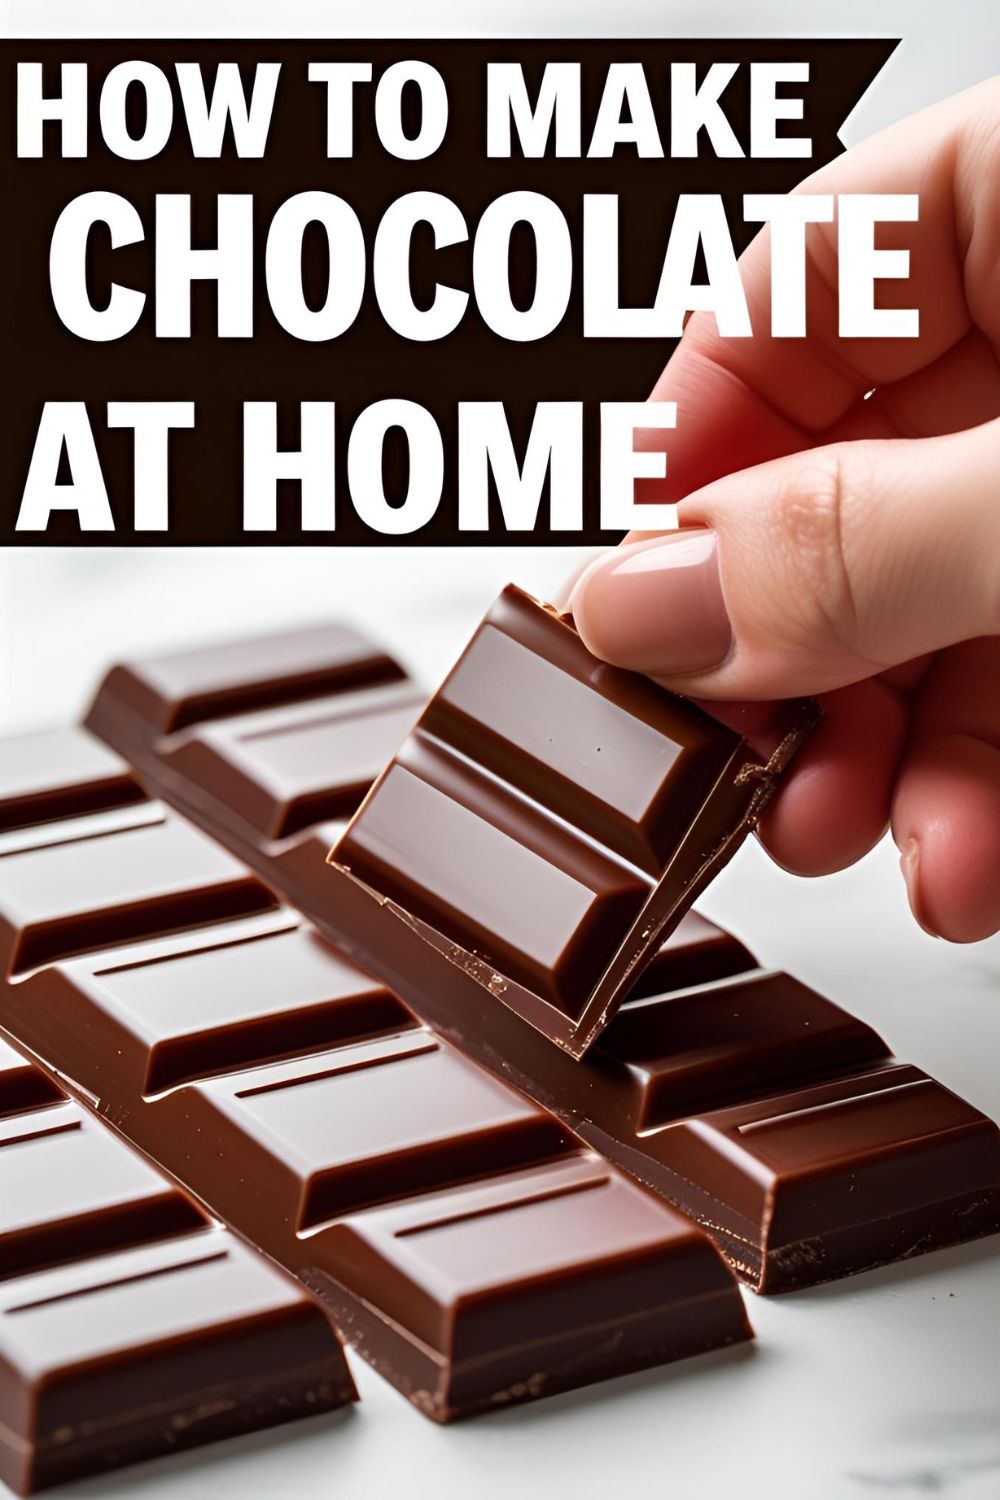
How to Make Chocolate at Home (The Easy Way, No Weird Machines!)
How to Make Chocolate at Home (The Easy Way, No Weird Machines!)
Have you ever stood in the grocery store, staring at a wall of fancy chocolate bars with names you can’t pronounce and price tags that require a small loan, and thought, “I could probably make this”? Then you probably laughed, grabbed your usual bar, and went on with your day. But that little thought lingered, didn’t it? The audacious, slightly unhinged idea of learning how to make chocolate at home.
Well, hold onto your spatula, my friend, because today we’re actually doing it. Now, let’s be clear. We are not starting a bean-to-bar operation. We will not be roasting cacao pods or using a 500-pound stone grinder. This is the home-gamer’s guide, the cheater’s edition, the “I want to feel like a wizard in my own kitchen” method.
We are going to take the fundamental components of chocolate and transform them into a real, legit, “I-made-this-myself” chocolate bar. It’s easier than you think, and the bragging rights are immeasurable.
Why This Recipe is Basically a Superpower
Mastering this isn’t just about making a snack; it’s about unlocking a new level of kitchen godliness.
First, the bragging rights are off the charts. Casually dropping “Oh, I made the chocolate for this” into conversation is a power move of the highest order. Your friends will look at you with a newfound respect, a little bit of fear, and a whole lot of awe.
Second, you have complete and total control. Don’t like things too sweet? Use less sugar. Following a keto diet? Use a powdered sugar substitute. Dairy-free? No problem, there’s no dairy here unless you add it. You are the architect of your own chocolate destiny.
Finally, it’s a genuinely cool science experiment. You get to see how a few simple ingredients transform into one of the world’s most beloved foods. It’s fun, it’s fascinating, and it’s the perfect project for a rainy afternoon when you want to feel both creative and productive. IMO, it’s one of the coolest things you can learn to do.
Your Chocolatier Starter Pack: Ingredients


This is where the magic comes from. Use good quality ingredients for the best results!
- 21 cup (115g) Food-Grade Cocoa Butter: This is the pure, velvety fat from the cacao bean. It’s non-negotiable and what gives chocolate its signature melt-in-your-mouth texture. You can find it online or in specialty food stores, often in wafer form. Do not substitute this with coconut oil or butter unless you want a “chocolate-flavored coating,” not real chocolate.
- 21 cup (60g) Unsweetened Cocoa Powder: This provides the deep, rich chocolate flavor. I highly recommend using Dutch-processed cocoa powder for a smoother, less acidic taste and a darker color.
- 21 cup (60g) Powdered Sugar: It MUST be powdered sugar (also known as confectioner’s sugar). Granulated sugar will not dissolve in the fat, resulting in a gritty, sandy texture.
- 1 teaspoon Vanilla Extract: For flavor complexity.
- A tiny pinch of Salt: To balance the sweetness and enhance the chocolate flavor.
The Alchemist’s Lab: Tools & Gadgets
You don’t need a factory, but a few key tools will make you feel like a pro.
- Kitchen Scale: This is one time where I highly recommend precision. Weighing your ingredients will give you the most consistent results.
- A Double Boiler (or a DIY version): A saucepan with a heatproof bowl (glass or metal) that fits snugly on top without touching the water inside.
- A Silicone Spatula: For stirring and scraping.
- A Fine-Mesh Sieve or Sifter: This is absolutely critical for preventing lumpy chocolate.
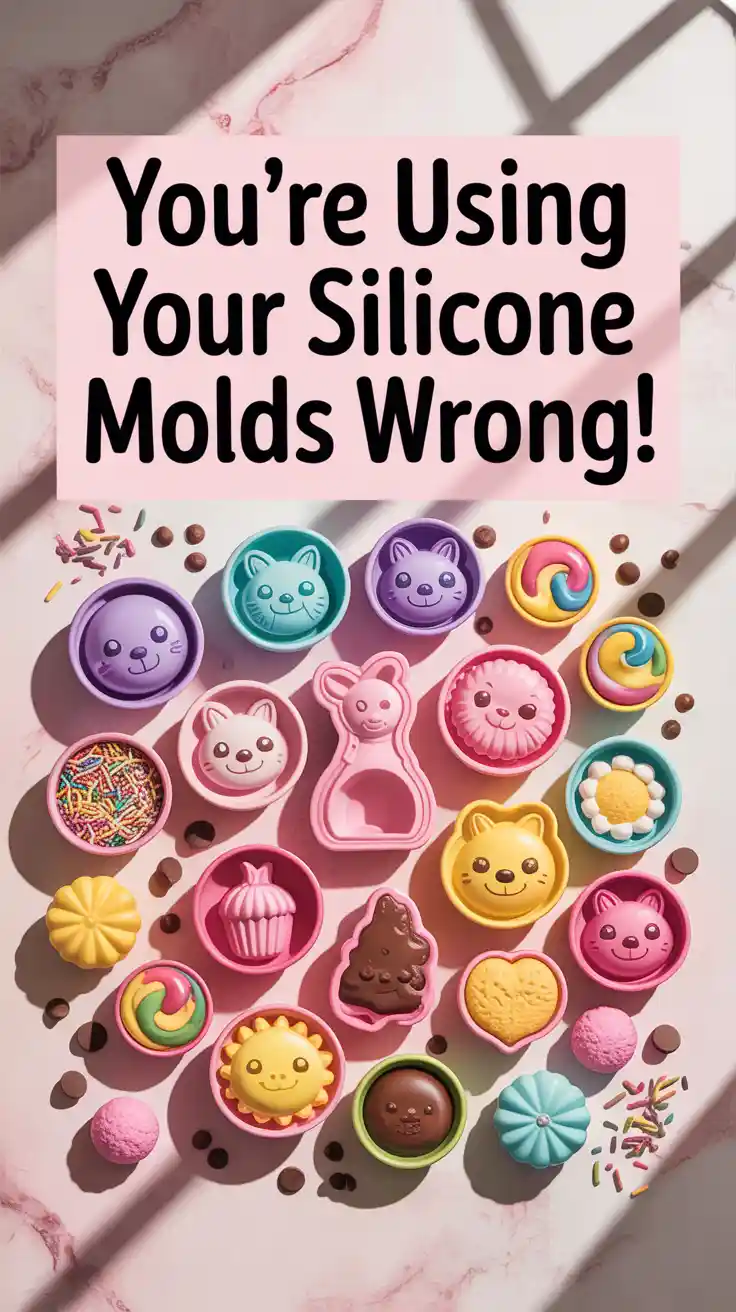
- Chocolate Molds: Silicone or polycarbonate chocolate bar molds are best for that classic shape and a glossy finish. You can also use silicone ice cube trays for smaller chocolates.
- Instant-Read Thermometer (Optional): Helpful if you want to get nerdy about temperatures, but not strictly necessary for this simple method.
Step-by-Step: From Powder to Power
Ready to become a chocolatier? Let’s do this.
H3: Part 1: The Great Meltdown
- Set Up Your Station: Make sure your molds, bowl, and utensils are completely clean and bone dry. Remember, water is the arch-nemesis of chocolate.
- Create a Double Boiler: Fill your saucepan with an inch or two of water and bring it to a gentle simmer.
- Melt the Cocoa Butter: Place your cocoa butter in the heatproof bowl and set it over the simmering water. Let the gentle, indirect heat melt it completely. Stir occasionally until it’s a beautiful, clear golden liquid.
H3: Part 2: The Sift and Whisk
- Sift, Sift, Sift: Place your fine-mesh sieve over the bowl of melted cocoa butter. Add the powdered sugar and cocoa powder to the sieve. Tap the side of the sieve gently to sift all the dry ingredients directly into the melted fat. This step is your #1 defense against lumpy chocolate.
- Whisk It Good: Switch your spatula for a whisk. Start whisking the mixture together. At first, it might look like a sludgy mess. Have faith. Keep whisking.
- Achieve Glossiness: Continue to whisk over the gentle heat for 2-5 minutes. You’re trying to dissolve the sugar completely and emulsify everything into a smooth, glossy liquid. It should look like a river of dark, molten chocolate.
- Add the Flavor: Remove the bowl from the heat. Be careful not to let any steam or water drip into the bowl! Stir in your vanilla extract and the pinch of salt.
H3: Part 3: The Molding and Chilling
- Pour with Purpose: Carefully pour your liquid chocolate into your chosen molds. Gently tap the molds on the counter a few times to release any trapped air bubbles.
- Patience, Young Grasshopper: Place the molds in the refrigerator for at least an hour, or until the chocolate is completely solid and firm to the touch.
- The Grand Reveal: Once firm, the chocolate should pop easily out of the molds. If you used shiny polycarbonate molds, the surface of your chocolate bar will be dazzlingly glossy. Admire your work. You’ve earned it.
Nutritional Info (A Brief Interruption)

Let’s quickly address the elephant in the room.
- Serving Size: About 1 ounce (28g) of homemade chocolate
- Estimated Calories: Around 150-180 kcal.
- Fat Content: High, but it’s the glorious, plant-based fat from cocoa butter.
- Note: You just made chocolate from scratch. This is a moment of pure celebration. The nutritional panel can wait.
Common Mistakes to Avoid (Chocolate Sabotage)
Don’t let these common pitfalls ruin your masterpiece.
- The Grainy Disaster: This is usually one of two things: you used granulated sugar instead of powdered sugar, or you didn’t whisk long enough to dissolve the sugar. The texture will be sandy and unpleasant.
- The Lumpy Mess: You didn’t sift your cocoa powder and powdered sugar. Lumps in the dry ingredients will remain lumps in the final product. Sifting is not optional.
- The Seized Catastrophe: Just like when melting chocolate chips, if even a single drop of water gets into your mixture, it will seize up into a thick, clumpy paste. Keep your station dry!
- The Scorched Flavor: You tried to melt the cocoa butter over direct heat instead of a double boiler. Cocoa butter is delicate and can burn, giving your final product a bitter, off-taste. Gentle, indirect heat is your friend.
- Using Coconut Oil as a Shortcut: While you can make a “chocolate coating” with coconut oil, it’s not real chocolate. It won’t have the same snap or melting point as a bar made with cocoa butter, which is solid at room temperature.
Variations & Customizations (Pimp Your Chocolate Bar)
Now that you’re a chocolatier, it’s time to get creative.
- The Nutty Professor: Before you pour the chocolate into the molds, stir in a handful of your favorite toasted nuts. Toasted almonds, hazelnuts, or pistachios are fantastic. A sprinkle of flaky sea salt on top is also a pro move.
- Spicy Maya Gold: Whisk in a teaspoon of cinnamon and a tiny pinch (and I mean tiny) of cayenne pepper into your melted chocolate mixture. The warmth and spice are an incredible contrast to the rich chocolate.
- Keto & Sugar-Free Hero: This is where homemade chocolate truly shines. Simply replace the powdered sugar with an equal amount of powdered monk fruit/erythritol sweetener. Voila, you have a custom, sugar-free chocolate bar that doesn’t taste like chemicals.
Frequently Asked Questions (Your Chocolatier Hotline)
Is it actually hard to make chocolate at home?
With this method, not at all! As long as you use the right ingredients (cocoa butter and powdered sugar) and keep water away, it’s a surprisingly simple and fun process.
Do I really need to use cocoa butter?
For “real” chocolate with the right texture and snap, yes. Cocoa butter is the magic ingredient. Using another fat like coconut oil will result in a chocolate that is soft or liquid at room temperature.
What’s the difference between Dutch-processed and natural cocoa powder?
Dutch-processed cocoa has been treated to neutralize its acidity. This results in a darker color and a smoother, less bitter flavor, which is generally preferred for making chocolate bars.
Why is my homemade chocolate gritty or waxy?
Grittiness is almost always from using granulated sugar instead of powdered. A waxy texture might mean your ratios are off or the ingredients weren’t fully whisked and emulsified over the heat.
How should I store my homemade chocolate?
Store it just like any other chocolate bar: in a cool, dry place, wrapped in foil or in an airtight container. Don’t store it in the fridge long-term, as it can cause condensation and sugar bloom (those white, dusty patches).
Can I make milk chocolate or white chocolate this way?
It’s a bit more complex. For milk chocolate, you’d need to add finely milled whole milk powder. For white chocolate, you’d omit the cocoa powder entirely and use just cocoa butter, powdered sugar, and milk powder. This recipe is your base for amazing dark chocolate.
Do I need to “temper” this chocolate?
For a simple, homemade bar you’re going to eat and enjoy, no. Tempering is a complex heating and cooling process that gives professional chocolate its glossy shine and sharp snap. This recipe will still produce a delicious, solid bar without that extra, fussy step.
Final Thoughts
You did it. You took powders and fats and turned them into one of civilization’s greatest achievements. You are now, officially, a chocolatier (home edition, but it totally counts). You’ve looked behind the curtain and mastered the magic.
So go on, break off a piece of your very own creation. Taste the rich flavor, feel the smooth texture, and enjoy the immense satisfaction of knowing you made it yourself. You’ll never look at a regular chocolate bar the same way again.