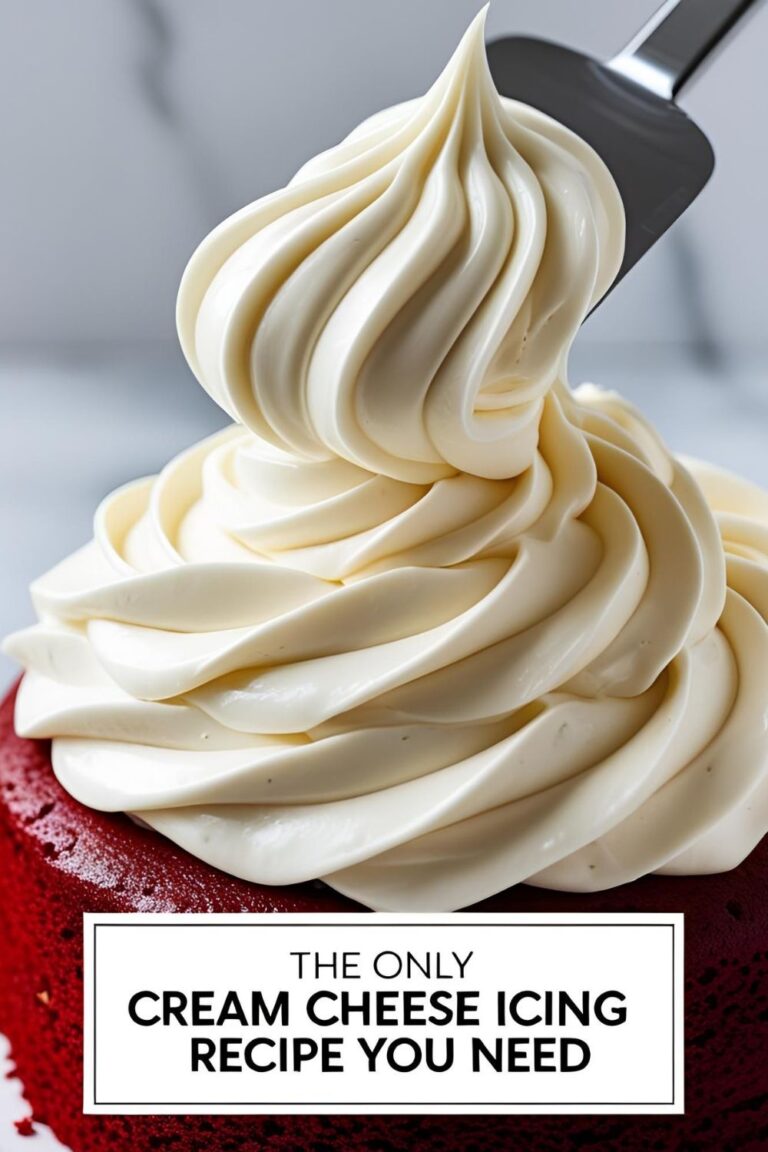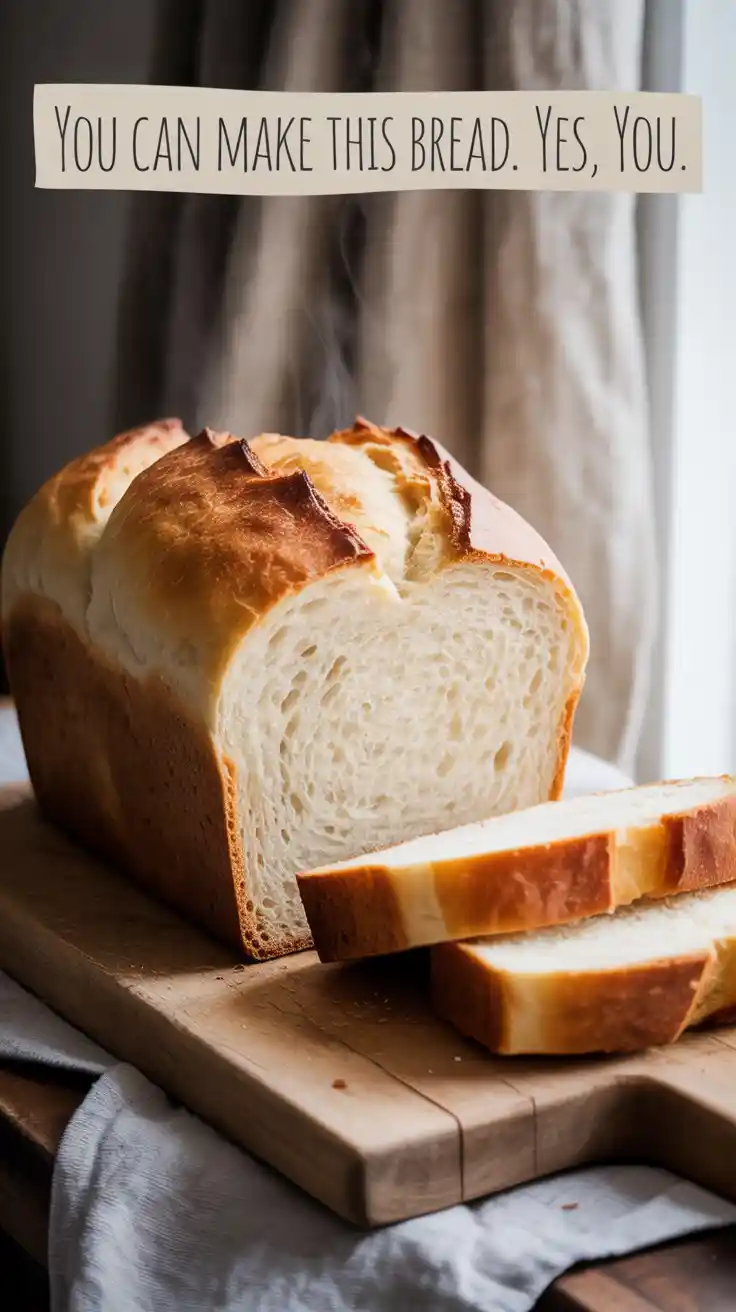
How to Make Bread at Home (The Easiest, No-Knead Recipe for Beginners!)
The “You Can Actually Do This” Guide on How to Make Bread at Home
Let’s be honest, there is no greater flex in the kitchen than casually pulling a perfect, crusty, golden-brown loaf of bread out of your own oven. It smells like heaven. It tastes like magic. It makes you feel like a pioneer who has mastered the ancient arts. But for most of us, the idea of making bread from scratch is… intimidating. Yeast? Proofing? Kneading? It all sounds very scientific and like a lot of hard work. Well, what if I told you it’s a lie? What if I told you the secret to incredible homemade bread is mostly just mixing and waiting? This is your ultimate beginner’s guide on how to make bread at home, and it’s about to make you a baking legend.
We are going to demystify the process. We are going to become friends with yeast. We are going to create a loaf of bread so delicious, with a crackly crust and a soft, airy crumb, that you will never look at that sad, squishy loaf in the plastic bag the same way again.
Why This Recipe is an Absolute Game-Changer
So, why is this the perfect recipe to kick off your bread-making journey?
- It’s Ridiculously Easy (We’re Barely Kneading!): This recipe is designed for beginners. It requires minimal, almost no kneading. The real work is done by time, as a long, slow fermentation develops all the amazing flavor and texture for you. It’s the ultimate lazy person’s path to artisan bread.
- The Smell is Worth It Alone: Your house is about to smell like an artisanal bakery. It’s one of the most comforting, soul-soothing aromas on the planet. It’s better than any scented candle, I promise.
- The Taste is a Revelation: The difference between a fresh, warm, homemade loaf and a store-bought one is staggering. The crust is actually crusty. The inside is soft and flavorful. It’s a simple, profound pleasure that makes you feel like you’ve really created something.
The Ingredient List: The Magic Four

The most beautiful thing about bread is that it’s made from the simplest, humblest ingredients.
- All-Purpose or Bread Flour: 3 ¼ cups. Bread flour will give you a chewier result, but all-purpose works beautifully.
- Instant Yeast or Active Dry Yeast: 2 teaspoons. Don’t be scared of it! It’s just a tiny, dormant organism waiting to work its magic.
- Lukewarm Water: 1 ½ cups. This is crucial. It should feel like a nice, warm bath on your wrist, about 105-115°F (40-46°C).
- Salt: 1 ½ teaspoons. Absolutely essential for flavor and for controlling the yeast.
- Optional:
- 1 tablespoon of Sugar or Honey (to give the yeast a little snack).
- 1 tablespoon of Olive Oil (for a softer crumb and a little extra flavor).
Tools & Kitchen Gadgets: Your Bread-Baking Kit
You don’t need a professional bakery, just a few basic tools.
- A Large Mixing Bowl.
- A Sturdy Wooden Spoon or a Danish Dough Whisk.
- Plastic Wrap or a clean Kitchen Towel.
- A 9×5 inch Loaf Pan: The easiest way to get that classic loaf shape.
- Measuring Cups and Spoons.
- An Instant-Read Thermometer (optional but amazing): Perfect for checking your water temperature and the internal temp of your finished loaf.
Step-by-Step Instructions: Bringing Your Bread to Life
Ready to feel like a wizard? Let’s make some magic happen.
Step 1: Wake Up the Yeast
In your large mixing bowl, combine your lukewarm water and the optional sugar or honey. Sprinkle your yeast over the top. Now, walk away for 5-10 minutes.
When you come back, the mixture should be foamy and bubbly. This is called “proofing,” and it’s how you know your yeast is alive and ready to party. If nothing happens, your yeast is dead (RIP), and you need to start over with fresh yeast.
Step 2: The Shaggy Mess

To your bubbly yeast mixture, add the flour, salt, and optional olive oil. Use your wooden spoon to mix everything together until you have a rough, shaggy, and slightly sticky ball of dough. There’s no need to knead it into a smooth ball. Just mix until all the flour is incorporated.
Step 3: The First Rise (aka The Long Nap)
Cover the bowl with plastic wrap or a damp kitchen towel. Place it in a warm, draft-free spot in your kitchen for 1 to 2 hours. You want the dough to double in size. This long, slow rise is what develops all the amazing, complex flavors in your bread. The yeast is doing all the hard work for you. Go read a book.
Step 4: The Shaping
After the dough has doubled, gently punch it down. Turn it out onto a lightly floured surface. Gently press the dough into a rough rectangle, then fold it into thirds like you’re folding a letter. Pinch the seam together and gently roll it into a log shape that will fit in your loaf pan.
Step 5: The Second Rise (The Short Nap)
Place your shaped dough, seam-side down, into a greased 9×5 inch loaf pan. Cover it again and let it rise in a warm spot for another 30-60 minutes, or until it has risen about 1 inch above the rim of the pan. While it’s rising, preheat your oven to 425°F (220°C).
Step 6: The Bake
Once the dough has risen and your oven is hot, it’s time to bake. You can use a sharp knife to slash the top of the loaf if you’re feeling fancy.
Bake for 25-30 minutes, until the crust is a deep golden-brown and the loaf sounds hollow when you tap it on the bottom. For ultimate certainty, your instant-read thermometer should register an internal temperature of 190-200°F (88-93°C).
Calories & Nutritional Info (The Staff of Life)

It’s bread. It’s made of flour, water, and magic. Let’s not ruin this beautiful moment.
- Serving Size: One thick, warm, life-affirming slice.
- Calories: A reasonable amount of pure, unadulterated comfort.
- Good For: Making you feel capable of anything.
Common Mistakes to Avoid (Dough Disasters)
- Killing Your Yeast: Yeast is a living thing. If you put it in water that is too hot (over 120°F / 49°C), you will kill it, and your bread will be a sad, dense brick. The water should feel pleasantly warm, like a baby’s bath.
- Forgetting the Salt: Salt does more than add flavor; it also controls the yeast’s activity, preventing it from going wild and over-proofing. If you forget the salt, your bread can have a weird texture and a bland, “yeasty” taste.
- Being Impatient: The magic of this bread is the long, slow rise. If you cut the rising time short, you’re robbing yourself of all the amazing flavor and airy texture that the yeast is working so hard to create for you.
- Storing It in the Fridge: The refrigerator is the enemy of fresh bread. The cold environment actually causes the starches to recrystallize and makes your bread go stale faster. Store it in a paper bag or a bread box on your counter.
Variations & Customizations (The Bread Basket)
Once you’ve mastered the basic loaf, you can get creative.
1. The Rustic Rosemary and Garlic Loaf

A savory masterpiece. After you mix your shaggy dough, gently fold in 2 tablespoons of chopped fresh rosemary and 3-4 cloves of roughly chopped roasted garlic. The aroma while it bakes is absolutely intoxicating.
2. The Hearty Whole Wheat
For a nuttier, more wholesome loaf, replace 1 cup of the all-purpose flour with 1 cup of whole wheat flour. You may need to add an extra tablespoon or two of water, as whole wheat flour is a bit thirstier.
3. The Cheesy Jalapeño Loaf
Get ready for a flavor explosion. Gently fold in 1 cup of shredded sharp cheddar cheese and 1-2 finely diced jalapeños (seeds removed, unless you like to live dangerously) into your dough before the first rise.
FAQ: Your Most Pressing Bread Questions
My yeast didn’t get foamy. What did I do wrong?
Your yeast is likely old or “dead,” or your water was too hot or too cold. Always check the expiration date on your yeast package! To be safe, always proof your yeast as described in Step 1. If it doesn’t foam after 10 minutes, it’s a no-go.
What’s the difference between bread flour and all-purpose flour?
Bread flour has a higher protein content, which helps to develop more gluten. This results in a chewier, more structured loaf. All-purpose flour has a lower protein content and will give you a slightly softer, more tender loaf. Both are delicious!
My dough didn’t rise! Why?
The most common culprits are dead yeast, a room that is too cold, or not giving it enough time. Yeast likes a warm, cozy environment to do its best work. If your kitchen is cold, you can place your bowl of dough in a turned-off oven with the oven light on.
Final Thoughts
You’ve done it. You have taken four simple, humble ingredients and, with a little bit of time and science, you have transformed them into a warm, fragrant, crusty loaf of pure magic. You are a baker. You are a wizard. You are the person who now knows how to make bread at home.
So go on. Cut a thick, warm slice from that beautiful loaf. Slather it with a ridiculous amount of good, salty butter and let it melt into every airy crevice. Take a bite. That, my friend, is the taste of victory.