How to Make a Simple Dinosaur Cake (That’s Roar-some!)
Your kid wants a dinosaur cake for their birthday. Not just any cake, but a dinosaur cake. You’re having visions of complex fondant sculpting, hours spent crying over a lopsided velociraptor, and a final product that looks more like a sad lizard than a mighty T-Rex. Take a deep, calming breath. I am here to pull you back from the brink of a baking crisis.
I’m going to show you how to make a simple dinosaur cake that looks absolutely epic. The best part? It’s practically foolproof, incredibly fun to make, and actually encourages a little bit of mess. That’s right. The more rustic and crumbly it looks, the better.
So, are you ready to travel back in time and create a prehistoric masterpiece that will make your kid’s year? Let’s get ready to rumble… and crumble.
Why This Recipe is Awesome
If “stress-free” and “epic” aren’t enough to get you on board, here’s why this is the only dinosaur cake recipe you’ll ever need.
- Messy is the Whole Point: This is a “dino dig site” or “prehistoric landscape” cake. There is absolutely no need for perfectly smooth frosting or sharp edges. In fact, we are going to gleefully cover the whole thing in delicious, edible “dirt.” It’s the most forgiving cake design on the planet.
- Maximum Impact, Minimum Skill: This cake has a massive “wow” factor. It looks like a whole interactive scene from a movie. The secret? It’s just a simple chocolate cake, some cleverly crushed cookies, and a few cool toy dinosaurs. You get to be a set designer, not a sculptor.
- It’s Genuinely Delicious: Let’s be honest, some elaborate kids’ cakes look better than they taste. Not this one. Underneath all that prehistoric fun is a rich, moist, deeply chocolatey cake that kids and adults will actually devour. No fondant-covered cardboard here!
Ingredients
The building blocks for our prehistoric world are simple and delicious.
For the Chocolate “Earth” Cake:
- 2 cups all-purpose flour
- 2 cups granulated sugar
- ¾ cup unsweetened cocoa powder
- 2 teaspoons baking soda
- 1 teaspoon baking powder
- 1 teaspoon salt
- 1 cup buttermilk
- ½ cup vegetable oil
- 2 large eggs
- 1 teaspoon vanilla extract
- 1 cup boiling water or hot coffee (coffee deepens the chocolate flavor!)

For the Chocolate “Mud” Buttercream:
- 1 cup (2 sticks) unsalted butter, softened
- 3 ½ cups powdered sugar, sifted
- ½ cup unsweetened cocoa powder, sifted
- ½ cup heavy cream or milk
- 1 teaspoon vanilla extract
- Pinch of salt
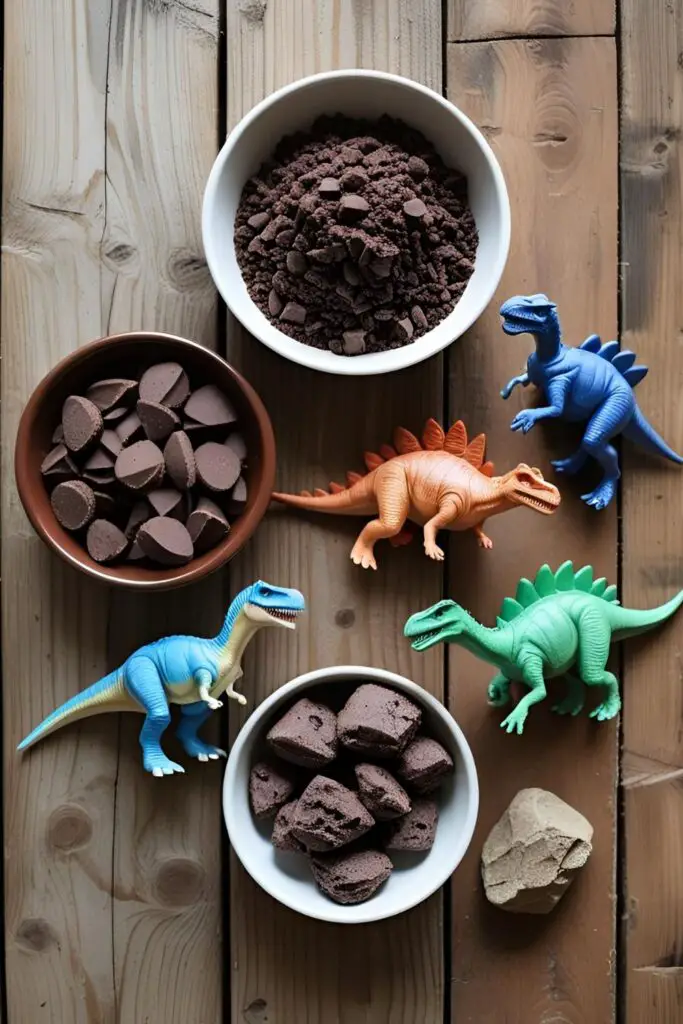
For the Prehistoric Landscape:
- 1 package (about 15 oz) of chocolate sandwich cookies (like Oreos) for “dirt”
- Chocolate rocks, Whoppers, or Cocoa Puffs for “boulders”
- A small amount of green frosting or green sprinkles for “grass” or “ferns”
- The Stars of the Show: Clean, new toy dinosaurs!
Tools & kitchen gadgets used
You don’t need any fancy sculpting tools for this excavation.
- A 9×13 inch Baking Pan (The perfect size for a landscape)
- A Stand Mixer or a powerful Hand Mixer
- A Food Processor (or a large Ziploc bag and a rolling pin for some therapeutic cookie smashing)
- An Offset Spatula
- Piping Bag and a Grass Tip (optional, but very fun for adding ferns)
- Large Mixing Bowls
Step-by-step instructions
Time to get your hands dirty. Let’s build this world from the ground up.
Step 1: Bake the Earth Preheat your oven to 350°F (175°C). Grease and flour your 9×13 inch pan. In a large bowl, whisk together all the dry cake ingredients (flour, sugar, cocoa, etc.). In a separate bowl, mix the wet ingredients (buttermilk, oil, eggs, vanilla). Pour the wet into the dry, mix until just combined, then carefully stir in the boiling water or coffee. The batter will be thin—this is normal! Pour it into your pan and bake for 35-40 minutes, until a toothpick comes out clean. Let it cool completely.
Step 2: Make the Mud While the cake cools, whip up the chocolate buttercream. Beat the softened butter until creamy. Sift in the powdered sugar and cocoa powder, then mix on low. Add the cream and vanilla, then beat on medium-high for 3-5 minutes until light and fluffy.

Step 3: Frost the Landscape Once the cake is cool, it’s time to get messy. Slather the chocolate buttercream all over the top of the cake. Do not even try to make it smooth. Use your offset spatula to create swirls, hills, and valleys. A textured, uneven surface is what we want!
Step 4: Make the “Dirt” This is the most fun part. Place your chocolate sandwich cookies (filling and all) into a food processor and pulse until you have a mix of fine crumbs and some slightly larger, chunkier pieces. No food processor? No problem. Put the cookies in a sturdy Ziploc bag, seal it, and smash them with a rolling pin. It’s cheaper than therapy.
Step 5: Create the Dig Site Sprinkle your glorious cookie “dirt” all over the frosted cake. You can cover the whole thing, or leave some “muddy” patches of frosting showing. Pile the dirt up in some areas to create little hills.
Step 6: Add the Boulders and Greenery Scatter your chocolate rocks or other “boulder” candies around your landscape. If you’re feeling fancy, use a piping bag with a grass tip to pipe a few tufts of green frosting “ferns” in the corners or use green sprinkles to create a little patch of prehistoric vegetation.
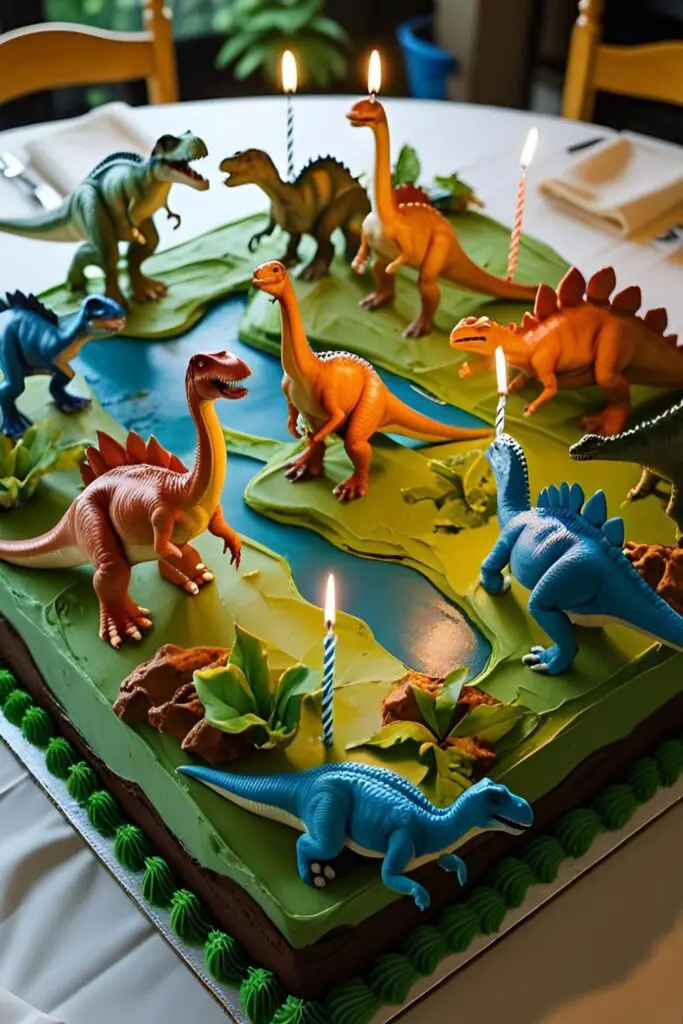
Step 7: Introduce the Dinosaurs! The stars of the show have arrived. First, and this is important, thoroughly wash and dry your toy dinosaurs. Arrange them on the cake to create a dramatic scene. Have a T-Rex roaring on a cookie-dirt hill, a stegosaurus wandering near some chocolate boulders, or a triceratops peeking out from behind a tuft of grass.
Calories & Nutritional Info
It’s a birthday cake. Let’s just say it’s a “sometimes food.”
- Serving Size: 1 slice (assuming the cake is cut into 15 slices)
- Estimated Calories: Around 450-500 kcal per slice.
- Does not include: The nutritional value of accidentally eating a plastic dinosaur. Please remove toys before serving.
Common Mistakes to Avoid

Avoid these Jurassic-sized mistakes for a perfect dino cake.
- Frosting a Warm Cake: A warm cake will melt your buttercream, turning your cool, muddy landscape into a soupy, greasy tar pit. I’m saying this in bold because it’s that important: Your cake must be completely, totally, 100% cool.
- Forgetting to Clean the Toys: Nobody wants to find factory dust or whatever else is on a new toy in their delicious chocolate frosting. You must wash the toy dinosaurs with soap and hot water before they are allowed to set foot on your edible creation.
- Pulverizing the “Dirt” to Dust: You want texture! Your “dirt” should have a mix of fine crumbs and slightly larger, chunkier bits to look like real dirt and pebbles. Don’t obliterate the cookies into a uniform powder.
- Striving for Perfection: This is a rugged, prehistoric landscape, not a delicate French patisserie. Do not stress about perfectly smooth frosting or even coverage. The little imperfections and messy bits are what make it look authentic and cool.
Variations & Customizations
Want to take your prehistoric world to the next level?
- The Volcano Eruption Cake: Bake your chocolate cake in a Bundt pan to create a natural volcano shape. Place it on a larger platter, cover it in chocolate frosting and cookie “dirt,” then tint some vanilla buttercream with red, orange, and yellow food coloring to create “lava.” Let the lava flow dramatically from the center of the bundt and down the sides.
- The “Fossil Dig” Cake: This one is super cool. Use a vanilla cake and vanilla buttercream. Before frosting, gently press some dinosaur skeleton toys or fossil cookie cutters into the top of the cake. Frost over them smoothly. Then, give the kids a small, clean paintbrush and let them “excavate” the frosting to reveal the “fossils” buried underneath.
- The Lush Jungle Dinosaur Cake: Go heavy on the green! Use more green frosting to pipe ferns and leaves. Use Pirouette cookies or pretzel rods for “logs,” and use blue gel icing to create a small “river” or “watering hole” for your dinosaurs.
FAQ Section
All your dino-mite cake questions, answered.
1. What is the easiest way to make a dinosaur cake? The “dino landscape” or “dig site” method described in this recipe is by far the easiest for beginners. It requires no special cake shaping or advanced decorating skills.
2. How do you make edible dirt for a cake? The best and tastiest way is to crush chocolate sandwich cookies, like Oreos. The dark cookie part looks like soil, and the cream filling helps it clump together realistically.
3. Can I use a box cake mix for this? Absolutely! To keep things super simple, your favorite chocolate box cake mix will work perfectly.
4. How do you clean toys to put on a cake? Just like you would wash any dish. Use hot water and dish soap, scrub them well with a sponge or brush, rinse them thoroughly, and let them dry completely before placing them on the cake.
5. How do I make a dinosaur footprint on a cake? Easy! Once you’ve added your cookie “dirt,” just take one of your clean dinosaur toys and press its foot firmly into the surface to leave a perfect, authentic-looking footprint.
6. What are some other easy dinosaur cake decorating ideas? You can use green and brown M&M’s for “dinosaur eggs,” or use a fork to create “claw marks” in the frosting before you add the dirt.
7. How do I store a cake that’s decorated with plastic toys? Cover the cake loosely with plastic wrap or a cake dome and store it at room temperature. The toys are perfectly fine to stay on the cake. Just be sure to remove them from each slice before serving, especially to young children.
Final Thoughts
And there you have it—a prehistoric masterpiece that was actually fun, not stressful, to create. You’ve successfully built a world of chocolatey, crumbly, dinosaur-filled joy. You’ve proven that you don’t need to be a professional sculptor to make a cake that will make a kid’s entire year.
Now go on, light the candles, and let them roar. You are the undisputed champion of birthday cakes.