How to Fix Grainy Frosting (and Save Your Dessert from a Sandy Grave)
We’ve all been there. You’ve baked the perfect cake, a masterpiece of moist, fluffy crumb. Your kitchen smells like a heavenly blend of vanilla and victory. You whip up a batch of buttercream, ready for the grand finale. You dip a finger in for a little taste and… wait. What’s that texture? It’s not smooth. It’s not creamy. It’s… sandy. Gritty. An absolute betrayal. Before you dramatically slide to the floor and declare your baking career over, I’m here to tell you there’s a way back from the brink. Let’s talk about how to fix grainy frosting.
Yes, it’s true! You don’t have to toss that sandy, sad bowl of buttercream into the bin of broken dreams. With a few simple tricks, you can rescue your frosting and turn that gritty tragedy into a silky-smooth triumph. Consider me your frosting fairy godmother.
Why This Guide Is Your Baking Lifesaver
Okay, so this is less of a “recipe” and more of a “culinary rescue mission,” but why is this knowledge absolutely essential for any baker?
First, it saves your dessert, your time, and your sanity. Nothing is more frustrating than having to start over. This guide empowers you to fix the problem instead of surrendering to it. You’re not just a baker; you’re a problem-solver!
Second, it’s surprisingly easy. The fixes are simple and use ingredients you already have on hand. No weird, mystical potions required—just a little bit of kitchen science and a can-do attitude.

Finally, it makes you a better baker. By understanding why your frosting went rogue in the first place, you’ll learn how to prevent it from ever happening again. You’re not just fixing this batch; you’re safeguarding all your future frostings.
Your Frosting Rescue Kit (Ingredients)
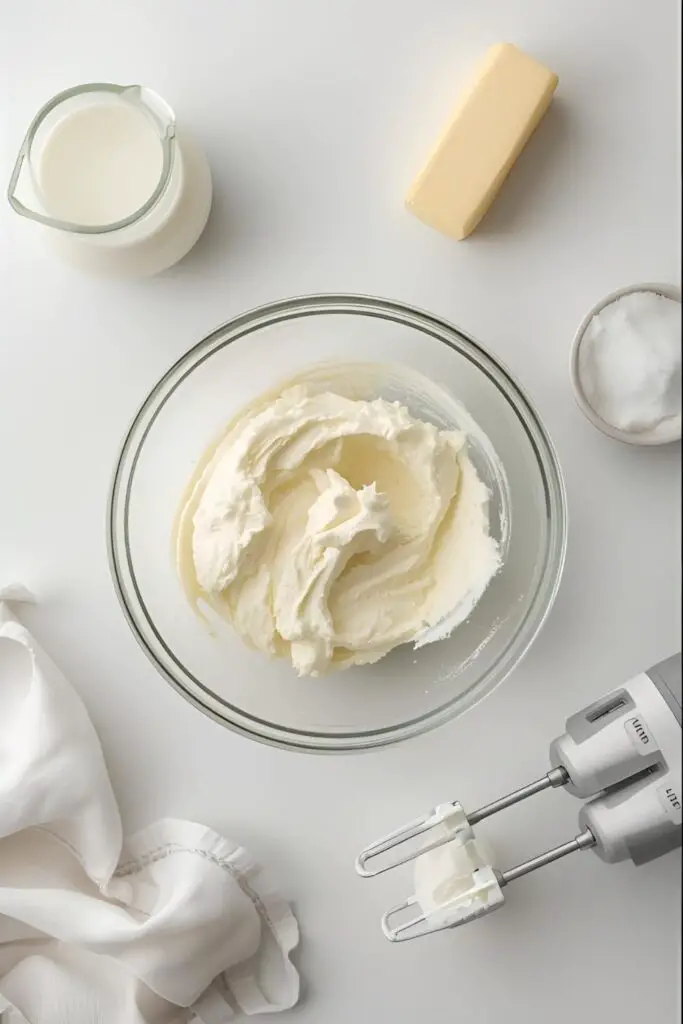
To perform this magical transformation, you won’t need much. Just a few items to coax your frosting back to its smooth and glorious state.
- The Patient: Your bowl of sad, grainy frosting.
- A Liquid Agent: 1-2 tablespoons of heavy cream, whole milk, or even a splash of a complementary liqueur (hello, Baileys!).
- A Fat Agent: 1-2 tablespoons of softened unsalted butter or a dollop of high-ratio vegetable shortening.
- More Powdered Sugar: Counterintuitive, I know, but sometimes fighting fire with fire (or sugar with sugar) can help.
- A Pinch of Salt or a Squeeze of Lemon Juice: To cut any extra sweetness you might add during the rescue operation.
The Emergency Room Equipment (Tools & Gadgets)
No defibrillators needed, just some basic kitchen tools.
- Electric Mixer (Stand or Handheld): This is your primary resuscitation tool. A stand mixer is great for its power and hands-free operation.
- Silicone Spatula: For scraping the bowl and making sure every last bit of frosting gets the treatment.
- A Heat Source: Access to either a microwave and a microwave-safe bowl or a double boiler (which is just a heatproof bowl set over a saucepan of simmering water).
- A Fine-Mesh Sieve: This is more for prevention, but it’s a good tool to have in your anti-graininess arsenal.
Step-by-Step: The Frosting Resurrection
First, we must diagnose our patient. There are two main culprits behind grainy frosting.
Diagnosis #1: The Gritty Sugar Situation
This is the most common issue with American buttercream. It feels sandy on your tongue because the powdered sugar hasn’t fully dissolved into the butter.
The Fix:
- Add Liquid & Whip: Add 1 tablespoon of heavy cream or milk to the frosting. Turn your mixer on high and let it whip for a good 2-3 minutes. The extra liquid can help dissolve the stubborn sugar crystals.
- Gentle Heat Method (The Pro Move): This is my favorite trick. Scoop about ¼ cup of your grainy frosting into a small microwave-safe bowl. Microwave it for just 5-10 seconds, until it’s melted and liquidy. Pour this melted frosting back into the main bowl and beat everything on high speed. The warm, melted sugar mixture will help dissolve the rest of the gritty crystals, resulting in a silky-smooth texture. Start with a small amount! You don’t want to melt the whole batch.
Diagnosis #2: The Curdled Butter Catastrophe

This happens when your ingredients are at different temperatures (like cold butter and room-temp liquid). The frosting looks broken, separated, or like tiny cottage cheese. It’s not technically “grainy” from sugar, but it’s a texture nightmare.
The Fix:
- Just Keep Beating: Often, the frosting just needs to be forced back together. Turn your mixer up to medium-high and just let it run for a solid 3-5 minutes. Sometimes, sheer willpower (and horsepower) is all it takes.
- The Temperature Shock Treatment: If beating doesn’t work, temperature is your issue.
- If it’s too cold (and looks chunky), gently warm the outside of your mixing bowl. You can use a hairdryer on a low setting (I’m serious!) or wrap a warm, damp towel around the bowl for a few minutes to soften the butter, then re-whip.
- If it’s too warm (and looks soupy and separated), place the entire mixing bowl in the refrigerator for 15-20 minutes to firm up the butter. Then, put it back on the mixer and beat it until it comes together.
Calories & Nutritional Info (It’s Still Buttercream, Folks)
Let’s be clear. You’re fixing frosting. The nutritional profile isn’t going to magically transform into a kale smoothie.
- Serving Size: The satisfaction of a job well done.
- Estimated Calories: Roughly the same as your un-rescued frosting, plus a dash of victory. It’s mostly butter and sugar. Let’s not dwell on it, shall we?
- Main Benefit: You prevented food waste and saved your dessert. That’s a win for you and the planet.
Common Mistakes to Avoid (aka How to Prevent This Mess in the First Place)
An ounce of prevention is worth a pound of buttercream, my friend.
- Using Granulated Sugar: For American buttercream, you must use powdered sugar (confectioner’s sugar). Granulated sugar will never dissolve and will always be grainy.
- Forgetting to Sift: Powdered sugar can have little lumps. Sifting your powdered sugar before adding it to the butter is a great way to ensure a smooth start.
- Using Cold Butter: Your butter must be softened to room temperature. Cold butter won’t cream properly with the sugar, which is a leading cause of both grittiness and curdling.
- Dumping Everything in at Once: Add your powdered sugar gradually. Add your liquids slowly. Give the mixer time to do its job of incorporating everything smoothly.
- Temperature Clashes: Ensure all your ingredients (butter, milk/cream) are at a similar room temperature to prevent the butter from seizing up.
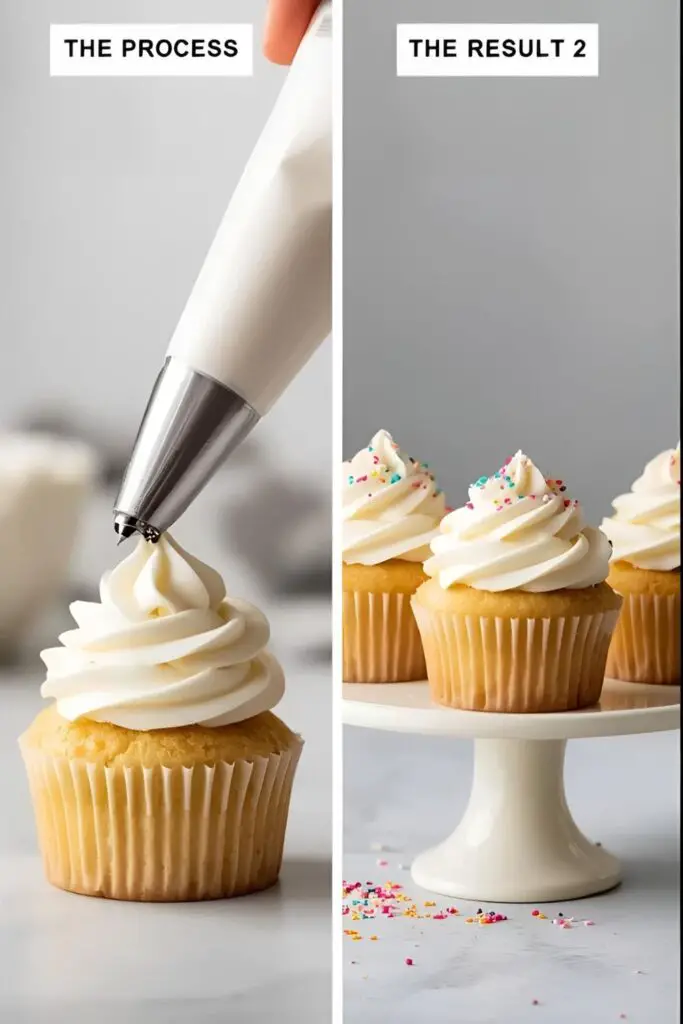
Variations & Customizations (Pimp Your Now-Perfectly-Smooth Frosting)
Now that you’ve achieved silky perfection, why stop there?
1. Make It a Flavor Fiesta
Your smooth vanilla buttercream is a blank canvas! Stir in a tablespoon of instant espresso powder for a coffee kick, some citrus zest for brightness, or a different extract like almond or peppermint.
2. Turn It to the Dark Side

Sift in ¼ to ½ cup of good-quality cocoa powder to transform your vanilla buttercream into a rich chocolate dream. The possibilities are endless.
3. Create a Rainbow
Divide your perfectly smooth frosting into a few bowls and use gel food coloring to create a vibrant palette. Now you’re ready for some serious cake decorating!
FAQ: Your Frosting Frustrations, Answered
Let’s clear up some common buttercream blunders.
1. My cream cheese frosting is grainy. Is the fix the same? Grainy cream cheese frosting is usually caused by cold cream cheese or over-beating after the sugar is added. The gentle heat method can work, but be very careful not to melt the cream cheese. The best prevention is to use room temperature, block-style cream cheese and mix on low speed once the sugar is in.
2. I added way too much liquid trying to fix it, and now it’s too thin. Help! Don’t panic! You can fix this by gradually beating in more sifted powdered sugar, about ¼ cup at a time, until it reaches your desired consistency.
3. Will the gentle heat method make my frosting melt off the cake? No, because you’re only melting a very small portion and then beating it into the larger, cool batch. The overall temperature of the frosting won’t rise significantly, but it’s enough to dissolve those gritty sugar crystals.
4. Is it worth the effort to fix it, or should I just start over? It is almost always worth trying to fix it first! These tricks take just a few minutes and can save you the time, money, and ingredients of starting from scratch.
5. How can I guarantee smooth frosting every single time? Use room temperature ingredients, especially your butter. Sift your powdered sugar. Beat your butter until it’s light and fluffy before adding the sugar. And add your liquids slowly.
6. I don’t have a microwave or double boiler. Any other ideas for the heat method? You can try the hairdryer trick! Gently blow warm air around the outside of your metal mixing bowl for a minute or two while the mixer is running on low. It sounds crazy, but it can work!
7. My frosting now tastes way too sweet. What can I do? Beat in a good pinch of salt or a tiny squeeze of fresh lemon juice. The saltiness or acidity will help cut through and balance the sweetness without changing the overall flavor.
Final Thoughts
You are now officially a frosting-fixer, a dessert-rescuer, and a true kitchen hero. The fear of grainy frosting no longer holds any power over you. You can now whip up a batch of buttercream with the confidence of a seasoned pastry chef, knowing that even if things go a little sideways, you have the skills to bring it back to silky-smooth perfection.
So go forth and frost with confidence! And the next time a friend complains about their grainy buttercream, you can just smile knowingly, pat them on the shoulder, and say, “Don’t worry. I know a trick for that.”