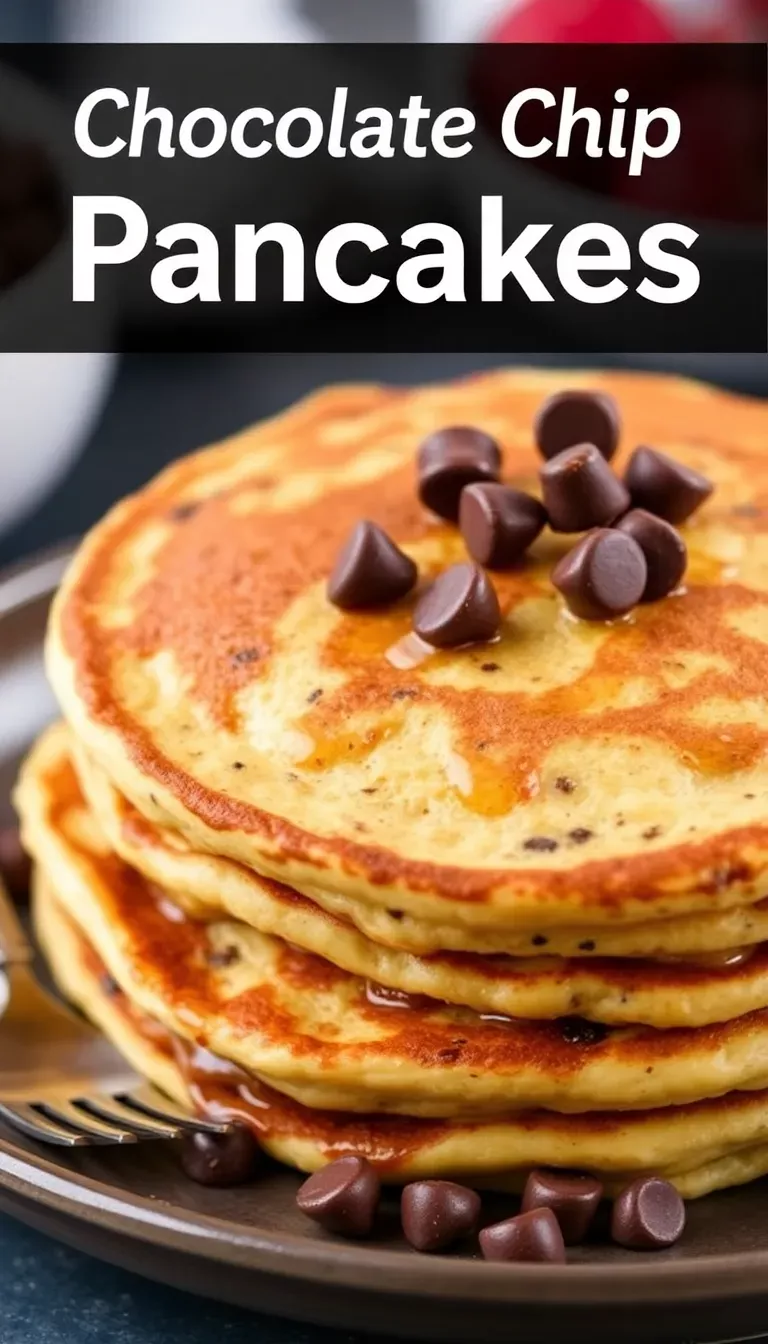
Skip to content

How to Fix Cracks in Garage Floor with Ease.

Fixing cracks in a garage floor before epoxy involves cleaning the area and applying a concrete patch to fill in the crack. This ensures a smooth and level surface.

Garage floors are susceptible to cracks due to heavy foot traffic, vehicles, and other factors, but it’s important to address them before applying epoxy coating to avoid any long-term damage. Epoxy is a popular choice for garage floors as it is durable, stain-resistant, and easy to clean.

However, cracks can affect the overall appearance and performance of the coating. In this article, we will discuss the steps you need to take to fix cracks in your garage floor before applying an epoxy coating. Whether you plan to complete the process yourself or hire a professional, these guidelines will help ensure a successful outcome.

How to Fix Cracks in Garage Floor with Ease.

Credit: www.epoxyfloorsllc.com

Understanding The Causes Of Cracks In Garage Floors

If you see cracks on your garage floor, you need to act fast. If left unattended, it can get worse, making it difficult and expensive to repair. Understanding the causes of these cracks is crucial to fix this problem effectively.

Knowing the underlying reasons can help prevent future cracks, saving you both time and money. Here are the common causes of garage floor cracks:

  • Heavy load: If your garage floor carries an excessive amount of weight, it is likely to crack. The more weight it has to sustain, the more vulnerable it becomes to cracks. Heavy vehicles, machinery and equipment, furniture, and tools are some of the common causes of heavy load.
  • Freeze-thaw cycles: If you live in a region with cold winters, the continuous expansion and contraction of the concrete due to freeze-thaw cycles can cause cracks on your garage floor.
  • Moisture: Moisture or water can enter the concrete through any breach or gap and cause it to weaken, eventually leading to cracks. It can come from various sources like humidity, rain, snow, or a water leak from underground pipes.
  • Settling of soil: Settling or shifting of the soil beneath the garage floor can create cracks. It happens when the ground beneath the foundation cannot support the weight of the building, causing the foundation to shift or settle.

Identifying these causes helps in preventing future cracks. So, if you encounter any cracks on your garage floor, it’s essential to determine what caused them before starting the repair process. Knowing the root cause can help to avoid making the same mistakes again and ensure that your repaired garage floor lasts a long time.

Preparing Your Garage Floor For Repair

Before you begin repairing cracks in your garage floor, it is important to prepare the area to ensure the effectiveness of the fix and your safety. Follow these steps to prepare your garage floor for repair:

Necessary Safety Precautions And Tools Required For Repair

Before you start repairing your garage floor, make sure you have the necessary tools and protective gear to ensure your safety. Here are some essential tools and safety gear that you will need:

  • Protective gloves and eyewear
  • Dust mask or a respirator
  • Stiff wire brush
  • Vacuum cleaner
  • Garden hose or spray bottle
  • Crack filler or concrete repair compound

Cleaning The Cracks

Cleaning the cracks is an essential step in repairing your garage floor. This involves removing debris and dirt from the cracks using a wire brush.

  • Start by brushing away any loose debris from the crack using a stiff wire brush.
  • Next, vacuum the crack to remove any remaining loose dirt and dust.
  • Finally, rinse the cracks with water from a garden hose or spray bottle to remove any lingering dirt or debris.

Preventing Moisture From Seeping Through The Cracks

Once the cracks in your garage floor are cleaned and dry, you need to take necessary measures to prevent the seeping of moisture through the cracks. Here are some things you can do to avoid moisture from seeping through:

  • Use a crack filler or concrete repair compound to fill the gaps in the cracks.
  • Apply a sealant over the repaired cracks to prevent moisture and water from seeping through.
  • Avoid using water on the repaired area for at least 24 hours.

By preparing your garage floor before repairing it, you can ensure the effectiveness of the repair and prevent the cracks from coming back. Follow these steps to clean the cracks and protect your garage floor against moisture and water damage.


Repairing The Cracks

When it comes to repairing the cracks in your garage floor, there are a few things to consider before getting started. You will want to choose the right type of crack filler and filling method for your needs. In this section, we’ll discuss the different crack fillers available on the market and the filling methods you can use.

Types Of Crack Fillers

There are two main types of crack fillers available on the market: epoxy and cement-based fillers.

  • Epoxy fillers are made up of two parts: A resin and a hardener. When mixed together, they form a strong, durable adhesive that can fill in cracks and hold up to heavy traffic. Epoxy fillers are ideal for larger cracks or those that are deeper than a quarter inch.
  • Cement-based fillers are made up of cement, sand, and water. They are easy to apply and can be used on most types of concrete floors. They are ideal for smaller cracks or those that are less than a quarter inch.

Filling Methods

Once you’ve chosen the right type of crack filler, you’ll need to decide on the best filling method. There are three main methods: pouring, troweling, and caulking.

  • Pouring involves filling the crack with the filler and then smoothing it over with a trowel. This method is best for larger cracks or those that are deeper than a quarter inch.
  • Troweling involves applying the filler with a trowel and then smoothing it over the crack. This method is best for smaller cracks or those that are less than a quarter inch.
  • Caulking involves using a caulk gun to apply the filler to the crack. This method is quick and easy but is best for small cracks or those that are less than a quarter inch.

Pros And Cons Of Each Method

Each filling method has its own pros and cons, so it’s important to choose the right one for your specific needs.

  • Pouring is the most durable method and can hold up to heavy traffic. However, it can be messy and time-consuming.
  • Troweling is quick and easy but may not be as durable as pouring.
  • Caulking is the quickest and easiest method, but may not be as durable as the other two methods.

Ultimately, your choice will depend on the size and depth of the crack, as well as your personal preferences.

Finishing And Maintaining The Repaired Garage Floor

Once you’ve fixed the cracks in your garage floor, it’s essential to complete a few essential steps to maintain your floor to prevent future cracks.

Let The Filler Dry And Cure Before Using The Garage Floor

Before you start using your garage floor again, you must ensure you leave the filler to dry and cure completely. This is necessary to prevent any further damage and ensure your garage floor’s stability. The time it takes for the filler to dry and cure properly will depend on specific factors such as temperature and humidity.

It’s essential to check the manufacturer’s instructions before using the garage floor once again, as this will give you an idea of how long you need to wait before using it again.

To preserve the floor’s quality, it’s best to give it more time to dry and cure than the minimum time specified by the manufacturer.

Necessary Maintenance To Keep The Garage Floor In Excellent Condition

There are several things you can do to keep your garage floor in excellent condition. These tips will not only improve the floor’s looks but also improve its durability.

Here are some of the essential steps to maintain your garage floor:

  • Sweep and vacuum the garage floor regularly to keep dirt, dust, and debris from accumulating.
  • Use a floor mat on your garage floor to protect it from oil and other liquids that may spill.
  • Avoid dragging heavy objects across the floor, as this may scratch or damage it.
  • Clean up oil and other liquid spills immediately with a clean cloth to prevent staining and discoloration.

The Importance Of Repeating These Steps As Necessary To Ensure The Garage Floor Remains Smooth And Free Of Cracks

Once you’ve completed the necessary steps mentioned above, it’s essential to repeat them periodically to ensure your garage floor remains smooth and free of cracks. This preventive measure will help protect your garage floor from any additional cracking, wear and tear, and other damage.

Here are a few tips for repeating these steps:

  • Check your garage floor periodically to ensure it’s in excellent condition.
  • Address any cracks or damage immediately before they worsen.
  • Consider applying a sealant on your garage floor periodically to protect it against wear and tear.
  • Keep up with your regular maintenance routine to keep your garage floor in excellent condition.

By taking these necessary steps to finish and maintain your garage floor, you can enjoy a smooth, crack-free floor for years to come. So take the time to care for your garage floor, and it will undoubtedly pay off in the long run.

Frequently Asked Questions On How To Fix Cracks In Garage Floor Before Epoxy

What Causes Cracks In The Garage Floor?

Cracks in garage floors are caused by shifting foundation, drying shrinkage, and heavy equipment.

Can I Epoxy Over Cracked Floor?

Epoxy can be applied over a cracked garage floor, but it’s better to fix the cracks first.

How Do I Fix Small Cracks In Concrete Garage Floor?

Use a concrete patching compound to fix the cracks, let it dry, then sand it smooth.

Do I Need Professional Help To Fix Cracks?

For major cracks, it may be best to hire a professional. However, small cracks can typically be fixed diy.

How Long Does It Take To Fix Garage Floor Cracks?

The time it takes to fix garage floor cracks depends on the severity of the damage. Small cracks may be fixed in a day, while larger repairs may take up to a week.

Conclusion

Fixing cracks in your garage floor before applying an epoxy coating is a crucial step to ensure a long-lasting and durable finish. By following the steps mentioned above, you can quickly and effectively repair any cracks or imperfections in your garage floor.

Remember to clean the area thoroughly, prepare it for repair, use high-quality repair materials, and let it cure entirely before applying epoxy. By doing so, you will not only prevent further damage to your garage floor, but you will also save time and money in the long run.

A well-maintained garage floor not only enhances the aesthetic appeal of your garage but also adds value to your property. Don’t delay repairing those cracks any longer and enjoy a beautiful, durable garage floor for years to come.