How to Cook a Burger on the Stove (And Get a Better Crust Than the Grill)
Let’s debunk a myth. For years, we’ve been told that the only path to a truly great burger involves a giant grill, a bag of charcoal, and a perfect, sunny day. Anything else is just a sad compromise, right? Wrong. I’m here to tell you that your trusty stovetop skillet is not a backup plan; it’s a secret weapon. Today, you are going to learn how to cook a burger on the stove that is so juicy, so flavorful, and has such an incredible crust, it will make you wonder why you ever bothered with the grill in the first place.
Why This Method Is Awesome (It’s All About That Crust!)
So, why are we championing the humble indoor skillet over the mighty outdoor grill? Because for a burger, the skillet offers one thing a grill grate never can: total, glorious contact. This method is awesome because:
- The Crust is Unbeatable: A screaming-hot skillet sears the entire surface of the patty, creating an edge-to-edge, deeply browned, unbelievably flavorful crust. A grill gives you pretty lines; a skillet gives you pure, unadulterated flavor.
- It’s a Year-Round Solution: Craving a perfect burger on a rainy Saturday in Khulna? No problem. Mid-winter blues? Burger time. The stovetop doesn’t care about the weather.
- Juiciness is Guaranteed: The fast, high-heat sear locks in all the juices, giving you an incredibly moist and tender burger.
- Flavor, Flavor, Flavor: All those delicious beef drippings stay in the pan, creating the perfect medium for toasting your buns to golden-brown perfection. It’s a self-flavoring system!
This isn’t just about cooking a burger; it’s about building a better one from the ground up, using a technique that maximizes flavor at every single step.
Ingredients: The Blueprint for a Perfect Burger
A masterpiece starts with simple, high-quality materials.
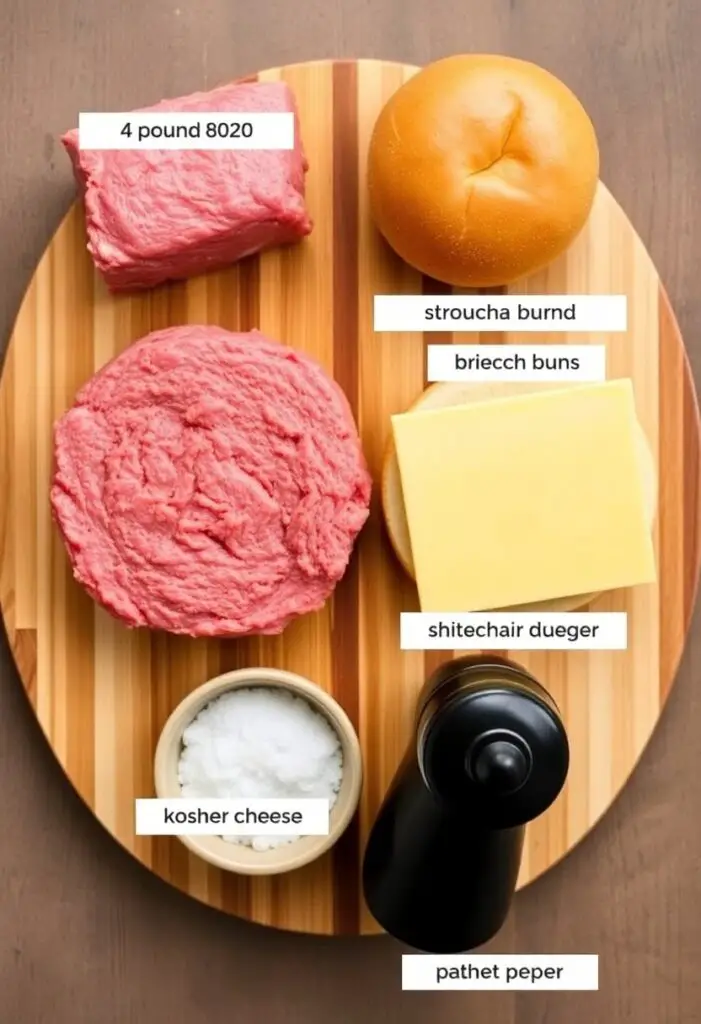
- 1 pound 80/20 ground chuck (This is the most important ingredient! 80% lean, 20% fat.)
- Kosher salt and freshly ground black pepper
- 4 slices of your favorite cheese (American cheese melts like a dream, but cheddar or provolone are great too.)
- 4 high-quality burger buns (Brioche or potato buns are fantastic.)
- 1 tablespoon unsalted butter, softened (for the buns)
- Your favorite toppings: Lettuce, tomato, onion, pickles, etc.
The Golden Rule of Burger Meat:
- I’m going to say it again because it’s that important. You must use 80/20 ground beef. That 20% fat content is not the enemy; it is the source of all that is juicy and flavorful in the universe of burgers. Using leaner beef is a one-way ticket to a dry, crumbly puck of sadness.
Tools & Kitchen Gadgets Used: Your Indoor Burger Arsenal
You don’t need a lot, but the right pan is your hero.
- A 12-inch Cast-Iron Skillet (This is the MVP. It gets incredibly hot and retains heat for the best possible sear. A heavy-bottomed stainless steel skillet is your next best bet.)
- A large, thin, sturdy spatula
- A large plate
- Tongs
- Optional: An instant-read meat thermometer for perfect doneness.
Step-by-Step Instructions: The Path to Skillet Supremacy
This is a fast process. Read the steps, prep your ingredients, and get ready for burger glory.
Act 1: The Patty Prep
- Handle with Care: Gently divide your cold ground chuck into four equal portions. Using light hands, form each portion into a patty that is about ½-inch thick and slightly wider than your burger bun (they will shrink as they cook). Do not overwork or compact the meat!
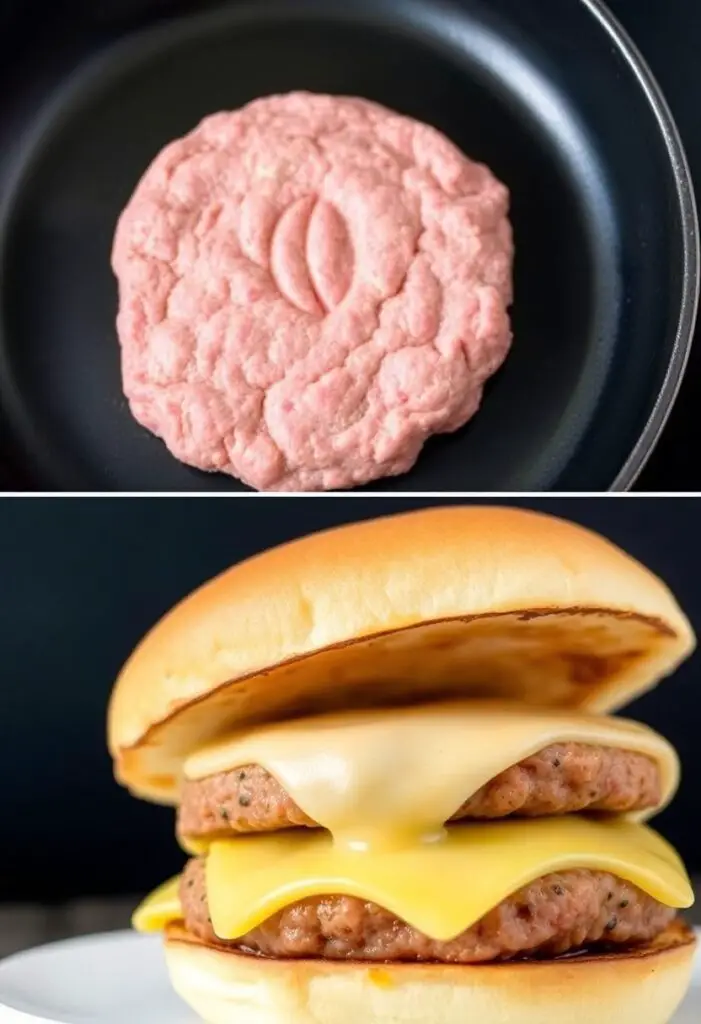
- The Dimple of Destiny: Use your thumb to press a shallow indentation into the center of each patty. This genius trick prevents your burgers from puffing up into a meatball shape while they cook, ensuring an even, flat surface.
- Season Liberally: This is crucial. Season the patties generously on all sides with kosher salt and black pepper right before they go into the pan. Seasoning too early can draw out moisture.
Act 2: The Sear and the Sizzle
- Get That Pan HOT: Place your cast-iron skillet over medium-high heat. Let it preheat for a good 5-7 minutes. You want it screaming hot. A drop of water should sizzle and evaporate instantly. Do not add oil; the fat from the burger will render out.
- Sear the Burgers: Carefully place your seasoned patties into the hot, dry skillet. You should hear a satisfying sizzle. Let them cook, undisturbed, for 3-4 minutes on the first side, until a deep, brown crust has formed. Resist the urge to press down on them with your spatula! That’s how you squeeze out all the juice and flavor.
- The Flip: Flip the burgers and cook for another 2-4 minutes, depending on your desired doneness.
- Medium-Rare: 2-3 minutes on the second side.
- Medium: 3-4 minutes on the second side.
- Well-Done: 4-5 minutes on the second side.
- The Cheese Blanket: During the last minute of cooking, place a slice of cheese on each patty. You can cover the pan with a lid for 30 seconds to help it melt into gooey perfection.
Act 3: The Finishing Touches
- Rest Your Burgers: Transfer the cooked cheeseburgers to a plate. Let them rest for 5 minutes. This is non-negotiable! It allows the juices to redistribute throughout the patty, ensuring a juicy burger.
- The Ultimate Bun Toast: While the burgers are resting, turn the heat on the skillet down to medium. Spread a thin layer of softened butter on the cut sides of your buns. Place them cut-side down in the skillet, right in all that glorious, rendered beef fat. Toast for 1-2 minutes until golden brown and delicious.
- Assemble and Devour: Build your perfect burger on those beautifully toasted buns and enjoy immediately.
Calories & Nutritional Info (Per Cheeseburger, Estimated)
Let’s just call it a delicious investment in your happiness.
- Estimated Calories per cheeseburger: ~550-750 calories (depending on bun and cheese)
- Protein: A glorious ~30-40g
- Fat: A testament to the 80/20 rule.
Common Mistakes to Avoid: Don’t Ruin Your Masterpiece!
Avoid these common stovetop sins.
- Not Getting the Pan Hot Enough: A lukewarm pan will steam your burger, resulting in a sad, gray, crust-less patty. Preheat your skillet properly!
- Pressing Down on the Burger: I know it’s tempting. It makes that sizzling sound. But you are literally squeezing out all the flavor and moisture. Stop the smash! (Unless you’re intentionally making a smash burger, which is a different technique).
- Using a Flimsy Non-Stick Pan: Most non-stick pans aren’t designed to handle the high heat required for a great sear. A cast-iron or heavy stainless steel pan is the way to go.
- Skipping the Bun Toast: An untoasted bun is a sponge for burger juices, leading to a soggy mess. Toasting it in the beef fat is a pro-move that adds flavor and texture.
Variations & Customizations: Your Skillet, Your Rules
The stovetop is your playground.
- The Smash Burger: This is where the stovetop truly shines. Instead of forming thick patties, roll your meat into loose balls. Place a ball in the screaming-hot skillet and immediately smash it flat with a sturdy spatula. Cook for 1-2 minutes per side. The result is an ultra-crispy, lacy-edged patty.
- The Butter-Basted Steakhouse Burger: In the last couple of minutes of cooking, add a tablespoon of butter, a crushed garlic clove, and a sprig of thyme or rosemary to the pan. Tilt the pan and use a spoon to continuously baste the burger with the fragrant, melted butter. It’s next-level.
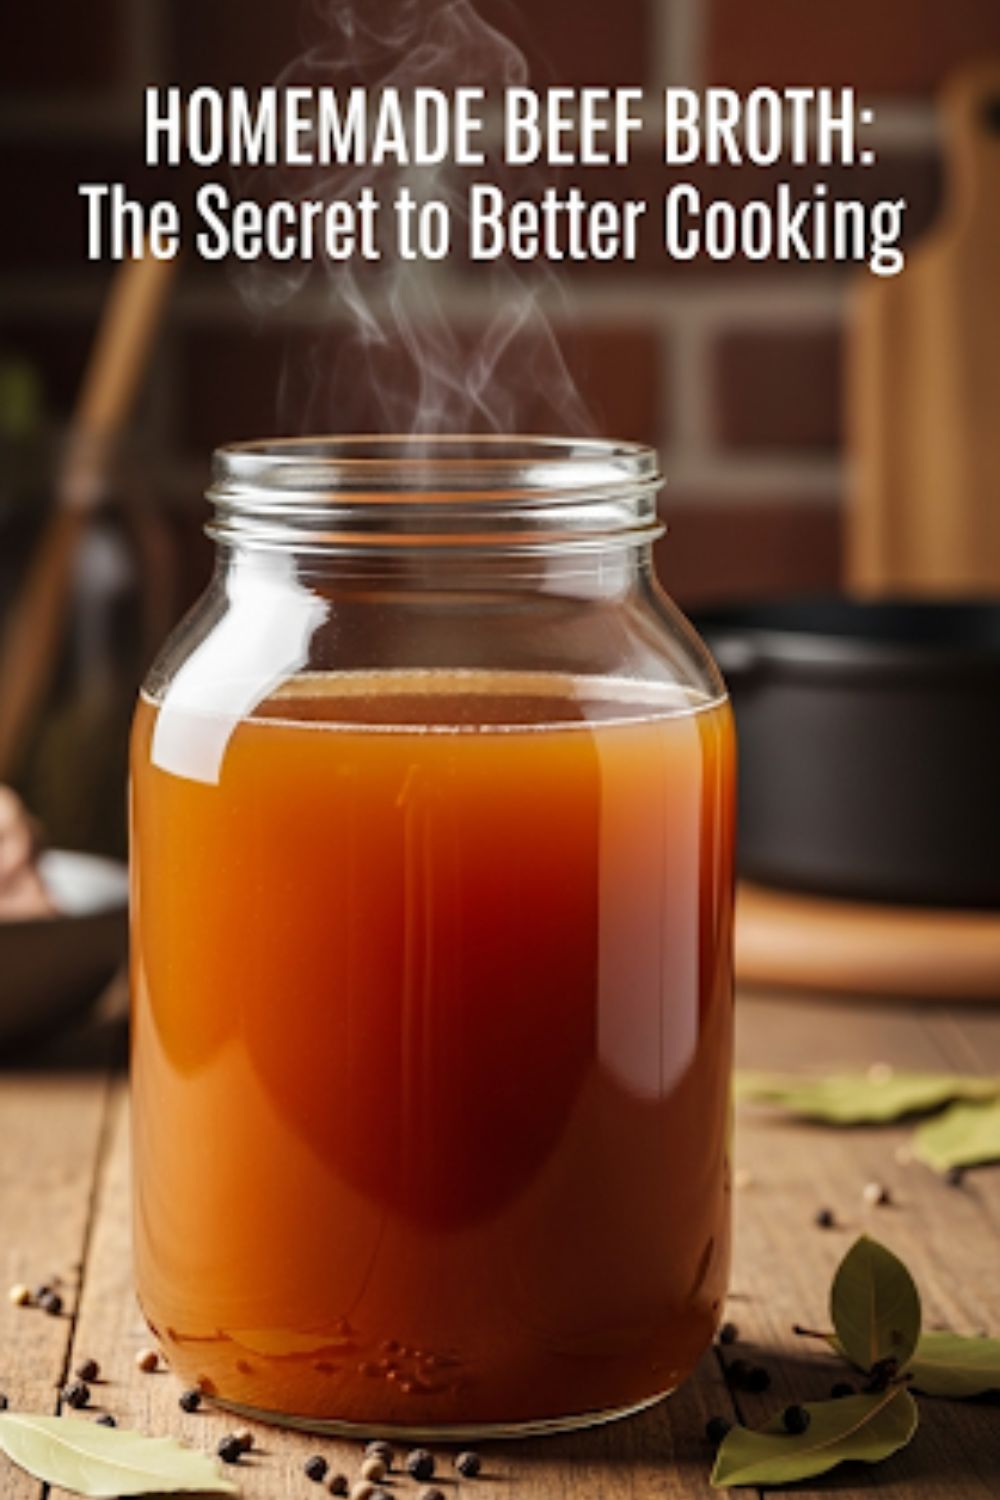
- The Pan Sauce Burger: After you remove the burgers to rest, pour off most of the excess fat from the pan. Deglaze with a splash of beef broth, scraping up the browned bits. Stir in a pat of butter and a dash of Worcestershire sauce. Drizzle this quick pan sauce over your burger.
FAQ Section: All Your Sizzling Questions, Answered
You have questions about this indoor culinary adventure. I have answers.
- Q: What’s the best pan for stove top burgers? A: A cast-iron skillet is the undisputed champion due to its incredible heat retention, which gives you the best possible crust.
- Q: Should I add oil or butter to the pan before cooking? A: With 80/20 beef, you generally don’t need any extra fat. The 20% fat content will render out and grease the pan for you. If you’re using leaner meat (which I don’t recommend), you’ll need a little oil.
- Q: How do I stop my kitchen from filling with smoke? A: A little smoke is a sign you’re doing it right! But to minimize it, make sure you use an oil with a high smoke point if you add any (like canola or avocado oil), and turn on your exhaust fan. Also, ensure your pan is clean before you start.
- Q: How can I tell when my burger is done without a thermometer? A: You can use the touch test (a medium-rare burger will feel soft and springy, while a well-done one will be very firm), but it takes practice. The best way is to know your stove and use the timing guidelines as a starting point.
- Q: How do I get the cheese perfectly melted? A: Add the cheese during the last minute of cooking and cover the pan with a lid or a metal bowl. The trapped steam will melt the cheese into gooey perfection in about 30 seconds.
- Q: Can I cook frozen burger patties on the stove? A: You can, but it’s not ideal. Cook them on a lower heat (medium) for longer, flipping them every few minutes to ensure they cook through without burning the outside.
- Q: How do I clean my cast-iron skillet after this? A: While the pan is still warm, scrape out any major bits with a spatula. Use a stiff brush and hot water to scrub it clean. Dry it completely on the stovetop over low heat, then wipe a very thin layer of cooking oil inside.
Final Thoughts: The Grill Can Wait
You’ve done it. You have harnessed the power of your stovetop to create a burger that is juicy, flavorful, and boasts a crust that would make any grill master jealous. You are now a master of the indoor sear, a champion of the cast-iron. So go on, build your masterpiece, and take a bite of the best burger you’ve ever made in your own kitchen. Who needs perfect weather, anyway?


