Picture this: fluffy, golden pancakes stuffed with melty chocolate chips, ready in under 15 minutes. No fancy techniques, no weird ingredients—just stupidly good results every time. If your current pancake game involves boxed mix or hockey-puck-textured disasters, stop.
This recipe is your redemption. Even your kids will think you’re a breakfast wizard. And the best part?
You probably have everything you need in your kitchen right now. Let’s fix your mornings.
Why This Recipe Works

This isn’t just another pancake recipe. It’s the Goldilocks of breakfast—not too sweet, not too bland, and absolutely loaded with chocolate.

The batter comes together in one bowl (less cleanup, thank you), and the cooking method guarantees fluffy, not gummy, results. Plus, the chocolate chips? They’re evenly distributed, so every bite is a mini celebration.
Even better, you can tweak it endlessly (more on that later).
Ingredients You’ll Need
Grab these—no last-minute grocery runs required:
- 1 cup all-purpose flour (or sub gluten-free 1:1)
- 1 tbsp sugar (because life’s too short for unsweetened pancakes)
- 2 tsp baking powder (the fluffiness secret weapon)
- ½ tsp salt (balances the sweetness, trust me)
- 1 cup milk (any kind works)
- 1 egg (the binder)
- 2 tbsp melted butter (or oil, if you’re rebellious)
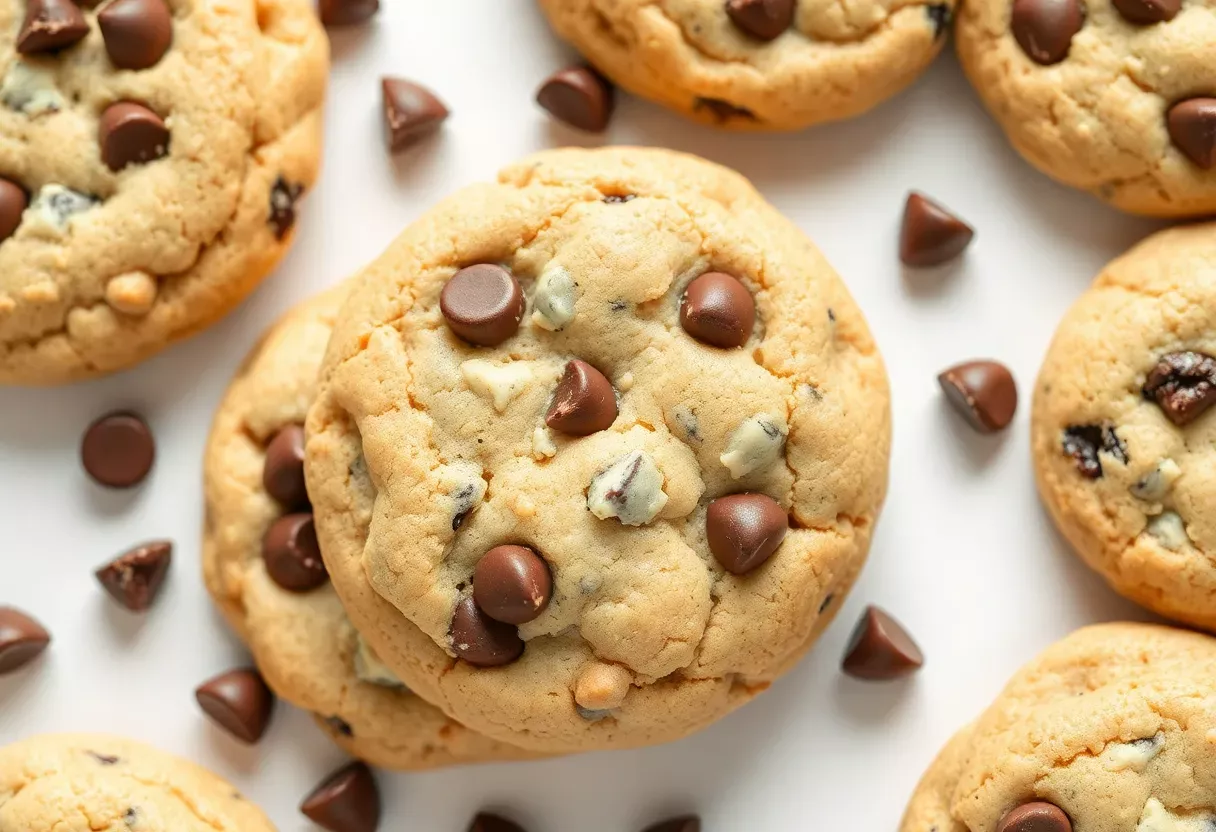
- ½ cup chocolate chips (or more—we don’t judge)
- 1 tsp vanilla extract (optional but highly recommended)
Step-by-Step Instructions

Follow these steps, and you’ll nail it:
- Mix dry ingredients: Whisk flour, sugar, baking powder, and salt in a bowl. No lumps allowed.
- Add wet ingredients: Pour in milk, egg, melted butter, and vanilla. Stir until just combined—overmixing = tough pancakes.
- Fold in chocolate chips: Gently stir them in.
Don’t go wild; you want them evenly spread, not all clumped together.
- Heat the pan: Medium heat. Test with a water droplet—if it sizzles, you’re good.
- Cook: Pour ¼ cup batter per pancake. Flip when bubbles form on top (about 2 minutes).
Cook another 1–2 minutes.
- Serve immediately: Top with extra chips, syrup, or a smug smile.
How to Store Leftovers (If You Have Any)
Let pancakes cool completely, then stack them with parchment paper between each. Store in an airtight container:
- Fridge: 2–3 days. Reheat in a toaster or microwave (10 seconds).
- Freezer: Up to 2 months.
Thaw overnight or zap in the microwave.
Pro tip: Freeze them individually first, then stack. No one likes a pancake brick.
Why This Recipe Is a Game-Changer

Beyond being delicious, this recipe is fast, forgiving, and customizable. Kids love it, adults love it, and it’s nearly impossible to mess up.
It’s also cheaper than diner pancakes and faster than waiting in line for brunch. Plus, you control the ingredients—no mystery preservatives here.
Common Mistakes to Avoid
Don’t be that person:
- Overmixing the batter: Lumps are fine. Overmixed batter = rubbery pancakes.
- Wrong pan temperature: Too hot = burnt outside, raw inside.
Too low = sad, pale pancakes.
- Using cold ingredients: Cold milk or eggs can make the butter solidify. Room temp is ideal.
- Flipping too early: Wait for those bubbles. Patience pays off.
Swaps and Substitutions

Mix it up with these alternatives:
- Flour: Whole wheat, gluten-free, or oat flour work.
- Milk: Almond, soy, or even buttermilk (add ½ tsp baking soda if using buttermilk).
- Chocolate chips: Try blueberries, bananas, or peanut butter chips.
- Vegan? Use flax eggs and plant-based milk/butter.
FAQs
Can I make the batter ahead?
Yes, but it thickens over time.
Thin it with a splash of milk before cooking.
Why are my pancakes flat?
Old baking powder or overmixed batter. Check expiration dates and stir gently.
Can I skip the chocolate chips?
Sure, but why would you? For plain pancakes, just omit them.
How do I keep them warm for a crowd?
Place them on a baking sheet in a 200°F oven.
They’ll stay toasty for up to 20 minutes.
What’s the best syrup pairing?
Maple syrup is classic, but honey or whipped cream work too. IMO, go wild.
Final Thoughts
This recipe is the breakfast equivalent of a cheat code. It’s fast, foolproof, and guaranteed to make you look like a hero.
Whether you’re feeding picky kids or impressing a brunch date, these chocolate chip pancakes deliver. Now go forth and conquer your morning—one delicious bite at a time.