How Much Do Homemade Pies Cost in the US? A Baker’s Pricing Guide
So, you’ve done it. You’ve perfected your grandma’s apple pie recipe. Your crust is so flaky it shatters at the mere suggestion of a fork. Your filling is the stuff of legends. A friend takes a bite, their eyes roll back in pure bliss, and they utter those fateful words: “You should sell these!” Your heart soars, and then immediately plummets into a spreadsheet of pure terror. Sell them? For what? Two dollars? A hundred dollars? This, my friend, is the ultimate question: how much do homemade pies cost in US dollars?
Before you start wildly guessing or offering your creations for the price of a grocery store’s sad, gelatinous pie, let’s take a breath. You’ve come to the right place. Today, we’re swapping our rolling pins for calculators (just for a minute, I swear!) and cooking up the perfect “recipe” for pricing your edible masterpieces. This is your no-nonsense guide to valuing your work and ensuring your pie hustle is actually profitable.
Why This Pricing “Recipe” Is a Total Game-Changer
Why do you need a whole article on this? Can’t you just wing it? You could, but do you really want to be running a non-profit organization dedicated to funding your neighborhood’s dessert habit? Here’s why getting this “recipe” right is so important.
First, it ensures you actually make a profit. A wild concept, I know. But the goal of selling something is to end up with more money than you started with. This guide will help you account for every last organic apple, every stick of premium butter, and every minute of your precious time.
Second, it gives you the confidence of a seasoned professional. Stating your price with conviction is a power move. No more mumbling, “Um, is $20 okay?” You’ll be able to confidently state your price, knowing it’s a fair reflection of the quality and effort you’ve put in.
Finally, it honors your craft. A homemade pie is an act of love and skill. From the all-butter crust to the perfectly spiced filling, it’s a world away from the mass-produced discs in the freezer aisle. Pricing your pies correctly is a way of respecting your own artistry.
The “Ingredients” of Your Pie Price

To cook up the perfect price, you need to know every single component that goes into it. It’s a lot more than just what’s in the pie dish.
- Direct Costs (The Obvious Stuff):
- Ingredients: The all-butter crust, the fresh, seasonal fruit (Honeycrisp apples aren’t cheap!), the fancy Vietnamese cinnamon, the real vanilla extract.
- Packaging: The pie box that keeps it safe, the foil or glass pie dish, the cute label with your name on it.
- Indirect Costs (The Sneaky Expenses):
- Overhead: A little slice of your electricity bill for the oven, the gas, the water for cleanup, your trusty parchment paper.
- Equipment Wear & Tear: That rolling pin has seen some things.
- Your Time & Labor (The Most Important Ingredient):
- This is everything from shopping at the farmers market and peeling a mountain of apples to meticulously weaving that beautiful lattice top and scrubbing the sticky countertops. Your time is not free.
- The Profit Margin (The Sweet Reward):
- This is the cherry on top. It’s the part of the price that actually makes this a business and allows you to grow, experiment, and, you know, pay your bills.
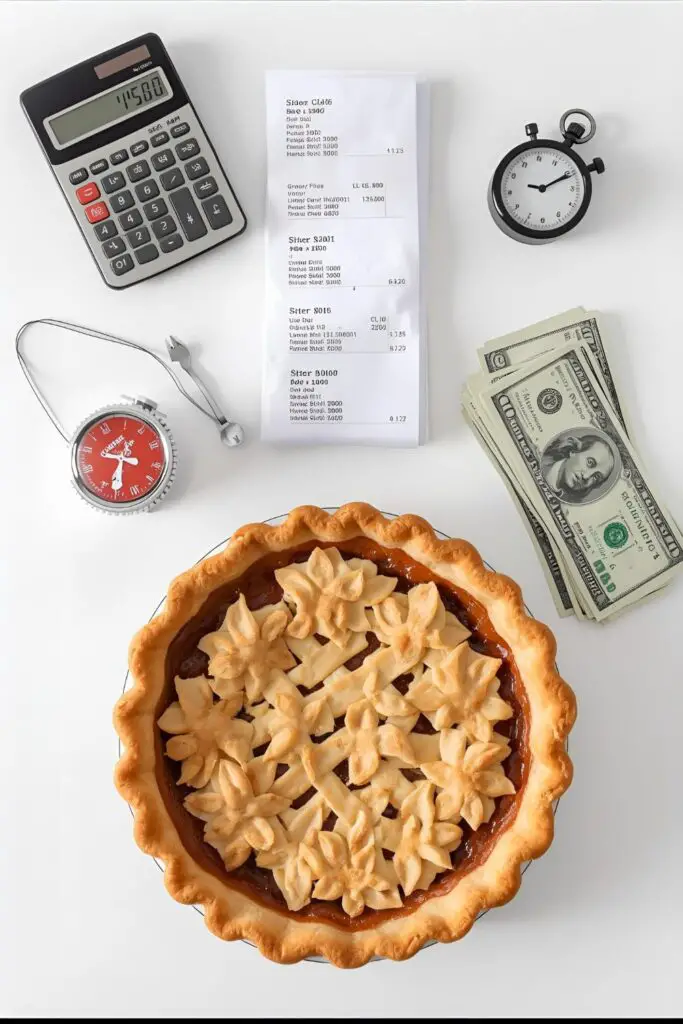
The Pricing Toolkit (Your Financial Gadgets)
You don’t need a degree in finance for this, just a few key tools.
- A Kitchen Scale: For accurate ingredient measurements, which leads to accurate costing. This is non-negotiable.
- Your Receipts: How else will you know the exact cost of that bag of organic apples from Whole Foods?
- A Calculator: Your new best friend. Your phone has one. It’s about to get a workout.
- A Spreadsheet (like Google Sheets or Excel): The ultimate way to create a simple pricing formula you can use for every single pie you make.
- A Timer: To accurately track how long you actually spend on a pie.
Step-by-Step: The Recipe for the Perfect Price
Ready to get down to business? Let’s break this down with an example of a classic 9-inch apple pie.
Step 1: Calculate Your Ingredient Cost
This requires a little bit of math, but you’ve got this! Figure out the cost per unit for each ingredient.
- Example: A 3 lb bag of apples costs $6.00. That’s $2.00 per pound. A 1 lb box of premium butter costs $5.00. That’s $2.50 per cup.
- Do this for every single ingredient, right down to the pinch of nutmeg.
- Total Ingredient Cost for the Pie: Add up the cost of all the ingredients. Let’s say our total recipe cost for one 9-inch apple pie is $12.50.
Step 2: Factor in Packaging & Overhead
- Packaging Cost: Maybe your pie box and label cost $2.00.
- Overhead Cost: A good rule of thumb is to add 15-20% of your ingredient cost. Let’s use 20%.
$12.50 * 0.20 = $2.50.
Step 3: Pay Yourself! (Calculate Labor Cost)
Your time is valuable. Decide on a fair hourly wage. Don’t sell yourself short! Let’s say you value your skilled baking time at $25/hour.
Now, time the entire process. Let’s say from peeling the apples to the final cleanup, one pie takes you 2 hours.
- Labor Cost:
2 hours * $25/hour = $50.00.
Step 4: Find Your Base Cost

Now, let’s add it all up to see what it actually costs you to produce one pie.
- Base Cost:
$12.50 (ingredients) + $2.00 (packaging) + $2.50 (overhead) + $50.00 (labor) = $67.00.This is your break-even point. If you charge less than this, you are losing money on every single pie.
Step 5: Add Your Profit Margin
This turns your effort into a business. A good starting point for specialty baked goods is a 30% to 60% profit margin. Let’s aim for 40%.
- Profit:
$67.00 * 0.40 = $26.80.
Step 6: Determine Your Final Price!
Add your base cost and your profit together.
- Final Price:
$67.00 (Base Cost) + $26.80 (Profit) = $93.80.
You can round this to a price like $90 or $95 for a fully custom, all-butter, fresh-fruit, handmade 9-inch pie. Sound high? Read on.
Your Business’s “Nutritional” Info
Let’s look at the financial health of your delicious venture.
- Revenue: $95.00
- Cost of Goods Sold (COGS): $67.00
- Gross Profit (The sweet, sweet cash): $28.00
- Analysis: Is a $28 profit for 2 hours of work worthwhile? For a small-batch, premium product, that’s a solid start!
Common Pricing Mistakes to Avoid
- Undercharging: This is the #1 mistake. You feel guilty. Don’t. You are providing a premium, handmade product. Charge what you’re worth.
- Forgetting “Hidden” Costs: The electricity to run your oven, the parchment paper, the single drop of vanilla. It all adds up. Track everything.
- Not Paying Yourself: Stop working for free. Your time is your most valuable asset.
- Comparing Your Prices to a Supermarket: You’re not a massive corporation using preservatives and fillers. You are a custom, small-batch artisan. Your customers are paying for a unique, high-quality experience.
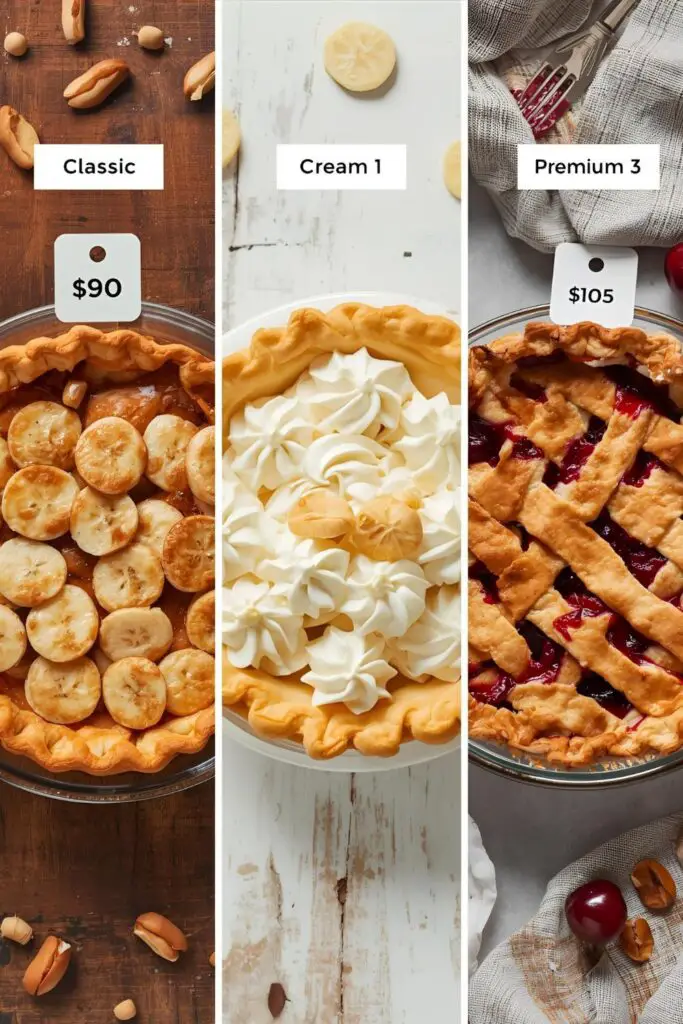
Variations & Customizations (Pricing Different Pie Tiers)
Not all pies are created equal. Your pricing should reflect their complexity.
1. Tier 1: The Classics (e.g., Apple, Cherry)

These are your entry-level pies. They use standard ingredients and techniques. This is your base price point (like the $90-$95 we calculated).
2. Tier 2: The Creamy Delights (e.g., Banana Cream, Chocolate Silk)
These might use slightly different ingredients and techniques, but the labor is often similar. Price them in a similar range, adjusting for any significant ingredient cost differences.
3. Tier 3: The Premium Players (e.g., Pecan Pie, Intricate Lattice Work, Gluten-Free)
These pies require expensive ingredients (pecans aren’t cheap!) or significantly more labor (a complex lattice top can add an extra hour of work!). Your prices for these pies must be higher to reflect the increased costs. A fancy pecan pie could easily be $100-$120 or more.
FAQ: Your Burning Questions About Pie Prices
Let’s clear up some common pricing predicaments.
1. So what’s a good starting price for a 9-inch homemade apple pie in the US? Based on our example calculation and current market rates, a price between $85 and $100 for a high-quality, all-butter, handmade pie is a very reasonable range in many areas. But you must do your own calculations!
2. Should I charge extra for special requests or custom packaging? Yes, yes, a thousand times yes! Customization takes extra time and often extra ingredient costs. Special packaging is an add-on. Always charge accordingly.
3. How do I calculate the cost of a cup of flour or a stick of butter? Simple math! If a 5 lb bag of flour costs $4 and has about 20 cups, one cup is $4 / 20 = $0.20. If a 1 lb package of butter costs $5 and has 2 cups (4 sticks), one stick is $5 / 4 = $1.25.
4. What if my friends and family say my prices are too high? Politely explain that you’re using high-quality ingredients and that the price reflects your time and skill. Not everyone is your target customer, and that’s okay. Your target customer values what you do.
5. Do I need a special license to sell pies from home in the US? This is important. You should check your state’s Cottage Food Laws. These laws vary by state and regulate the sale of homemade food products.
6. How should I handle delivery charges? Delivery should always be a separate charge paid by the customer. Use local services or calculate your own delivery fee based on mileage and time.
7. How do I start selling? Start small! Post pictures on social media like Instagram and Facebook. Offer them to friends and family first to build word-of-mouth. Attend local farmers markets or craft fairs.
Final Thoughts
There you have it. You’re no longer just a talented baker; you’re a budding entrepreneur. You are now armed with the “recipe” to look at a stick of butter and see not just a delicious ingredient, but a calculated business expense. It’s a powerful and slightly terrifying feeling, isn’t it?
So go forth and price with confidence. Value your time, cover your costs, and make that sweet, sweet profit. You’ve earned it. Now go get your slice of the pie (the financial kind, that is!).