The Ultimate Heart Cake Aesthetic Tutorial (It’s a Love Story, Baby)
In a world of fleeting DMs and casual texts, sometimes you need to make a statement. A grand gesture. Something that says, “I care about you more than a simple three-dot bubble.” Darling, it’s time to say it with buttercream. It’s time to create the ultimate edible love letter: the heart cake aesthetic.
Forget minimalist, forget understated. We are diving headfirst into a world of romance, frills, and unapologetic prettiness. This is the cake you’ve seen all over your feed—the vintage-inspired, elaborately piped heart that’s one part Valentine’s Day, one part rococo dream, and all parts delicious. And guess what? You are about to become the person who can actually make it.
Why You’ll Fall in Love with This Recipe
So, why should you pour your heart into, well, a heart? Because this cake is more than just a dessert.
- It’s an Emotional Support Cake: Is there anything more delightful than a heart-shaped cake? It’s perfect for Valentine’s Day, an anniversary, a birthday for someone you adore, or just a random Tuesday when you feel like celebrating love (especially self-love).
- It Looks Incredibly Impressive: The intricate, vintage-style piping looks like it took a team of professional pastry chefs weeks to create. In reality, you can achieve this stunning look with just a few key piping tips and a little bit of patience.
- The Flavor is a Classic Romance: We’re pairing this romantic look with the ultimate romantic cake flavor: a deep, vibrant Red Velvet with a tangy, luscious Cream Cheese Frosting. It’s a classic for a reason.
The Ingredient List: A Recipe for Romance
To build this heartfelt creation, we need a passionate cake base and a frosting that’s pure poetry.
For the Romantic Red Velvet Cake:
- All-Purpose Flour: 2 ½ cups.
- Granulated Sugar: 1 ½ cups.
- Unsweetened Cocoa Powder: 2 tablespoons.
- Baking Soda: 1 teaspoon.
- Salt: 1 teaspoon.
- Large Eggs: 2, at room temperature.
- Vegetable Oil: 1 ½ cups.
- Buttermilk: 1 cup, at room temperature.
- White Vinegar: 1 tablespoon.
- Vanilla Extract: 2 teaspoons.
- Red Gel Food Coloring: 2 tablespoons, or enough to achieve a vibrant red.
For the Dreamy Cream Cheese Frosting:
- Cream Cheese: 8 ounces (1 block), cold. Using cold cream cheese is key!
- Unsalted Butter: ½ cup (1 stick), softened to room temperature.
- Powdered Sugar: 4 cups, sifted.
- Vanilla Extract: 1 ½ teaspoons.
- Salt: A pinch.
- Optional: Pink and/or red gel food coloring for decorating.
Tools & Kitchen Gadgets: Your Cupid’s Arrow Kit
Having the right tools will make this love affair with baking a whole lot smoother.
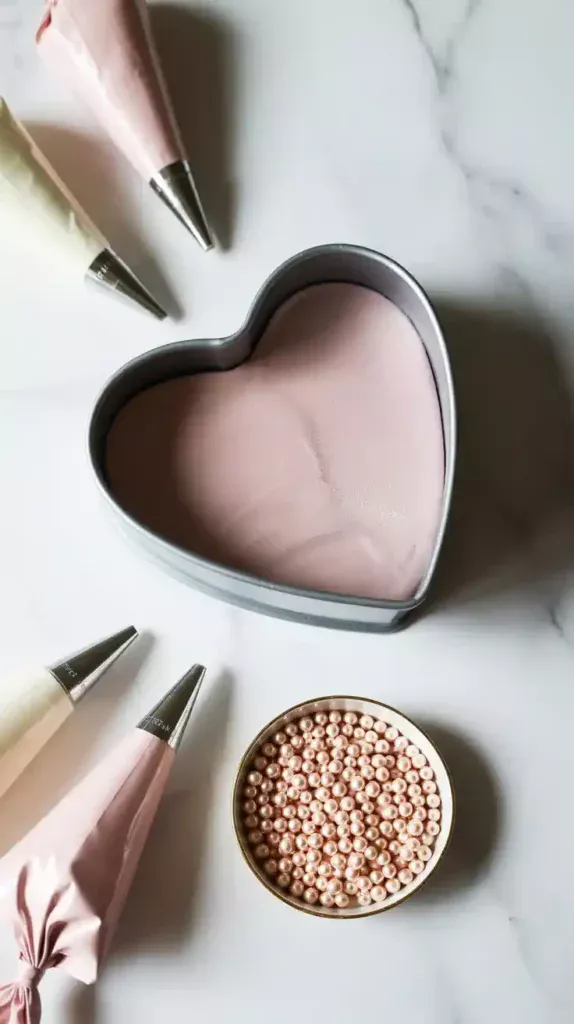
- A 9-inch Heart-Shaped Cake Pan: This is the star of the show and makes life so much easier.
- A Stand Mixer or Hand Mixer: Highly recommended for both the cake and the frosting.
- A Cake Turntable: Your best friend for smooth frosting and even piping.
- An Offset Spatula & Bench Scraper: For achieving a flawless canvas.
- Piping Bags and an Assortment of Piping Tips: This is where the aesthetic comes to life. I recommend:
- A large star tip (like Wilton #1M) for rosettes.
- A medium star tip (like Wilton #32) for shell borders.
- A small round tip (like Wilton #3) for dots or writing.
- A Large, Flat Cake Board or Serving Platter.
Step-by-Step Instructions: A Labor of Love
Put on some romantic music. Light a candle. Let’s create something beautiful together.
Step 1: Bake Your Heart Out
- Prep: Preheat your oven to 350°F (175°C). Grease and flour your heart-shaped cake pan thoroughly.
- Combine Dry Ingredients: In a large bowl, whisk together the flour, sugar, cocoa powder, baking soda, and salt.
- Combine Wet Ingredients: In a separate bowl, whisk together the eggs, oil, buttermilk, vinegar, and vanilla. Vigorously whisk in the red gel food coloring until you have a vibrant, uniform color.
- Mix & Bake: Pour the wet ingredients into the dry ingredients and mix on low speed until just combined. Pour the batter into your prepared pan and bake for 35-45 minutes, or until a toothpick inserted into the center comes out clean. Let it cool in the pan for 15 minutes before turning out onto a wire rack to cool completely.
Step 2: Whip the Dreamy Frosting
- In your stand mixer, beat the softened butter on medium speed until it’s creamy and smooth.
- Add the COLD cream cheese and beat until just combined. Do not overbeat at this stage.
- On low speed, gradually add the sifted powdered sugar, then the vanilla and salt. Once incorporated, increase the speed to medium-high and beat for 2-3 minutes until light and fluffy. Do not overmix, as cream cheese frosting can become runny.
Step 3: Assemble and Crumb Coat

If you baked one thick cake, carefully slice it in half horizontally to create two layers. Place your bottom heart layer on your cake board. Top with a generous layer of frosting, then add the second layer. Apply a thin crumb coat of frosting all over and chill in the fridge for at least 30 minutes until it’s firm to the touch.
Step 4: The Vintage Piping Party
- Apply a final, smooth coat of white frosting to your chilled cake.
- Now for the fun part! Divide your remaining frosting and tint it with your desired colors (pale pink and a vibrant red are a classic combo).
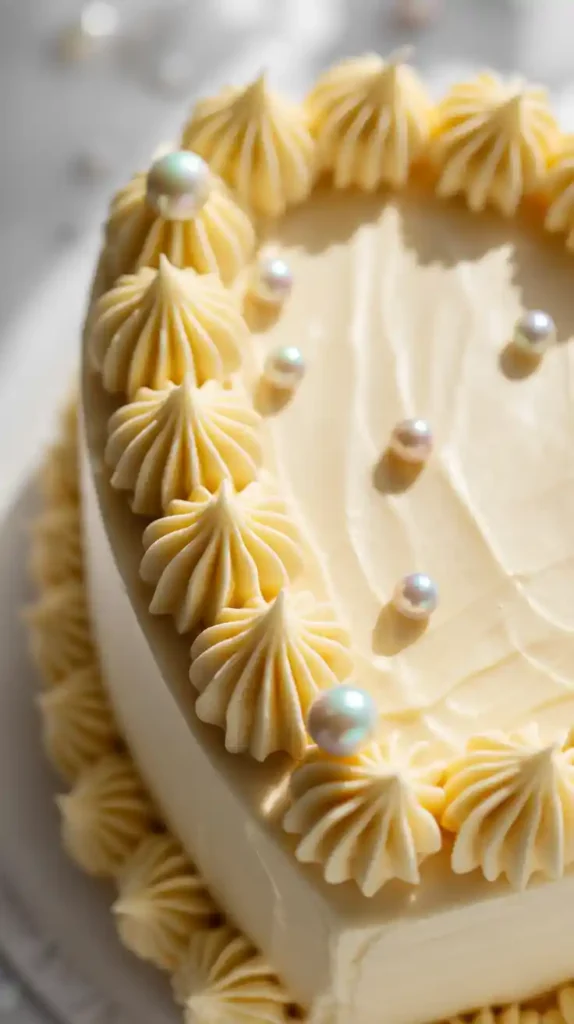
- Using a star tip (like #32), pipe a decorative shell border around the top and bottom edges of the cake.
- If you’re feeling extra, pipe another, more elaborate border on top of the first one. This layering is what gives it that vintage, over-the-top “Lambeth” style.
- Pipe some rosettes or swirls on top for extra dimension.
Step 5: Add the Finishing Touches
Add some flair with carefully placed sprinkles, edible pearls, or a sweet message written in the center with a small round tip. This is your canvas!
Calories & Nutritional Info (From the Heart)
This cake is made with love. Love is a nutrient. Therefore, this cake is good for you. That’s my story and I’m sticking to it.
- Main Ingredient: Affection.
- Taste Profile: Pure romance.
- Calories: Let’s not tarnish this beautiful moment with mathematics.
Common Mistakes to Avoid (Heartbreaks & Headaches)
- A Runny Mess: Cream cheese frosting is notoriously softer than buttercream. If it gets too warm, it will not hold piped shapes. The key is to use cold cream cheese and not to overmix it. If your frosting gets too soft, pop it back in the fridge for 15-20 minutes to firm up.
- A Tilted Heart: If you don’t level your cake layers before frosting, your finished heart will look a little lopsided. A flat foundation is key.
- Color Clash: The heart cake aesthetic thrives on a cohesive, romantic color palette. Stick to shades of pink, red, and white. Throwing in yellow or blue will disrupt the dreamy vibe.
- Overthinking the Piping: Don’t panic! A shell border is just a series of connected star shapes. Practice on a piece of parchment paper first to get the rhythm down. It’s more forgiving than you think.
Variations & Customizations (Matters of the Heart)
Every love story is different. So is every cake.
1. The “Burn-Away” Heart Cake
This is a super trendy and dramatic option. After decorating your cake, print a message or image on a piece of edible wafer paper. Place it on the cake, pipe a frosting border around it, and then place a second image printed on edible icing paper on top. When you light the top corner of the icing paper with a lighter, it will burn away in a flash to reveal the image underneath!
2. The Minimalist Heart
If the over-the-top piping isn’t your style, go for a modern look. Frost the heart cake smoothly in a single color (like a soft pastel pink) and add a simple, delicate border of edible pearls or a single, tiny piped heart in the center.
3. The Chocolate Lover’s “Black Heart”

For a moodier, more dramatic take. Use your favorite rich chocolate fudge cake recipe with a dark chocolate ganache or buttercream. Decorate with piped black or deep burgundy borders and top with fresh raspberries or dark chocolate curls.
FAQ: Your Heart’s Desires, Answered
How can I make a heart-shaped cake without a special pan?
It’s a classic hack! Bake one 8-inch square cake and one 8-inch round cake. Cut the round cake in half. Place the square cake on your board like a diamond, then place the two half-circles against two adjacent sides of the square to form a heart shape! “Glue” it all together with frosting.
My cream cheese frosting is too soft to pipe! Help!
Chill it! This is the number one rule of cream cheese frosting. Unlike buttercream, which you can often just re-whip, cream cheese frosting benefits from a 15-30 minute rest in the refrigerator to firm up before you put it in a piping bag.
What are the best colors for the heart cake aesthetic?
Classic romance never fails. Pastel pink, vibrant red, and clean white are the holy trinity for this look. Creamy off-white is also beautiful.
Can I write “I Love You” on the cake?
Of course, you romantic soul! Use a small round piping tip (like a Wilton #2 or #3) and practice your script on parchment paper first.
Is this cake just for Valentine’s Day?
Not at all! It’s perfect for anniversaries, birthdays for a loved one, bridal showers, or literally any day you feel like celebrating love in its many forms.
How do I store this cake?

Because of the cream cheese frosting, this cake must be stored in the refrigerator. Keep it in a cake carrier or loosely covered. It will stay fresh for 3-4 days.
What’s the best way to get neat, clean slices?
Use a long, thin, sharp knife. Run the knife under hot water and wipe it clean between each and every slice. This will prevent the red velvet crumb from smearing the beautiful white frosting.
Final Thoughts
You did it. You literally put your heart on a platter, and it’s a delicious, beautiful, edible one. You’ve created more than just a cake; you’ve created a feeling. A grand, romantic gesture that tastes as good as it looks.
So go ahead, give this cake to someone you love. Give it to your best friend. Heck, make it for yourself, because you deserve to feel adored. After all, the best love stories always involve great cake.