The Ultimate Gold Birthday Cake: A Guide to Delicious Decadence
Let’s be real, some birthdays are just a little extra. They’re not for a simple sheet cake with a few sad sprinkles. They’re for a full-blown, stop-the-show, “where-did-you-buy-that” masterpiece. For those occasions, you need to bring out the big guns. You need to make a gold birthday cake.
I know what you’re thinking. “Gold? On a cake? Am I a Bond villain? Do I need a degree in alchemy?” Relax. I’m here to tell you that creating a jaw-droppingly glamorous, shimmering gold cake is not only possible, it’s actually fun. This is your official guide to giving your next baking project the Midas touch.
Forget just making a cake; we’re creating a centerpiece. We’re making a dessert that looks like a million bucks but tastes even better. Get ready to bake the most luxurious gold birthday cake of your life.
Why This Recipe Is the Gold Standard
In a world of perfectly nice cakes, why is this specific gold birthday cake the one that will make you a legend?
First and foremost, it looks insanely luxurious. A sleek, dark chocolate cake with a shimmering gold drip and delicate flecks of real gold leaf is the definition of showstopper. It’s sophisticated, it’s dramatic, and it’s the kind of cake that makes people feel truly celebrated.

Second, the flavor is pure indulgence. This isn’t just a pretty face. We’re layering a rich, dark chocolate cake with a gooey, homemade salted caramel filling and a decadent chocolate buttercream. The flavor is as rich and complex as the person you’re celebrating. A great gold birthday cake has to taste as good as it looks.
Finally, it uses pro-level techniques that are secretly easy. That perfect, glossy drip? The delicate application of gold leaf? They look like they require years of training, but I’m going to break them down into simple, foolproof steps. You’ll be amazed at what you can create. This is the secret to a stunning homemade gold birthday cake.
The Treasure Chest (Ingredients)
To create a cake this rich, you need ingredients that are up to the task.
For the Decadent Chocolate Cake:
- 2 cups all-purpose flour
- 2 cups sugar
- 3/4 cup unsweetened dark cocoa powder
- 2 teaspoons baking soda
- 1 teaspoon salt
- 2 large eggs
- 1 cup buttermilk
- 1/2 cup vegetable oil
- 1 cup hot coffee
For the Liquid Gold (Salted Caramel Filling):
- 1 cup granulated sugar
- 6 tablespoons unsalted butter, cubed
- 1/2 cup heavy cream, warmed
- 1 teaspoon sea salt
For the Sleek Chocolate Buttercream:
- 1 1/2 cups (3 sticks) unsalted butter, softened
- 1 cup unsweetened cocoa powder, sifted
- 5 cups powdered sugar, sifted
- 1/2 cup heavy cream or milk
- 1 teaspoon vanilla extract

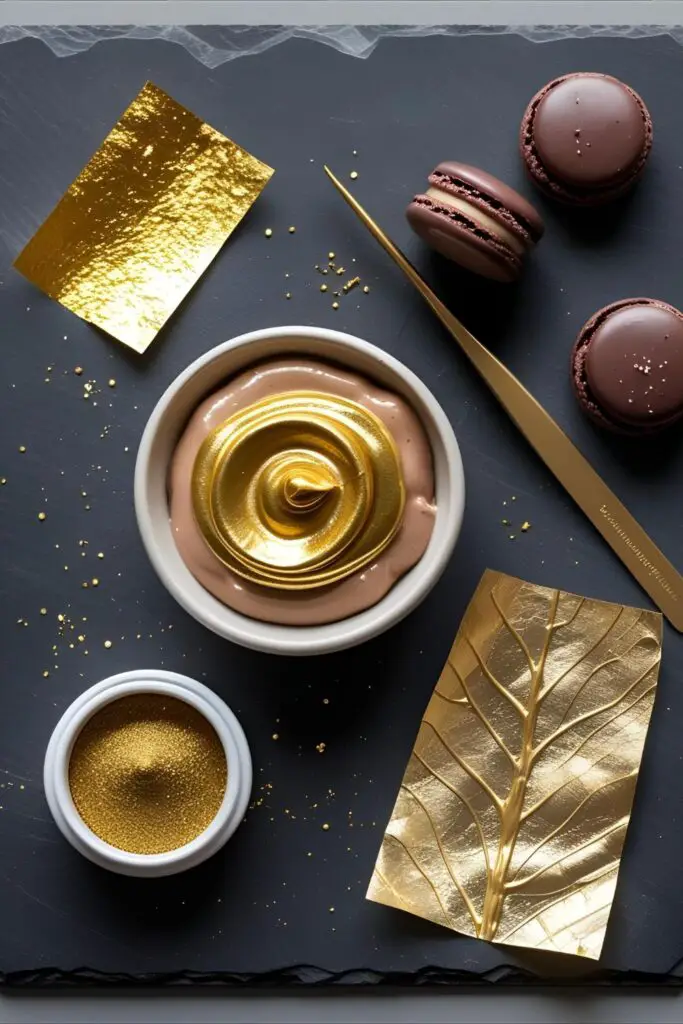
For the Midas Touch Decorations:
- 1/2 cup white chocolate chips
- 3 tablespoons heavy cream
- Edible gold luster dust
- A few drops of clear, high-proof alcohol (like vodka)
- Edible gold leaf (optional, but so worth it)
The Goldsmith’s Tools
To forge a cake this fabulous, you’ll need the right equipment.
- A Stand Mixer: A powerful KitchenAid Stand Mixer is your best asset for a smooth, lump-free cake batter and a perfectly whipped buttercream.
- A Cake Turntable & Bench Scraper: This is the non-negotiable duo for achieving the flawless, sharp-edged canvas that a gold birthday cake demands.
- A Heavy-Bottomed Saucepan: For making your salted caramel without scorching it.
- A Squeeze Bottle: For the ultimate control when applying your gold drip.
- Edible Gold Luster Dust & Gold Leaf: These are the stars of the show. You can find high-quality edible gold dust and gold leaf sheets online.
- Food-Safe Paintbrushes & Tweezers: For painting the drip and applying the delicate gold leaf.
The Blueprint: Step-by-Step Instructions
Ready to create your masterpiece? Let’s get down to this glamorous business.
Part 1: The Foundation
Step 1: Bake the Chocolate Cake Preheat your oven to 350°F (175°C). Grease and flour two 8-inch round cake pans. In your stand mixer bowl, whisk all the dry cake ingredients. In a separate bowl, whisk the eggs, buttermilk, and oil. Pour the wet into the dry, mix on low, then carefully stream in the hot coffee. The batter will be thin. Divide between the pans and bake for 30-35 minutes. Cool completely.
Step 2: Make the Salted Caramel In a heavy-bottomed saucepan, melt the sugar over medium heat, stirring occasionally until it becomes a smooth amber liquid. Whisk in the cubed butter until melted. Slowly pour in the warm heavy cream (it will bubble vigorously!), then stir in the salt. Let it cool completely.
Part 2: Assembly and the Midas Touch
Step 3: Make the Frosting & Assemble Beat the butter and cocoa powder together. Alternate adding the powdered sugar and cream until fluffy. Level your cooled cakes. Place one layer on your cake stand. Pipe a “dam” of buttercream around the edge and fill with the cooled salted caramel. Top with the second layer. Crumb coat the cake and chill for 30 minutes.

Step 4: The Flawless Canvas Apply a final, generous coat of chocolate buttercream. Use your bench scraper and turntable to get the sides and top perfectly smooth and sharp. Chill the cake again for at least 30 minutes until the frosting is very firm and cold. This is crucial for the perfect drip.
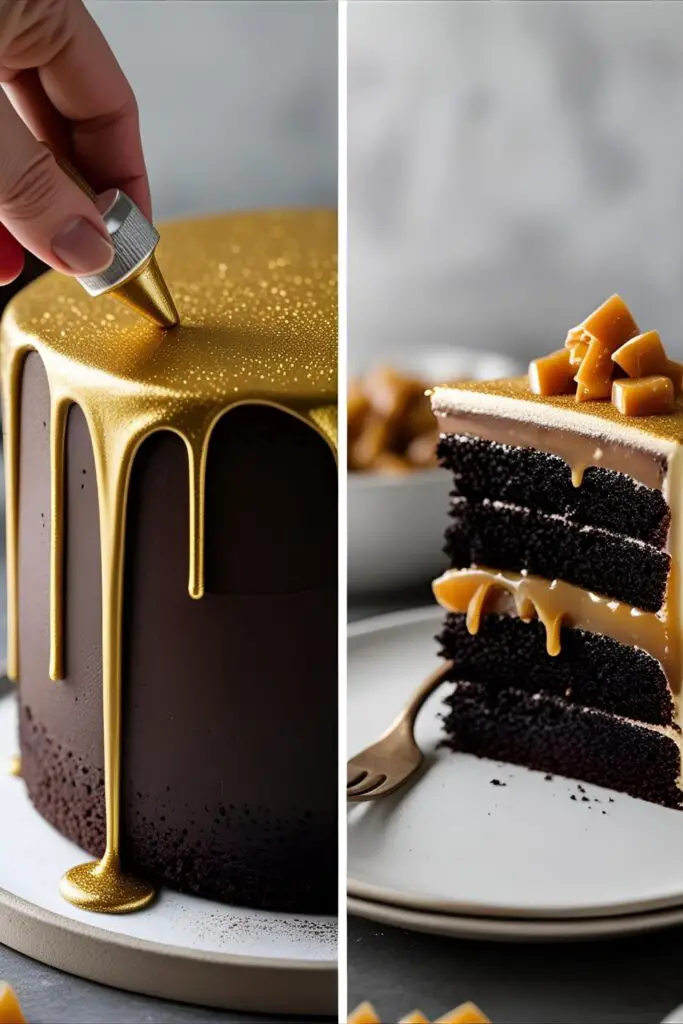
Step 5: Create the Gold Drip Melt the white chocolate and heavy cream together. Let it cool until it’s lukewarm. In a small bowl, mix a teaspoon of gold luster dust with a few drops of vodka to create a thick paint. Stir this into your cooled white chocolate ganache until it’s a shimmering, opaque gold.
Step 6: The Drip Do a test drip on the back of your cold cake. If it runs too fast, the ganache is too warm. Once ready, use your squeeze bottle to apply the drip around the top edge of your cold cake. Pour the rest on top and smooth it out.
Step 7: The Final Flourish While the drip is still setting, it’s time for the gold leaf. Using tweezers, carefully peel a small piece of edible gold leaf from its backing and gently press it onto the cake. Use a dry, soft brush to pat it down. Don’t use your fingers! Add a few elegant toppings like macarons or chocolate shards. Your stunning gold birthday cake is complete.
Calories & Nutritional Info
A formal statement from the treasury.
- Serving Size: One decadent slice.
- Value: Priceless.
- Calories: We’re not counting. This is a luxury item. (But for tax purposes, it’s around 800 per very rich slice. It’s a gold-plated indulgence.)
- Pairs Well With: A feeling of fabulousness.
Common Mistakes to Avoid (Don’t Lose Your Luster)
Let’s keep your gold birthday cake looking like a treasure, not a tragedy.
- The Tacky Gold Overload: You got excited and covered the entire cake in gold. Less is more. The elegance of a gold birthday cake comes from the contrast between the dark cake and the precious gold accents.
- The Runny, Sad Drip: Your ganache was too hot or your cake was too warm. The cake must be cold and the ganache must be lukewarm. This temperature difference is what creates the perfect, set drip.
- The Crumbled, Wasted Gold Leaf: You tried to apply the gold leaf with your fingers. Gold leaf will stick to everything except where you want it to go. You must use clean, dry tweezers and a soft, dry brush.
- The Lumpy Canvas: You tried to apply a sleek drip to a lumpy frosting job. A drip needs a perfectly smooth, sharp-edged surface to look its best.
Variations & Customizations
A gold birthday cake is a concept. Make it your own.
- The Black and Gold: For an even more dramatic, art deco look, make a black velvet cake using black cocoa powder and frost it with black buttercream. The gold drip and leaf will pop even more.
- The White and Gold: The classic wedding combination. Make an elegant white almond cake, frost it with pristine white Swiss meringue buttercream, and add the gold drip and accents. It’s timeless and beautiful.
- The Geode Glam: Instead of a drip, create a geode cake. Carve a cavity into the side of the cake, fill it with gold or white rock candy “crystals,” and paint the edges with your gold luster dust paint. It’s another stunning type of gold birthday cake.
Frequently Asked Questions (Your Jeweler’s Guide)
You’ve got questions about this precious project? I’ve got the answers.
1. How do you make a real gold drip for a cake? The secret is to make a white chocolate ganache base, let it cool, and then stir in edible gold luster dust that has first been mixed into a paste with a few drops of clear alcohol (like vodka).
2. Is edible gold leaf actually real gold? Yes! It is typically 23-24 karat gold, hammered into incredibly thin sheets. It is biologically inert, meaning it passes through your system undigested and is safe to eat.
3. How do you apply edible gold leaf without it disintegrating? Use clean, dry tweezers to handle the sheet and a soft, dry, food-safe brush to gently pat it onto the cake. Avoid any moisture or touching it with your fingers.
4. What flavors go well with a gold birthday cake? Rich, decadent, and sophisticated flavors are a perfect match. Chocolate and salted caramel, champagne and raspberry, almond and cherry, or coffee and hazelnut all fit the luxurious theme.
5. Can I make a gold cake without a drip? Absolutely. You can use your gold luster dust paint to splatter the cake, paint patterns, or brush the edges of piped details. You can also use gold leaf as the primary decoration on a smooth-frosted cake.
6. How do I get my frosting super smooth? A cake turntable and a bench scraper are the keys. Apply a generous amount of frosting, then hold the bench scraper straight against the side and spin the turntable to scrape off the excess, leaving a smooth finish.
7. Can I make this cake in advance? Yes, this cake is a great make-ahead option. The fully decorated cake can be made the day before and stored in the fridge. The gold will remain vibrant.
Final Thoughts
Congratulations, you Midas of the kitchen! You have successfully created a gold birthday cake that is the absolute pinnacle of homemade luxury. You’ve proven that with a few simple techniques and a little bit of patience, you can create a dessert that looks like it belongs in a jewelry box.
So go on, present your shimmering masterpiece. Watch as everyone’s eyes widen. You haven’t just baked a cake; you’ve created an experience, a memory, and a very clear statement: this celebration is pure gold.