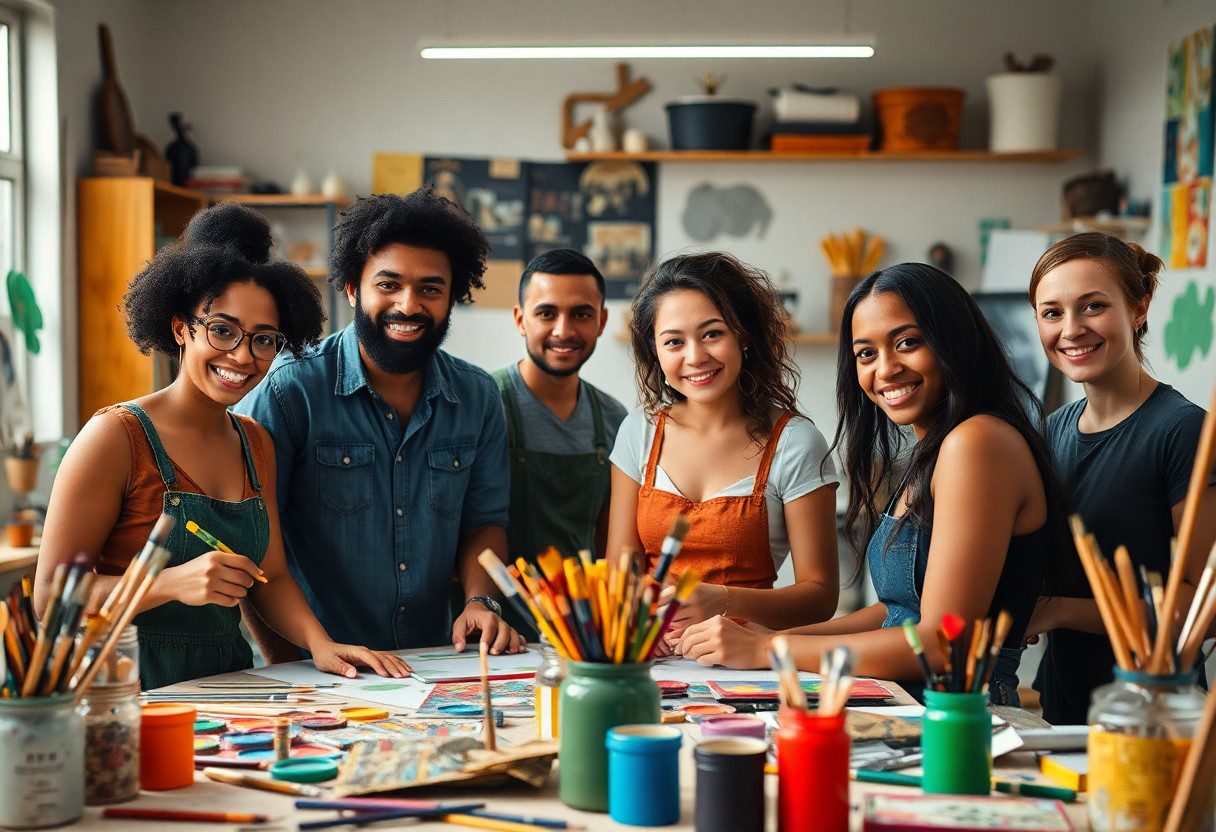
Over time, portraiture has evolved into an exciting medium for self-expression, and you can easily explore this art form through DIY projects right in your home. Whether you are a beginner or an experienced artist, these creative portrait ideas will inspire you to utilize your imagination and transform everyday materials into stunning pieces of art. Get ready to commence on a delightful journey where you can learn techniques, experiment with styles, and unleash your creativity, all while creating unique portraits that reflect your personality and artistic flair.
Understanding Creative Portraits
While plunging into the world of creative portraits, you’ll discover an exciting blend of personal expression and artistic exploration. Portrait photography is more than just capturing a likeness; it’s about revealing the essence of the subject. By experimenting with various techniques and styles, you can convey emotions and stories that connect deeply with viewers, transforming a simple image into a meaningful art piece.
The Importance of Portraiture
An effective portrait goes beyond mere representation; it captures the spirit and individuality of the subject. This art form serves as a historical record, a means of storytelling, and a way to communicate emotions. Engaging in portraiture allows you to reflect on identity, relationships, and the human experience, making it a timeless and invaluable form of artistic expression.
Styles and Techniques
Importance lies in knowing that various styles and techniques can elevate your creative portraits. From traditional approaches like classic lighting and composition to contemporary methods such as digital manipulation and mixed media, there’s a wealth of tools at your disposal. Experimenting with different styles not only hones your skills but also helps you find a unique voice in your portraiture.

Portraits can be approached through numerous techniques that enhance not only the visual impact but also the emotional depth. You might consider lighting variations, backgrounds, and props to create atmosphere, or explore different angles and perspectives. Incorporating abstract elements, utilizing color contrasts, or embracing candid moments can result in powerful and imaginative portraits that reflect your artistic vision and resonate on a personal level. The possibilities are endless, inviting you to break boundaries and redefine what a portrait can be.
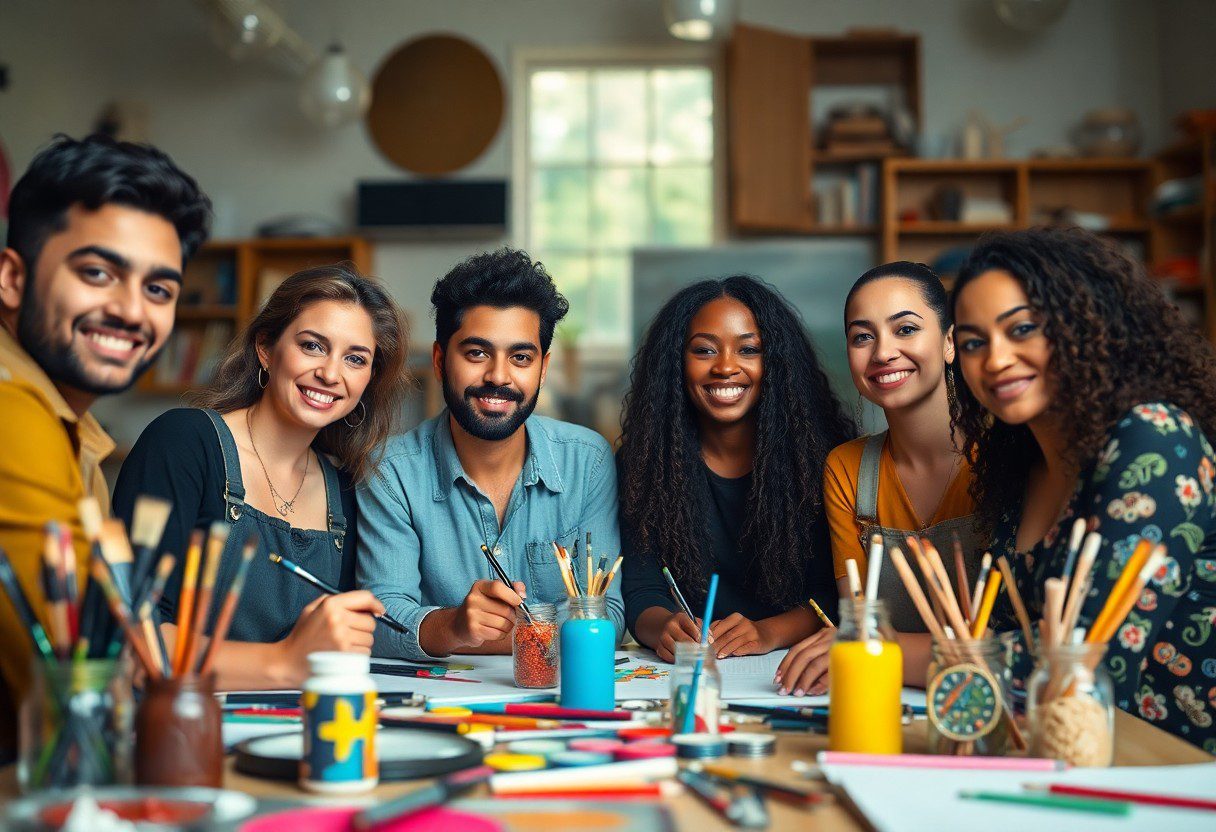
Materials Needed for DIY Portrait Projects
Now that you’re eager to probe creating stunning DIY portraits, it’s important to gather the right materials. Depending on your chosen medium, you might need paint, pencils, canvases, paper, or even photography equipment. Ensuring you have a well-rounded selection of materials will help you unleash your creativity and enhance your artistic expression. Let’s explore the crucial supplies and tools that will elevate your portrait projects.
Essential Art Supplies
Across the world of traditional art, having a variety of crucial supplies is key. For painting, consider acrylic or watercolor paints, high-quality brushes, and different types of paper or canvas. If you lean towards drawing, invest in a selection of pencils, charcoal, and fine-tipped pens. This diverse toolkit will empower you to experiment with different techniques and styles, leading to unique portraits that reflect your artistic vision.
Tools for Digital Portraits
Essential digital tools are the backbone of creating captivating portraits in the digital realm. A graphic tablet paired with drawing software allows you to illustrate with precision and creativity. Popular programs such as Adobe Photoshop or Procreate offer a range of brushes and features to enhance your digital artwork. With your computer, tablet, and the right software, you can easily bring your portrait ideas to life and explore the limitless possibilities of digital art.
To get started with digital portrait creation, consider familiarizing yourself with layers and blending techniques within your chosen software. Practice with different brushes to find your personal style and enhance your effects. Tutorials and online communities can also provide valuable insights to streamline your process. As you gain confidence in your digital skills, you’ll find endless opportunities to express your creativity through stunning portraits.
Step-by-Step Guide to Creating Portraits
Some of the most rewarding art projects start with a clear plan. Here’s a step-by-step guide to streamline your creative process for creating stunning portraits.
| Step | Description |
| 1 | Choose your subject and determine the style of your portrait. |
| 2 | Gather reference images for inspiration. |
| 3 | Create an initial sketch to outline your composition. |
| 4 | Start applying your chosen medium, layer by layer. |
| 5 | Add details and finalize your portrait with highlights and shadows. |
Traditional Painting Techniques

Around the world, artists have embraced traditional painting techniques to capture the essence of their subjects. Techniques such as oil painting, watercolors, and acrylics allow you to play with texture and depth. You can blend colors to create realistic skin tones or use bold strokes for a more impressionistic feel. Exploring these techniques will enhance your skills and enrich your portraits.
Tips for Digital Portrait Creation
About digital portrait creation, embracing the technology can elevate your artwork. To create impressive digital portraits, consider the following tips:
- Familiarize yourself with different software options for digital art.
- Practice using layers to enhance depth and detail.
- Experiment with brushes to mimic traditional textures.
This approach not only broadens your artistic range but also makes the process enjoyable.
Guide your journey with practical insights for digital portrait creation. Understanding the technical aspects can make a significant difference:
- Use high-resolution images for better clarity.
- Study the anatomy of your subject to improve accuracy.
- Take breaks to gain a fresh perspective on your work.
This holistic understanding will sharpen your skills and inspire confidence in your digital artistry.
Experimenting with Different Mediums

Despite being accustomed to traditional methods, you can invigorate your creative process by experimenting with different mediums. From acrylic paints to charcoal, each medium offers a unique texture and effect, enabling you to discover new aspects of your portrait artistry. Embrace the freedom to mix techniques and materials, and don’t be afraid to step outside your comfort zone. The thrill of experimentation can lead to some of your most exciting creations.
Photography as Portrait Art
Along your artistic journey, photography emerges as a powerful medium for capturing the essence of your subjects. You can explore dynamic angles, lighting, and compositions to convey emotions that paintbrush alone may not achieve. Use your camera not just to document, but to interpret the personalities and stories behind each face, adding depth to your portrait art.
Mixed Media Approaches
One of the most exciting ways to expand your artistic repertoire is through mixed media approaches. Combining various materials—such as photographs, fabric, paint, and paper—allows you to create multi-dimensional portraits that communicate deeper narratives. These layers not only enhance visual interest but also invite the viewer to engage more closely with your work, telling a story that traditional methods may not reveal.
For instance, you might begin with a photograph of your subject, then print it on canvas and add acrylic paint to enhance colors and define textures. Incorporating elements like fabric pieces or textured papers can provide a tactile experience, offering your audience new ways to engage with the art. Each added layer tells a part of the story, enriching your portrait and making it a compelling focal point for viewers.
Showcasing Your Portraits
Keep your creative spirit alive by finding the perfect way to showcase your portraits. Whether you prefer physical displays or digital presentations, curating your art can elevate its impact. Consider hosting a small exhibition at home, collaborating with local cafes to display your work, or setting up an online gallery. Each showcase provides an opportunity to connect with your audience and inspire others through your unique vision.
Creating a Portfolio
Portfolio development is crucial for presenting your best work. Start by selecting your standout portraits that highlight your style and creativity. Organize your pieces thematically or chronologically, and ensure your portfolio is visually appealing. A well-curated portfolio not only displays your talent but also tells your artistic story, making it easier for potential clients and collaborators to engage with your work.
Sharing on Social Media
Portraits can gain significant visibility through social media platforms. Utilize hashtags relevant to your art style to reach a broader audience and encourage engagement. Create a dedicated profile for your art, where you can share behind-the-scenes shots, artistic processes, and completed works. Regularly posting and interacting with your audience fosters a community around your art, amplifying your reach and creating meaningful connections.
Even if you’re just starting, sharing your portraits on social media can transform your artistic journey. Platforms like Instagram, Pinterest, and Facebook offer creative spaces to showcase your work and receive feedback. Engage with your followers through stories or live sessions, and consider joining art groups to network with other creatives. As your audience grows, you’ll find opportunities for collaboration and inspiration, making it easier to evolve and experiment with your art.
Tips for Enhancing Creativity
Many artists seek ways to amplify their creative expression. To enhance your creativity, consider these effective strategies:
- Experiment with new materials and techniques
- Set aside dedicated time for creative activities
- Keep a journal for ideas and sketches
- Collaborate with other artists for fresh perspectives
- Take breaks and allow your mind to wander
After incorporating these tips, you may find yourself stepping outside your comfort zone and discovering new depths in your artistry.
Overcoming Creative Blocks
Against the backdrop of artistic pursuits, creative blocks can often feel daunting. When you encounter these obstacles, give yourself the grace to acknowledge them. Instead of forcing creativity, consider stepping away for a moment, engaging in a completely different activity, or even revisiting old works to reignite passion and ideas.
Seeking Inspiration from Others
Inspiration can manifest in various forms, and drawing from the experiences of others allows you to expand your creative vision. Surround yourself with art, whether through galleries, online platforms, or social media communities, to absorb diverse styles and perspectives.
Blocks in your creative output can sometimes be alleviated by looking outward. Engaging with fellow artists or exploring art in different cultures will provide fresh avenues to explore. Share your own work and seek constructive feedback, as this exchange can spark new ideas and help you navigate through any creative stalls you may experience.
To wrap up
As a reminder, exploring creative portraits through DIY art projects can be an enriching experience for everyone. Whether you are a beginner or seasoned artist, these projects allow you to express your unique perspective while honing your skills. By experimenting with various techniques and mediums, you can create stunning portraits that reflect your individuality. So gather your materials, unleash your creativity, and explore the world of artistic expression that awaits you!
FAQ
Q: What materials do I need to get started with DIY creative portraits?
A: To initiate on your creative portrait journey, you’ll need a few basic materials. Common items include various types of paper (like watercolor or canvas), brushes, pencils, paints (acrylics or watercolors), markers, and any embellishments you might want to use, such as fabric, glitter, or magazine cutouts. Additionally, having a good quality reference photo can make a significant difference in your work.
Q: Can I participate in these DIY art projects if I have no prior art experience?
A: Absolutely! ‘Explore Creative Portraits – DIY Art Projects For Everyone’ is designed for all skill levels. Whether you’re a complete beginner or have some experience, the projects are structured to be fun and educational. Each project includes step-by-step instructions that will guide you through the process and help you enhance your skills along the way.
Q: How can I find inspiration for my creative portraits?
A: Inspiration can come from many sources. Look into art history, contemporary artists, or everyday life for ideas. Nature, people watching, or even your own emotions can spark creativity. Additionally, browsing through social media platforms, art blogs, or Pinterest can provide visual ideas and different styles to explore. Don’t hesitate to let your own experiences and uniqueness shine through in your portraits!
Q: Are there any online communities where I can share my portraits and receive feedback?
A: Yes, there are several online platforms where you can showcase your artwork and connect with fellow artists. Websites like Instagram, DeviantArt, and Reddit have dedicated art communities where members share their work and offer constructive critiques. Joining art groups on Facebook or participating in forums can also provide you with valuable feedback and inspiration.
Q: What are some tips for improving my creative portrait skills?
A: To improve your skills in creative portraiture, practice is key. Try experimenting with different styles, techniques, and mediums to find what resonates with you. Studying proportions and human anatomy can also enhance your portrait accuracy. Furthermore, don’t shy away from making mistakes—every error is an opportunity to learn and grow as an artist. Lastly, consider taking online classes or workshops to gain new insights and skills from experienced artists.