You can elevate your gift-giving game with DIY calligraphy, turning ordinary presents into meaningful treasures. This blog post will guide you through various ideas that allow you to infuse your personal touch into heartfelt creations, perfect for any occasion. Whether you want to create personalized quotes, beautiful cards, or decorative pieces, these calligraphy techniques will help you craft unique, handmade gifts that show your friends and family just how much you care. Get ready to unleash your creativity and make your gifts truly special!

Understanding Calligraphy
As you initiate on your journey into the world of calligraphy, it’s important to grasp the foundation of this elegant art form. Calligraphy is more than just writing; it’s about expressing your personality and emotion through the curated strokes of a pen. This means understanding not only the techniques but also the tools and styles that will enhance your writing experience.
Tools of the Trade
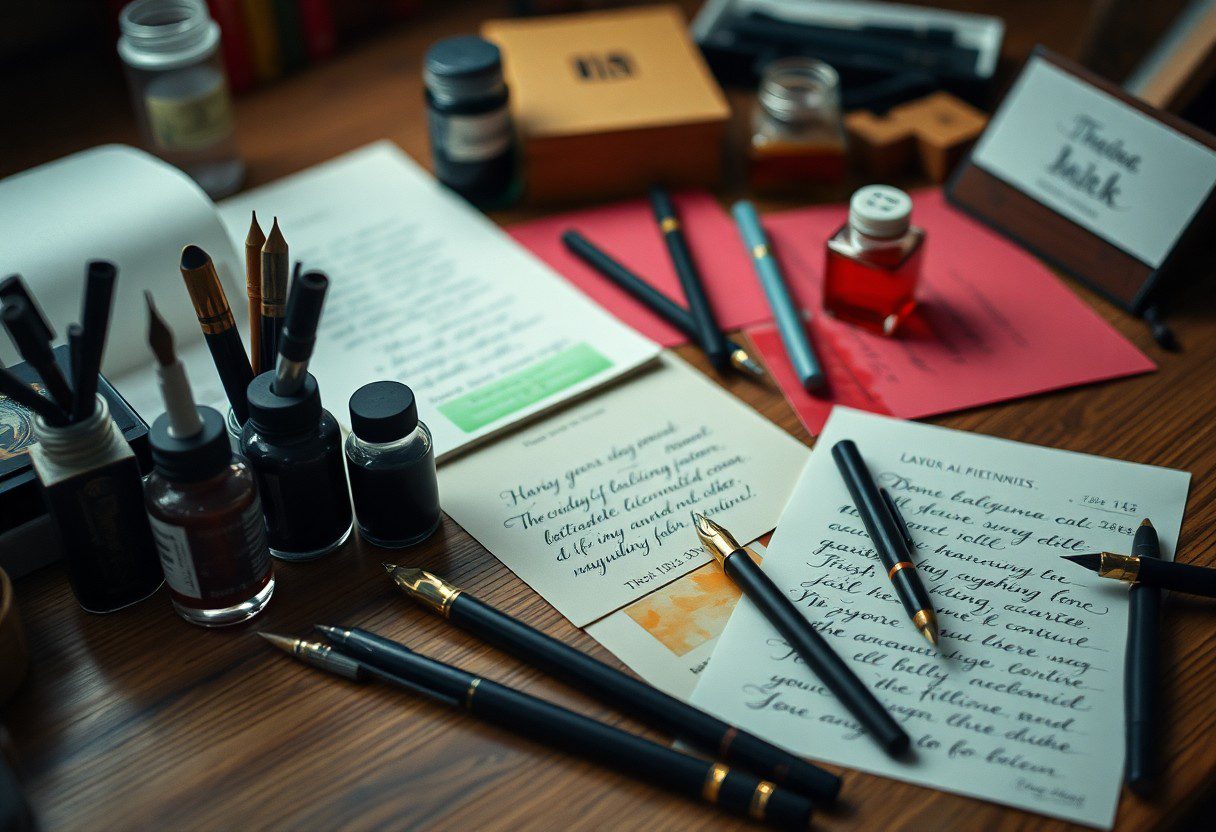
To begin your calligraphy practice, you will need to gather some fundamental tools that will set your work apart. The important items include various types of pens – such as dip pens, brush pens, or fountain pens – depending on the style you wish to create. Additionally, quality paper is vital, as it provides the right texture and support for your ink.
Moreover, don’t forget about ink; it comes in a multitude of colors and viscosities, so choosing the right one for your project can dramatically affect the final outcome. Alongside these, a ruler, a compass, and erasers can help ensure precision in your work. Equipped with these tools, you’re ready to explore the art of calligraphy.
Types of Calligraphy Styles
Calligraphy encompasses various styles, each offering its unique aesthetic and purpose. Here are some prominent styles you may want to explore:
| Style | Description |
| Italic | A slanted, elegant writing style ideal for invitations. |
| Gothic | Characterized by intricate lines and dramatic curves. |
| Modern | Combines traditional and contemporary techniques using playful flourishes. |
| Brush Script | A casual style that mimics brush strokes, perfect for relaxed designs. |
| Uncial | A rounded, classical script that feels historic and artistic. |
Plus, exploring these types of calligraphy styles can significantly broaden your creative horizon. Each style offers a different vibe, dictated by its unique composition and approach, making it important to find the one that resonates with your personal aesthetic. As you practice each style, you’ll gain a deeper understanding of their characteristics and how to effectively communicate messages through your writing.
- Italic – perfect for formal events.
- Gothic – intricate and eye-catching.
- Modern – playful and contemporary.
- Brush Script – casual and free-flowing.
- Uncial – rounded and historic.
Perceiving your growth in calligraphy will help you appreciate the beauty of each style as you refine your skills. Understanding the characteristics of various calligraphy styles will not only assist you in selecting the right approach for your project but also enhance the overall aesthetic of your handmade gifts.
Preparing Your Workspace
Setting Up for Success
You want to ensure that your workspace is conducive to creativity and focus, as a well-organized environment can greatly enhance your calligraphy efforts. Start by selecting a clean, quiet area with good lighting where you can comfortably spend several hours. It’s advisable to have an ergonomic chair and a table at the right height to reduce any physical strain during your writing sessions. Keeping your workspace clutter-free will help maintain your concentration and allow your artistic flow to be less interrupted.
Next, consider your inspirational elements; surrounding yourself with motivational quotes, images, or even beautiful calligraphy examples can spark creativity. Arrange your materials in an orderly fashion within arm’s reach, so you’re not frequently distracted by searching for tools. This setup will help you fall into a productive rhythm where your mind can focus entirely on your craft, allowing you to explore the nuances of your handwriting and develop your unique style.
Essential Materials
One of the first steps in preparing your workspace for calligraphy is gathering all the crucial materials you will need. Having a well-stocked arsenal will not only save you time but will also allow you to fully explore different techniques and styles without interruption. At a minimum, you should have high-quality calligraphy pens or brushes, various types of ink, and an array of paper suitable for calligraphy work. Additionally, a straight edge, pencil, and eraser can be helpful for planning your layouts.
It’s worth noting that investing in high-quality tools is beneficial for achieving better results in your calligraphy projects. The choice of paper can greatly affect how the ink flows and how your writing appears—opting for a smooth, bleed-proof paper can make a significant difference. Not only does this enhance your writing experience, but using the right materials can also minimize frustrations that arise from smudging or unfamiliar techniques, allowing your creativity to shine through effortlessly.
Basics of Calligraphy
Even if you’re just starting out with calligraphy, understanding the basics can set you on the path to creating stunning handwritten pieces. Calligraphy is an art form that blends precision with personal expression, and it involves mastering your tools—including pens, inks, and paper. One of the most rewarding aspects of calligraphy is that it allows you to transform simple writing into beautiful art, perfect for your handmade gifts. By focusing on the fundamentals, you’ll gain the confidence needed to explore your creativity fully.
Mastering the Fundamentals
Any aspiring calligrapher understands the importance of developing a strong foundation. Begin by choosing the right tools that suit your style, whether it’s a classic dip pen, brush pen, or even a fountain pen. Familiarize yourself with different calligraphy styles, such as Copperplate or Gothic, and study their unique characteristics. As you practice writing alphabet letters, pay close attention to the shapes and angles of each character. This attention to detail is imperative for achieving the elegant look that defines calligraphy.
Practice Techniques
Calligraphy is all about repetition and refinement. To develop your skills, set aside *consistent* time to practice various letterforms and strokes. Focus on mastering the basic strokes, as they lay the groundwork for forming complete letters. You can start by using practice sheets, which provide guidelines to help you align your letters uniformly. Don’t be afraid to experiment with different ink colors and paper types to see how diverse combinations can impact your artistic expression.
To elevate your practice sessions, engage in *focused exercises* that challenge your control and fluidity. Utilize tracing techniques by going over established calligraphy letters, which can help improve your muscle memory. Gradually, transition to writing without guides to boost your confidence. Remember that embracing *mistakes* can lead to unexpected beauty in your work. Whether you are doodling or crafting a heartfelt message for a loved one, each practice session brings you one step closer to mastering this beautiful art form.
Creative DIY Calligraphy Projects
After you decide to explore the world of DIY calligraphy, you’ll find that there are countless projects that not only challenge your artistic skills but also allow you to create special gifts for your loved ones. These creative ideas vary in complexity and application, ensuring you can find something suitable for every occasion. With personalized touches, such as names or meaningful quotes, your gifts will carry a significant weight of thoughtfulness and love.
Personalized Greeting Cards
Personalized greeting cards are a wonderful way to express your sentiments, whether for a birthday, anniversary, or even just to say thank you. By incorporating your calligraphy skills, you can add a unique flair to each card that reflects your personality and style. Choose high-quality card stock and experiment with various inks to discover colors that resonate with the message you want to deliver. Using your calligraphy skills elevates the card from a simple greeting to a cherished keepsake.
Furthermore, by intertwining decorative elements like illustrations or floral motifs alongside your lettering, you can enhance the visual appeal of your cards. Utilize tools like washi tape or stickers to add depth and dimension, making every card a beautiful work of art. The time and care you put into creating these personalized cards will surely be appreciated by anyone lucky enough to receive one.
Custom Gift Tags
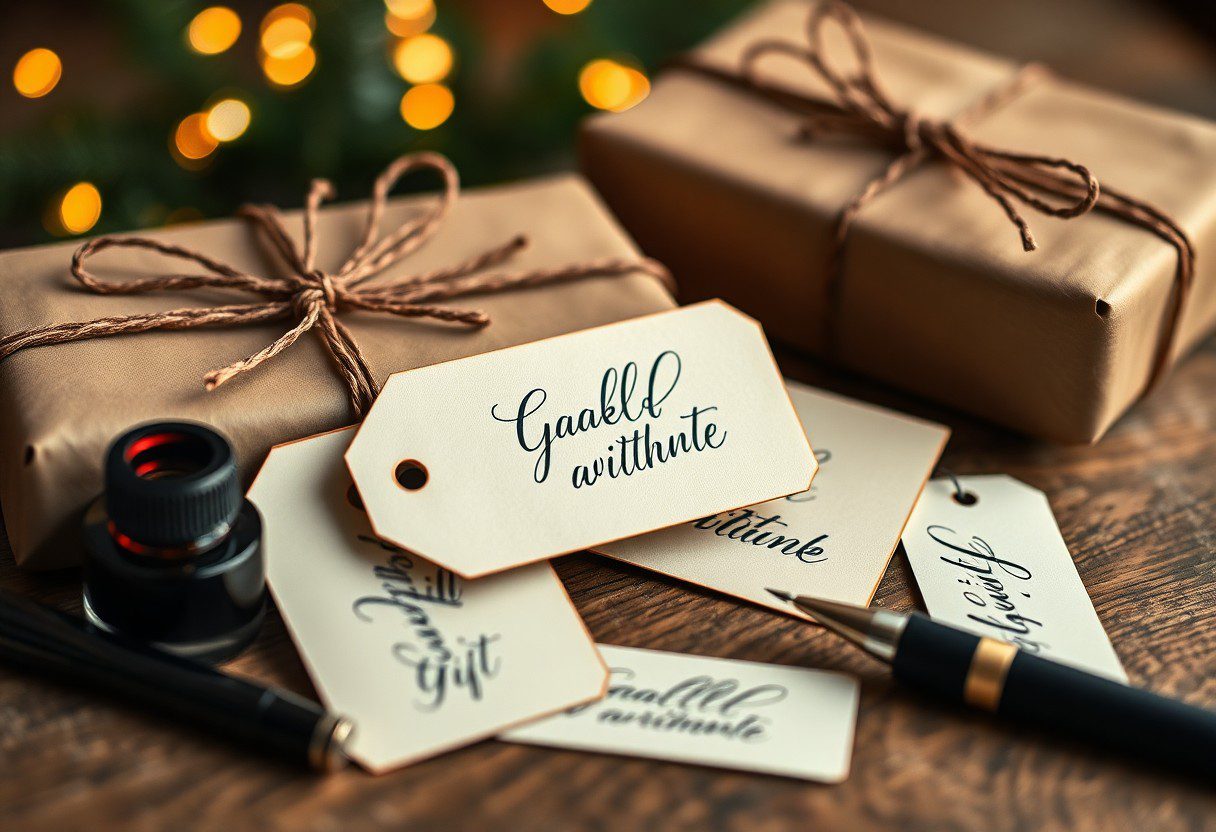
Tags serve as the finishing touch that can turn an ordinary gift into something truly special. Custom gift tags featuring your calligraphy can enhance the presentation of your gift while adding an element of personalization. You can create tags for any occasion, from holidays to weddings, adapting your lettering style to match the theme. Use durable materials like watercolor paper or craft cardstock to give your tags a more polished look.
Hence, when designing custom gift tags, consider incorporating motifs that represent the recipient’s interests or the nature of the gift. Pair your calligraphy with embellishments like twine, ribbons, or small charms to make a lasting impression. This thoughtful addition communicates your dedication to making the gift-giving experience more memorable.
Decorated Journals
Any creative journey can be beautifully documented in a decorated journal, making these personalized gifts ideal for writers, artists, or anyone who loves to jot down their thoughts. By applying your calligraphy skills to the cover or even the inner pages, you can create a truly unique piece that inspires the recipient to fill it with their own dreams and ideas. Consider adding meaningful quotes or encouraging words to motivate their writing journey.
It’s also beneficial to explore various techniques like embossing or watercolor backgrounds that can complement your calligraphy. The decorative elements you choose can be as simple as a personalized name or as intricate as a full quote spread across several pages. By thoughtfully curating your designs, your decorated journals will not only serve as a gift but also as a source of inspiration for creativity.

Adding Finishing Touches
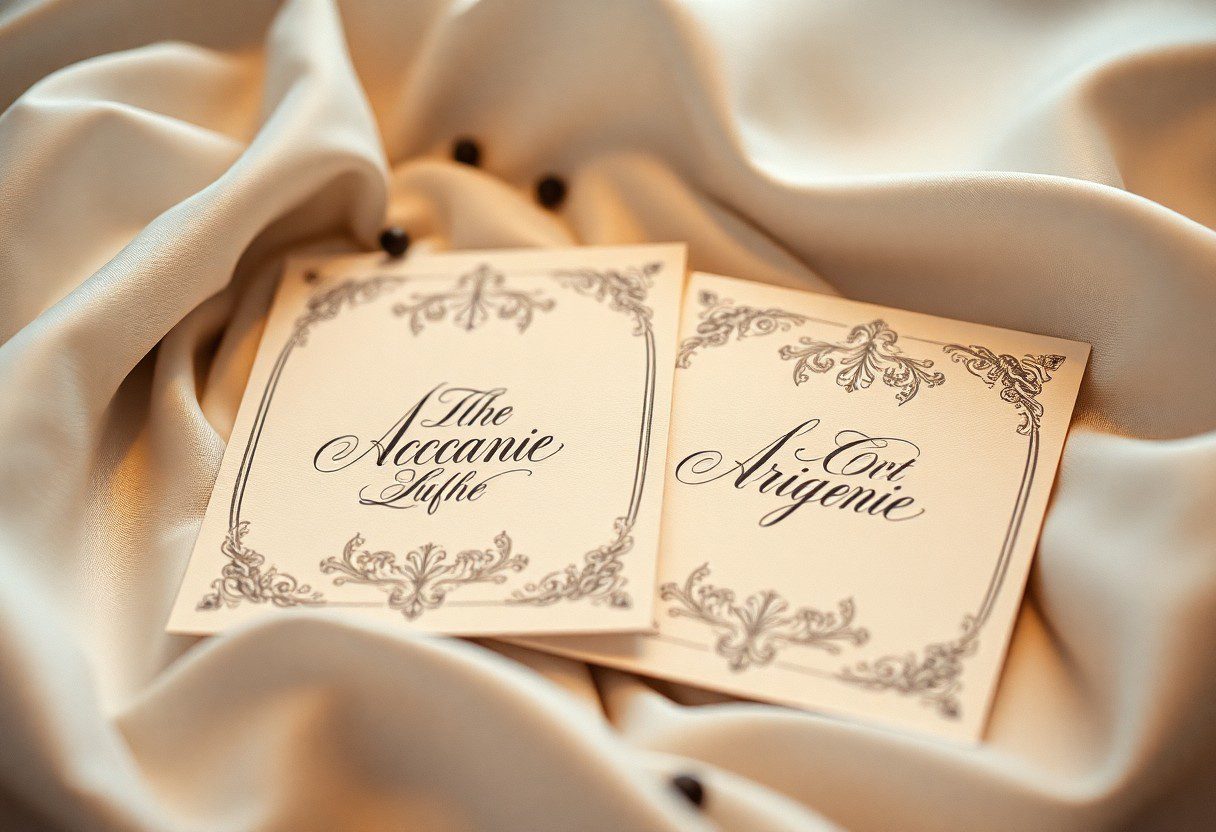
All your effort in creating a thoughtful gift can truly shine when you pay attention to the finishing touches. One way to elevate your calligraphy project is by carefully selecting the right paper. The paper you choose not only impacts the overall aesthetic of your gift but also affects how well your ink adheres and dries. For elegant calligraphy, consider using high-quality textured or handmade papers that can add a touch of sophistication. Make sure to opt for a weight that can handle your preferred writing instrument without bleeding or warping, ensuring that your heartfelt message looks pristine.
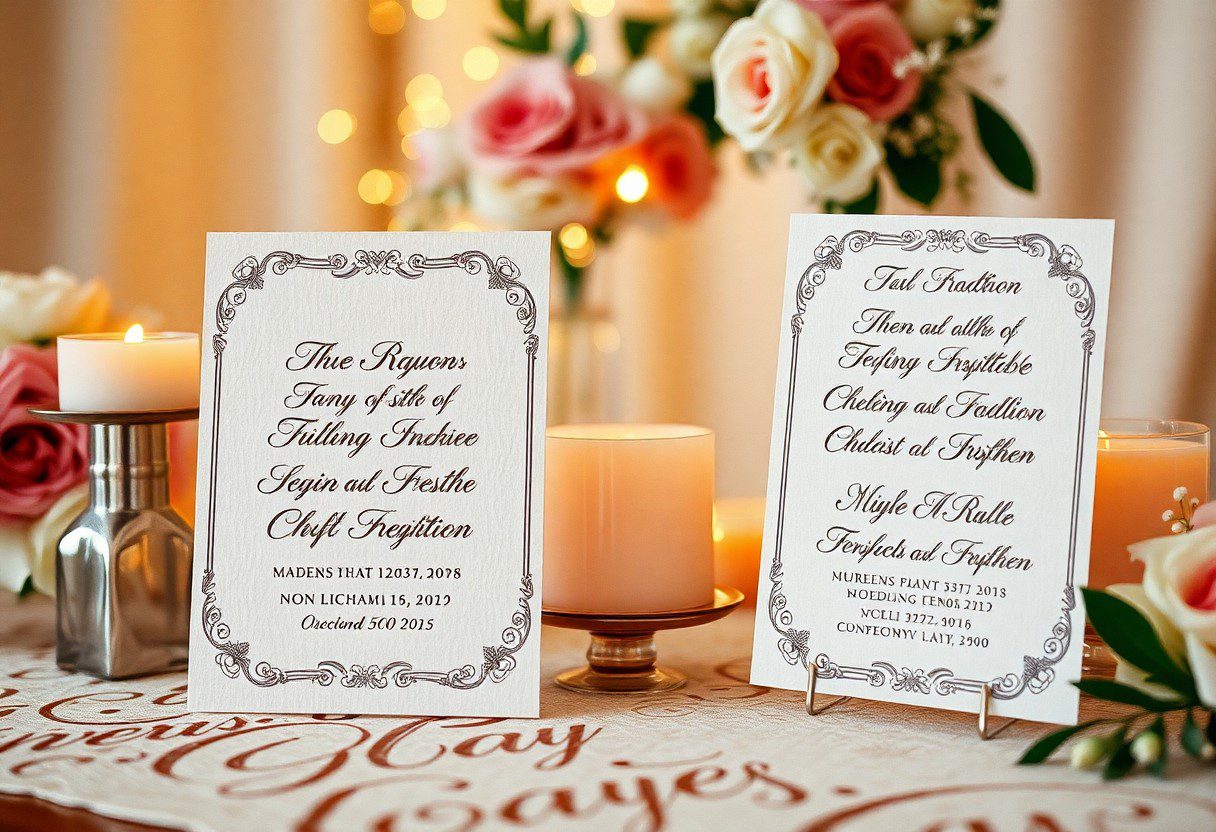
Choosing the Right Paper
With an array of options available, selecting the ideal paper can feel daunting. Look for paper that complements the themes and colors of your gift; for example, a soft, pastel-hued stock might be perfect for a bridal shower invitation, while a bold, dark paper could enhance the drama of a special birthday card. Test a few different types with your calligraphy tools to see how the ink flows and how the marks appear. This experimentation will allow you to make an informed choice that ultimately enhances your final product.
Incorporating Color and Embellishments
Color holds the power to transform your calligraphy from simple to stunning. Using colored inks, you can create eye-catching contrasts or harmonize with your gift’s theme. Consider adding unique embellishments—such as gold leaf, washi tape, or pressed flowers—to make your piece even more special. Using these elements carefully can frame or highlight your calligraphy, providing a more dynamic visual appeal. You might also enhance certain letters or phrases with colored shadows or gradients for added dimension.
Due to the vibrant nature of incorporating color and embellishments, it’s important to choose them strategically. While experimenting, maintain balance in your design so that the embellishments complement rather than overshadow your calligraphy. Each added detail should reflect your personal touch and the thoughtfulness behind your gift, making it a truly memorable piece. By investing time to choose the right colors and accents, you will create a heartfelt keepsake that your recipients will cherish.
Tips for Thoughtful Gift Giving
Not all gifts resonate equally with their recipients. To ensure your handmade gift truly reflects thoughtfulness, consider these key elements:
- Understand the recipient’s interests.
- Choose a gift that aligns with their personality.
- Add a personal touch, such as a handwritten note.
- Be mindful of the occasion and its significance.
Recognizing the importance of thoughtful gift-giving elevates your gestures from mere presents to cherished memories.
Customizing Gifts for Recipients
Before you commit to a specific gift, it’s imperative to contemplate the individual traits of your recipient. Take into account their hobbies, preferences, and any special memories you share. You can customize your calligraphy by incorporating their favorite quotes or significant milestones in a stylish way, creating a unique tapestry of shared experiences. Adding elements like their favorite colors or motifs to the design can also enhance the personalization of your gift, making it much more meaningful.
Moreover, reflecting on the recipient’s lifestyle can further guide your customization choices. If they are a book lover, you might want to create an elegant bookmark adorned with calligraphy. If they enjoy gardening, consider drafting plant labels with their names or witty quotes about nature. These thoughtful touches will not only demonstrate your attentiveness but also make your gift a delightful surprise.
Presentation and Wrapping Ideas
Against all odds, the way you present your gift can significantly amplify its impact. Once you’ve created your thoughtful gift, don’t underestimate the power of wrapping. Opt for materials that resonate with the theme of your gift—be it rustic paper, vibrant fabric, or eco-friendly choices. Use your calligraphy skills to craft a personalized gift tag that indicates not only your name but also a heartfelt message. A beautifully wrapped gift not only looks inviting but also signals to the recipient that you genuinely care about their experience.
And while gift presentation is key, it is also about the creativity you inject into the wrapping process. Consider using natural elements like dried flowers or twine to further embellish your package, making it a true work of art! Make sure the overall aesthetic aligns with the spirit of the gift itself; this thoughtful approach ensures that your effort shines through. Ultimately, it’s the fusion of presentation and heartfelt personalization that transforms an already special gift into an unforgettable experience for the recipient.
To wrap up
Taking this into account, DIY calligraphy offers a wonderful way for you to create personalized and thoughtful handmade gifts that are sure to impress. By exploring various techniques, from elegant lettering to unique embellishments, you can transform everyday items into cherished keepsakes. Whether it’s crafting a handmade card or adding special messages to a gift, your efforts will convey care and thoughtfulness that store-bought gifts often lack.
Moreover, engaging in calligraphy not only enhances your creative skills but also allows you to connect with the recipient on a more personal level. As you explore into this artistic form, you will find that every stroke of your pen carries your heartfelt message. So gather your materials, and let your imagination flow, as you commence on a rewarding journey of creating DIY calligraphy gifts that leave lasting impressions.
FAQ
Q: What materials do I need to start DIY calligraphy for handmade gifts?
A: To get started with DIY calligraphy, you’ll need a few necessary materials. These include quality calligraphy pens or brushes, various types of ink (such as metallic or colored), high-quality paper or cardstock, a pencil and eraser for sketching layouts, and a ruler for straight lines. Optional items can include decorative washi tape, embellishments like stickers or stamps, and a guide sheet with alphabet templates to help you practice your lettering.
Q: Can I learn calligraphy if I have no prior experience?
A: Absolutely! Calligraphy is a skill that can be developed with practice. Beginners can start by looking for online tutorials or joining local workshops for hands-on guidance. Practice sheets can also help, allowing you to trace letters before freehanding them. Start slowly, focus on mastering basic strokes, and gradually work your way up to complete projects. With patience and dedication, you’ll see improvement over time.
Q: What are some unique ideas for using calligraphy in handmade gifts?
A: The beauty of calligraphy lies in its versatility. Some unique ideas include creating personalized greeting cards with heartfelt messages, designing custom quotes or poems to frame and gift, writing addresses beautifully on handmade envelopes, or creating decorative bookmarks with inspirational quotes. Additionally, you can use calligraphy to label jars for homemade treats or craft custom gift tags for special occasions.
Q: How can I make my calligraphy gifts more personal?
A: To add a personal touch to your calligraphy gifts, try incorporating names, memorable dates, or inside jokes into your designs. You can choose quotes that hold significance for the recipient or even write a heartfelt message that reflects your relationship. Using favorite colors or themes that resonate with the person can also enhance the overall sentiment of the gift. Personalizing these elements not only makes the gift special but deeply meaningful as well.
Q: What are some tips for maintaining a clean look in calligraphy projects?
A: Maintaining a clean look in calligraphy involves a few key practices. First, ensure your workspace is tidy and that you have ample light to see what you’re working on. Use smooth, high-quality paper designed for calligraphy to prevent ink bleeding or smudging. Take your time with each stroke to maintain consistency and control. If you make a mistake, having an eraser handy can help, but try to plan your layout before starting to minimize errors. Lastly, consider practicing with a guide to help keep your letters well-formed.