There’s a certain elegance in writing in cursive that can elevate your penmanship to new heights. In this guide, you’ll learn how to form each letter of the alphabet in cursive, providing you with the skills to create flowing, connected handwriting. With practice and the right techniques, you’ll soon be able to write your notes, letters, or even invitations in a beautiful cursive style. Let’s investigate the steps to master the art of cursive writing!
Understanding Cursive Writing
For those looking to enhance their handwriting skills, understanding cursive writing is imperative. Cursive writing is not only an art form but also a practical skill that allows you to write more fluidly, connecting letters in a seamless manner. This style of writing is often used for personal notes, artistic expressions, and formal documents, giving your writing a unique flair while improving speed and efficiency.
What is Cursive?
The term “cursive” refers to a style of penmanship where letters are connected to each other, making it generally faster to write than printing. In cursive, letters have a continuous, flowing appearance, allowing you to move from one character to another without lifting your pen. This method of writing not only enhances readability but also adds a personal touch to your written communication.
Importance of Cursive Writing
The significance of cursive writing extends beyond mere aesthetics; it plays a vital role in developing fine motor skills and cognitive function. By practicing cursive, you engage different areas of your brain that help improve coordination and memorization. Moreover, cursive writing can enhance your overall communication abilities, making your notes more appealing and personal.

For instance, engaging with cursive writing can benefit your learning and retention of information. Studies have shown that writing in cursive aids in reinforcing memory and concept assimilation, making it a valuable skill for students and professionals alike. Additionally, as digital communication dominates, handwritten cursive notes can stand out, lending a unique personal touch that typed messages often lack.
Tools Needed for Cursive Writing
It is crucial to have the right tools when you initiate on your journey to master cursive writing. A good foundation in writing requires not just your effort but also the appropriate instruments and materials. Having the right tools can make the learning process smoother and more enjoyable, setting the stage for beautiful and fluid handwriting.
Writing Instruments
The choice of writing instruments will greatly influence your cursive writing experience. Consider using pens or pencils that you feel comfortable holding and that allow for fluid movement. Gel pens, fountain pens, or even high-quality ballpoint pens can provide the smooth flow you need to achieve those elegant curves and loops characteristic of cursive writing.
Paper Selection
Some types of paper are better suited for cursive writing than others. Selecting the right paper can help you achieve the best results while practicing your cursive letters. Consider using paper specifically designed for handwriting practice, which often features guidelines to help you size your letters properly.
For instance, grid paper or lined notebooks specifically designed for cursive writing can assist you in maintaining consistent letter sizes and slants. Look for paper that is smooth to prevent ink smudging while offering enough texture to guide your pen. A heavier weight paper can also help you practice without bleeding through, allowing for neat and clear writing that encourages improvement.
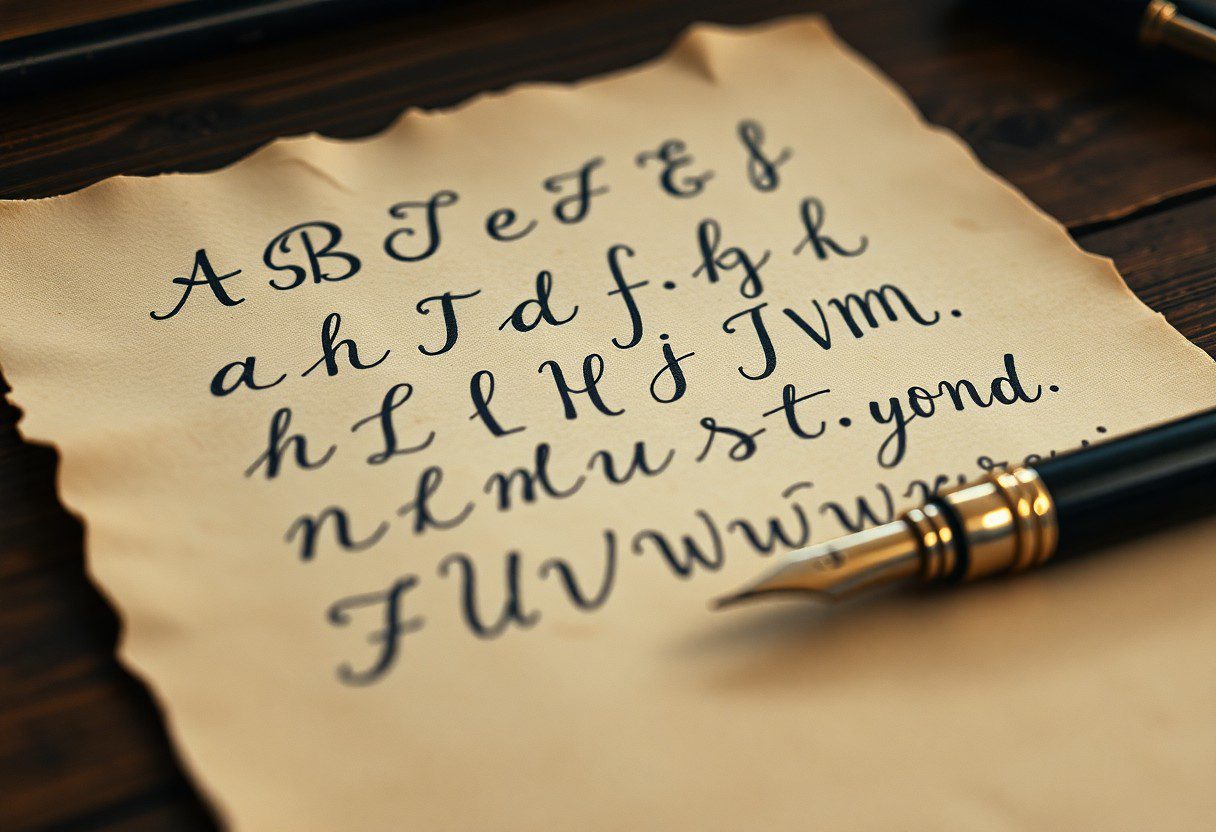
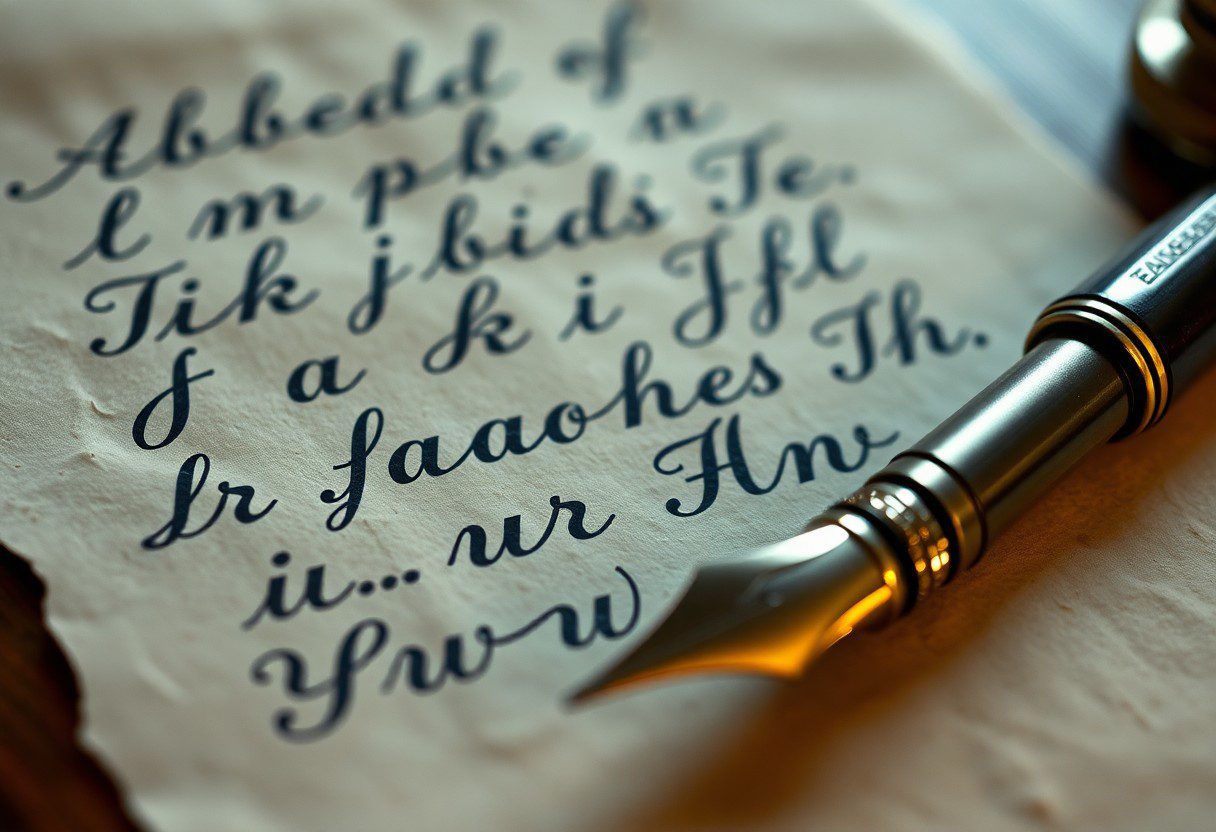
Step-by-Step Guide to Writing Cursive Letters

The process of mastering cursive letters can be simplified by breaking it down into manageable steps. Below you’ll find a structured table that outlines key elements you should focus on for both lowercase and uppercase letters.
| Lowercase Letters | Uppercase Letters |
|---|---|
| Start with basic strokes. | Use loops and curves effectively. |
| Practice letters individually. | Focus on uniform size and slant. |
| Connect letters for fluidity. | Maintain consistent spacing. |
Lowercase Letters
Assuming you are just starting, begin with the lowercase letters as they provide a solid foundation. Use simple, smooth strokes to form each letter, practicing repeatedly until you become comfortable with their shapes. Connecting the letters is where cursive truly shines, so concentrate on transitioning smoothly from one letter to the next for better fluency.
Uppercase Letters
Little by little, you’ll want to turn your attention to uppercase letters, which often require more complexity in their design. These letters are typically larger and may involve more intricate loops and curves compared to their lowercase counterparts.
Guide your skills by focusing on the nuances of uppercase letters. They should not only stand out but also align with the fluidity of your lowercase writing. Pay attention to the balance, ensuring they maintain consistent height and slant with your lowercase letters to achieve a harmonious cursive style. Practicing them will elevate your overall cursive writing to a new level.
Tips for Practicing Cursive Writing
Unlike traditional writing, cursive requires a flow that connects letters beautifully. To enhance your cursive skills, consider these helpful tips:
- Choose the right pen for comfort and control.
- Practice with lined paper or cursive worksheets.
- Start with slow, deliberate movements before increasing speed.
- Focus on each letter’s shape and transitions.
- Be consistent with your practice schedule.
Any consistent effort will lead to noticeable improvements over time.
Daily Practice Techniques

For effective cursive writing practice, set aside dedicated time each day to focus solely on your letters. Start by writing the alphabet repeatedly, then move on to simple words before attempting full sentences. Use different surfaces, such as notebooks, whiteboards, or digital tablets, to keep your practice engaging and to see how your technique adapts to various materials.
Common Mistakes to Avoid
For beginners, several common pitfalls can hinder your cursive writing progress. These mistakes often include inconsistent letter sizing and spacing, incorrect letter connections, and poor penmanship due to rushing. Taking your time to address these issues will help you build a solid foundation.
Daily practice will expose these common mistakes, allowing you to fine-tune your technique. Pay attention to your grip and posture, as a relaxed hand can help improve fluidity and form. Analyzing completed pieces can also help you identify patterns in your errors, enabling you to make targeted adjustments in future sessions.
Factors Influencing Cursive Writing Skills
Not everyone finds cursive writing easy; several factors can significantly impact your skills. These include your age, education, practice frequency, and natural handwriting style. Make sure to consider these aspects as you develop your cursive writing.
- Age and developmental stage
- Instruction type and quality
- Regularity of practice
- Inherent handwriting tendencies
Perceiving these factors allows you to tailor your practice for better efficiency.
Handwriting Habits
One key aspect of improving cursive writing skills is developing effective handwriting habits. Consistent practice with proper posture, grip, and positioning can lead to smoother strokes and better letters. Establishing a routine helps reinforce these habits, making writing more fluid and enjoyable.
Physical Factors
Influencing several physical factors are crucial components of your cursive writing journey. These factors include muscle control, hand-eye coordination, and overall dexterity. Evaluating and improving these areas will enhance your writing abilities.
- Fine motor skills
- Strength and flexibility in fingers
- Coordination between hands and eyes
- Comfort with writing tools
Knowing your physical strengths and weaknesses can guide your practice sessions effectively.
It’s vital to recognize how physical attributes affect your performance in cursive writing. By focusing on muscle training activities and engaging in exercises designed to improve dexterity, you can prepare your hand for the intricacies of cursive.
- Exercises to enhance finger strength
- Stretching routines for flexibility
- Practice with different writing tools
- Games to improve hand-eye coordination
Knowing your specific needs can lead to a more personalized approach toward mastering cursive writing.
Enhancing Your Cursive Style
Keep practicing your cursive writing and focus on bringing your unique flair into each letter. As you become proficient, you can experiment with different styles to create a cursive handwriting that reflects your personality. Try varying the slant, size, and spacing of your letters, and incorporate elements that make your script stand out while maintaining legibility.
Personalizing Your Cursive
Personalizing your cursive involves adding your own touch to each letter shape. You can modify the loops, angles, and sizes to create a style that feels distinctly yours. Consider what elements resonate with you and make subtle adjustments as you write, allowing your individuality to shine through your handwriting.
Experimenting with Flourishes
To enhance your cursive, incorporating flourishes can elevate your writing to a new level. Flourishes are decorative strokes that accentuate your letters and can be added to the beginning or end of words, as well as between letters. These embellishments not only enhance the beauty of your writing but also make it uniquely yours.
Your cursive flourishes should be consistent and purposeful to avoid overwhelming your text. Start with simple loops and swirls, gradually adding complexity as you gain confidence. Aim for a balance between elegance and readability, focusing on incorporating flourishes in a way that highlights your personal style without detracting from the overall legibility of your writing. With practice, you will master the art of flourishes and transform your cursive into a stunning expression of your individuality.
Conclusion
On the whole, mastering cursive writing involves consistent practice and attention to detail. As you begin to form each letter, focus on the fluid connections between them, ensuring your pen movements are smooth and natural. Take your time to familiarize yourself with the proper slant and size of each character, allowing your unique style to develop. With dedication, your cursive writing will become more legible and aesthetically pleasing, enhancing your overall writing skills. Embrace the journey, and you’ll find joy in expressing yourself through elegant handwriting.
FAQ
Q: What materials do I need to write the alphabet in cursive?
A: To write the alphabet in cursive, you will need a few basic materials: a pencil or pen that feels comfortable to hold, some lined paper to help with letter height and spacing, and perhaps a cursive alphabet reference chart to use as a guide. If you prefer, you can also use a calligraphy or brush pen for a more decorative look.
Q: What are the basic strokes needed for cursive writing?
A: Before writing full letters, it’s beneficial to practice basic strokes that form the foundation of cursive writing. These include loops, curves, and slants. Common strokes are the upstroke (a light line moving upwards), downstroke (a heavier line moving downwards), and connecting strokes for linking letters together. Practicing these strokes helps develop muscle memory for smoother writing.
Q: How should I position my hand and paper while writing cursive?
A: When writing in cursive, it’s important to position your paper at a slight angle (around 30 degrees) to your body. This helps facilitate natural hand movement. Hold your writing instrument with a relaxed grip, using your fingers rather than your whole hand to guide the pen. This allows for freer movement and fluidity in the letters.
Q: Are there any specific techniques to connect letters in cursive?
A: Yes, connecting letters in cursive involves using a flowing motion to transition from one letter to the next. Focus on maintaining the same slant and size for each letter. While writing, avoid lifting your pen in between letters unless it’s a letter that requires a separate start (like ‘t’ or ‘i’). Instead, practice the natural curves and angles that connect one letter to the next seamlessly.
Q: How can I practice writing the cursive alphabet effectively?
A: Effective practice for writing the cursive alphabet includes tracing printed cursive letters, copying the letters in segments (like ‘a’ to ‘z’ in small groups), and consistency in daily practice. Set aside dedicated time to focus solely on cursive writing, and don’t hesitate to slow down to ensure accuracy. Gradually increase your speed as you become more confident in your strokes and connections.