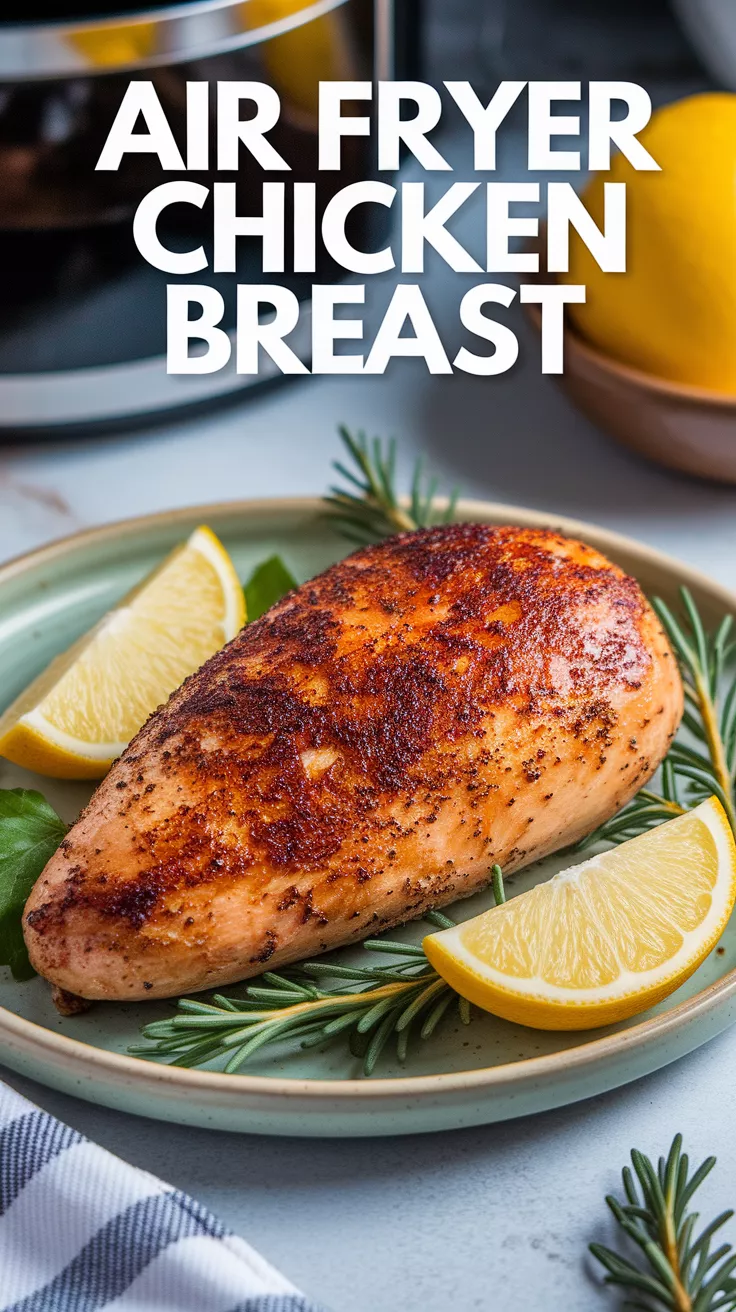
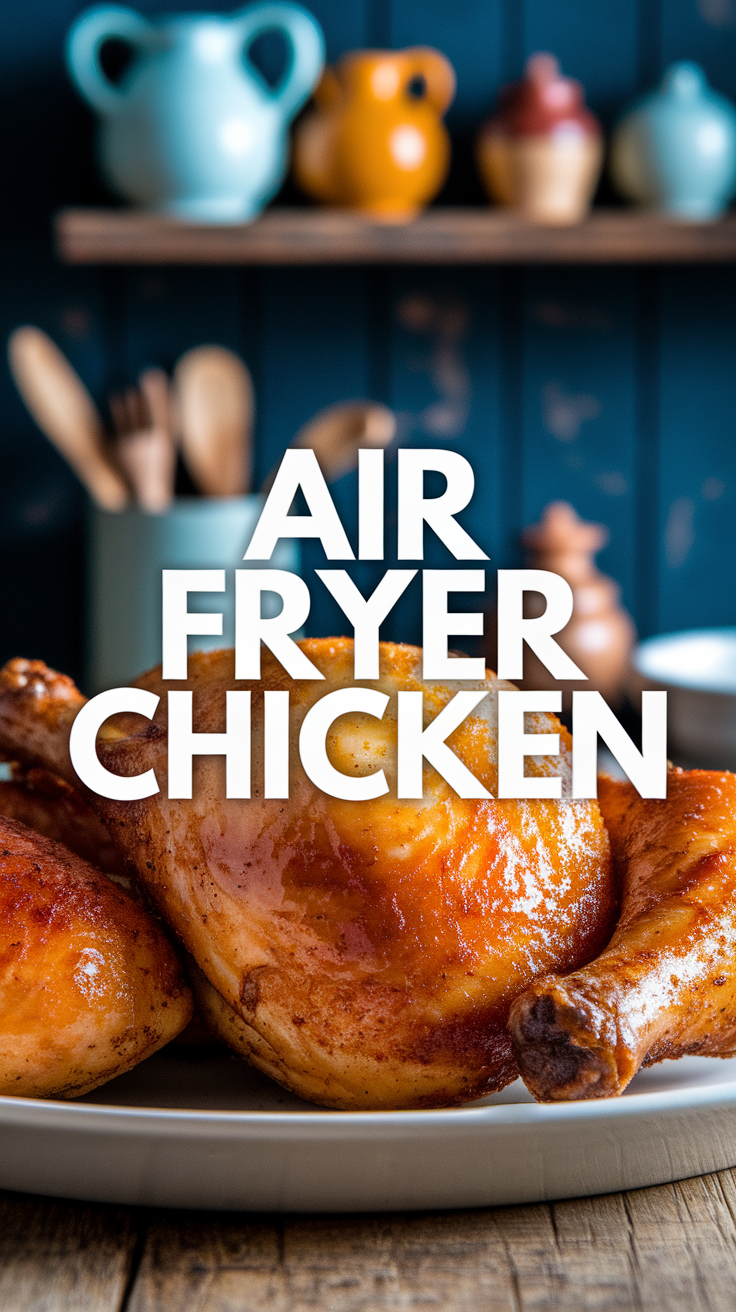
The Ultimate Guide to Perfectly Juicy Air Fryer Chicken (Because Life’s Too Short for Dry Birds)
Let’s be brutally honest for a second. You’ve probably cooked a chicken breast that had the texture of a shoe sole. We’ve all been there. You followed a recipe, said a little prayer to the culinary gods, and ended up with something dry, sad, and frankly, disrespectful to the chicken. This is the exact reason I’m so obsessed with figuring out how long to cook chicken in air fryer to absolute perfection.
Ever since I got my air fryer, my chicken game has changed. Gone are the days of culinary guesswork and disappointing dinners. Now, it’s all about ridiculously juicy, flavorful chicken with a perfectly crisp crust, ready in under 30 minutes. It’s my secret weapon for weeknight dinners, meal prep, and tricking my friends into thinking I’m a gourmet chef.
So, are you ready to say goodbye to dry chicken forever? Trust me, this method is so simple and effective, you’ll wonder why you ever did it any other way.
Why This Recipe Will Ruin All Other Chicken for You
I’m not being dramatic (okay, maybe a little), but this recipe is a game-changer. It’s the definition of a quick and easy chicken dinner. We’re talking minimal prep, lightning-fast cooking, and a result that tastes like you put in hours of effort.
The magic is in the air fryer’s convection technology. It blasts the chicken with hot air from all sides, creating a beautiful, crispy exterior while sealing in all those glorious juices. The result is perfectly juicy air fryer chicken that’s tender, flavorful, and incredibly versatile. Slice it for salads, shred it for tacos, or just eat it straight out of the basket—I won’t judge.
The Ingredients: Your Ticket to Flavor Town
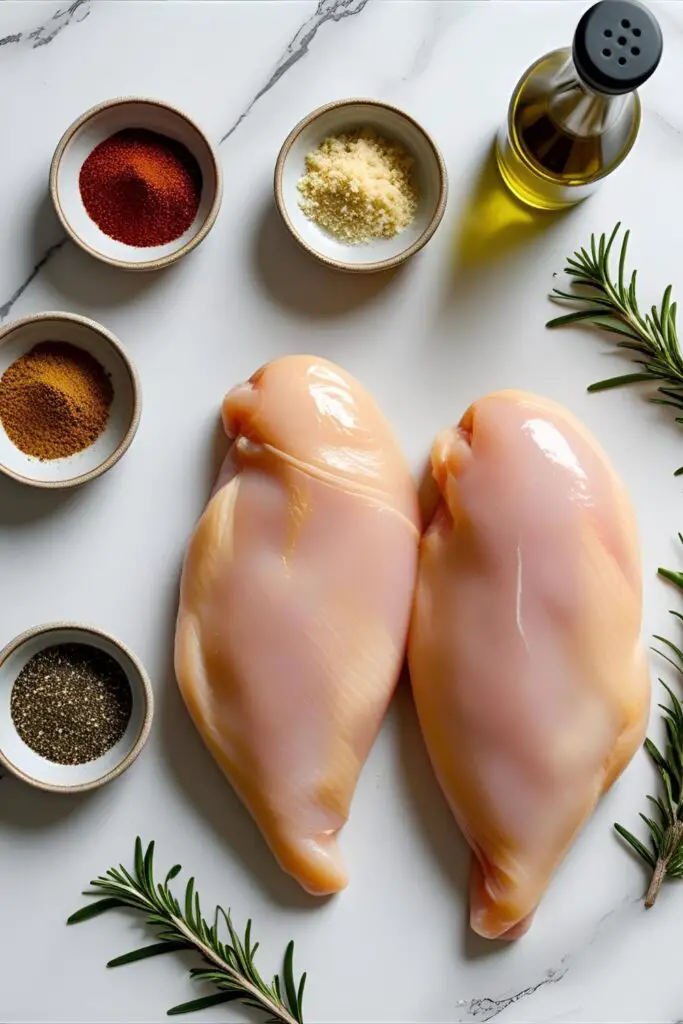
You don’t need a pantry full of exotic spices. We’re keeping it simple but effective.
- 2 medium boneless, skinless chicken breasts (about 6-8 oz / 170-225g each). Try to get pieces that are similar in thickness for even cooking.
- 1 tablespoon of olive oil. Avocado oil works great too.
- 1 teaspoon smoked paprika. The “smoked” part is key here for that “just-came-off-the-grill” vibe.
- 1 teaspoon garlic powder. Not garlic salt!
- 1/2 teaspoon onion powder.
- 1/2 teaspoon salt.
- 1/2 teaspoon black pepper.
Substitution Note: Don’t have chicken breasts? This works beautifully with boneless, skinless chicken thighs, but you might need to add a couple of extra minutes to the cook time.
Tools & Kitchen Gadgets You’ll Need
To achieve chicken nirvana, you need the right gear. No excuses.
- An Air Fryer: Well, duh. Any brand or model will do the trick.
- An Instant-Read Meat Thermometer: This is non-negotiable. If you want to guarantee your chicken is cooked safely and isn’t dry, you need one. It’s the single most important tool for this recipe.
- A small mixing bowl: For tossing your chicken in that glorious seasoning.
- Tongs: For flipping the chicken without scratching your air fryer basket or burning your fingertips.
- A cutting board: Preferably one dedicated to raw meat, because food safety is cool.
The Super-Simple, Step-by-Step Instructions
Ready for this? It’s almost insultingly easy.
Step 1: Preheat Your Air Fryer Set your air fryer to 380°F (195°C) and let it preheat for about 3-5 minutes. Some people say you don’t need to preheat, but IMO, it gives the chicken a better initial sear and helps it cook more evenly.
Step 2: Prep and Season the Chicken While the air fryer is preheating, pat your chicken breasts completely dry with a paper towel. This is a crucial step for getting a crispy crust! Place the dry chicken in your mixing bowl, drizzle with olive oil, and toss to coat evenly. In a separate tiny bowl, mix all your spices (paprika, garlic powder, onion powder, salt, pepper). Sprinkle this seasoning blend over the chicken and use your hands to rub it in, making sure every nook and cranny is covered.
Step 3: Arrange in the Air Fryer Basket Place the seasoned chicken breasts in the preheated air fryer basket in a single layer. Do not, I repeat, do not overcrowd the basket! The chicken needs space for the air to circulate. If you try to cram too much in, it will steam instead of fry, and you’ll be right back in soggy-chicken-land. Cook in batches if you have to.
Step 4: Cook, Flip, and Temp Check! Now for the main event. Cook the chicken for 10 minutes. After 10 minutes, use your tongs to flip the chicken breasts over. Cook for another 6-10 minutes. The exact time will depend on the thickness of your chicken.
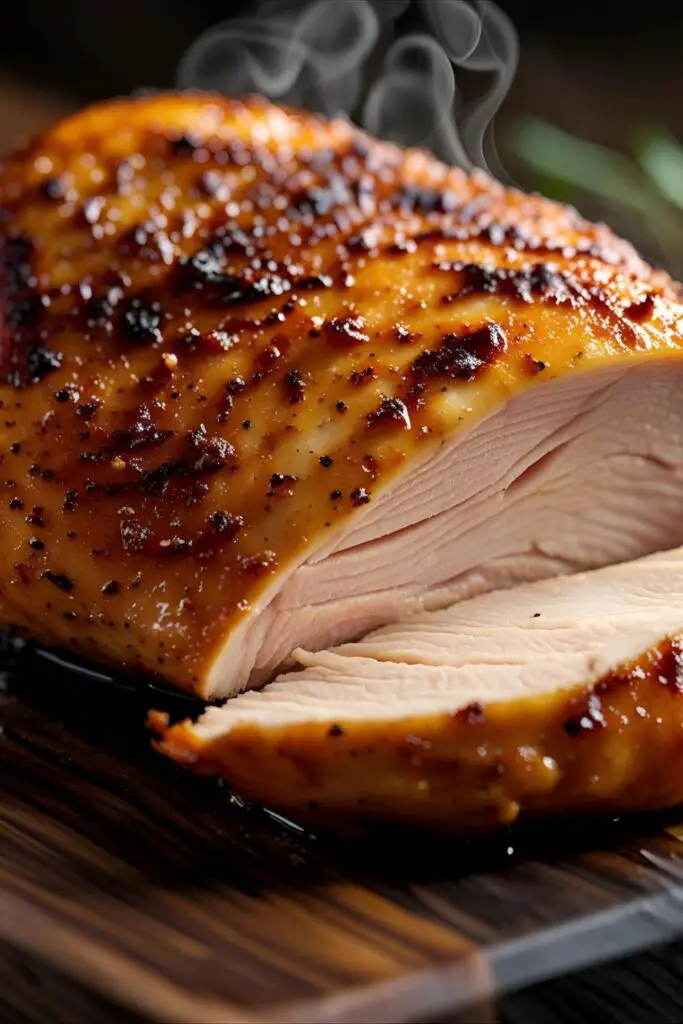
After the second cook time, it’s time for the moment of truth. Insert your instant-read thermometer into the thickest part of the chicken breast. You are looking for a temperature of 165°F (74°C). If it’s not there yet, pop it back in for 2-minute intervals until it is.
Step 5: Let It Rest (The Hardest Part) Once your chicken hits that magic temperature, remove it from the air fryer and place it on a cutting board. Let it rest for at least 5 minutes before slicing. This allows the juices to redistribute throughout the meat, ensuring every bite is moist and delicious. If you slice it immediately, all that glorious juice will run out onto your board. Don’t be that person.
Calories & Nutritional Info (The Nitty-Gritty)
For those of you who track this stuff, here’s a rough estimate per 6-ounce chicken breast:
- Calories: Approximately 280
- Protein: ~45g
- Fat: ~9g
- Carbohydrates: ~2g
- Good for: Building muscle, satisfying hunger, and being generally awesome.
Common Mistakes to Avoid (Or, How Not to Mess This Up)
I’ve made all these mistakes so you don’t have to. You’re welcome.
- The “I Don’t Need a Thermometer” Gamble: Are you a professional chef with psychic abilities? No? Then use a thermometer. It’s the only way to know for sure if your chicken is cooked through but not overcooked.
- The “Let’s Pack It In” Party Foul: Overcrowding the basket is the #1 enemy of crispy food. Give your chicken personal space. It’s earned it.
- Forgetting to Pat It Dry: Wet chicken steams. Steamed chicken is sad. Dry your chicken thoroughly for that glorious crispy skin air fryer chicken texture.
- Skipping the Rest: I know you’re hungry, but skipping the 5-minute rest is a crime against juicy chicken everywhere. Have some patience; it’s worth it.
Variations & Customizations (Get Creative!)
Once you’ve mastered the basic recipe, feel free to go wild.
- Spicy Firecracker Chicken: Add 1/2 teaspoon of cayenne pepper and a 1/4 teaspoon of red pepper flakes to your spice blend. Squeeze some fresh lime juice over the top after cooking for a zesty kick.
- Keto-Friendly Herb Garden: This recipe is already keto! But to make it fancier, add 1 tablespoon of chopped fresh rosemary and thyme to your seasoning blend. Serve it with a side of air-fried asparagus or a big leafy green salad.
- Sweet & Smoky Swap: Ditch the salt, pepper, and onion powder. Instead, use a pre-made BBQ rub and brush the chicken with your favorite sugar-free BBQ sauce during the last 2 minutes of cooking.
FAQ: Your Burning Air Fryer Chicken Questions
Let’s clear up some common questions I get all the time.
1. How long does chicken take in an air fryer at 400? At 400°F (200°C), a medium chicken breast will cook faster, usually around 15-18 minutes total, flipping halfway. However, I prefer 380°F as it gives the chicken more time to cook through without drying out the exterior too quickly.
2. Do you need to flip chicken in an air fryer? Yes! For the best, most even results, you should absolutely flip your chicken halfway through the cooking time. This ensures both sides get equally crispy and cooked.
3. What temperature should chicken be cooked to in an air fryer? The safe internal temperature for chicken is 165°F (74°C). No exceptions. Use an instant-read thermometer inserted into the thickest part to confirm.
4. Can I put raw chicken in an air fryer? Of course! That’s the whole point. The air fryer is designed to cook raw foods, including chicken, to perfection.
5. How do you keep chicken from drying out in an air fryer? Three things: don’t overcook it (use a thermometer!), let it rest for 5 minutes after cooking, and make sure you use that little bit of olive oil to keep it moist.
6. Should I preheat my air fryer for chicken? I strongly recommend it. Preheating helps to give the chicken a nice sear right from the start and promotes even cooking. It only takes a few minutes.
7. Why is my air fryer chicken tough? Tough chicken is almost always overcooked chicken. This is why the meat thermometer is your best friend. Cooking it even a few degrees past 165°F can start to dry it out and make it tough.
Final Thoughts: Go Forth and Air Fry!
There you have it—everything you need to know to conquer air fryer chicken. You are now armed with the knowledge to make tender, juicy, and flavorful chicken any night of the week.
So go ahead, dust off that air fryer, and give this a try. You’ll be a weeknight dinner hero, and you’ll never have to suffer through a sad, dry piece of chicken again. Enjoy the praise, you’ve earned it. 🙂