How to Make a Cake From Scratch: The Best Easy Vanilla Cake Recipe
How to Make a Cake From Scratch (And Not Mess It Up)
It’s just after 1 AM here in Barishal, and you know what that means? It’s the perfect time for a sudden, unshakable craving for cake. You could reach for that dusty box of cake mix in the back of your pantry, the one that promises a perfect cake with just some oil and water. But let’s be honest, that’s not a cake; it’s a cake-like substance. Today, we’re drawing a line in the flour. This is your ultimate guide on how to make a cake—a real one—from scratch. A cake that’s moist, flavorful, and so good you’ll wonder why you ever settled for less. Are you ready to become a baking legend? Let’s do this.
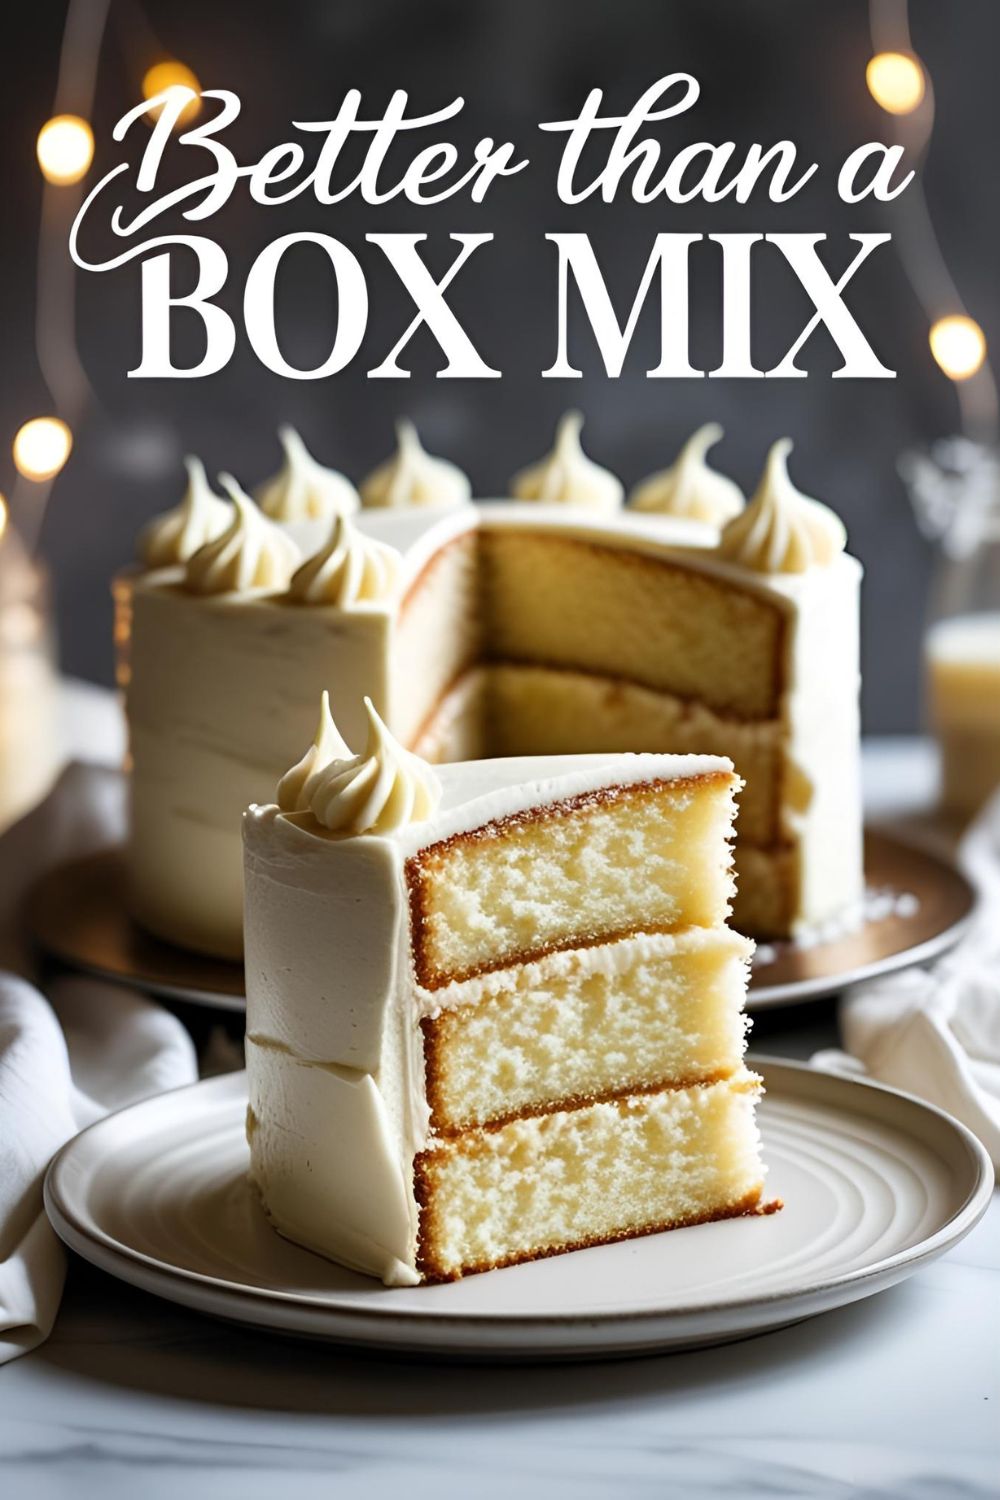
Why This Recipe Is Infinitely Better Than a Box Mix
So why should you bother with measuring flour when a box mix is right there? Because you have taste buds, my friend! This from-scratch cake delivers a rich, buttery flavor and a tender, velvety crumb that no mix can replicate. We’re using real butter, real vanilla, and the secret weapon for ultimate moisture: buttermilk.
This recipe isn’t just about a better-tasting cake; it’s about the pure, unadulterated joy of creating something delicious from simple ingredients. It’s surprisingly easy, ridiculously impressive, and the perfect blank canvas for any frosting or filling your heart desires. When someone asks where you bought it, you get to deliver the most satisfying line in the culinary world: “Oh, this? I made it from scratch.”
The Dream Team (aka The Ingredients)

This is a classic vanilla cake, so the ingredients are simple and wholesome. The magic is in the technique.
- All-Purpose Flour (2 ½ cups): The sturdy foundation of our cake.
- Baking Powder (2 ½ teaspoons): This gives our cake its primary lift, making it light and airy.
- Baking Soda (½ teaspoon): Works with the buttermilk to give an extra boost and tenderize the crumb.
- Salt (1 teaspoon): Balances all the sweetness and brings out the flavor of the butter and vanilla.
- Unsalted Butter (1 cup / 2 sticks): Must be softened to room temperature. This is non-negotiable for a fluffy cake.
- Granulated Sugar (1 ¾ cups): For sweetness and a tender texture.
- Large Eggs (4 of them): Also at room temperature. This helps them mix evenly into the batter.
- Vanilla Extract (1 tablespoon): Use the best quality you can afford. It’s the star flavor, after all.
- Buttermilk (1 cup): The secret to an incredibly moist cake! It needs to be at room temperature as well.
Key Substitutions:
- No Buttermilk? No problem! Make your own “clabbered milk.” Pour 1 tablespoon of lemon juice or white vinegar into a liquid measuring cup, then add enough regular milk to reach the 1-cup line. Let it sit for 5-10 minutes; it will curdle slightly and be ready to use.
- Dairy-Free Version: You can substitute the butter with a good quality plant-based butter stick and the buttermilk with a plant-based milk alternative (like almond or soy) using the same “clabbered milk” trick above.
The Baker’s Arsenal (Tools & Kitchen Gadgets)
You don’t need a professional pastry kitchen, but these tools will make your cake-baking life a whole lot easier.
- Stand Mixer or a Hand Mixer: This is pretty essential for properly creaming the butter and sugar together to create a light, airy cake structure.
- Mixing Bowls: You’ll need at least one large one for the main batter and a medium one for your dry ingredients.
- Whisk & Silicone Spatula: A whisk for the dry ingredients and a spatula for scraping down the bowl (a crucial step!).
- Measuring Cups and Spoons: Baking is a science; precision matters!
- Two 9-inch Round Cake Pans: The standard for a classic layer cake.
- Parchment Paper: For lining the bottom of your cake pans to guarantee your cakes will never stick.
- Wire Cooling Rack: Absolutely essential for cooling your cakes properly without them getting soggy.
Step-by-Step Instructions to Cake Glory
Follow these steps, and I promise you’ll end up with a cake you’re incredibly proud of.
Step 1: Prep Your Station
First things first, preheat your oven to 350°F (175°C). Grease your two 9-inch round cake pans with butter or baking spray, line the bottoms with circles of parchment paper, and then grease the parchment paper and flour the pans. This seems like a lot, but it’s your foolproof insurance policy against stuck cakes.
Step 2: Combine the Dry Ingredients

In a medium bowl, whisk together the flour, baking powder, baking soda, and salt. Whisking is like sifting, but less messy. It aerates the flour and distributes the leaveners evenly. Set it aside.
Step 3: The Creaming Method (aka The Most Important Step)
In the large bowl of your stand mixer (or using a hand mixer), beat the softened butter on medium speed for about a minute until it’s smooth and creamy. Add the sugar and beat on medium-high speed for a full 3-5 minutes. The mixture should become very pale, light, and fluffy. You’re literally beating air into the butter and sugar, which creates a tender cake.
Step 4: Add the Eggs and Vanilla
With the mixer on low, add the room temperature eggs one at a time, waiting for each egg to be fully incorporated before adding the next. Scrape down the sides of the bowl as needed. After the last egg is in, mix in the vanilla extract.
Step 5: The Alternate Method (The Secret to a Perfect Crumb)
Now, we alternate adding the dry ingredients and the buttermilk. With the mixer on low speed, add about one-third of the dry mixture, and mix until just combined. Then, add half of the buttermilk, mixing until just combined. Repeat this process, ending with the last third of the dry mixture. Do not overmix! A few small lumps are okay.
Step 6: Divide and Bake!
Pour the batter evenly between your two prepared cake pans and smooth the tops with your spatula. Bake for 30-35 minutes. You’ll know the cakes are done when a wooden toothpick inserted into the center comes out clean or with a few moist crumbs attached (but no wet batter).
Step 7: The Cooling Process
Let the cakes cool in their pans on a wire rack for about 15 minutes. Then, carefully run a knife around the edges and invert the cakes onto the cooling rack. Peel off the parchment paper and let them cool completely before you even think about frosting them. I’m serious. Frosting a warm cake leads to a melty, sliding tragedy.
Calories & Nutritional Info (The Part We Politely Ignore)

Listen, you’re making a cake from scratch. This is a moment for joy, not judgment. But if you must know…
- Calories per serving (1/12th of the cake, unfrosted): Approximately 350-400 kcal.
- Fat: A generous amount, thanks to our good friend, butter.
- Sugar: It’s a cake. What did you expect?
- Happiness Index: Through the roof. 10/10, would recommend for boosting morale.
Common Mistakes to Avoid (How to Not Ruin Your Masterpiece)
We’ve all made these mistakes. Let’s learn from them together.
- Using Cold Ingredients: If your butter, eggs, and buttermilk are cold, they won’t emulsify properly. This will result in a dense, heavy cake instead of a light, fluffy one. Room temperature ingredients are non-negotiable!
- Overmixing the Batter: Once you add the flour, you are developing gluten. The more you mix, the tougher your cake will be. Mix until the ingredients are just combined and then stop.
- Frosting a Warm Cake: I know you’re excited, but patience is a virtue. A warm cake will melt your beautiful frosting into a soupy, greasy mess. Let it cool completely.
- Opening the Oven Door to Peek: Every time you open the oven door, the temperature drops dramatically, which can cause your beautiful, rising cake to sink in the middle. Trust the process and use the oven light.
Variations & Customizations (Let’s Get Fancy)
This vanilla cake is a perfect canvas. Go wild!
- Classic Funfetti Cake: Gently fold in ¾ cup of rainbow sprinkles (jimmies, not nonpareils) into the finished batter right before pouring it into the pans. Instant birthday party!
- Bright Lemon Cake: Add the zest of two lemons to the butter and sugar mixture when you are creaming it. This infuses the entire cake with a beautiful, bright citrus flavor.
- Chocolate Chip Dream: Gently fold in 1 ½ cups of mini chocolate chips into the finished batter. A simple addition that makes everyone happy.
FAQ: Your Burning Cake Questions, Answered
Let’s solve some of the great mysteries of cake baking.
1. Why did my cake sink in the middle?
This is a classic problem! It’s usually caused by opening the oven door too early, underbaking the cake, or using leavening agents (baking powder/soda) that are expired.
2. Why is my cake dry?
The most common culprits are overbaking it or measuring the flour incorrectly. To measure flour, spoon it into your measuring cup and then level it off with a knife, don’t just scoop it out of the bag (which compacts it).
3. Can I make this in a 9×13 inch pan?
Yes! Pour all the batter into a greased and floured 9×13 inch pan. The baking time will be slightly longer, around 40-45 minutes.
4. How do I make sure my cake layers are even?
For ultimate precision, you can weigh your cake pans with the batter in them using a kitchen scale to ensure they are equal. Or, you can just eyeball it like the rest of us. 🙂
5. Can I make this cake ahead of time?
Absolutely. You can bake the cake layers, let them cool completely, and then wrap them tightly in plastic wrap. They can be stored at room temperature for a day or in the freezer for up to a month.
6. What’s the best frosting for this cake?
This cake is a perfect match for almost any frosting! A classic American buttercream, a tangy cream cheese frosting, or a rich chocolate fudge frosting would all be divine.
7. My ingredients were at room temperature, but my batter still looks curdled. What happened?

Don’t panic! This sometimes happens after adding the eggs. As long as you proceed with the recipe, adding the dry ingredients and buttermilk, it will come back together into a smooth, beautiful batter.
Final Thoughts
You did it! You’ve navigated the world of from-scratch baking and emerged victorious, with two beautiful, fragrant cake layers cooling on your counter. You’ve officially graduated from the school of boxed mixes. You are a Certified Cake Boss.
Now comes the best part: decorating it like a champion and then eating it. Slather it with your favorite frosting, add some sprinkles, and share it with people you love (or don’t, more for you!). Just be prepared, because you are now the person who will be asked to bring the cake to every single party from now on. It’s a delicious burden to bear.