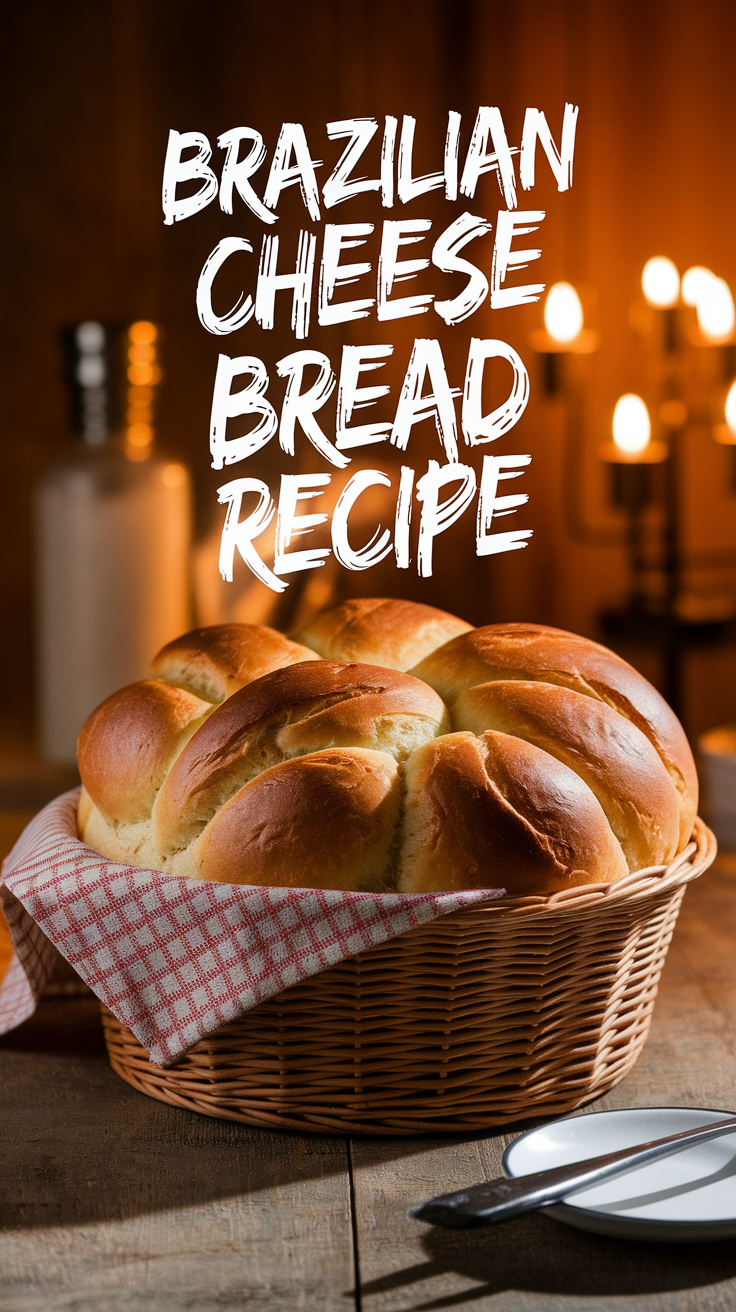
Brazilian Cheese Bread Recipe (Pão de Queijo): Cheesy Little Balls of Joy
That One Time I Ate a Cheese Bomb and Blamed Brazil
So there I was, in my kitchen, craving carbs and cheese. Enter the brazilian cheese bread recipe, aka pão de queijo—a gluten-free, cheesy puff that makes you wonder why you ever bothered with regular bread. One bite, and I nearly canceled my trip to Brazil (oops!). Instant love.
Why This Brazilian Cheese Bread Recipe Is Life-Changing
- Cheesy, chewy, and eggy—everything your taste buds want.
- Gluten-free? Check. Cassava flour is the secret.
- No yeast, no rise time—you’ll be stuffing cheese in dough within minutes.
- Snackable, shareable, crowd-pleasing—picnics, brunches, midnight cravings.
- Super versatile—sweet, savory, breakfast, lunch, or snack.
Ingredients

- 1 cup whole milk
- ½ cup water
- ½ cup olive oil (or vegetable oil)
- 1 tsp salt
- 2 cups tapioca flour (cassava starch)
- 2 large eggs
- 1 to 1½ cups grated cheese (Parmesan, mozzarella, or half-and-half)
- Optional: garlic powder, herbs, or spicy cheese
Substitutions?
Use vegan cheese and chickpea flour for a dairy-free twist (texture varies). Swap olive oil for neutral oil if you prefer lighter flavor.
Tools & Kitchen Gadgets Used
- Saucepan – to warm milk, water, and oil
- Mixing bowl – for dough assembly
- Whisk or wooden spoon – for mixing
- Measuring cups & spoons
- Cheese grater – fresh cheesy goodness
- Baking sheet
- Parchment paper – prevents stickiness
- Cookie scoop or spoon – for perfect balls
- Cooling rack – for crisp bottoms
- Mixer (optional) – if you want it effortless
Step-by-Step Instructions
1. Warm the Liquids
In a saucepan, bring milk, water, oil, and salt to a gentle simmer. No full boil—just bubbles.
2. Add Tapioca Flour
Remove from heat, quickly stir in all tapioca flour until smooth. It’ll get thick and stretchy—exactly what we want.
3. Let It Cool Slightly
Wait 5 minutes so eggs don’t scramble on contact. Yes, patience is required… for once.
4. Add Eggs & Cheese
Beat in eggs, one at a time. Then fold in the cheese—scrape every ounce.
5. Shape the Dough
Use a cookie scoop or spoon to mound dough on parchment. Keep them ~1.5″ diameter.
6. Bake to Perfection
Bake at 375°F (190°C) for 15–20 minutes, until golden and puffed. They grow like little soufflés.
7. Cool & Enjoy
15 minutes on a cooling rack. If you dive in hot, you’ll burn your tongue—and your dignity.
Calories & Nutritional Info (Per Ball, yields ~24)

- Calories: ~80
- Carbs: 9g ( mostly tapioca)
- Fat: 4g
- Protein: 3g
- Fiber: 0g
- Sodium: 140mg
FYI: Gluten-free? Yes. Low-carb? Not really. But cheesy comfort in bite form? Absolutely.
Common Mistakes to Avoid
- Skipping the simmer step = dough won’t puff.
- Adding eggs too hot = scrambled eggs in dough. Ew.
- Under or over cheese = bland or greasy results.
- Uneven balls = wonky baking; scoops help.
- Opening oven early = deflated balls. Don’t peek!
Variations & Customizations
- Herb & Garlic – add garlic powder + chopped parsley.
- Spicy Jalapeño – fold in diced jalapeños + pepper jack cheese.
- Sweet Cheese Ball – add cinnamon sugar and use mild cheese for dessert vibes.
FAQ Section
Q1: What is Brazilian cheese bread?
Pão de queijo—chewy, cheesy tapioca balls that puff up golden.
Q2: Can I use regular flour instead?
No—tapioca is essential for that signature chew and puff.
Q3: Is it gluten-free?
Yes—tapioca flour replaces wheat flour entirely.
Q4: Can this be made ahead?
Form them and refrigerate—bake straight from the fridge with extra 3–4 minutes.
Q5: Can I freeze dough?
Yes! Freeze balls individually then bake from frozen adding 5 more minutes.

Q6: Why didn’t mine puff?
Likely dough too cold, oven not hot enough, or missing the simmer step.
Q7: Which cheese is best?
Parmesan for sharpness, mozzarella for chew, or a mix for balanced flavor.
Final Thoughts
That’s it—you’ve just mastered the brazilian cheese bread recipe and unlocked next-level cheesy snacks. They’re pillowy, cheesy, gluten-free little balls of happiness. Eat them warm, watch them disappear, and definitely don’t share unless you have to. You’re basically a hero now. Obrigado, pão de queijo!