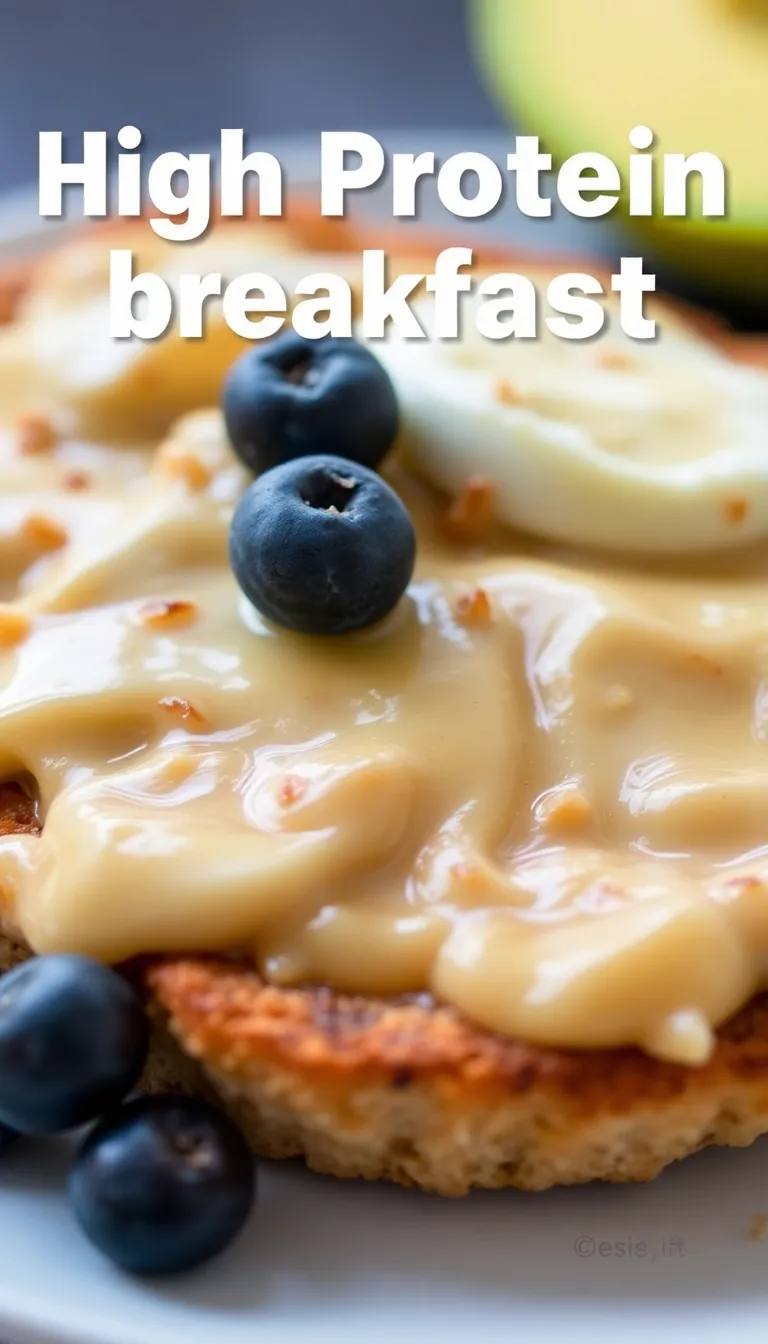
You wake up. You’re hungry. But the last thing you want is a sugar-loaded “healthy” granola bar that leaves you hangry by 10 AM.
Sound familiar? High-protein, low-carb breakfasts aren’t just for gym bros—they’re for anyone who wants energy, focus, and no mid-morning snack attacks. Forget sad oatmeal.
Ditch the cereal. These meals pack a punch, keep you full, and won’t spike your blood sugar like a bad Netflix cliffhanger. Ready to upgrade your mornings?
Why This Recipe Works
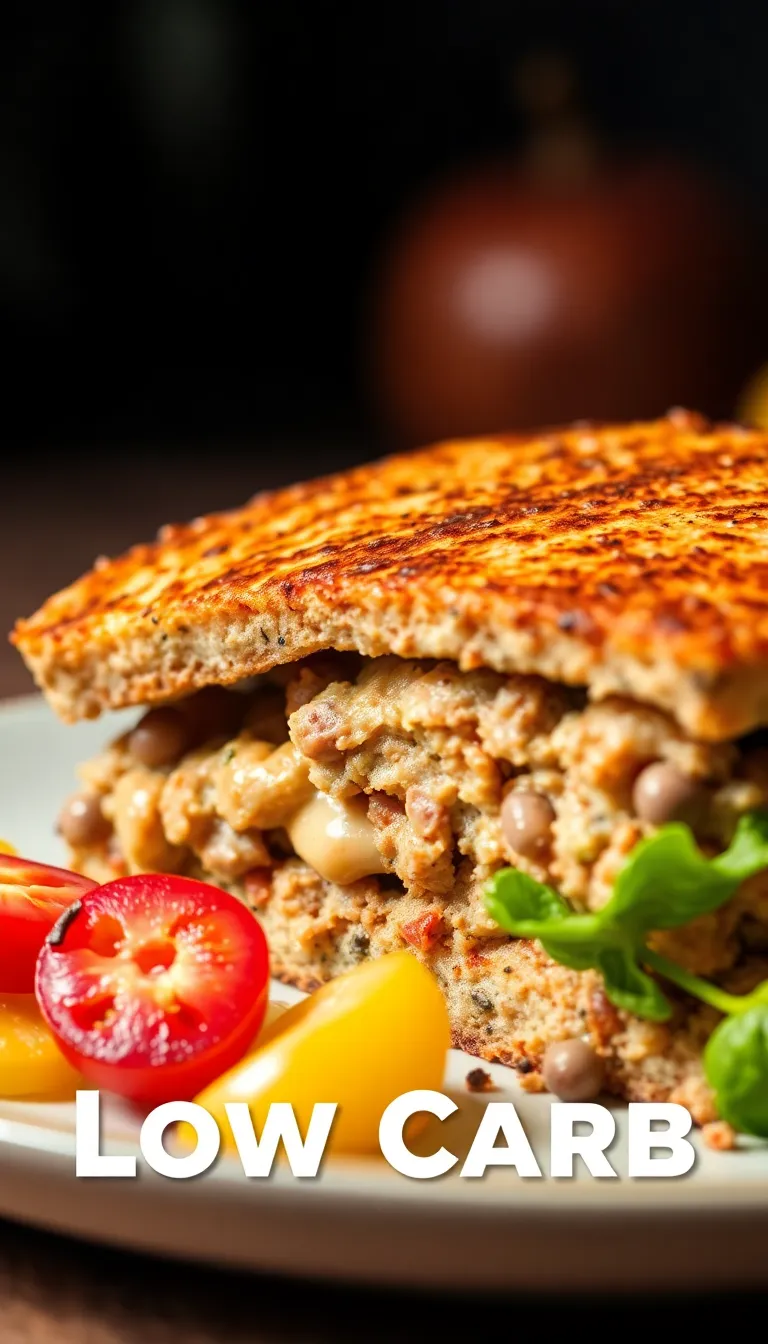
This isn’t just another “throw eggs on a plate” suggestion. High-protein, low-carb breakfasts balance macros to keep you satiated and energized.
Protein builds muscle, curbs cravings, and stabilizes blood sugar. Low-carb means no energy crashes. Combine them, and you’ve got a meal that actually works for your body—not against it.
Plus, these ideas are stupidly simple. No fancy techniques, just real food that tastes good.
Ingredients
- Eggs (the ultimate protein MVP)
- Greek yogurt (unsweetened, unless you enjoy sugar crashes)
- Spinach or kale (because greens don’t have to be boring)
- Avocado (for healthy fats that keep you full)
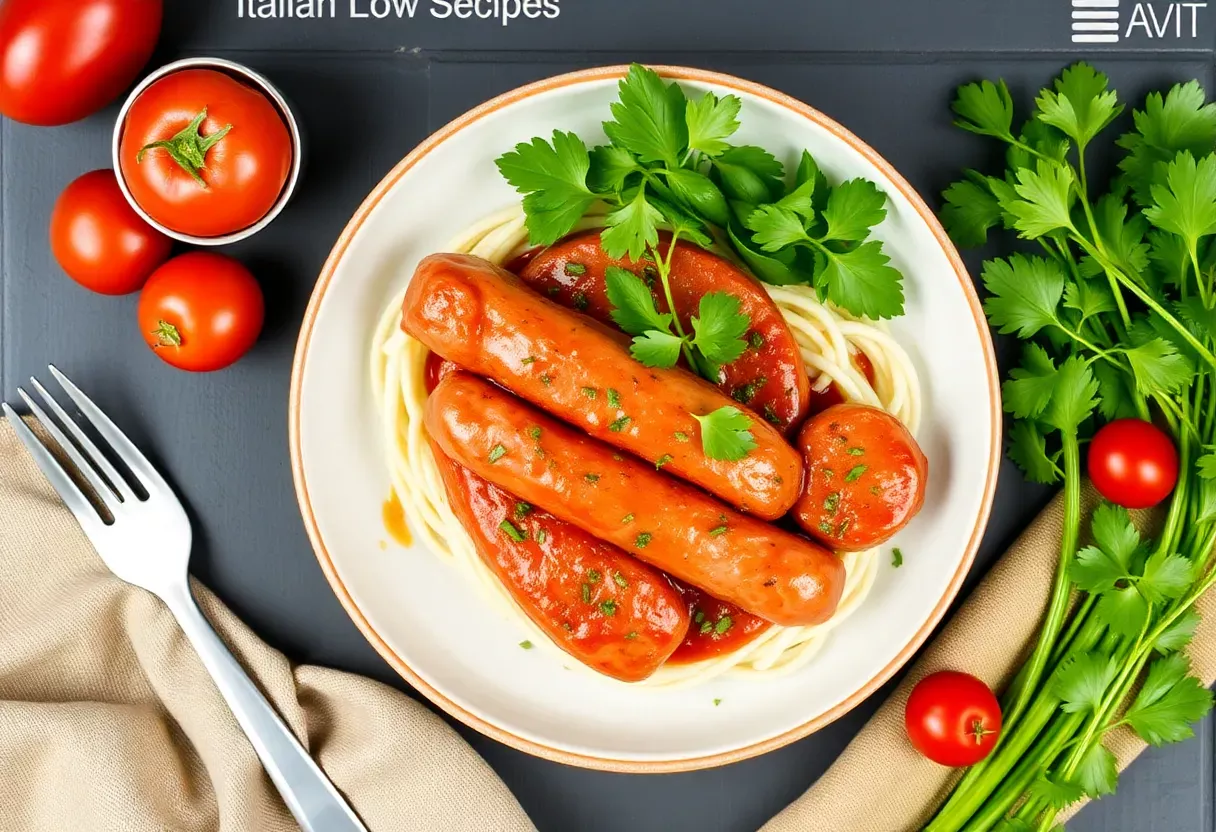
- Chicken sausage or turkey bacon (because regular bacon is a weekend treat)
- Cottage cheese (underrated and packed with protein)
- Chia seeds or flaxseeds (for fiber and omega-3s)
- Almond butter (skip the sugar-laden peanut butter)
Step-by-Step Instructions
- Scramble eggs with spinach: Sauté spinach in olive oil, add beaten eggs, and scramble. Season with salt and pepper.
Basic? Yes. Effective?
Absolutely.
- Greek yogurt parfait: Layer unsweetened Greek yogurt with chia seeds, a handful of nuts, and a drizzle of almond butter. No fruit if you’re strict low-carb.
- Avocado and cottage cheese bowl: Halve an avocado, fill the pit space with cottage cheese, and sprinkle with everything bagel seasoning. Instagram-worthy and filling.
- Turkey bacon wrap: Roll turkey bacon around cream cheese and cucumber slices.
Zero cooking required—perfect for lazy mornings.
Storage Instructions
Meal prep like a pro. Cooked eggs and meats last 3–4 days in the fridge. Greek yogurt parfaits? Assemble them the night before—just skip the nuts until morning to avoid sogginess.
Avocado halves brown fast, so squeeze lemon juice on them or store them with the pit intact. FYI, cottage cheese bowls taste best fresh.
Benefits of This Recipe
No energy crashes, no endless hunger, and no regretting that second “healthy” muffin. High-protein meals boost metabolism, while low-carb keeps insulin levels steady.
You’ll feel fuller longer, think clearer, and maybe even skip the 3 PM coffee. Plus, these meals take less time than waiting in line at Starbucks.
Common Mistakes to Avoid
- Using sweetened yogurt: That “fruit-flavored” stuff is dessert, not breakfast.
- Overcooking eggs: Rubbery eggs are a crime against breakfast.
- Skipping fats: Low-carb doesn’t mean no-fat. Avocado and nuts keep you full.
- Ignoring portion sizes: Even low-carb foods can add up.
Measure if you’re tracking macros.
Alternatives
Not an egg person? Try protein shakes with almond milk and spinach. Vegetarian?
Swap turkey bacon for tempeh. Hate cottage cheese? Ricotta works too—just check the carbs. IMO, the goal is high protein, low carb, not perfection.
Customize and move on.
FAQs
Can I eat fruit on a low-carb breakfast?
Small portions of berries (like raspberries or blackberries) are fine, but bananas and grapes? Not if you’re serious about low-carb.
How much protein should I aim for?
At least 20–30 grams per meal. More if you’re active.
Greek yogurt and eggs make this easy.
Will I miss carbs?
For about three days. Then your energy stabilizes, and carb cravings nosedive. Trust the process.
Can I meal prep these for the week?
Most components last 3–4 days, but avocado-based meals are best fresh.
Plan accordingly.
Final Thoughts
High-protein, low-carb breakfasts aren’t a diet—they’re a hack. More energy, fewer cravings, and no mid-morning slump. Whether you scramble eggs or smash avocado, these meals set you up for success.
And if you “accidentally” eat bacon? Hey, we won’t judge.