Adorable 1st Birthday Cake Designs (That Are Surprisingly Easy!)
You’ve survived it. Twelve months of sleepless nights, explosive diapers, and learning that “no” is apparently the funniest word in the human language. You’ve made it through the first year, and now it’s time to celebrate this monumental achievement with a party. At the heart of this celebration, gleaming like a beacon of hope and sugar, is The Cake.
The pressure is immense. This cake must be cute enough for a thousand photos, safe enough for the guest of honor to gleefully smash into their hair, and delicious enough for the sleep-deprived adults who will actually be eating it. Before you throw your hands up and order a bland, overpriced sheet cake, let me be your guide. I’m here to show you a few incredible 1st birthday cake designs built on one perfect, baby-friendly recipe.
Forget fondant nightmares and complicated structures. We’re making something that’s adorable, achievable, and will make you look like a bonafide parenting and baking rockstar.
Why This Recipe & Design Guide is Awesome
This isn’t just a recipe; it’s a survival guide. You get one foolproof, lower-sugar, smash-cake-friendly cake recipe that’s moist and delicious. Then, you get to choose your own adventure with three distinct, adorable, and—most importantly—achievable decorating designs. It takes all the guesswork and frantic searching out of the equation.
The designs are created to look impressive without requiring a fine arts degree. Whether you’re going for a rustic “Wild One” theme, a sweet and simple sprinkle explosion, or a classic number cake, these ideas use simple techniques to get that “wow” factor.

Best of all, you get the satisfaction of creating your baby’s very first birthday cake. It’s a memory (for you, anyway) and a photo op that is truly priceless. Plus, your cake will taste a million times better than anything you can buy.
The Perfect Base: Ingredients for a 1st Birthday Cake
We need a cake that’s delicious for adults but also a bit friendlier for a tiny tummy. This recipe uses banana for natural sweetness, which allows us to reduce the added sugar.
For the Baby-Friendly Vanilla-Banana Cake (makes two 8-inch layers OR one 8-inch cake + one 6-inch smash cake):
- 2 ½ cups (300g) all-purpose flour
- 2 teaspoons baking powder
- ½ teaspoon baking soda
- ½ teaspoon salt
- ½ cup (113g) unsalted butter, softened to room temperature
- ¾ cup (150g) granulated sugar (less than a typical cake!)
- 1 cup (about 2 medium) very ripe mashed banana
- 3 large eggs, at room temperature
- 1 teaspoon pure vanilla extract
- 1 cup (240ml) buttermilk, at room temperature
For the Dreamy, Pipe-able Buttercream:
- 2 cups (454g) unsalted butter, softened
- 6-8 cups (720-960g) powdered sugar, sifted
- ⅓ cup (80ml) whole milk or heavy cream
- 2 teaspoons pure vanilla extract
- Pinch of salt
- Gel food coloring (as needed for your chosen design)
Tools & Kitchen Gadgets Used
Your arsenal for this mission will vary slightly based on your chosen design.
- Stand Mixer or a Hand Mixer: For making the cake and frosting.
- Cake Pans: Two 8-inch round pans are great for the main cake. I highly recommend getting a separate 6-inch or even 4-inch round pan for the baby’s personal smash cake.
- Wire Cooling Racks, Spatulas, Measuring Cups & Spoons.
- Piping Bags and Tips: A large star tip (like a Wilton #1M) and a small round tip are very versatile.
- Cake Turntable: Makes frosting so much easier.
- For Design 1 (Wild One): Animal crackers, green food coloring.
- For Design 2 (Sprinkle Drip): Brightly colored candy melts, your favorite sprinkles.
- For Design 3 (Number Cake): A large baking sheet (9×13 inch), a printed number “1” template, a sharp knife.
Step-by-Step Instructions: Let the Fun Begin!
First, we’ll create our delicious canvas. Then, you can jump to the design of your choice!
H3: Part 1: The Perfect Smash Cake Base
- Prep Your Pans: Preheat your oven to 350°F (175°C). Grease and flour your chosen cake pans, and line the bottoms with parchment paper.
- Mix the Dry Team: In a medium bowl, whisk together the flour, baking powder, baking soda, and salt.
- The Creaming Stage: In your mixer, beat the softened butter and sugar until light and fluffy, about 3-4 minutes. Add the mashed banana and beat until combined.
- Add the Wet Ingredients: Add the room temperature eggs one at a time, mixing well after each. Beat in the vanilla extract.
- The Final Mix: On low speed, alternate adding the dry ingredients and the buttermilk in three additions of dry and two of wet. Mix only until the last bit of flour is incorporated. Lumpy batter is good batter!
- Bake and Cool: Divide the batter into your pans. Bake for 30-35 minutes for 8-inch pans (check 6-inch pans around the 25-minute mark). A toothpick inserted into the center should come out clean. Let the cakes cool in the pans for 15 minutes before turning them out onto wire racks to cool completely.
H3: Part 2: The Dreamy Buttercream
- Whip It Good: In your mixer, beat the softened butter on high speed until it’s very pale and creamy (about 4 minutes).
- Sweeten the Deal: On low speed, gradually add 6 cups of the powdered sugar, then the milk, vanilla, and salt.
- Get it Fluffy: Once combined, turn the mixer up to high and beat for another 5 minutes until the buttercream is incredibly light and fluffy. Add more sugar if it’s too thin, or a splash more milk if it’s too stiff.
H3: Part 3: Choose Your Design Adventure!

Now that you have your cooled cakes and fluffy frosting, it’s time to decorate!
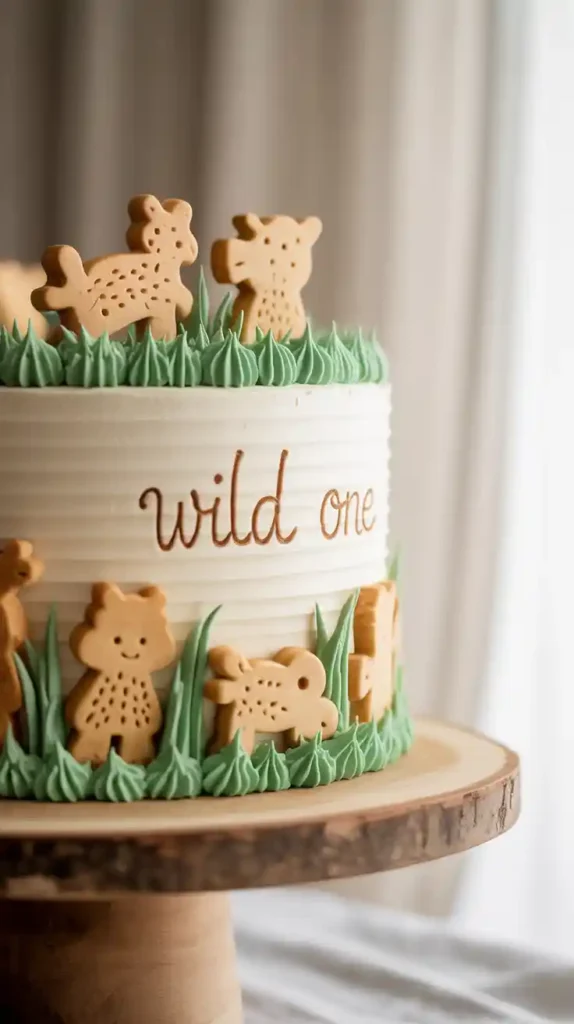
Design 1: The “Wild One” Animal Safari
- Assemble and Frost: Stack your 8-inch cake layers with a layer of white frosting in between. Cover the entire cake in a smooth or lightly textured coat of white buttercream.
- Create the Jungle: Tint a small amount of frosting with green gel coloring. Use a piping bag with a small round or leaf tip to pipe little tufts of grass around the bottom edge and maybe a few on top.
- Add the Animals: This is the fun part! Gently press your favorite animal crackers (lions, tigers, elephants, oh my!) onto the sides of the cake as if they’re on a safari adventure. Place a few on top as well. It’s simple, adorable, and instantly recognizable.
Design 2: The Colorful Sprinkle Drip Cake
- Assemble and Frost: Stack and frost your cake with a smooth layer of white (or a pastel-colored) buttercream. For extra sharp edges, chill the frosted cake for 30 minutes until the frosting is firm.
- Prepare the Drip: In a microwave-safe bowl, melt about 1 cup of brightly colored candy melts (pink, blue, yellow) according to package directions. Let it cool slightly so it’s not piping hot, but still fluid.
- Drip, Drip, Drip: Pour the melted candy over the top center of your chilled cake. Use the back of a spoon or a small offset spatula to gently nudge it towards the edges, letting it drip down the sides naturally.
- Sprinkle Explosion: Before the drip sets completely, go wild! Cover the drip with a cascade of your favorite rainbow sprinkles. You can also press sprinkles onto the bottom third of the cake for a fun border.
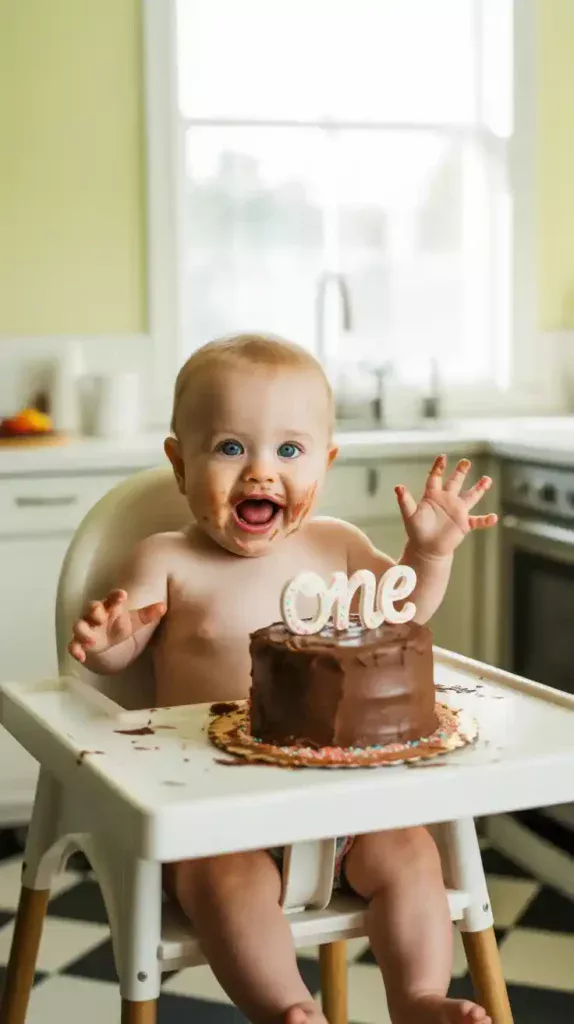
Design 3: The Rustic Number “1” Cake
- Bake and Cut: Bake your cake batter in a 9×13-inch sheet pan. Once cooled, print out a large number “1” to use as a template. Place the template on the cake and use a sharp knife to carefully cut out the shape.
- Decorate with Rosettes: Place the number “1” cake on its serving platter. Tint your buttercream to the desired color. Using a piping bag fitted with a large star tip (like a Wilton #1M), cover the entire top surface of the cake with beautiful, tightly packed rosettes.
- Finishing Touches: This design looks beautiful on its own, or you can add a few fresh berries (like raspberries or small strawberry slices) or some delicate sprinkles in the gaps between the rosettes.
Calories & Nutritional Info
Let’s be real: for the baby, most of this cake will end up on their face, in their hair, and on the floor.
- Calories per adult slice (1/12th of cake): Approximately 450-550 kcal.
- For the Baby’s Smash Cake: I recommend frosting their small cake with something simple like unsweetened whipped cream or thick Greek yogurt to keep the sugar to a minimum.
- Note: The main nutritional value of a first birthday cake is joy, memories, and adorable, messy photos. Don’t sweat the details.
Common Mistakes to Avoid (First Birthday Fouls)
- Using Choking Hazards: Those shiny silver dragées and hard candies look pretty, but they are a major choking hazard for a one-year-old. Stick to soft decorations like frosting, sprinkles, soft fruits, or larger items the parents can easily remove like the animal crackers.
- The Sugar-Bomb Smash Cake: The main cake is for the guests, but the baby’s personal cake should be a smashable delight, not a one-way ticket to a sugar-fueled meltdown. Use a low-sugar frosting option for their portion.
- A Wobbly Foundation: You rushed the cooling process, and now your cake is leaning like the Tower of Pisa. Cakes must be completely cool before you even think about stacking and frosting.
- Forgetting About Allergies: Before you bake, it’s always a good idea to check with the parents about any potential food allergies like eggs, dairy, or nuts. This recipe can often be adapted with dairy-free butter and milk if needed.
Variations & Customizations (More Fun Ideas!)
- Fruit-Sweetened Fun: For an even healthier smash cake, you can replace the sugar in the cake recipe entirely with more mashed banana or unsweetened applesauce. The texture will be denser, but it’s a great baby-friendly option.
- Rainbow Surprise Inside: Divide the cake batter into a few bowls and tint each with a different pastel gel food coloring. Layer the colors in the pans for a beautiful rainbow effect when you cut into it.
- Different Themes: Use this base recipe for other themes! Frost in blue and add crushed cookies for a Cookie Monster cake, or use yellow and black for a bumblebee theme.
FAQ Section: Your 1st Birthday Cake Questions Answered
- What flavors are best for a 1st birthday cake? Simple, gentle flavors are best. Vanilla, banana, apple, and carrot are all great choices. Avoid anything overly complex or strong.
- How do I make a smash cake? A smash cake is just a small, personal-sized cake for the baby. You can bake one layer in a 4-inch or 6-inch pan. It’s best to frost it with a low-sugar or sugar-free frosting like whipped cream.
- What ingredients should I avoid for a one-year-old? Besides obvious choking hazards, it’s best to avoid honey (due to the risk of botulism in children under one), whole nuts, and excessive amounts of sugar.
- Can I make this cake ahead of time? Yes! Bake the cake layers, let them cool, wrap them well in plastic wrap, and you can freeze them for up to a month. Frost the cake the day of or the day before the party.
- My cake layers are domed! How do I get them flat? Once the cakes are completely cool, use a long, serrated knife to carefully slice off the domed top. It’s a baker’s secret that this is the best part to snack on.
- What’s a good alternative to buttercream for a smash cake? Whipped coconut cream (chilled can of full-fat coconut milk, scoop off the solid cream, and whip), plain Greek yogurt mixed with a little mashed fruit, or unsweetened whipped heavy cream are all great options.
- How can I get the best smash cake photos? Have good lighting, a simple background (a high chair against a plain wall is perfect), and let the baby be messy! Have your camera ready and just let them explore. The chaos is the point!
Final Thoughts
Congratulations on surviving the first year! You’ve done an incredible job. Creating this cake is the final boss battle, and you are about to win. You’ve made a beautiful, delicious, and thoughtful centerpiece for a day you’ll remember forever.

Now, light that single, symbolic candle, lead a rousing chorus of “Happy Birthday,” and then hand over the smash cake. Stand back, get your camera ready, and embrace the glorious, frosting-covered chaos. This is what it’s all about.