It’s important to master the finishing touches in acrylic painting to elevate your artwork to new heights. You can enhance depth and vibrancy by applying specific techniques that bring out the best in your colors and textures. From smart layering to precise detailing, each tip aims to refine your skills and boost your confidence. By incorporating these techniques into your process, you’ll transform your canvases into stunning pieces that truly resonate. Get ready to take your acrylic paintings to the next level with these expert tips!
Understanding Acrylic Paint
The acrylic paint is a versatile medium that caters to both beginners and seasoned artists. Comprised of pigment suspended in an acrylic polymer emulsion, it dries quickly and can be used in various styles, including traditional painting and mixed media. Acrylics can easily be diluted with water or used at full strength, offering you a broad range of textural possibilities while maintaining vibrant colors.
Types of Acrylic Paint
Beside the traditional acrylic paint, there are several variations that you can explore:
| Type | Description |
| Heavy Body Acrylics | Thick, buttery consistency ideal for impasto techniques. |
| Fluid Acrylics | Thin, highly pigmented paint perfect for washes and glazing. |
| Acrylic Ink | Intensely pigmented, great for detailed work and calligraphy. |
| Interactive Acrylics | Water-based and designed for blending and altering drying times. |
Assume that exploring these types will help you find the ideal acrylic paint suited for your artistic needs, enhancing your overall painting experience.
Characteristics and Benefits
About the various attributes of acrylic paint, you’ll find its versatility stands out. It’s known for its quick drying time and water-soluble nature, which allows for easy cleanup with just soap and water. Unlike oil paints, it can be layered quickly, enhancing your efficiency during the creative process.
Acrylic paint is an incredibly adaptable medium, offering a range of finishes from matte to glossy. Its flexibility means you can create everything from fine details to thick textures, enhanced further by its ability to dry to a waterproof finish. Moreover, its low toxicity compared to other materials makes it more environmentally friendly, ensuring your workspace remains safe. You can confidently use acrylics for a variety of techniques and styles, maximizing your artistic expression without fear of harmful chemicals.
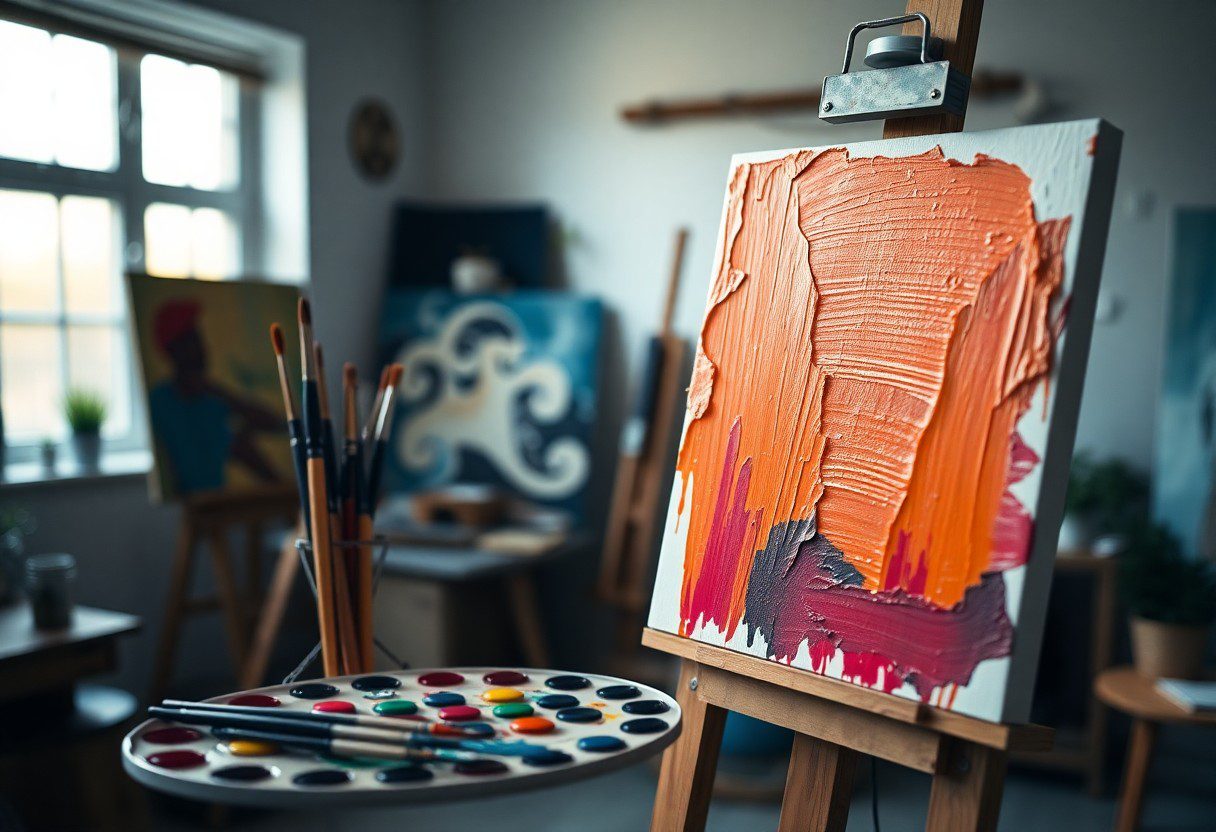
Essential Tools for Acrylic Painting
Some of the most necessary tools you need for acrylic painting include brushes, palettes, and various surfaces to work on. Understanding the purpose of each tool will not only enhance your creativity but also improve your painting technique. Invest in quality materials that suit your style, and you’ll find your acrylic painting experience becomes much more enjoyable and successful.
Brushes and Their Uses
Below, you will find that using the right brushes is key to achieving different effects in your acrylic painting. Flat brushes are great for broad strokes, while round brushes are perfect for fine details. Fan brushes can be used for texture, and sponge brushes can provide unique patterns. Choose brushes that align with the techniques you want to explore, and don’t hesitate to experiment.
Palette and Surface Options
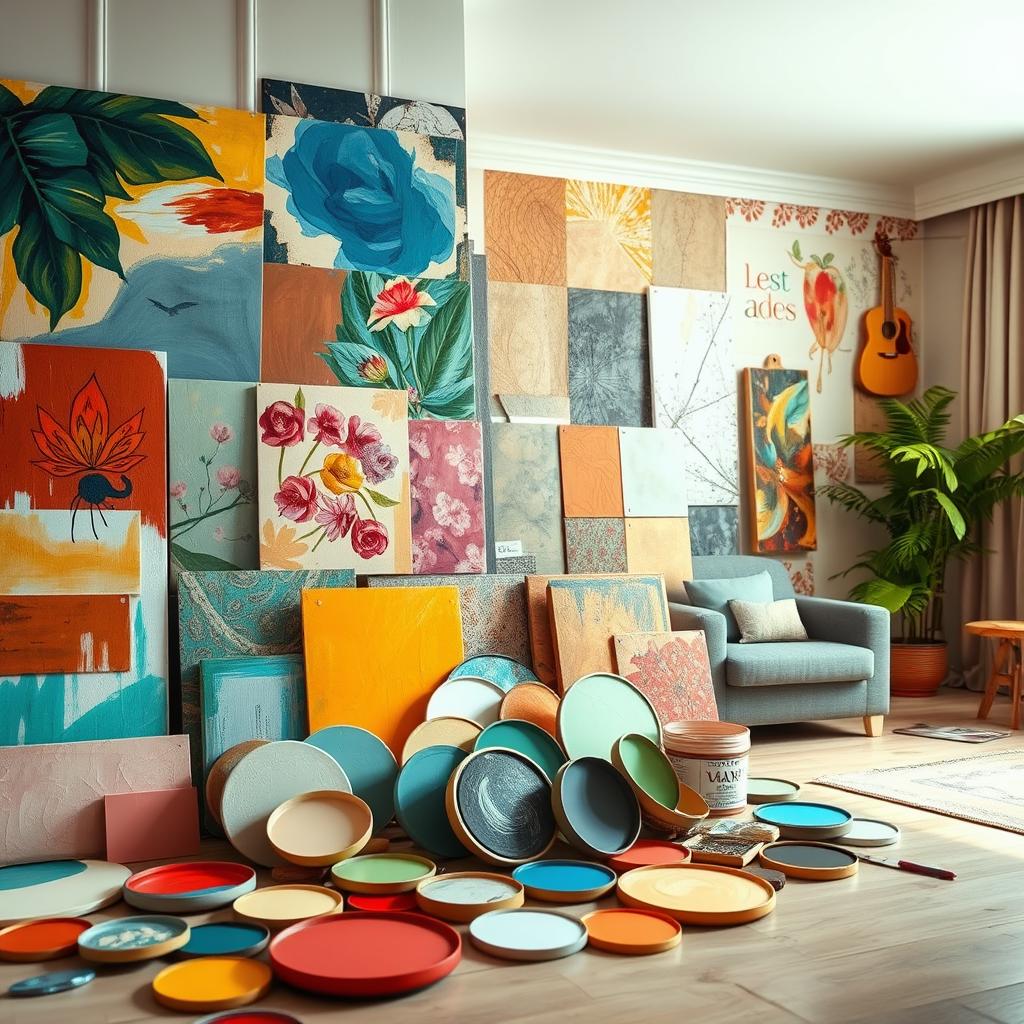
Uses for palettes and surfaces vary widely, but they are necessary to your painting process. The right palette can help you mix colors effectively, with options including the traditional wooden palette, disposable paper palettes, or even acrylic sheets. As for surfaces, you can paint on canvas, wood, or acrylic paper, each providing a different texture and finish. These choices greatly influence your artwork’s final look.
In addition, selecting the right surface can enhance your painting techniques. For instance, canvas offers a textured feel that allows for better pigment absorption, while acrylic paper provides a smooth surface perfect for detail work. Make sure to consider the weight and priming of the surface, as this will affect how well your paint adheres and dries. Choosing the right tools not only impacts your workflow but also contributes to the overall quality of your finished piece.
Techniques for Perfect Finishing Touches
It is necessary to incorporate the right techniques for achieving elegant finishing touches in your acrylic paintings. By mastering these methods, you can elevate your artwork, ensuring that every detail reflects your artistic vision. Whether you are enhancing textures or creating depth, these tips will be invaluable as you complete your masterpieces.
Layering and Glazing
Around your base layers, apply transparent colors to create depth and a luminous quality through layering and glazing techniques. By building up thin layers, you can achieve an ethereal effect that transforms your artwork. Utilizing a medium can enhance the fluidity, allowing for smoother transitions between colors without losing vibrancy.
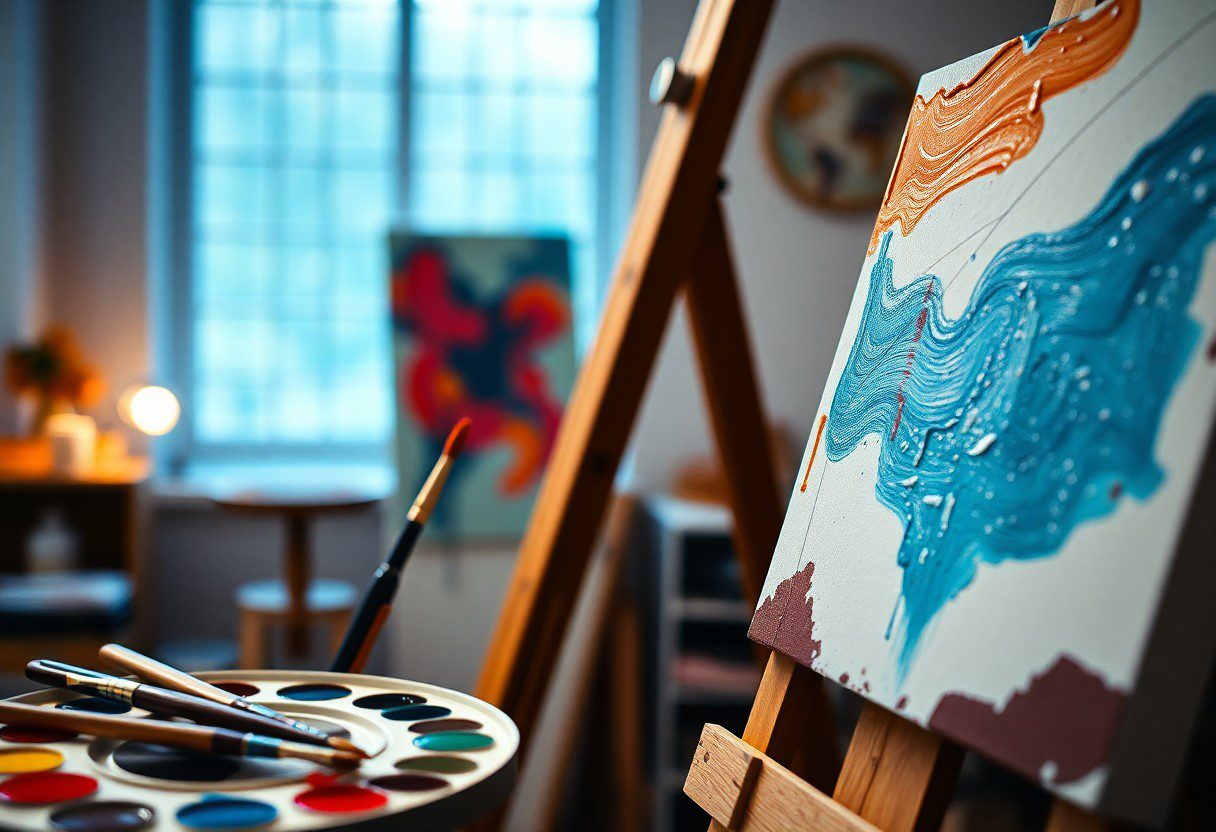
Dry Brush and Wet-on-Wet Techniques
For a dynamic finish, explore the dry brush and wet-on-wet techniques. Dry brushing allows you to create texture by dragging a bristle brush across the canvas, while wet-on-wet involves applying wet paint onto a wet surface for softer blends and gradients.
Hence, understanding the nuances between dry brush and wet-on-wet techniques can dramatically impact the visual interest of your painting. With dry brushing, you achieve acclaimed texture and fine details, perfect for highlighting features. On the other hand, the wet-on-wet approach encourages smooth transitions and an organic feel, making it ideal for backgrounds or softer elements. Experimenting with these techniques can lead to a vibrant and professionally finished piece, where every stroke contributes to the overall effect of your artwork.
Color Mixing and Blending

To achieve stunning results in your acrylic paintings, mastering color mixing and blending is important. Experimenting with different color combinations allows you to create unique hues that can drastically enhance the vibrancy of your artwork. Start with primary colors and gradually mix in secondary and tertiary colors to develop a broad palette. Always test your mixed colors on a scrap piece of paper to ensure they match your vision before applying them to your canvas.
Creating Depth with Colors
Among the various techniques to create depth in your artwork, using contrasting colors can be highly effective. Darker shades can recede while lighter colors can bring elements to the foreground, giving your painting a more three-dimensional feel. Gradually layering these contrasting hues can also add richness and complexity, guiding the viewer’s eye through your composition.
Using a Color Wheel
An effective way to enhance your color mixing skills is by utilizing a color wheel. This tool visually represents the relationships between colors, helping you choose complementary and analogous colors that can enrich your palette.
This wheel not only illustrates primary, secondary, and tertiary colors but also highlights how specific color combinations can evoke different moods and effects in your artwork. By familiarizing yourself with the wheel, you can avoid clashing colors while making educated choices about mixing. Keep in mind the benefits of complementary colors to create vibrancy or the use of analogous colors to produce harmony. Understanding the visual relationships among colors aids in achieving stunning blends and transitions in your acrylic paintings.
Common Mistakes to Avoid
All artists face challenges when working with acrylics, but avoiding common mistakes can significantly enhance your finishing touches. By steering clear of overworking your painting, not allowing proper drying times, and using improper tools, you can achieve a polished and professional result. Each step is vital for improving your overall technique and elevating the quality of your artwork.
Overworking Your Painting
Among the most frequent pitfalls in acrylic painting is overworking your piece. Constantly layering and adjusting can result in muddy colors and loss of texture, ultimately detracting from the initial vision. To avoid this, step back and assess your painting instead of obsessively refining details.
Improper Drying Times
Below, understanding the significance of proper drying times can greatly influence the outcome of your artwork. You might feel tempted to rush through the process, but allowing each layer to dry completely is necessary for avoiding unintended mixes and maintaining the integrity of your colors.
Improper drying times can lead to smudges and unwanted blending of colors, which may ruin your carefully crafted details. If you paint on a wet layer, you risk compromising your work’s integrity and losing the sharpness of your intended designs. To achieve the best results, allow each layer to dry thoroughly before adding new elements to your piece, ensuring that your final product remains vibrant and well-defined.
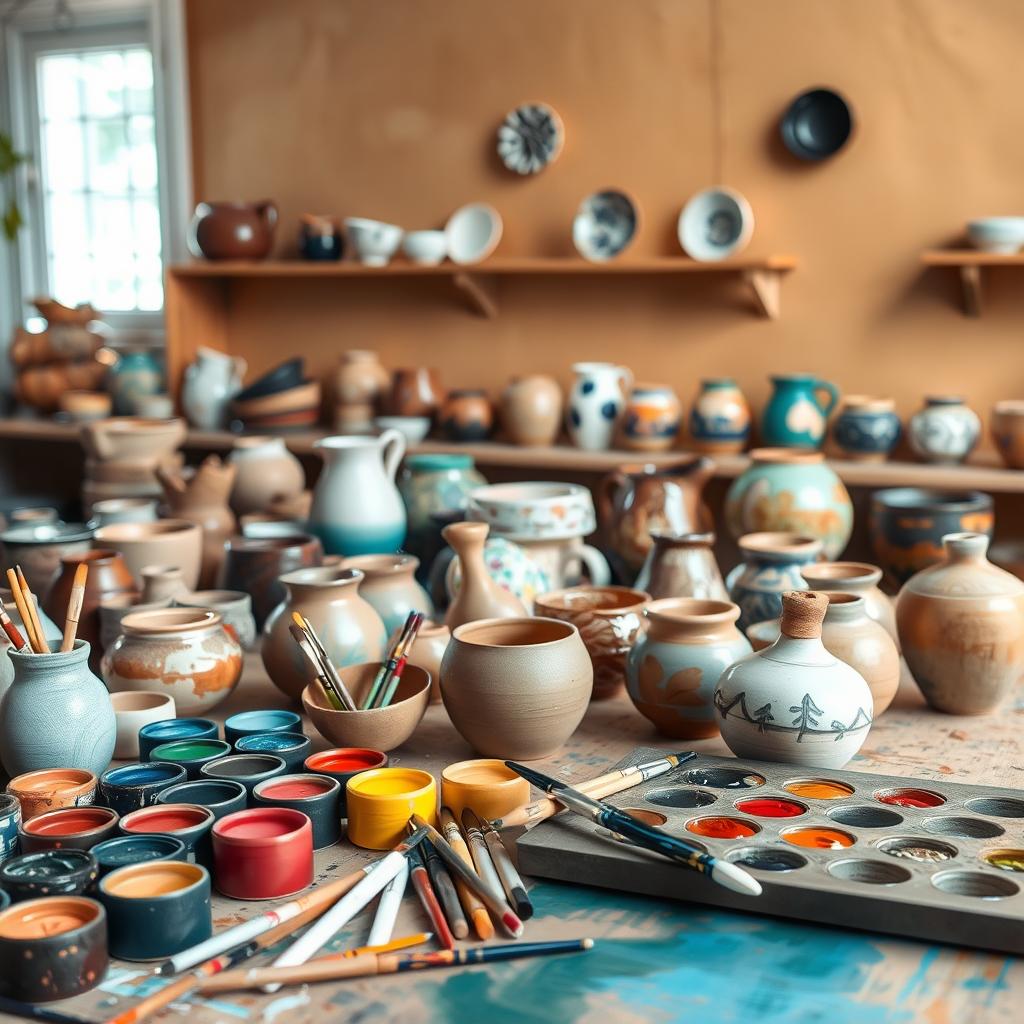
Cleaning and Maintaining Your Supplies
After you complete your painting session, it’s important to clean and maintain your supplies properly to extend their lifespan and ensure optimal performance. Regular cleaning prevents paint buildup, which can affect your future artwork. Make it a habit to clean your brushes and palettes immediately after use, and store your acrylic paints in a suitable environment. These practices will not only keep your tools in top condition but also enhance your overall painting experience.
Care for Brushes and Palettes
Care for your brushes by rinsing them thoroughly with water immediately after use and using mild soap to remove any residue. Avoid letting brushes sit in water, as this can warp the bristles. Clean palettes with a scraper tool and warm water, and regularly check for dried paint that may hinder your next project. This consistent care will help you maintain the quality of your brushes and palettes for a long time.
Proper Storage of Acrylic Paints
Storage of your acrylic paints is vital to prevent them from drying out or deteriorating. Keep them tightly sealed in their original containers and store them in a cool, dry place away from direct sunlight. Organizing your paints in a dedicated space will make it easier for you to find the colors you need when you’re ready to create.
Cleaning your acrylic paints after every session helps to eliminate air exposure, which can lead to an unusable dry crust. It’s recommended to store paints in a temperature-controlled environment, keeping them between 60°F and 75°F for optimal preservation. Additionally, consider placing a damp sponge or a wet paper towel in the cap of the paint tube when storing for extra moisture retention. Following these guidelines ensures that your paints remain fresh and ready for your next masterpiece.
To wrap up
Now that you have these acrylic painting tips at your disposal, you can achieve those perfect finishing touches that elevate your artwork. Experiment with layering, blending, and texturing to find what works best for your style. Don’t hesitate to integrate tools like brushes and palette knives for various effects. By paying attention to details and allowing yourself the freedom to revise, you’ll enhance your skills and satisfaction with each piece. Embrace the process, and let your creativity shine!
Acrylic Painting Tips For Achieving Perfect Finishing Touches
Q: What type of brushes should I use for acrylic painting finishing touches?
A: For achieving perfect finishing touches in acrylic painting, it is recommended to use fine detail brushes or filbert brushes. Fine detail brushes allow for precision work in smaller areas, while filbert brushes can help create smooth blends and soft edges. Always select brushes with good quality synthetic bristles, as they hold up better with acrylics and provide excellent control.
Q: How can I create smooth blends in my acrylic painting to enhance finishing touches?
A: To achieve smooth blends in acrylic painting, try using a wet-on-wet technique. This involves working with wet paint on top of wet paint, allowing for easier blending. Additionally, using a soft brush to work the edges of the colors can create a more seamless transition. Alternatively, you can also dilute your acrylic paint with a blending medium or water to facilitate smoother application.
Q: What medium can I use to extend drying time for better blending?
A: To extend the drying time of acrylic paint, you can use a slow-drying medium or a retardant medium specifically designed for acrylics. These mediums slow down the drying process, giving you more time to blend colors and achieve the desired effect. Be cautious with the amount you mix in, as too much can alter the paint’s consistency.
Q: How do I achieve a glossy finish on my acrylic painting after completing the work?
A: To achieve a glossy finish on an acrylic painting, you can apply a glossy varnish or a medium designed for a gloss finish. It is best to wait until the painting is fully dry before applying the varnish. Apply the varnish with a clean brush or spray evenly over the surface, allowing it to dry completely according to the product instructions. This not only adds shine but also protects your artwork.
Q: What are the best practices for adding final details to an acrylic painting?
A: When adding final details to your acrylic painting, consider using a lighter hand with fine brushes to add highlights and accents. Layering is also important—allow each detail to dry before adding more to prevent muddying colors. Additionally, step back frequently to view your work from a distance; this perspective helps you assess the overall balance and make adjustments as needed, ensuring the finishing touches enhance your artwork effectively.