Did you know that even the most experienced artists often struggle to achieve the perfect skin tone? The subtle balance of warm and cool undertones can make or break a portrait. Whether you’re an aspiring artist or a seasoned pro, mixing realistic skin tones is both a challenge and an exciting creative process.
This guide dives into the art of blending colors to create lifelike flesh tones. You’ll learn how to use primary colors like red, yellow, and blue, along with white, to achieve the right balance. From understanding light and shadow to mastering advanced techniques, this article offers step-by-step tips for creating stunning portraits.
Experienced artists share their secrets, including starting with an orange or purple base and adjusting with small amounts of blue or white. Whether you’re working with acrylic or another medium, these insights will help you bring your face to life. Ready to elevate your painting skills? Let’s dive in!
Key Takeaways
- Understanding primary colors is essential for mixing realistic skin tones.
- Start with an orange or purple base for a natural flesh tone.
- Use white to adjust the light and shadow in your portrait.
- Small amounts of blue can add depth and realism to your mixing skin tone.
- Experienced artists recommend testing colors before applying them to your work.
Introduction to DIY Skin Color Paint
The art of blending colors to mimic human skin is both challenging and rewarding. Achieving the right skin tone can transform a simple portrait into a lifelike masterpiece. Subtle variations in color and tone play a crucial role in capturing the essence of your subject.
Understanding the importance of accurate skin tones is essential for any artist. These tones bring depth, emotion, and realism to your work. Whether you’re painting a portrait or a full-body study, the right flesh tone can make all the difference.
Understanding the Importance of Accurate Skin Tone

Every individual has a unique skin color, influenced by factors like genetics and environment. Capturing these nuances requires careful observation and practice. Even small changes in light and shadow can alter the appearance of skin tones.
For example, warm undertones might dominate in natural sunlight, while cooler tones appear in shaded areas. These subtle differences affect the mood and realism of your portrait. Mastering this balance is key to creating lifelike art.
Overview of Materials and Tools Needed
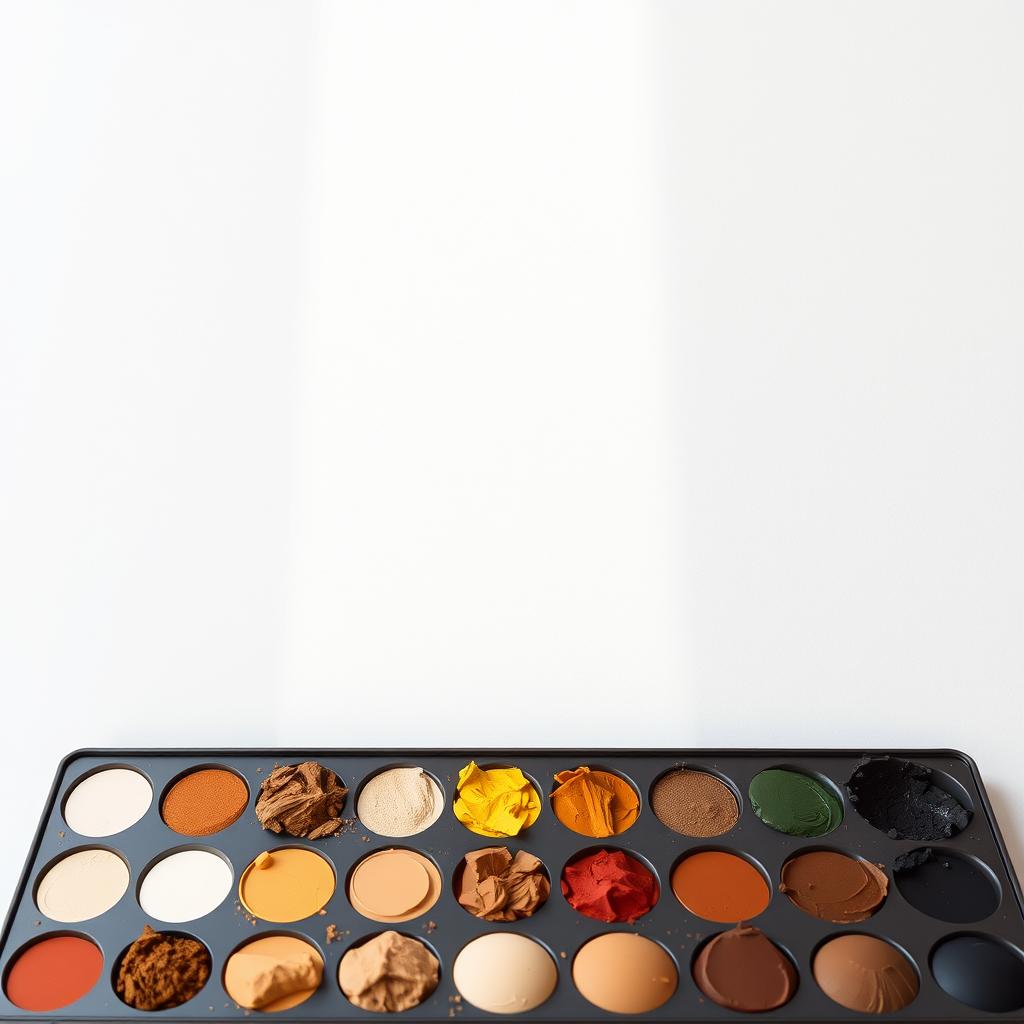
To get started, you’ll need a few essential materials. Primary colors like red, yellow, and blue form the foundation of any skin tone. White is crucial for adjusting light, while a touch of blue can add depth.
Here’s a quick list of what you’ll need:
- Primary colors: red, yellow, blue
- White for lightening tones
- A palette for mixing
- Brushes and a canvas or paper
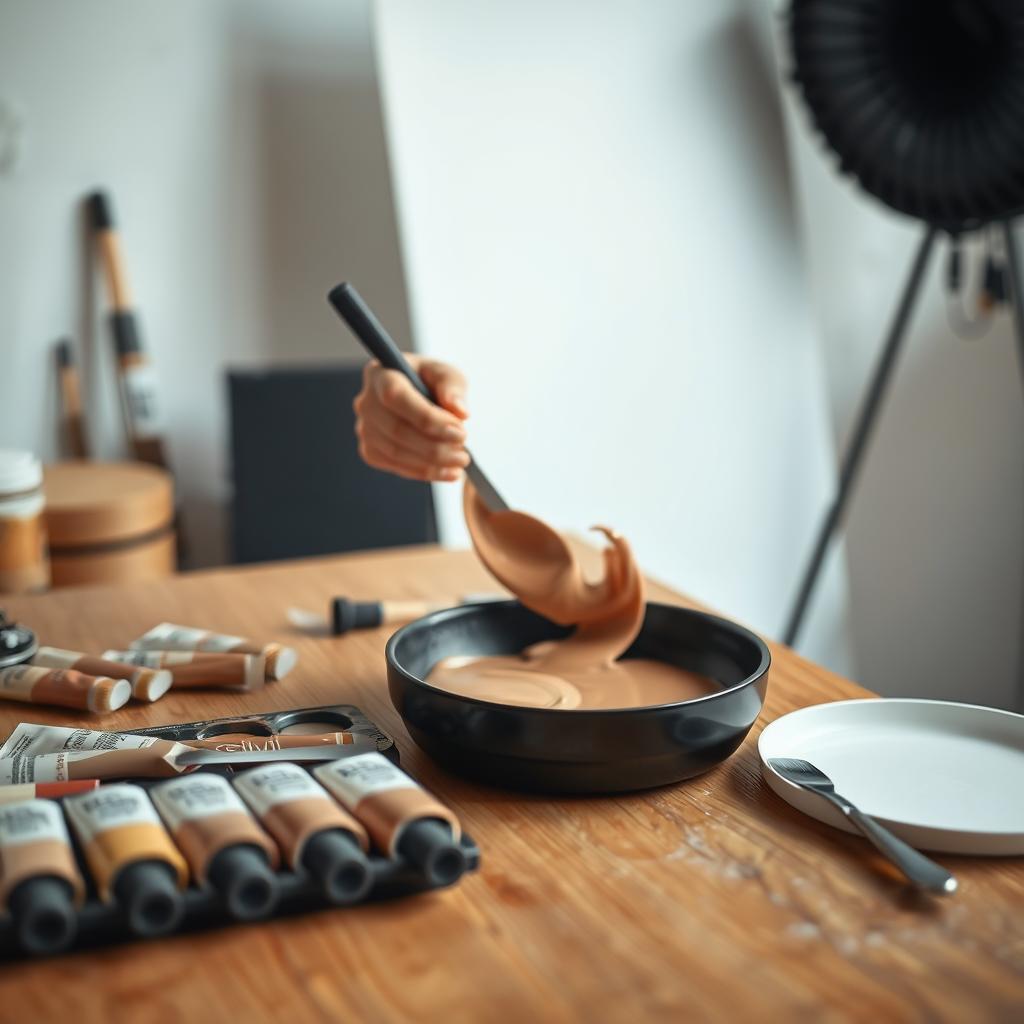
Establishing a base skin tone is the first step. Start with a mix of red and yellow to create an orange or purple base. From there, adjust with small amounts of blue or white to achieve the desired tone.
| Material | Purpose |
|---|---|
| Red | Warm undertones |
| Yellow | Lightening and warmth |
| Blue | Cool undertones and depth |
| White | Adjusting lightness |
Remember, mixing skin tones is a trial-and-error process. Test your colors on a separate surface before applying them to your work. This ensures the quality and accuracy of your final piece.
Fundamentals of Skin Tone and Color Theory

Mastering the art of creating realistic skin tones starts with understanding color theory. This foundational knowledge helps artists blend primary colors to achieve lifelike results. Whether you’re working on a portrait or a full-body study, grasping these principles is essential.
Exploring Primary Colors and Their Role in Skin Tones
Primary colors—red, yellow, and blue—are the building blocks of all flesh tones. By mixing these hues, artists can create a wide range of variations. For example, combining red and yellow produces warm undertones, while adding blue introduces cooler shades.
Each skin tone is essentially a variation of brown, adjusted with different ratios of warm and cool hues. Artists often start with an orange or purple base, then fine-tune the tone using small amounts of blue or white. This approach ensures accuracy and depth.
Warm vs. Cool Undertones in Skin
Understanding the difference between warm and cool undertones is crucial for realism. Warm undertones, like yellow and red, dominate in natural sunlight. Cooler tones, such as blue and purple, appear in shaded areas. These subtle shifts create the illusion of depth in a portrait.
Light and shadow play a significant role in how skin tones are perceived. For instance, the illuminated side of a face may require lighter, warmer hues, while the shadowed side benefits from cooler, darker tones. Mastering this balance brings your subject to life.

Experienced artists rely on these principles to enhance their work. By adjusting values and understanding undertones, they achieve stunning, realistic results. Whether you’re a beginner or a seasoned painter, these fundamentals are key to elevating your craft.
How to Make Skin Color Paint: Step-by-Step Guide
Creating realistic skin tones requires precision and a deep understanding of color blending. This guide walks you through the process, from establishing a base to fine-tuning the perfect tone.
Establishing Your Base Tone
Start by choosing a base that matches your subject’s undertones. For lighter or medium skin tones, begin with an orange base. For darker tones, use a purple base. This foundation sets the stage for further adjustments.
Mix red and yellow to create an orange base. For a purple base, combine red and blue. Adjust the ratios to match the warmth or coolness of your subject’s skin.
Mixing Primaries to Achieve the Perfect Brown
Once your base is ready, add small amounts of blue to introduce depth. This step balances the warmth of the base and creates a natural tone. Gradually incorporate white to lighten the color as needed.
Remember, less is more when adding white. Overuse can mute the tone and reduce realism. Test your mixture on a separate surface before applying it to your portrait.
| Step | Action |
|---|---|
| 1 | Choose a base (orange or purple). |
| 2 | Mix primary colors to refine the tone. |
| 3 | Add blue for depth and white for lightness. |
| 4 | Test and adjust before application. |
Recording the ratios of colors used is essential, especially for large pieces or series. This ensures consistency and accuracy throughout your work. With practice, you’ll master the art of mixing skin tones and bring your portraits to life.
Tips and Techniques for Flawless Application
Achieving a flawless application of skin tones requires attention to detail and a keen eye for light and shadow. These elements bring depth and realism to your work, transforming a flat portrait into a lifelike masterpiece. Let’s explore advanced techniques to elevate your craft.
Adjusting for Light, Shadow, and Depth
Light and shadow play a critical role in defining skin tones. Start by observing your subject under different lighting conditions. Warm light enhances yellow and red undertones, while cooler tones emerge in shaded areas.
To create depth, adjust your base skin tone accordingly. Add a touch of blue to mimic cooler shadows or incorporate white for illuminated areas. This balance ensures your portrait looks natural and three-dimensional.
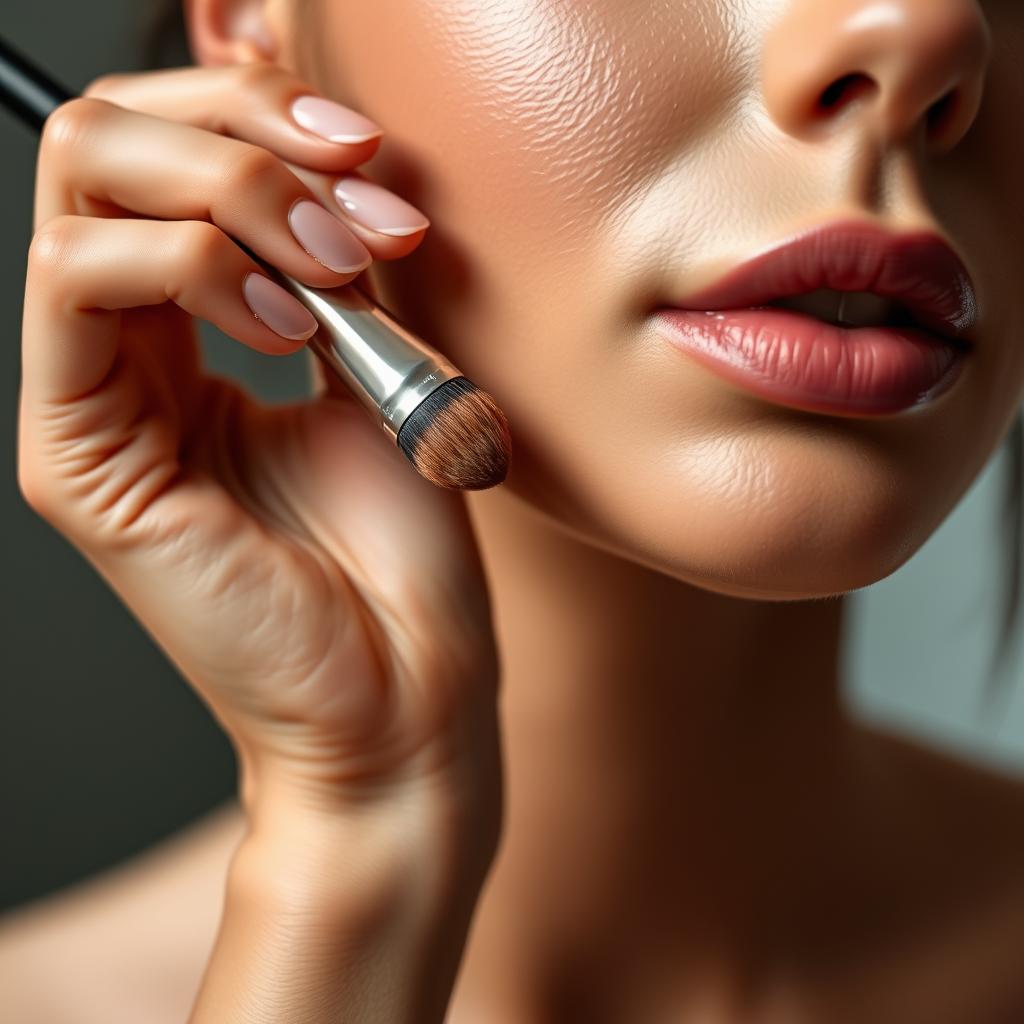
Perfecting Your Finish with Highlights and Blush Accents
Highlights and blush accents add the final touches to your work. Use a lighter version of your base tone to highlight areas like the cheekbones and forehead. For a natural blush effect, blend a small amount of red into the cheeks.
Experiment with warm and cool highlights to capture the subtle variations in skin. Proper blending techniques ensure the color remains vibrant and seamless.
| Technique | Purpose |
|---|---|
| Adjusting for light | Enhance warmth and brightness |
| Incorporating shadow | Add depth and realism |
| Adding highlights | Create dimension and focus |
| Blending blush accents | Mimic natural flush |
Remember, practice is key. Test your mixing skin tone techniques on a separate surface before applying them to your work. This ensures the quality and accuracy of your final piece.
Advanced Methods and Artist Insights
Exploring advanced methods can elevate your ability to capture lifelike skin tones in your work. Professional artists often rely on innovative techniques to achieve realistic flesh tones. These methods go beyond basic mixing, focusing on depth, nuance, and adaptability across mediums.
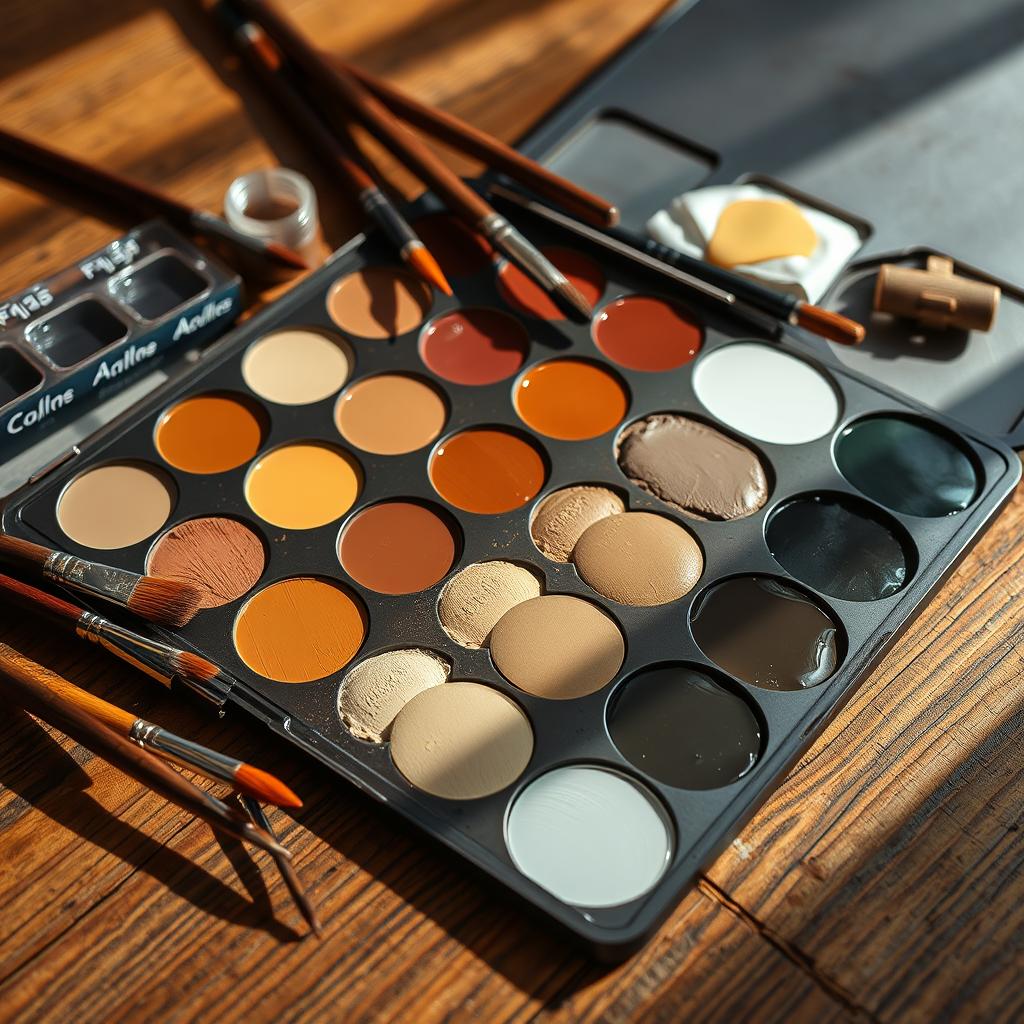
Creating a Family of Tones for Realistic Effects
Building a family of tones is essential for adding depth and nuance to your portraits. Start with a base tone and create variations by adding small amounts of blue, yellow, or red. This approach allows you to represent shadows, highlights, and midtones accurately.
For example, adding a touch of blue to your base creates cooler shadows, while a hint of yellow enhances warmth in highlights. This method ensures your skin tones remain cohesive yet dynamic. Experiment with these adjustments to find the perfect balance for your subject.
Innovative Approaches to Acrylic and Other Mediums
Working with acrylic paints requires unique strategies to avoid flat or muddy results. Avoid using black for shadows; instead, mix complementary colors like blue and brown for depth. Layering and glazing techniques can also add richness to your flesh tones.
For oil or watercolor mediums, adjust your approach based on the medium’s properties. Oils allow for smoother blending, while watercolors require precision due to their transparency. Regardless of the medium, always test your mixing skin tone on a separate surface before applying it to your work.
| Technique | Purpose |
|---|---|
| Creating a family of tones | Add depth and realism |
| Using complementary colors | Avoid muddy shadows |
| Layering and glazing | Enhance richness |
| Testing on a separate surface | Ensure accuracy |
Professional artists emphasize the importance of observation and practice. Study real skin tones under different lighting conditions to inform your color choices. With time and experimentation, you’ll develop a personal way of mixing that brings your portraits to life.
How Can Knowledge as a Color Specialist Help in Mixing Skin Color Paint?
Understanding color theory as a color specialist is crucial when mixing skin color paint. Mastery of undertones, complementary hues, and blending techniques ensures realistic and lifelike results. Shades vary based on lighting and complexion, requiring precision and expertise. Also Read: Become a Color Specialist to refine color-matching skills for flawless artwork.
Conclusion
Bringing lifelike realism to your artwork starts with mastering the subtle balance of hues. Understanding color theory and establishing a strong base tone are essential steps. Observing light and shadow helps create depth, transforming your portrait into a vibrant piece of art.
Experiment with blending techniques to achieve natural skin tones. Start with warm or cool undertones, then refine with small adjustments. Avoid overusing white, as it can dull the richness of your flesh tones. Instead, use complementary colors to maintain vibrancy.
Advanced methods, like creating a family of tones, add nuance and realism. Whether working with acrylic or other mediums, practice and observation are key. Keep refining your process, and enjoy the journey of bringing your subject to life.
Take these tips and apply them to your next project. With patience and creativity, you’ll elevate your skills and create stunning, lifelike portraits.