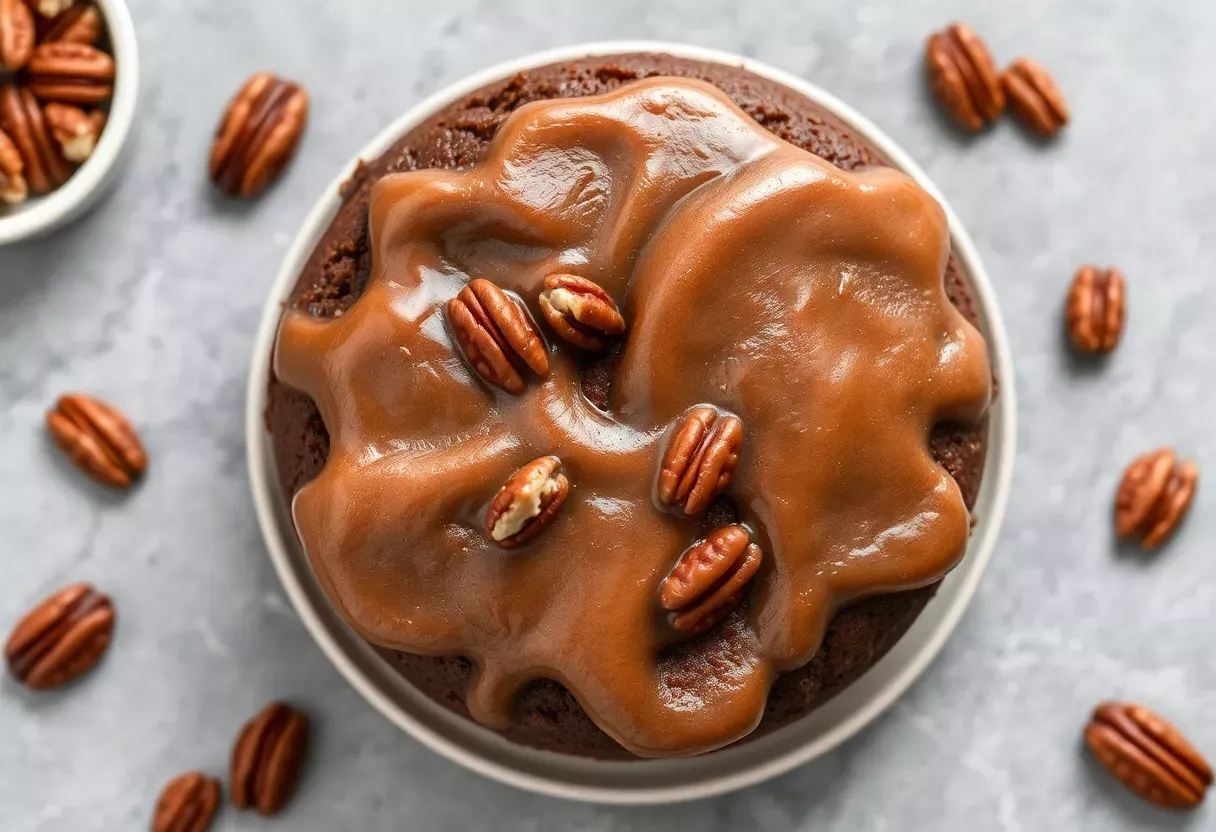
Picture this: crispy, buttery Rice Krispie squares dunked in velvety chocolate, hardening into a shell that cracks with the first bite. It’s the snack you didn’t know you needed—until now. Kids lose their minds over it.
Adults pretend they’re “just having one” before demolishing the whole tray. And the best part? You don’t need to be a pastry chef to make them.
Five ingredients, 10 minutes, zero patience required. Why settle for plain Rice Krispie treats when you can upgrade them to legendary status?
What Makes This Recipe So Good
This isn’t just another dessert—it’s a textural masterpiece. The chewiness of the marshmallow-krispie base clashes perfectly with the snap of the chocolate coating.
Plus, it’s stupidly easy. No baking, no fancy equipment, and no waiting for things to rise or set (well, except the chocolate, but even that takes minutes). It’s also wildly customizable.
Add sprinkles, sea salt, or peanut butter drizzle, and suddenly you’re a dessert god.
Ingredients
- 3 tbsp butter (salted or unsalted, but salted adds a nice contrast)
- 10 oz marshmallows (mini ones melt faster, but regular work too)
- 6 cups Rice Krispies cereal (generic “puffed rice cereal” is fine, but don’t tell Kellogg’s)
- 2 cups chocolate chips (milk, dark, or white—pick your fighter)
- 1 tsp coconut oil (optional, but it makes the chocolate smoother)
Step-by-Step Instructions
- Melt the butter in a large pot over low heat. Pro tip: Don’t crank the heat. Burnt butter smells like regret.
- Add marshmallows and stir until fully melted.
If you stop too soon, you’ll get lumpy treats. Nobody wants that.
- Mix in Rice Krispies until evenly coated. Work fast—the marshmallow glue sets quicker than your last relationship.
- Press into a greased pan (9×9 for thick squares, 9×13 for thinner ones).
Use a spatula or your hands (lightly greased to avoid sticking).
- Let cool completely. This is the hardest step because you’ll be tempted to eat it now. Resist.
- Melt chocolate + coconut oil in 30-second bursts in the microwave, stirring between each.
Or use a double boiler if you’re fancy.
- Cut treats into squares, dunk in chocolate, and place on parchment paper. Add toppings now if you’re extra.
- Let chocolate set at room temp or in the fridge. Then devour.
Storage Instructions
Store these in an airtight container at room temp for up to 3 days.
If it’s hot, fridge them (but the chocolate might sweat—FYI). For longer storage, freeze for up to a month. Thaw at room temp before eating, unless you enjoy biting into ice blocks.
Benefits of This Recipe
First, it’s foolproof.
Even if you burn toast regularly, you can handle this. Second, it’s budget-friendly. Rice Krispies and marshmallows cost pennies.
Third, it’s versatile. Swap in different chocolates, add nuts, or drizzle caramel. Lastly, it’s crowd-pleasing.
Bring these to a party, and you’ll leave a hero.
Common Mistakes to Avoid
- Overheating the marshmallows. They turn into a sticky, unworkable mess. Low and slow wins here.
- Not greasing your hands when pressing the mixture.
You’ll spend more time picking marshmallow off your fingers than eating.
- Skipping the cooling step. Cutting warm treats = crumbly disaster. Patience, grasshopper.
- Using cold chocolate.
If your treats are still warm when dipping, the chocolate will melt off. Wait until they’re fully cooled.
Alternatives
Out of Rice Krispies? Try Corn Flakes for a crunchier vibe.
Vegan? Use Dandies marshmallows and dairy-free chocolate. For a richer base, mix in peanut butter with the marshmallows.
Feeling fancy? Top with flaky sea salt or crushed pretzels. The world is your chocolate-covered oyster.
FAQs
Can I use marshmallow fluff instead?
Technically yes, but the texture won’t be as chewy.
Fluff lacks the structure of real marshmallows. IMO, stick to the classic.
Why is my chocolate coating too thick?
You likely didn’t add enough coconut oil (or skipped it). Thin it with a bit more oil or use a higher-quality chocolate chip.
Can I make these ahead of time?
Absolutely.
They keep well for days, and freezing works great. Just don’t tell your future self where you hid them.
Help! My treats are rock-hard.
You overpacked them.
Press gently—they should be just firm enough to hold together, not dense like a brick.
Final Thoughts
Chocolate-covered Rice Krispie treats are the ultimate no-bake hack for satisfying your sweet tooth without the effort. They’re customizable, nearly impossible to mess up, and guaranteed to disappear faster than you can say “just one more.” So grab your ingredients, channel your inner dessert rebel, and get dipping. Your taste buds will thank you.


